Welcome to the last chapter of The Room 2 by Fireproof Games as of the 2013 Winter update. In this walkthrough for The Lab, we will guide you through all of the puzzles and locked key locations. With this detailed and complete strategy guide, you will beat the game and escape in no time.
Part 1: Drawer Puzzle
Part 2: Drum of Images
Part 3: Box on the Round Table
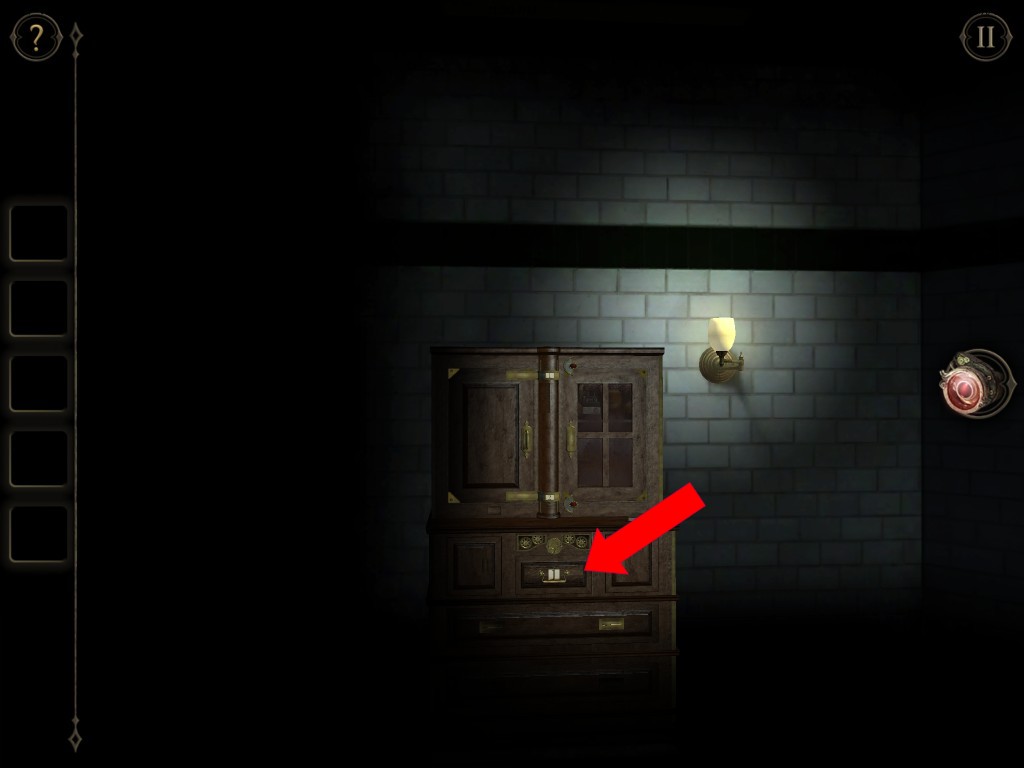
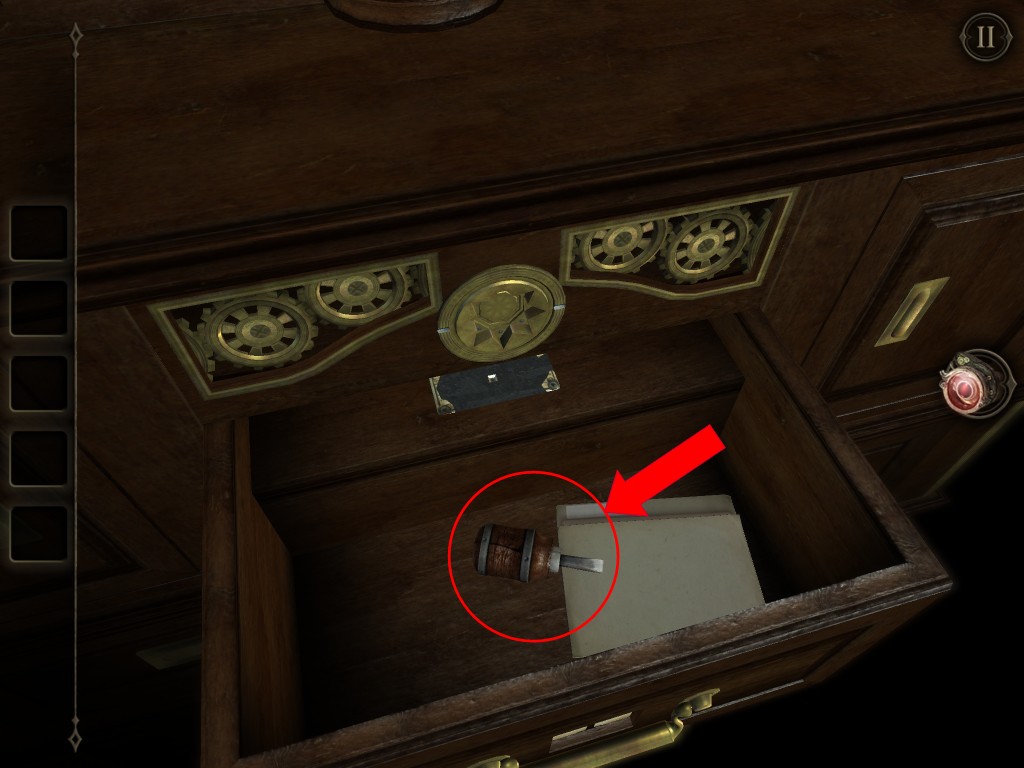
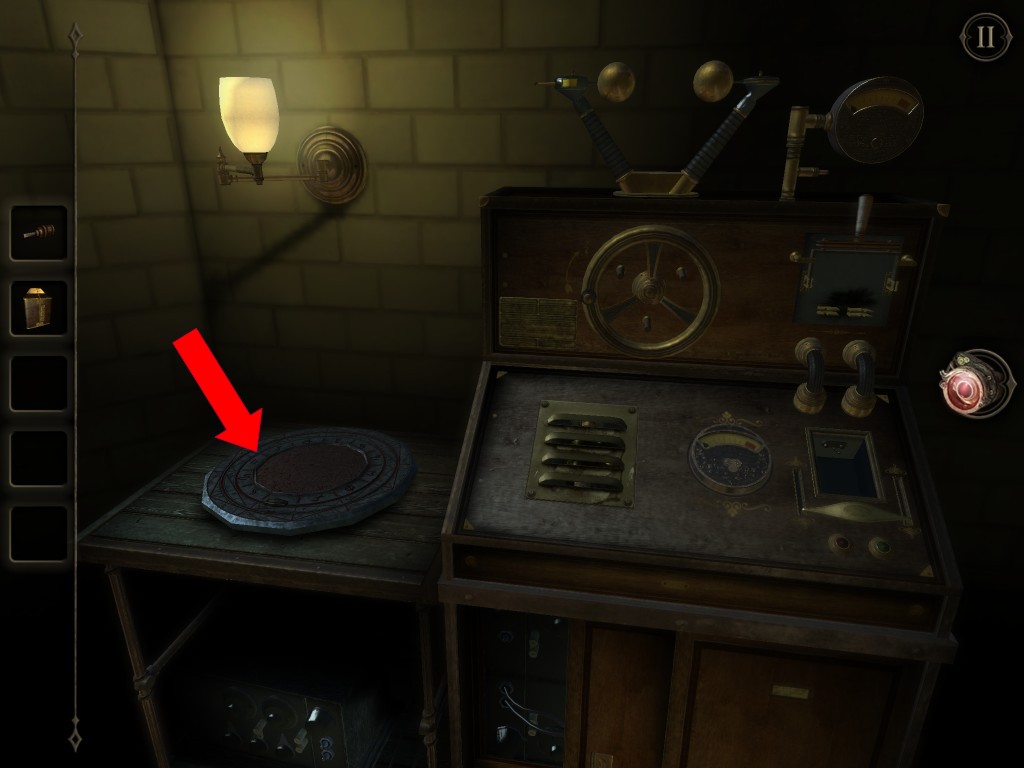
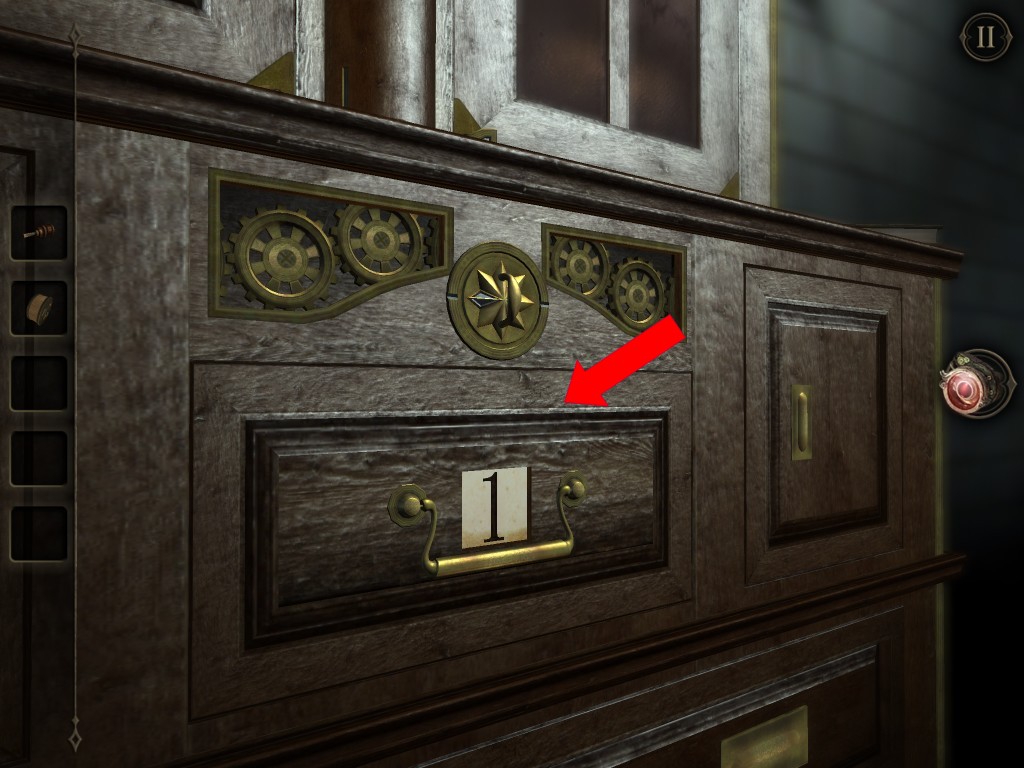
The Chapter 6 of the Room 2 puts you inside a lab with a box on a round table. Go to the cabinet. Open the drawer labeled number 1. Get a Screwdriver from the drawer.
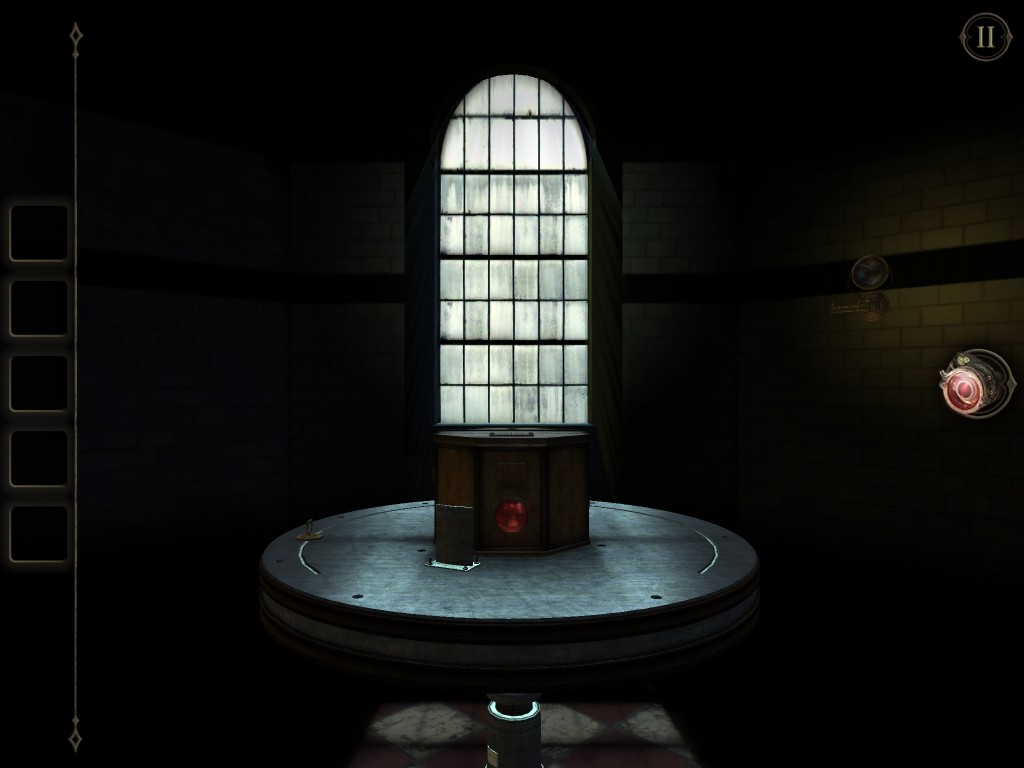


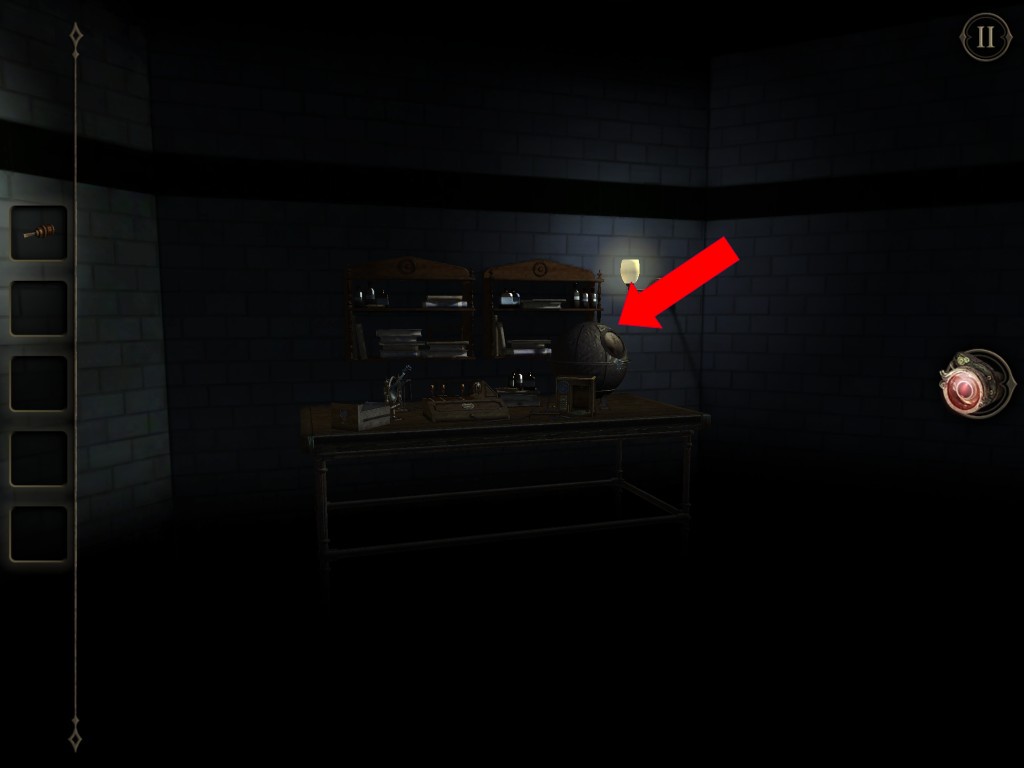
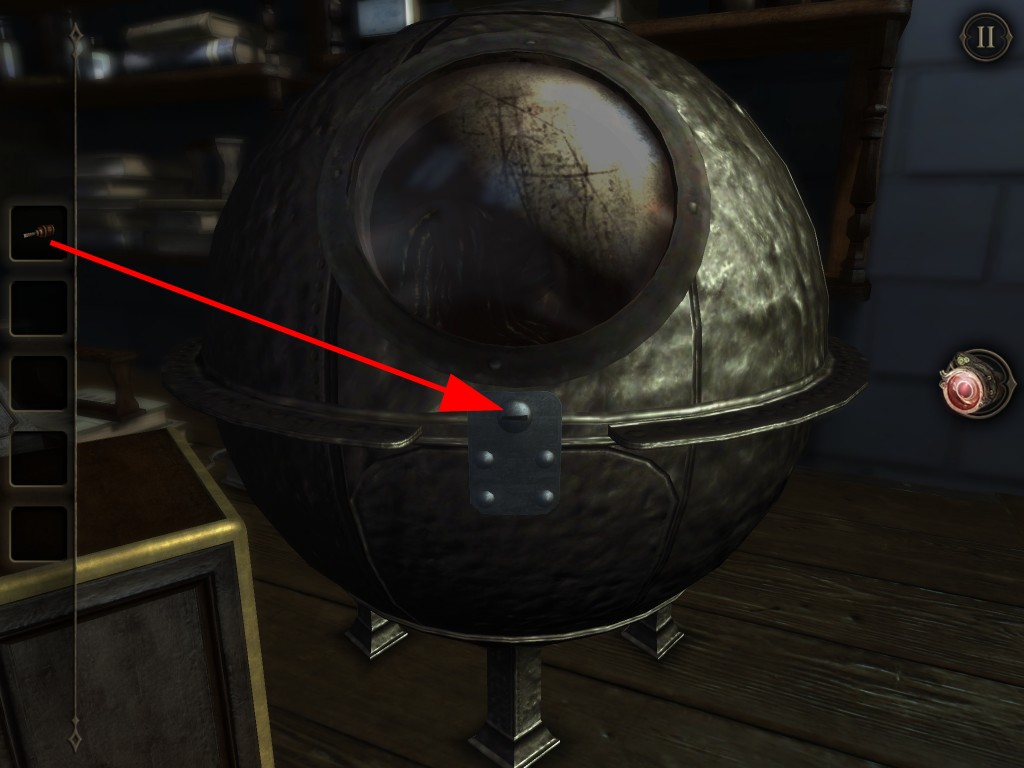
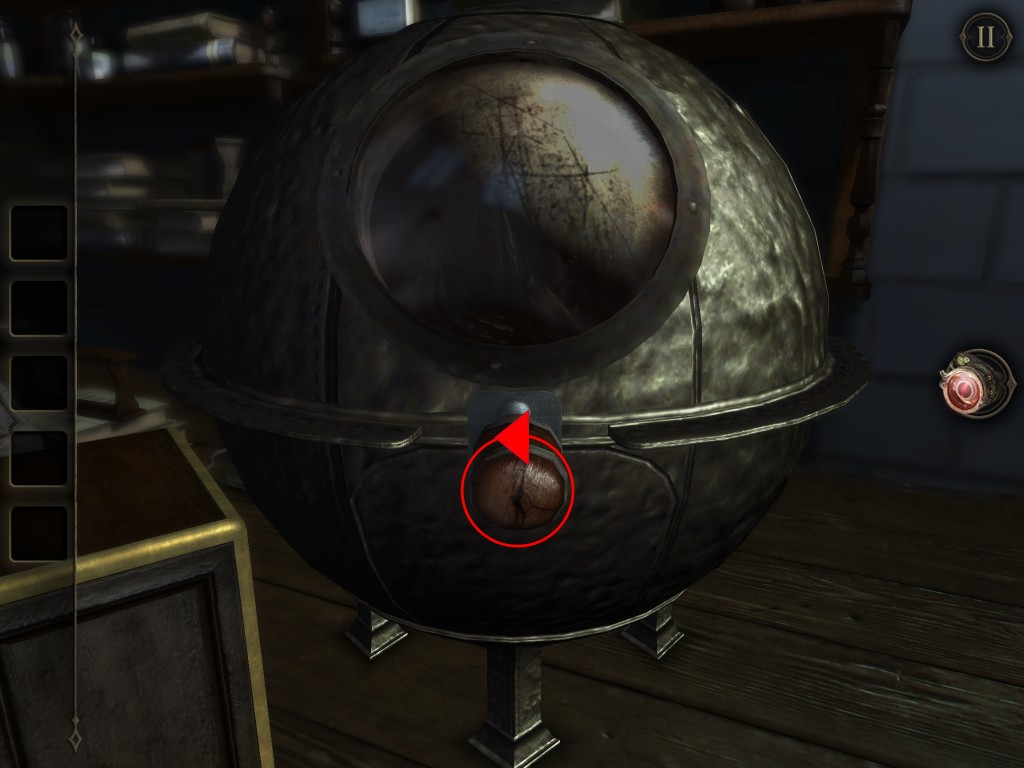
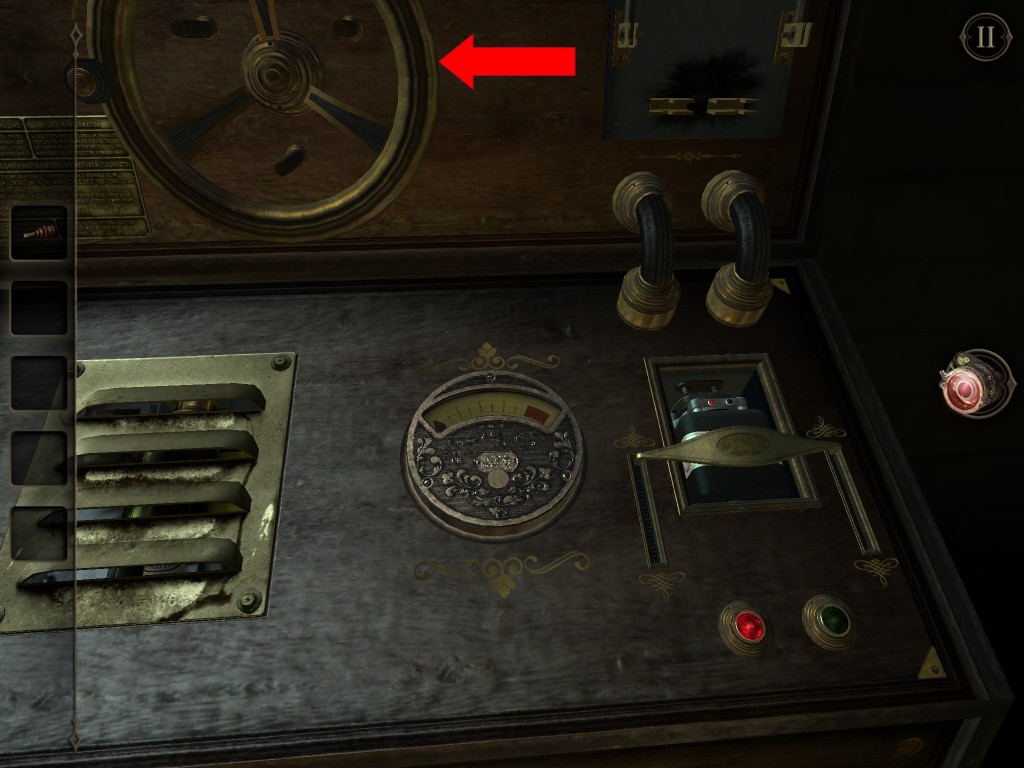
Head to the working bench. Examine the sphere and notice it to be locked by screw. Use the screwdriver to loosen the screw. Turn the knob to obtain a wooden box.
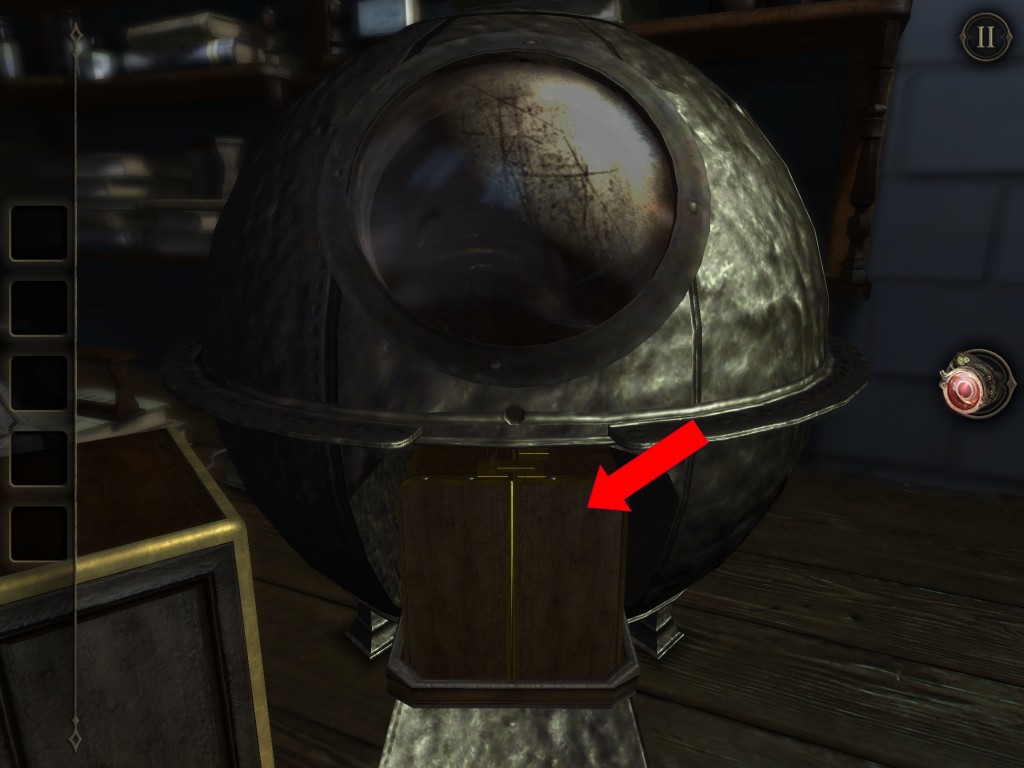
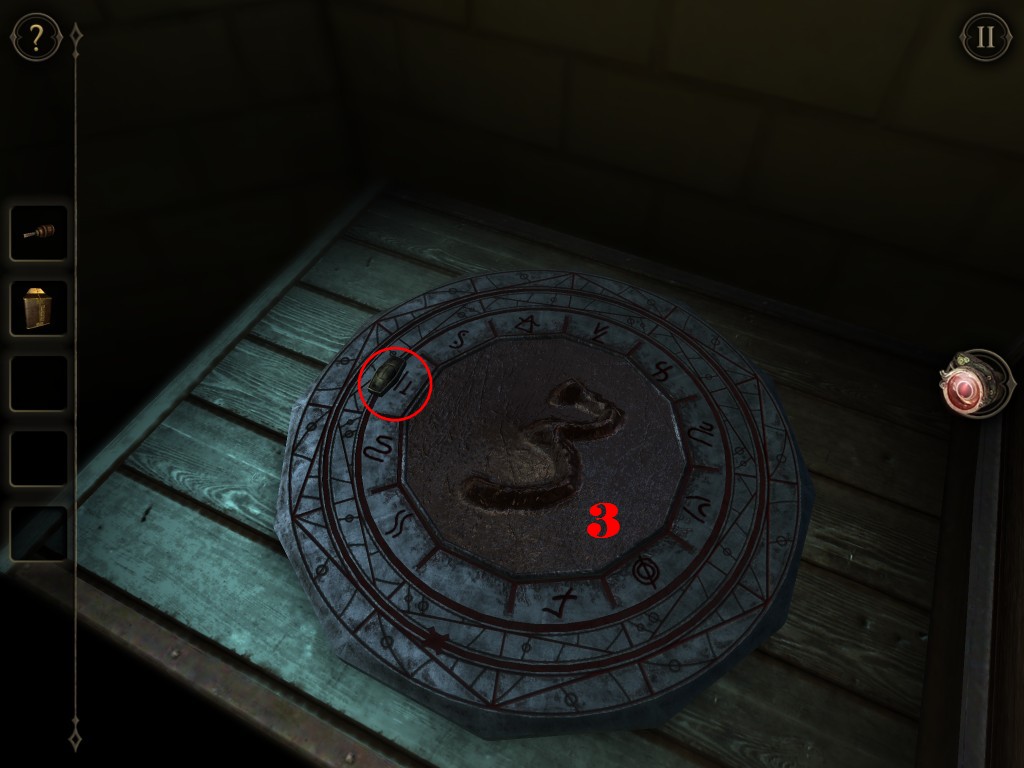
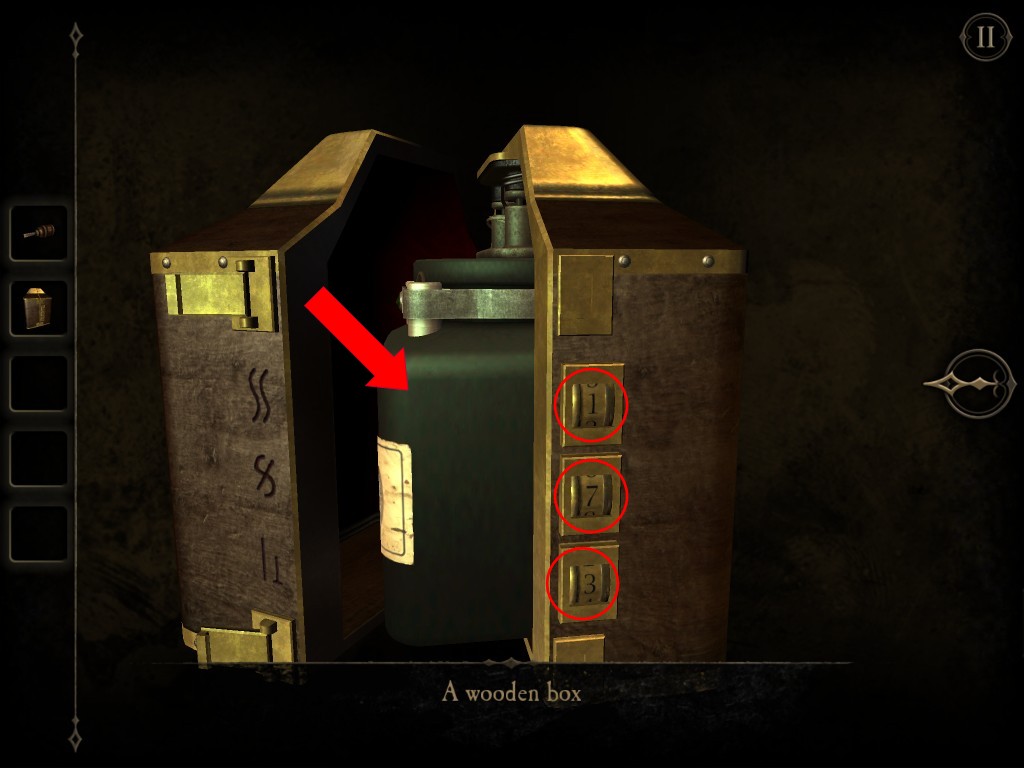
The wooden box is locked. Observe the 3 symbols on the box as you will need them to find the pass code with your next step.

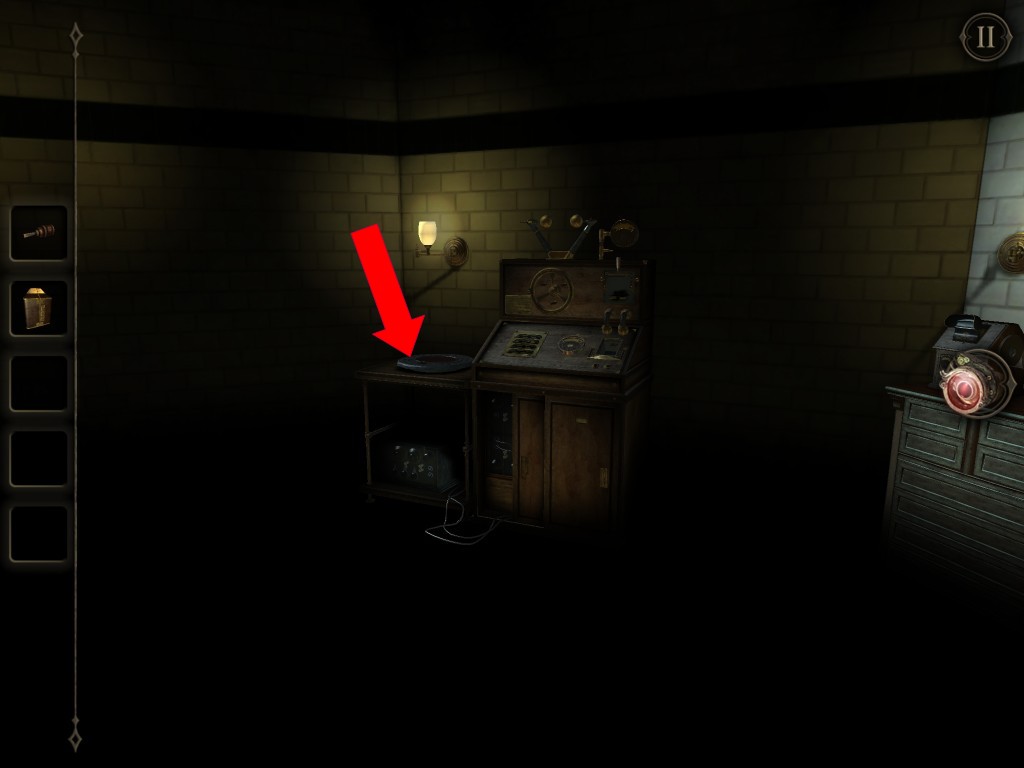
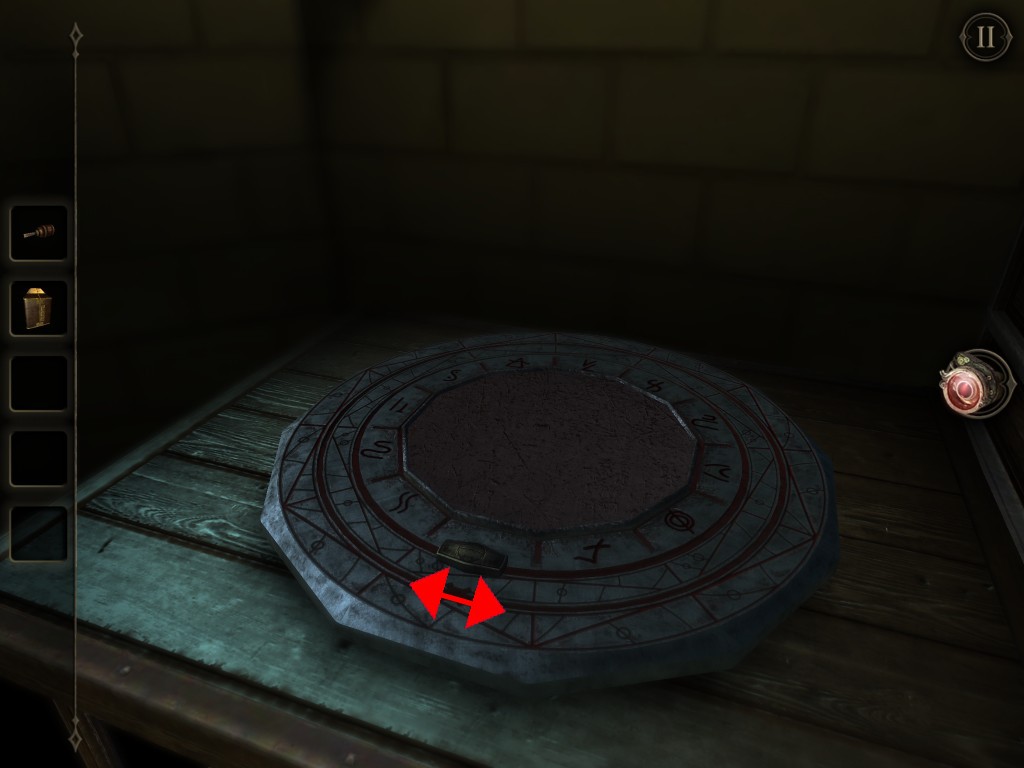
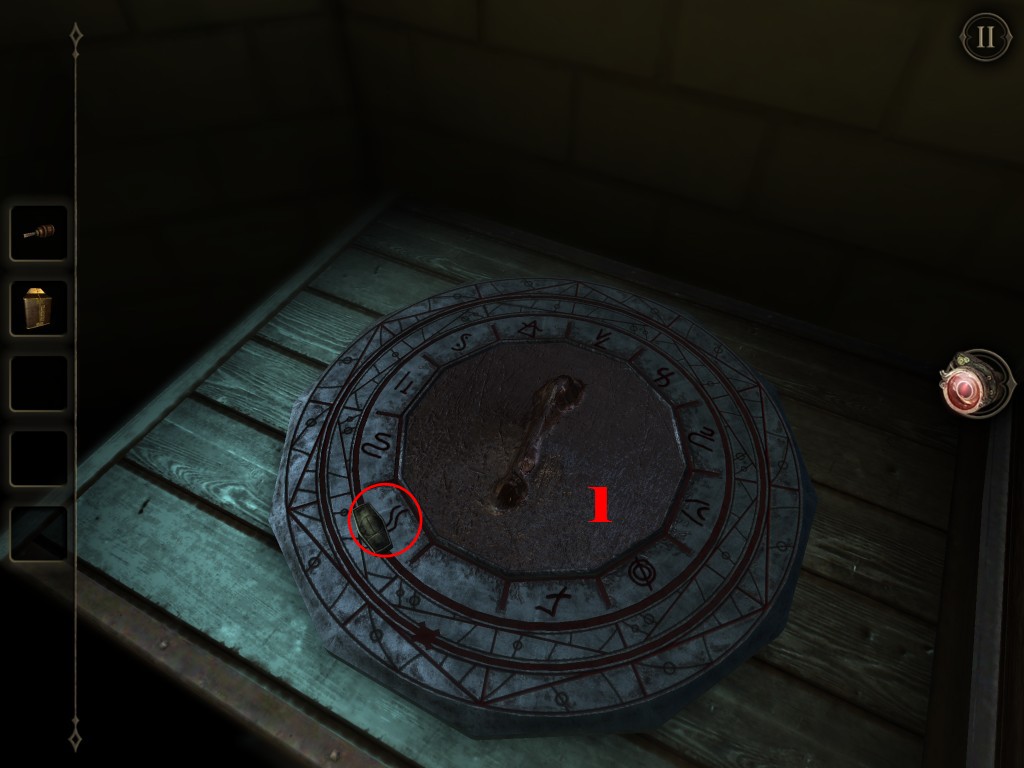
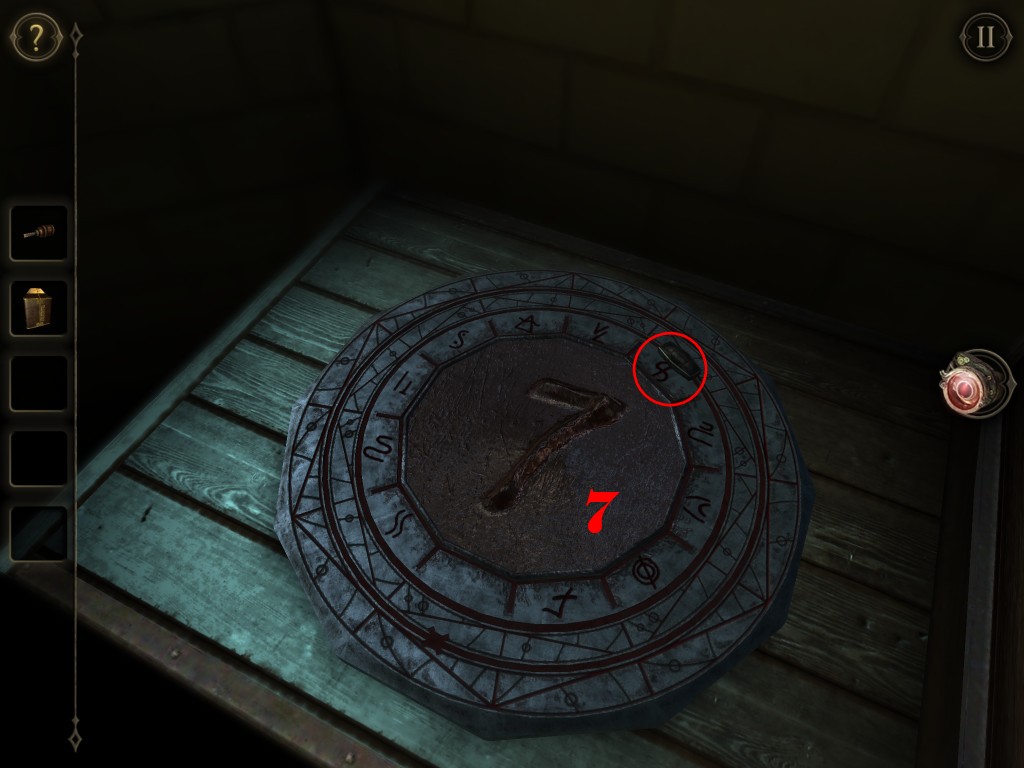
Decode the symbols on the box with the round stone plate with Black Metallic Liquid in the center. Turn the dials based on the symbols on the box. You will then decipher the password as 1, 7, 3.
Enter the passcode as 1, 7, 3 with the locked wooden box. Get a battery.

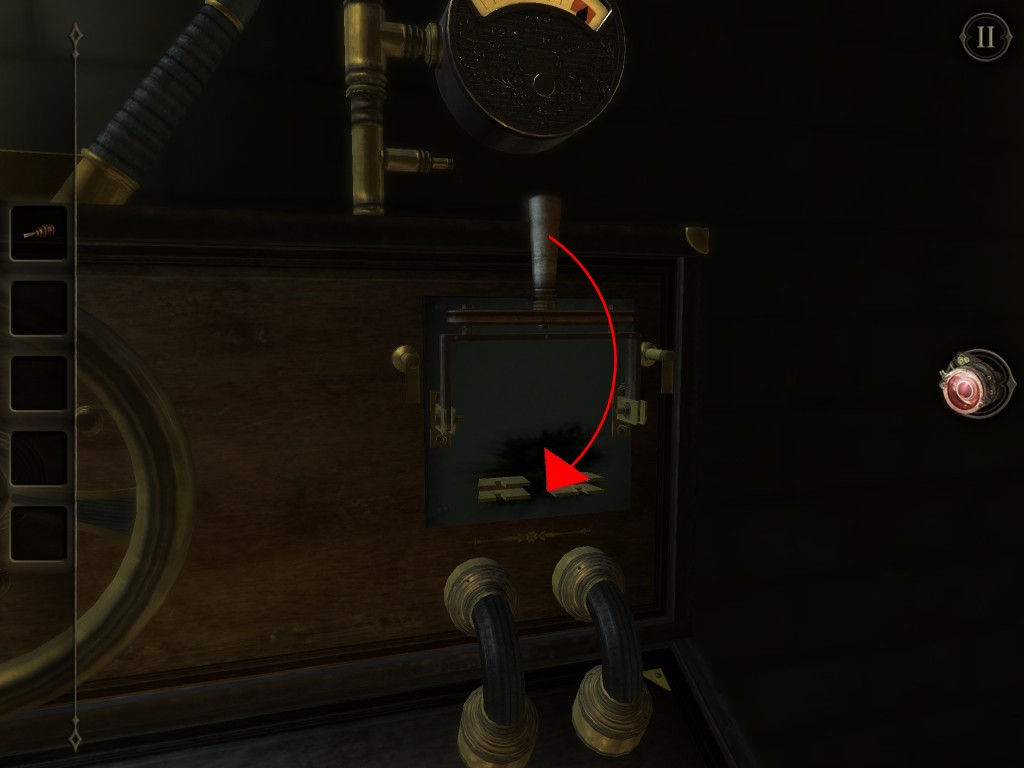
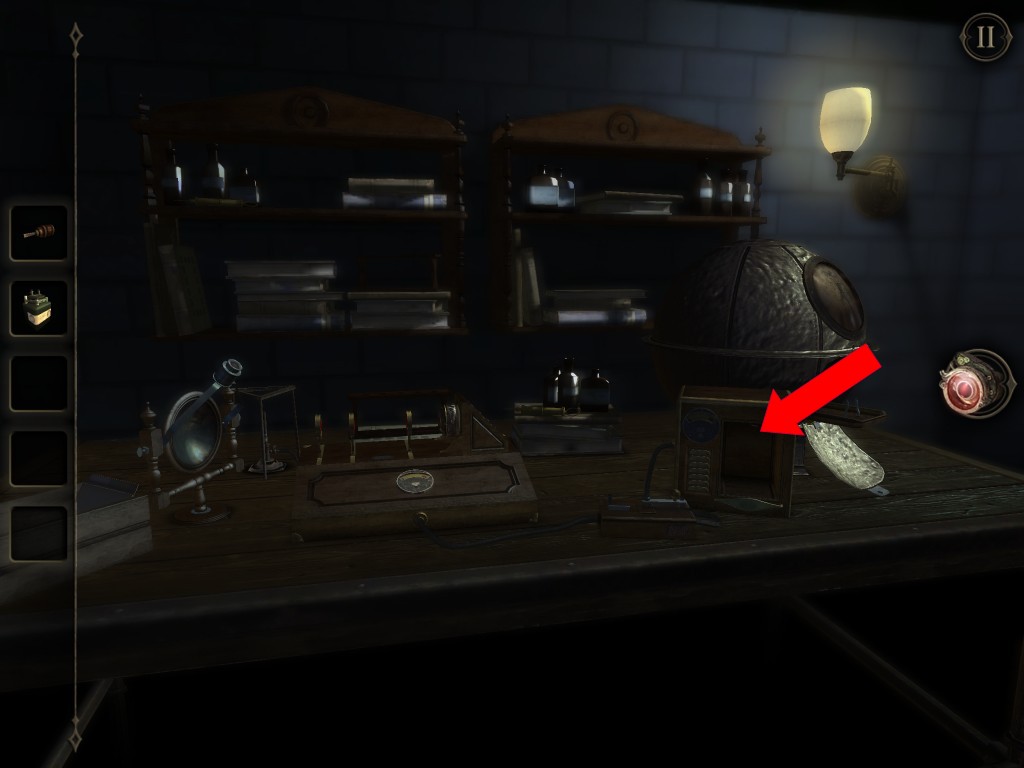
Insert the battery into the generator next to the black pool of metallic liquid.
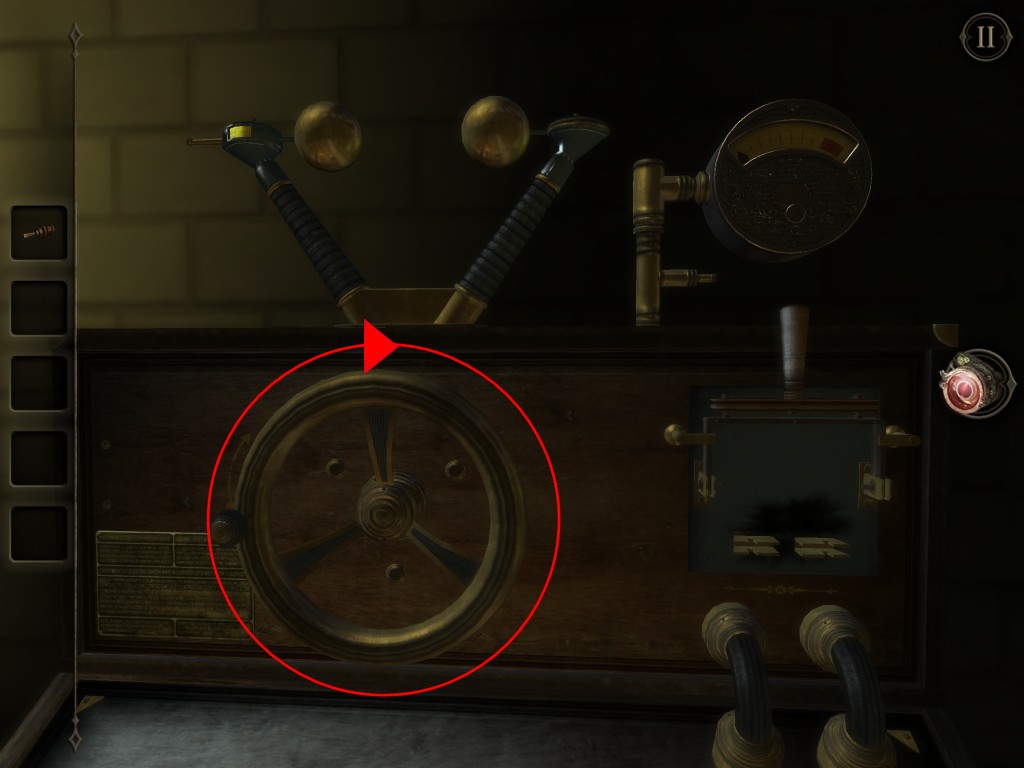
Turn the wheel for a couple of rounds to generate electricity. Once the gauge reach the red section. Pull the handle to transfer the power and grab the charged battery.

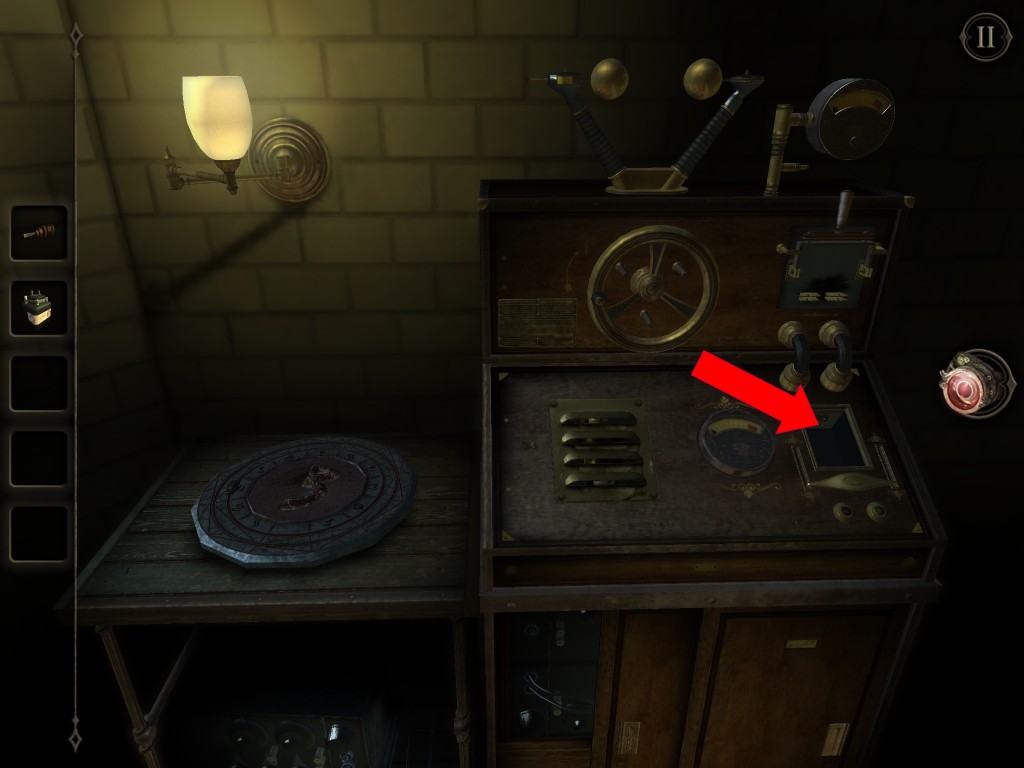
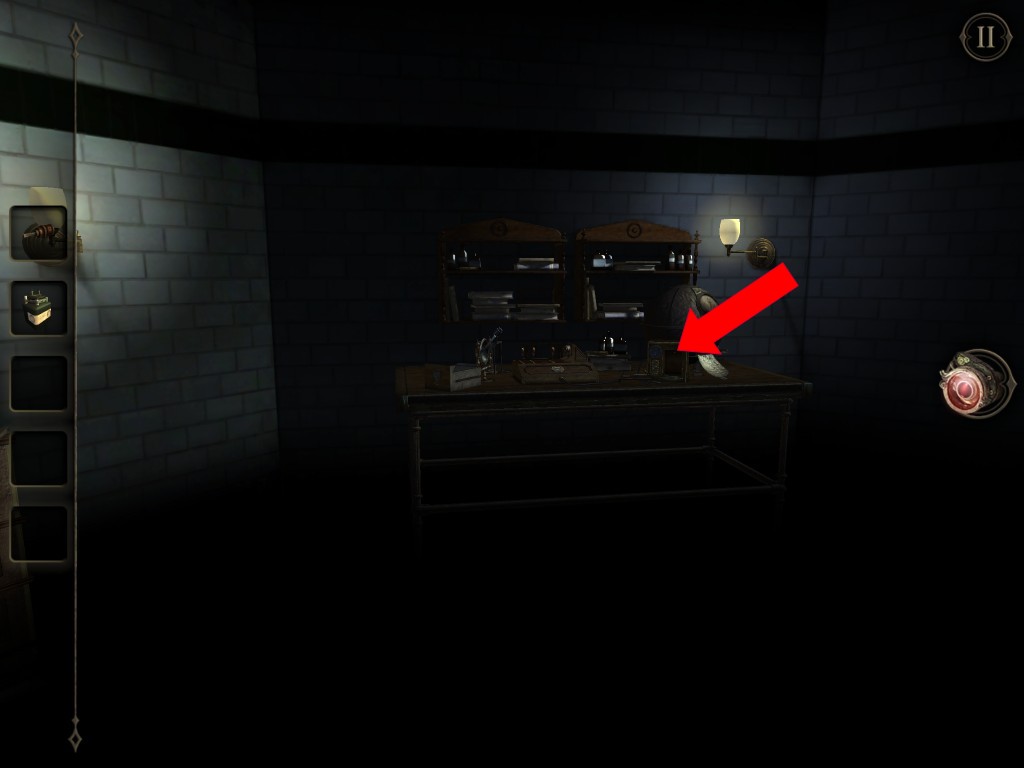
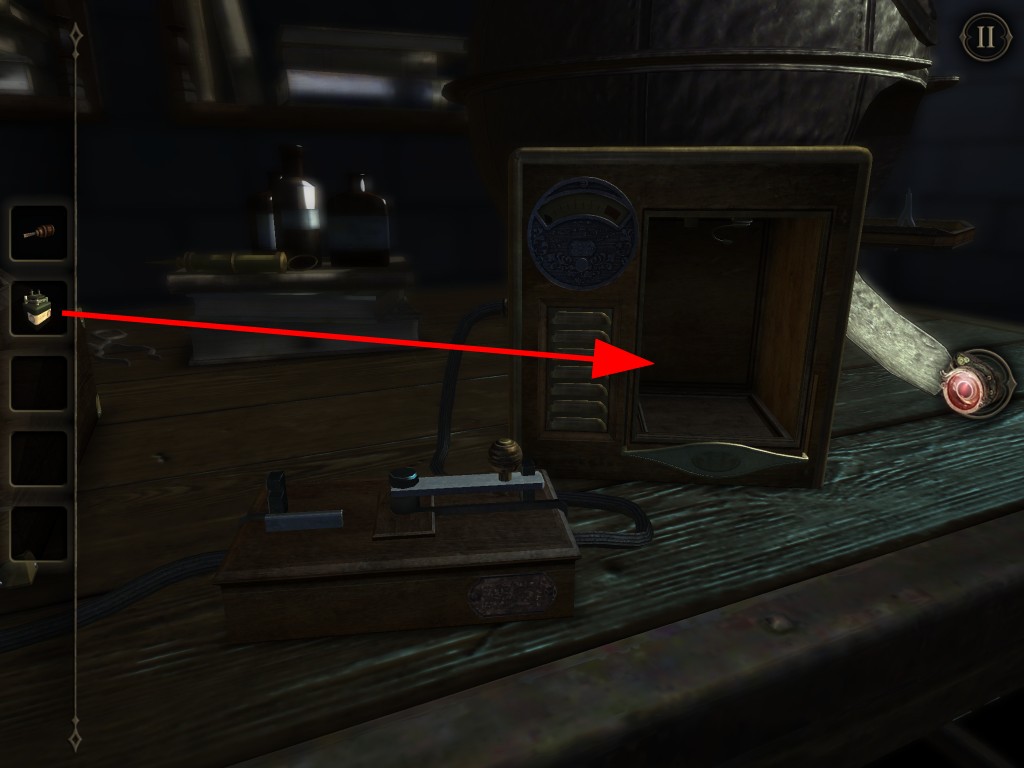
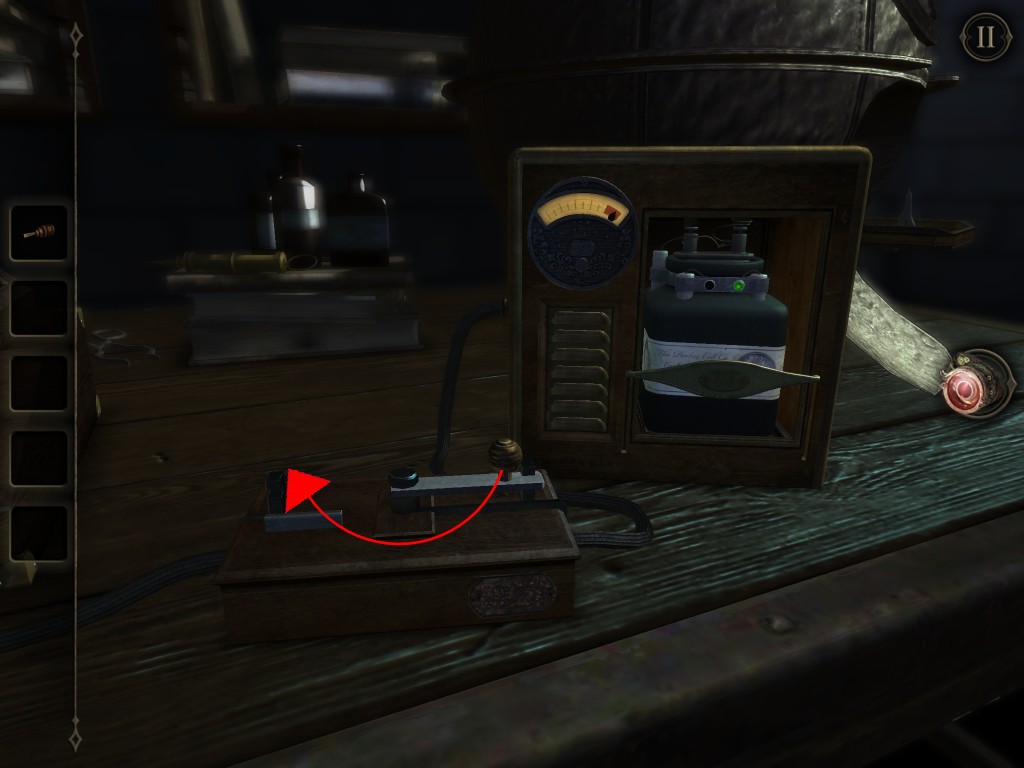
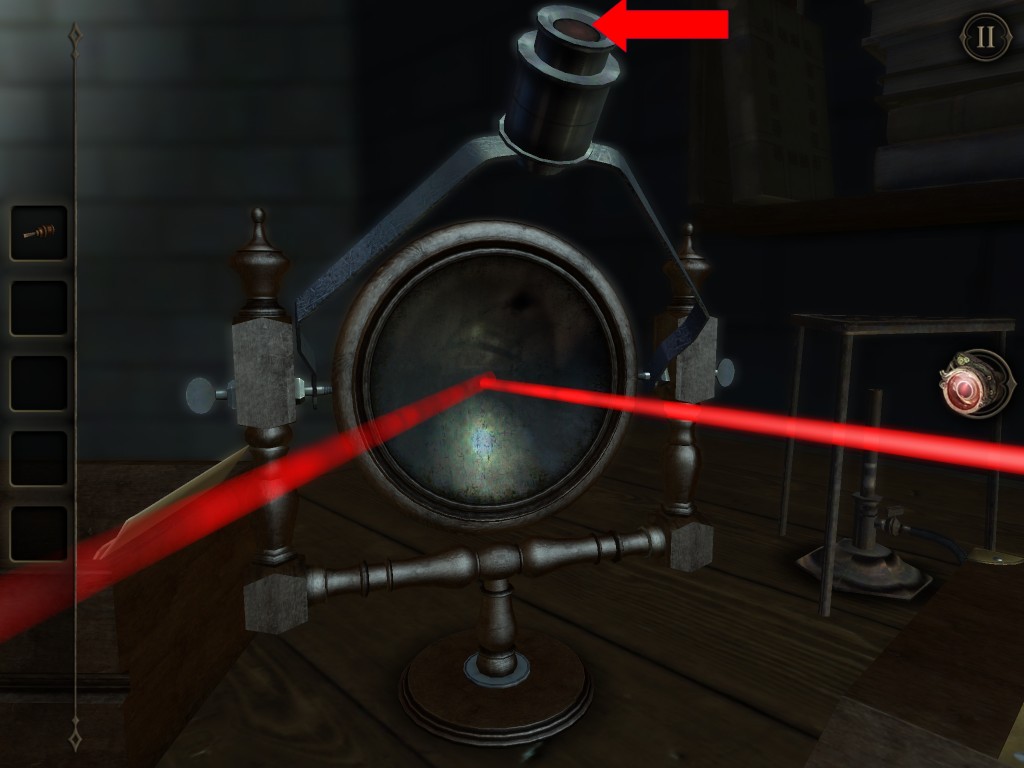
Go to the working bench. Insert Battery into a power source case on the right. Flip the power switch to complete the circuit. The red laser light apparatus is now powered.
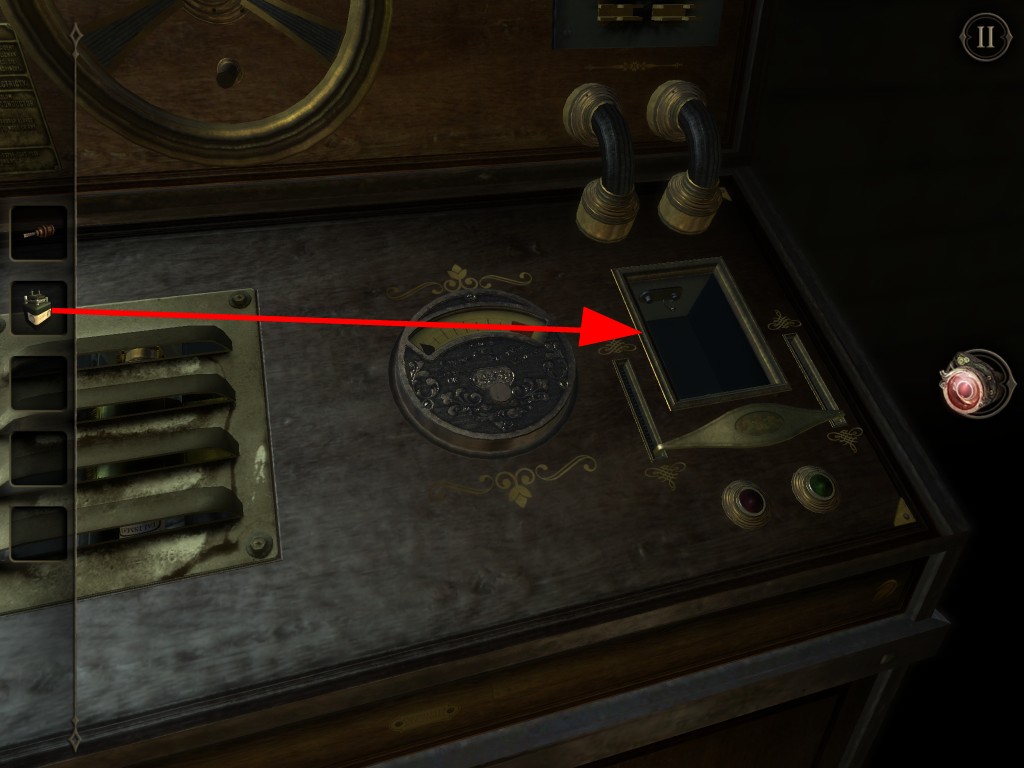
Use the dial to adjust the laser beam so that the light looks solid red.

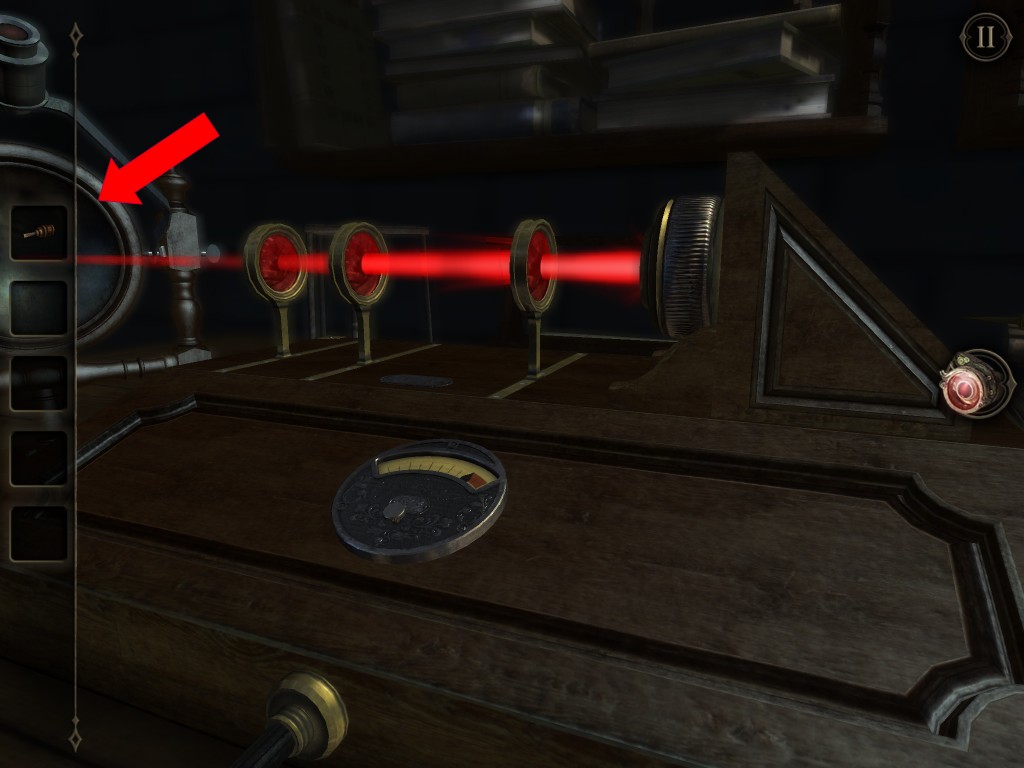
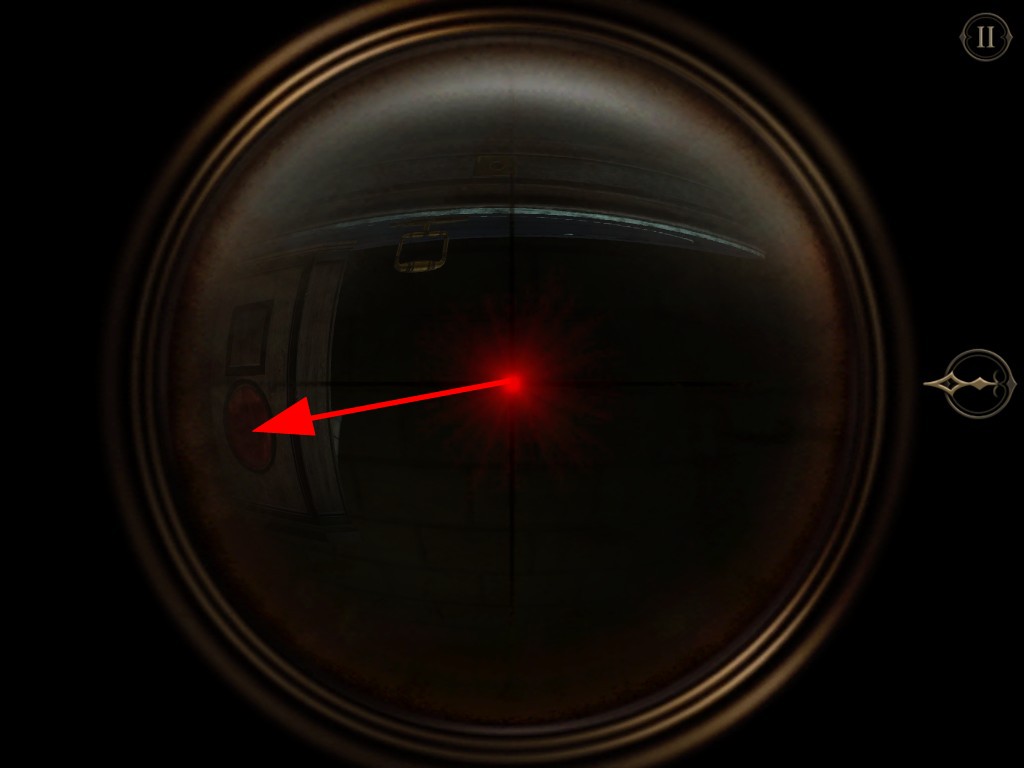
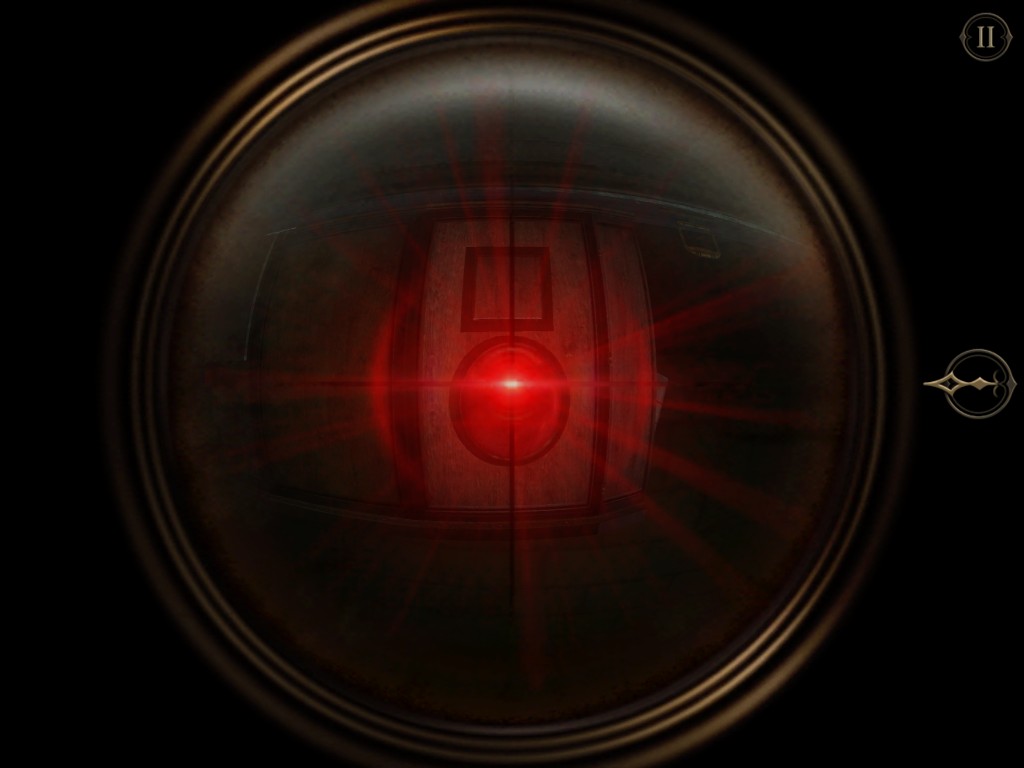
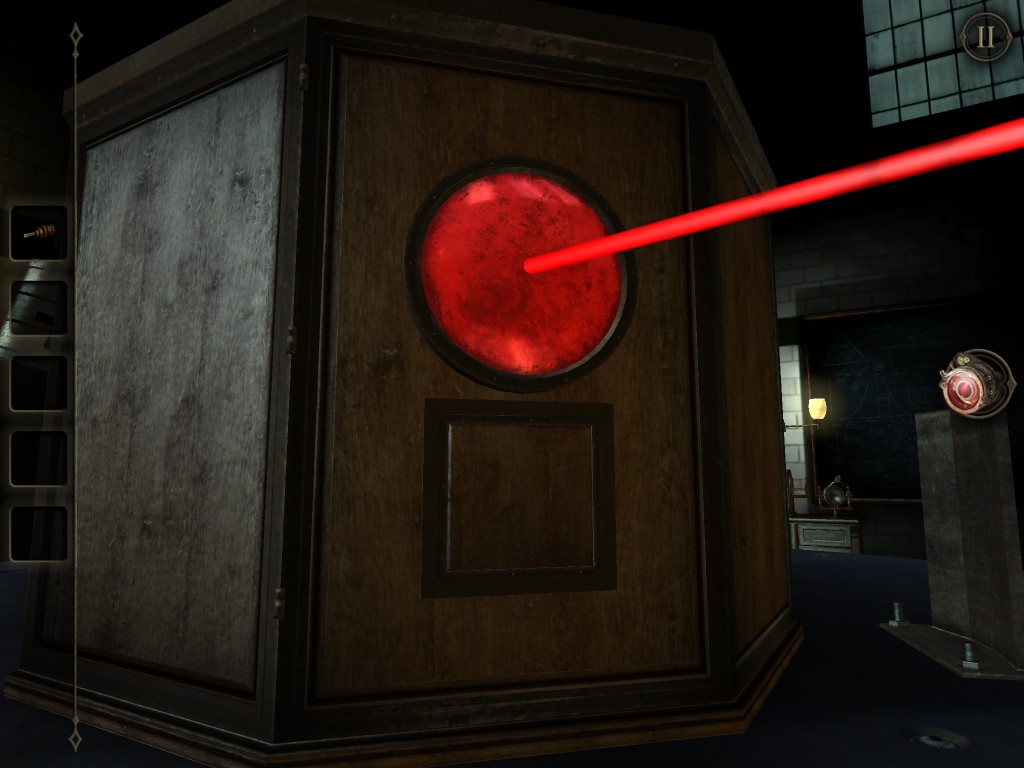
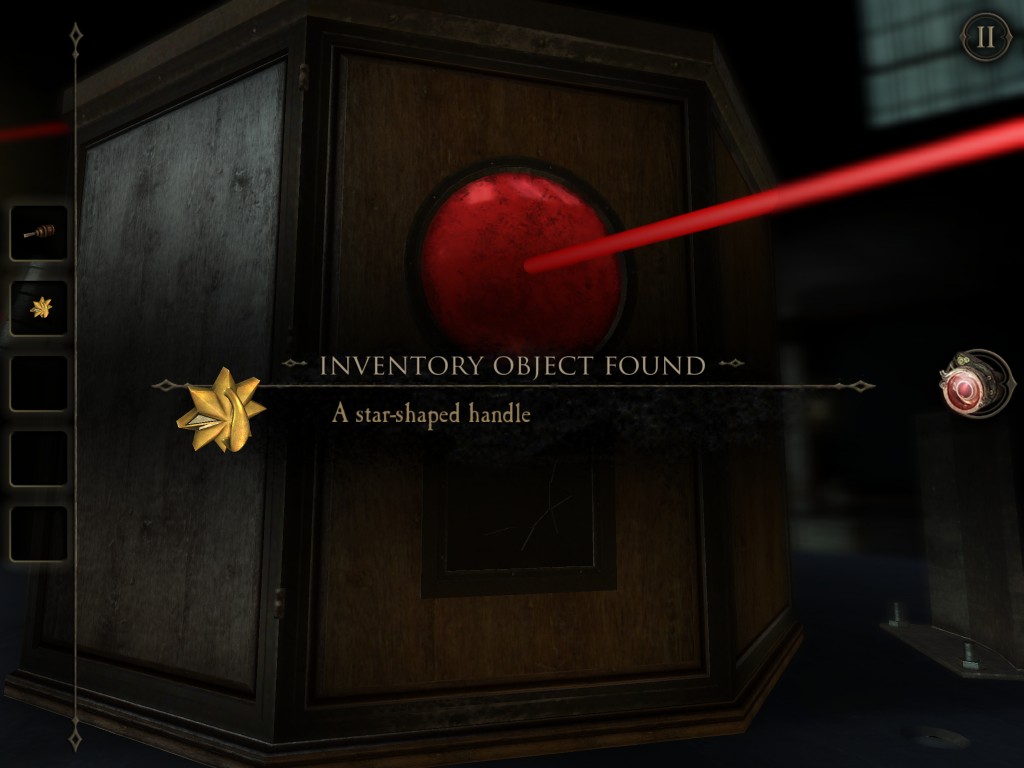
Look under the lens. The light beam is originally aiming into the wall. Rotate the reflector so the light beam is aiming at the red glass part of the box on the table. A mechanism will trigger. Get the Star-Shaped Handle.

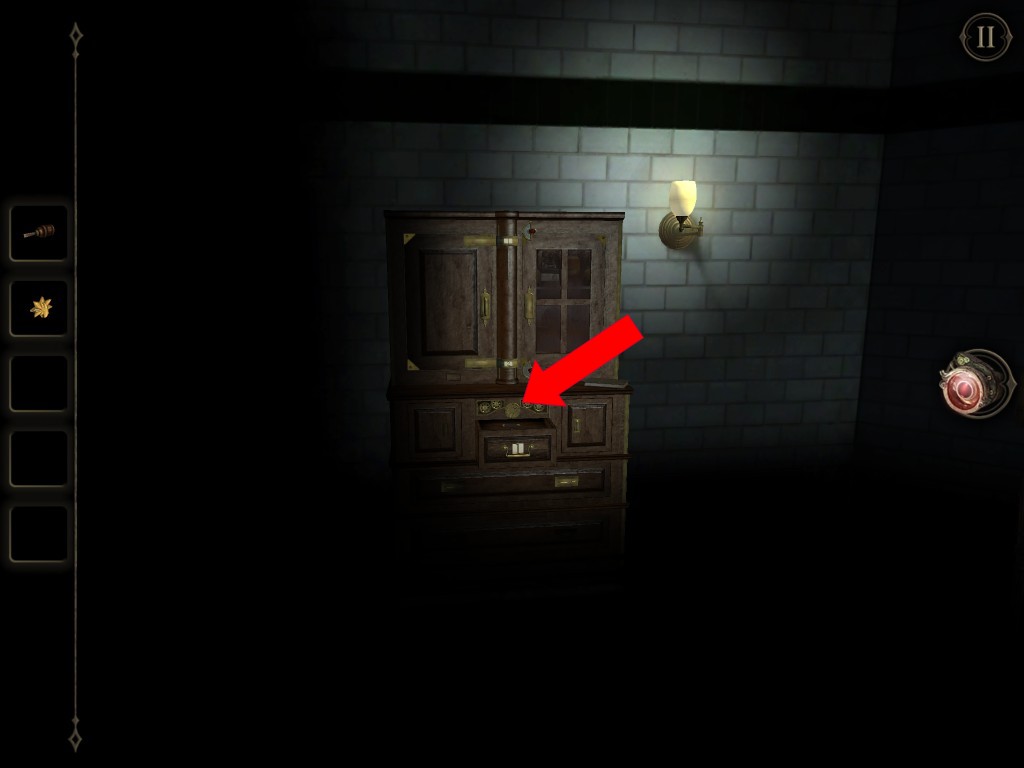
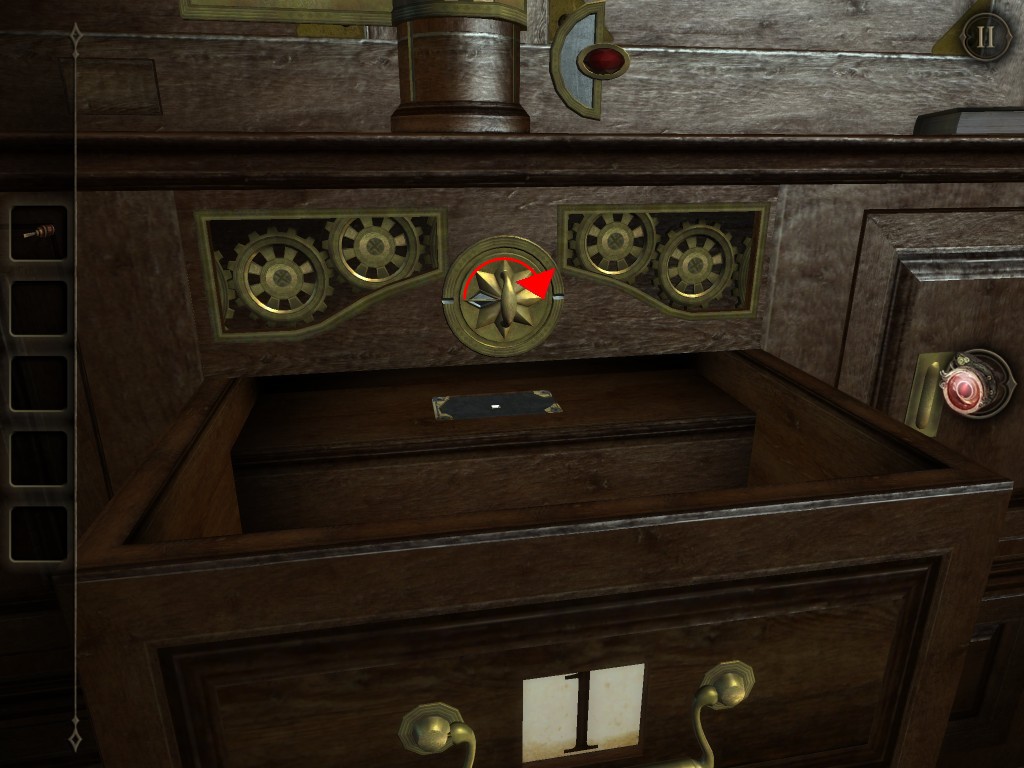
Go to the Cabinet. Insert the Star-Shaped Handle into the hole above the drawer. Turn the handle.
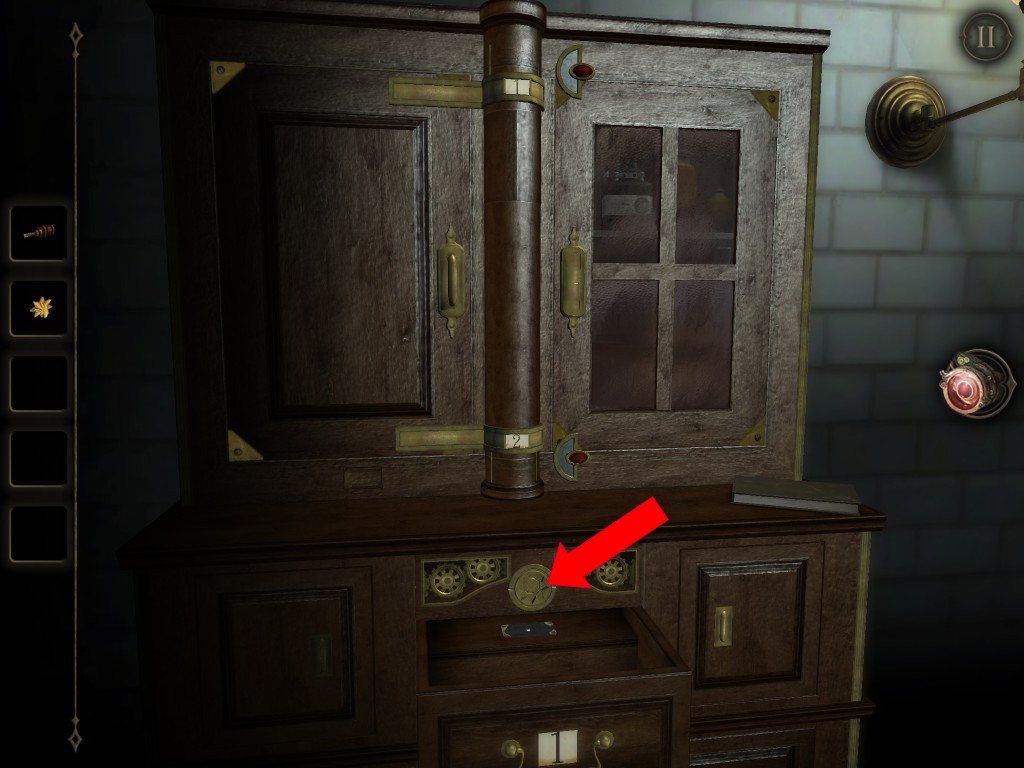
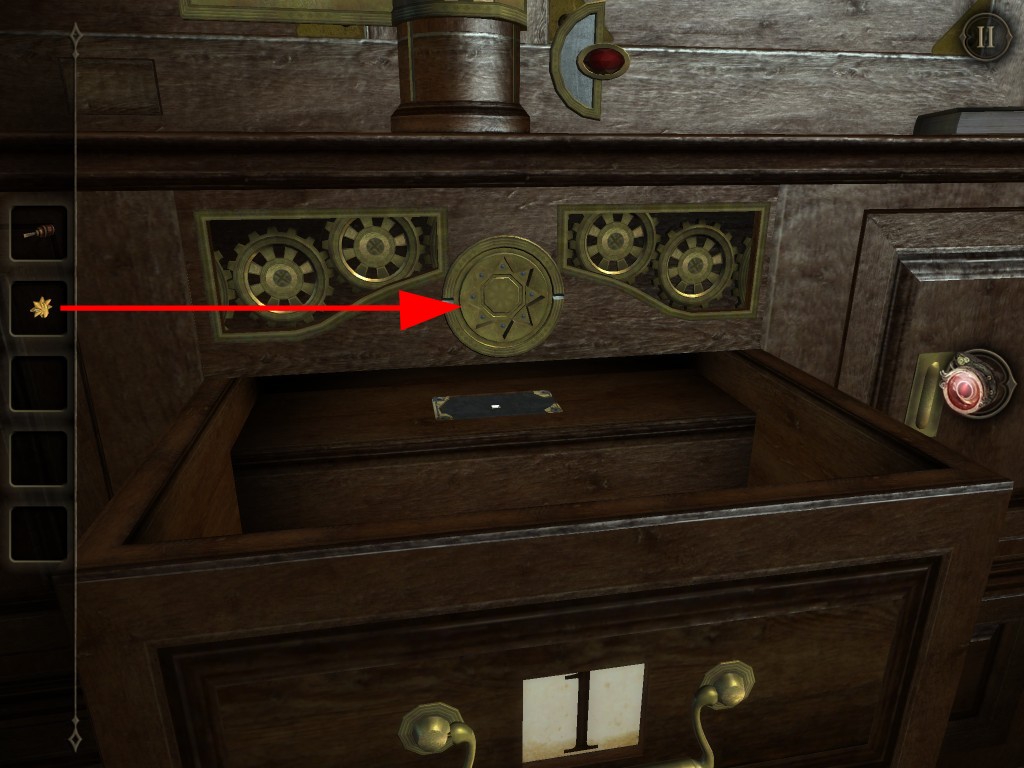
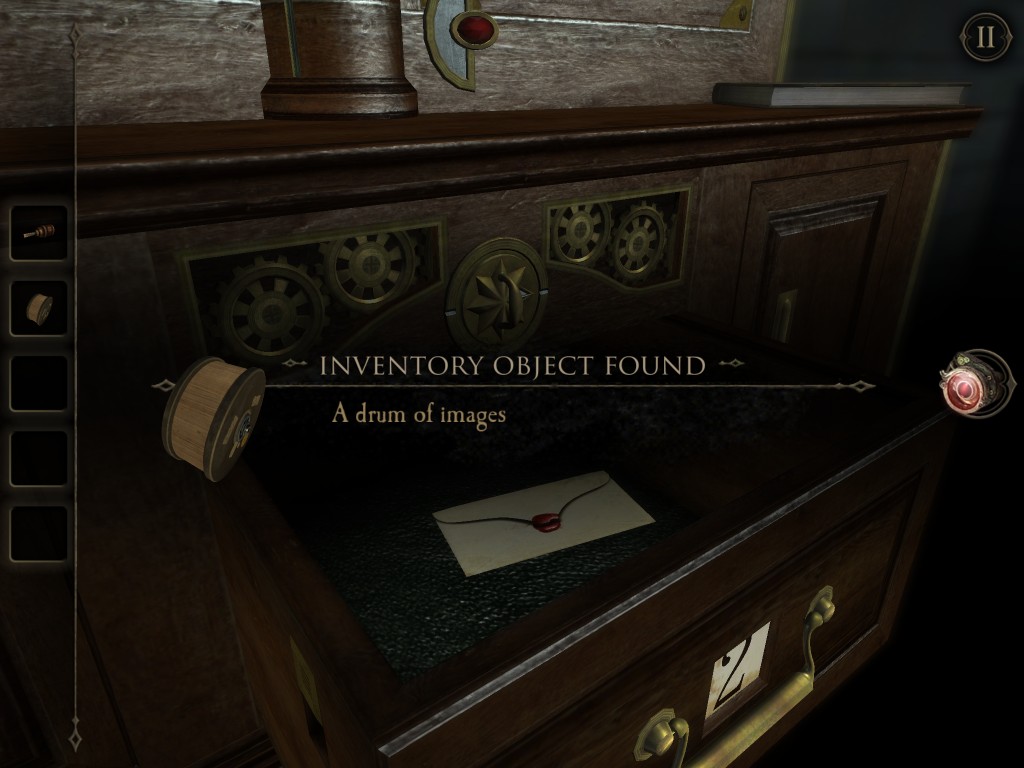
The label on the drawer has now changed. Open the drawer 2. Get a Drum of Images.

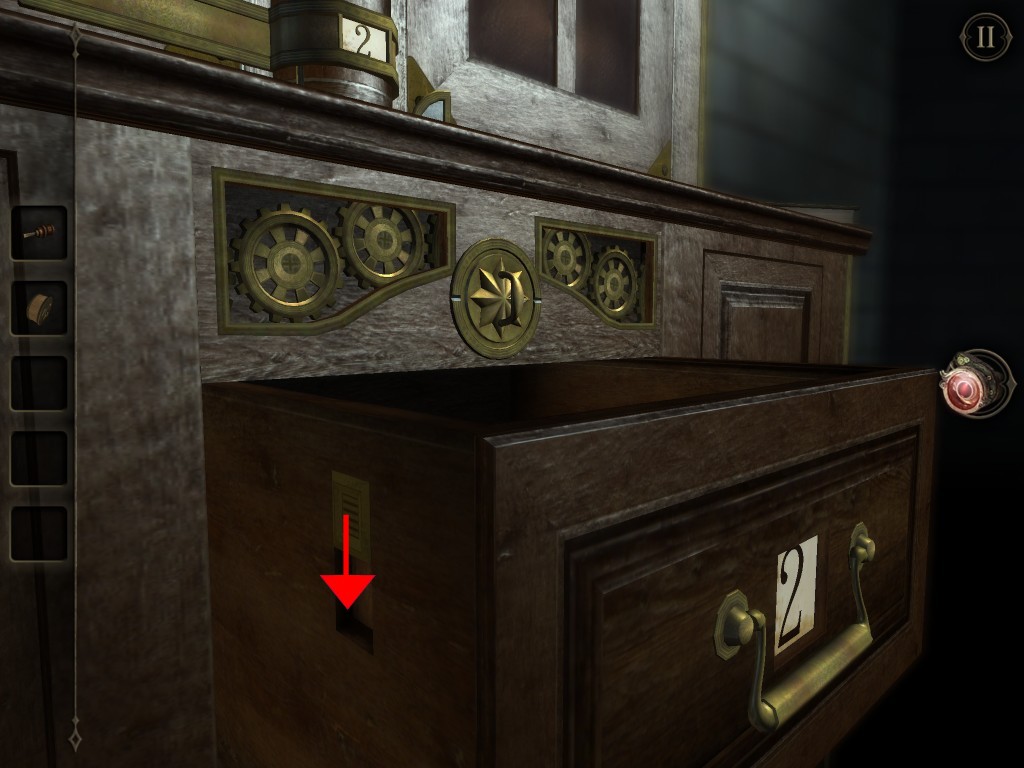
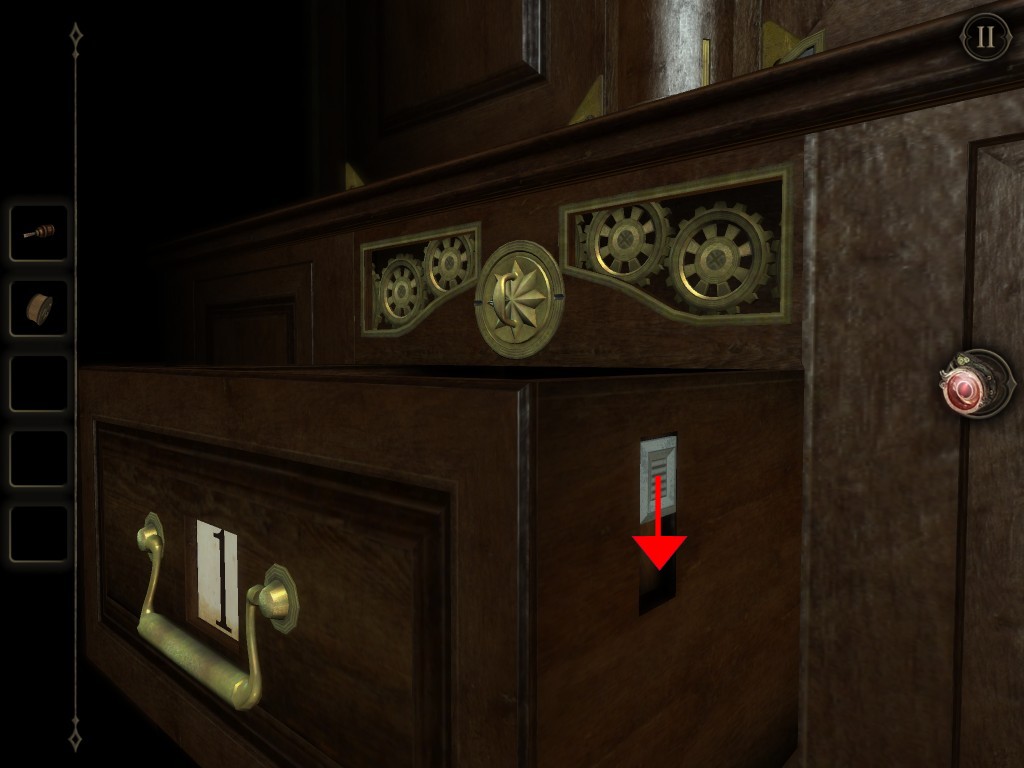
Turn the switch on the left side of the drawer 2 to trigger a mechanism . One of the bolts on the left cabinet door is unlocked.

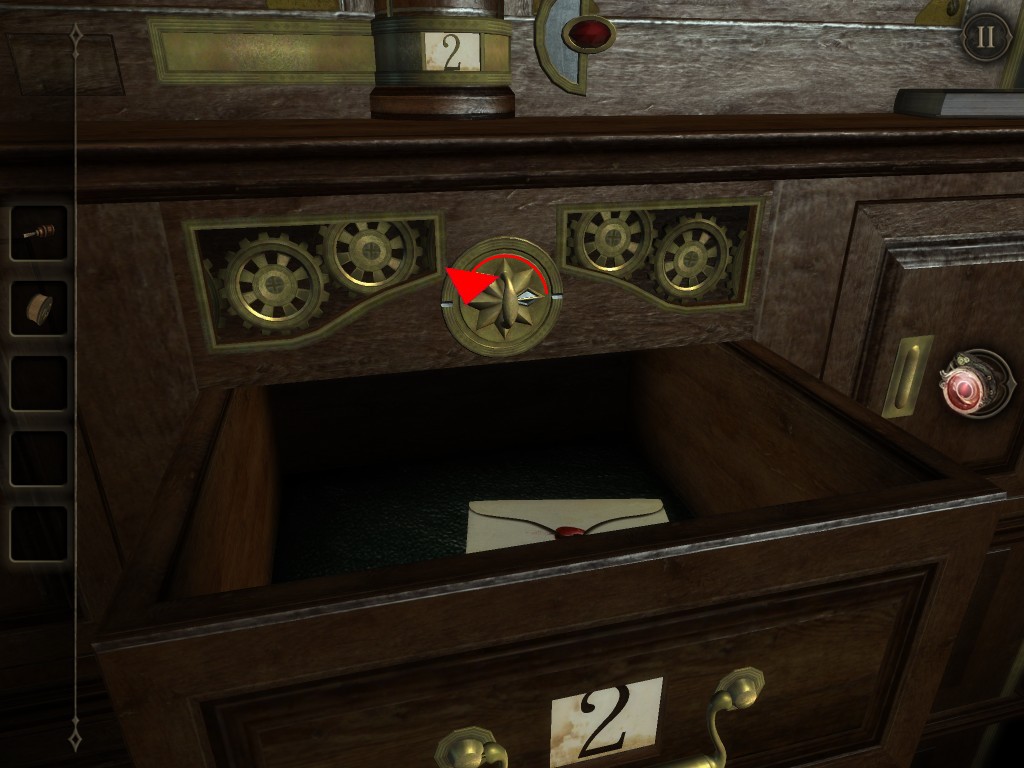
Go back to drawer 1 by turning the star handle. Turn the switch on the right side of the drawer 1. A mechanism will trigger and now bolt with number 1 is unlocked.

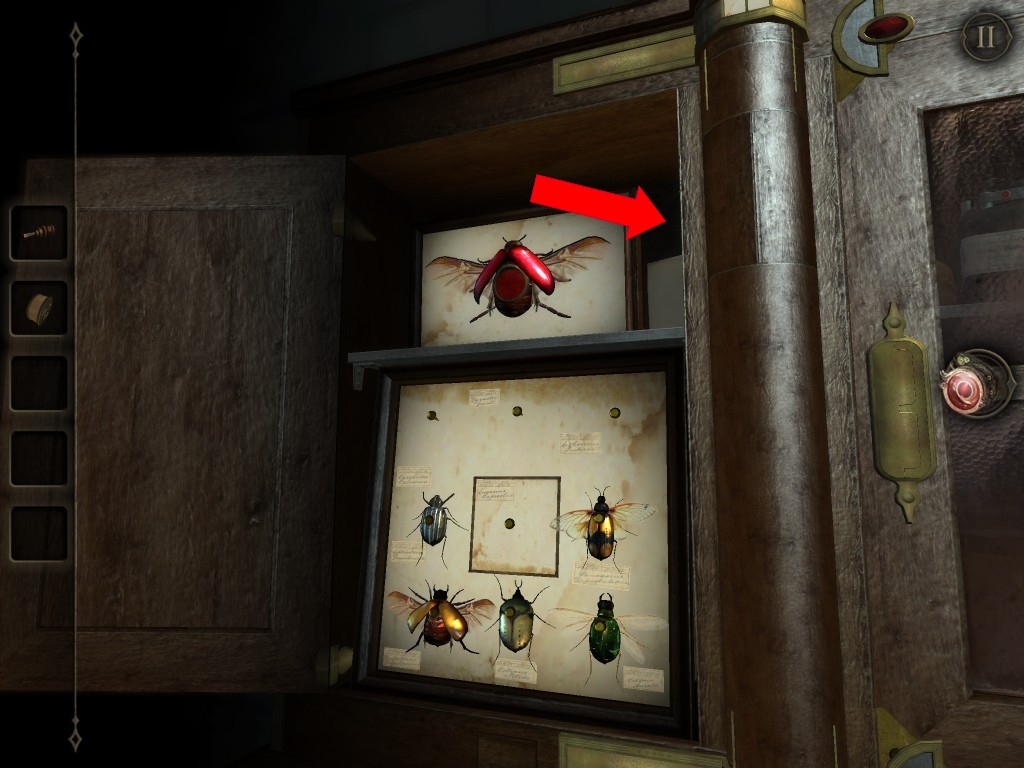
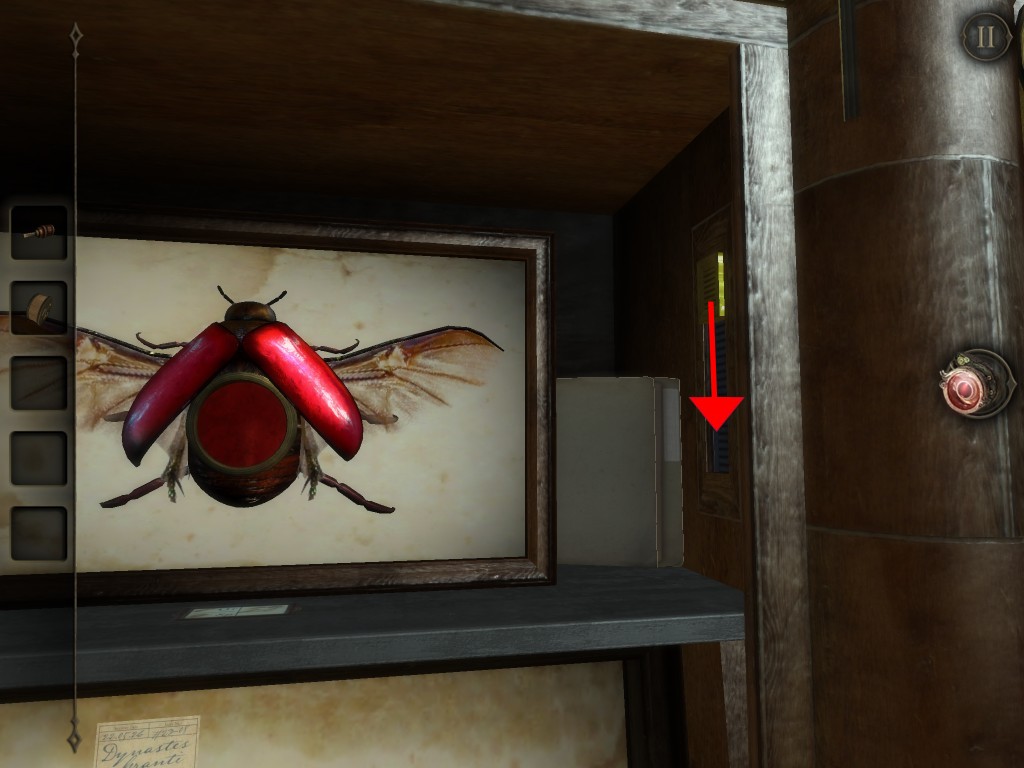
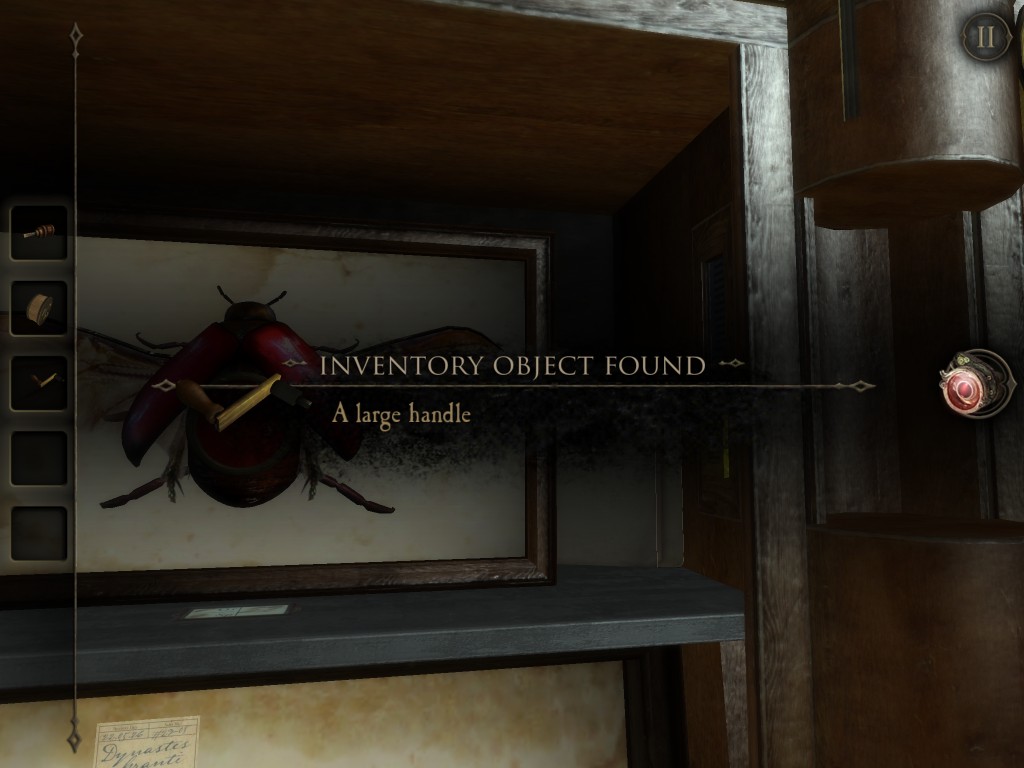
Open the cabinet door and look into it. Turn the switch next to the Red beetle. A secret compartment will revealed and get the large handle from the hidden cabinet chamber.

Continue on to second part of Chapter 6 to solve the mystery of Drum of Images.