This strategy guide concludes the Chapter 6 of The Room 2. You will continue the game after obtaining the beetle after observing the drum of image through your eyepiece. Please feel free to leave comments if you are stuck anywhere in the game.
Part 1: Drawer Puzzle
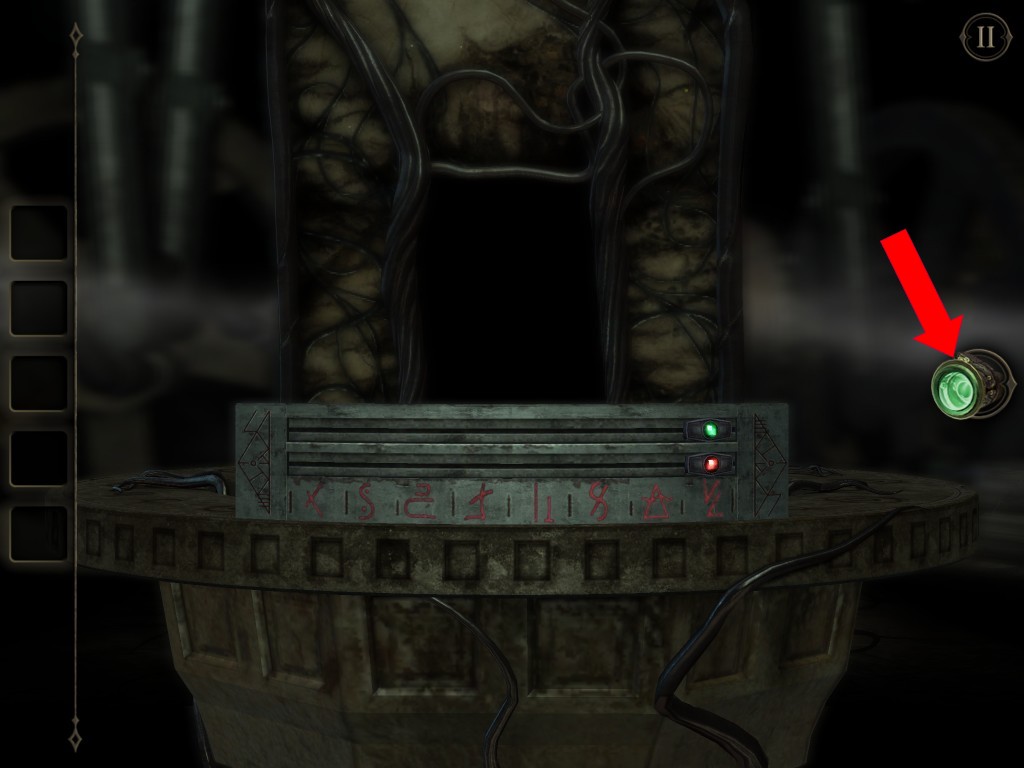
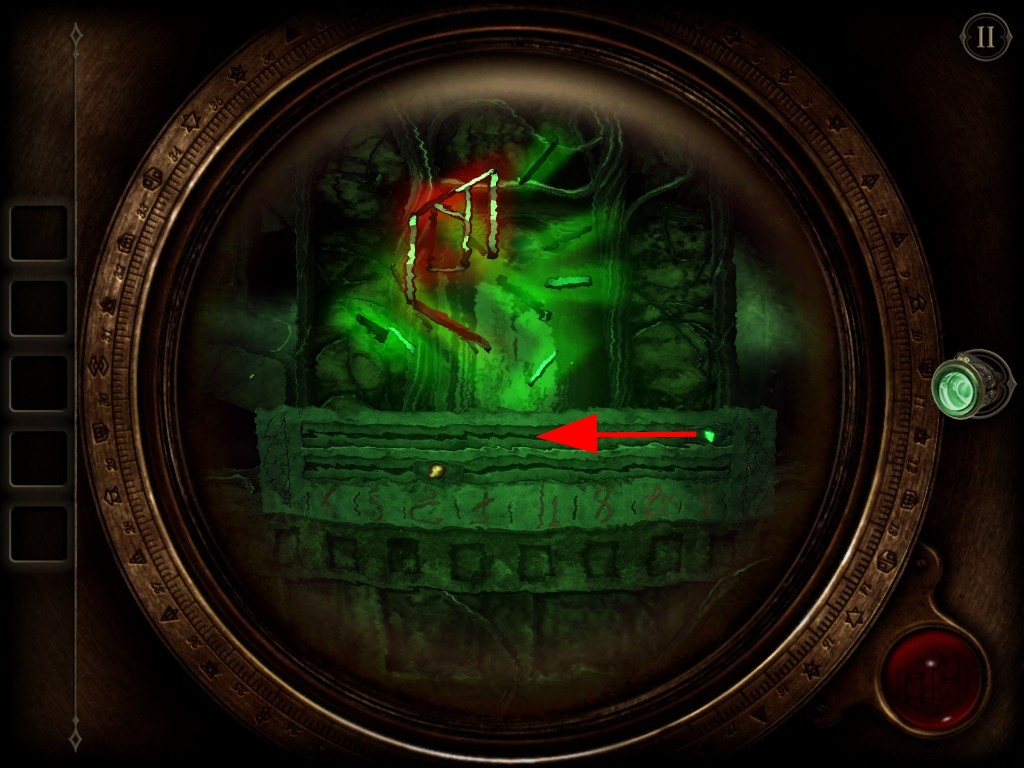
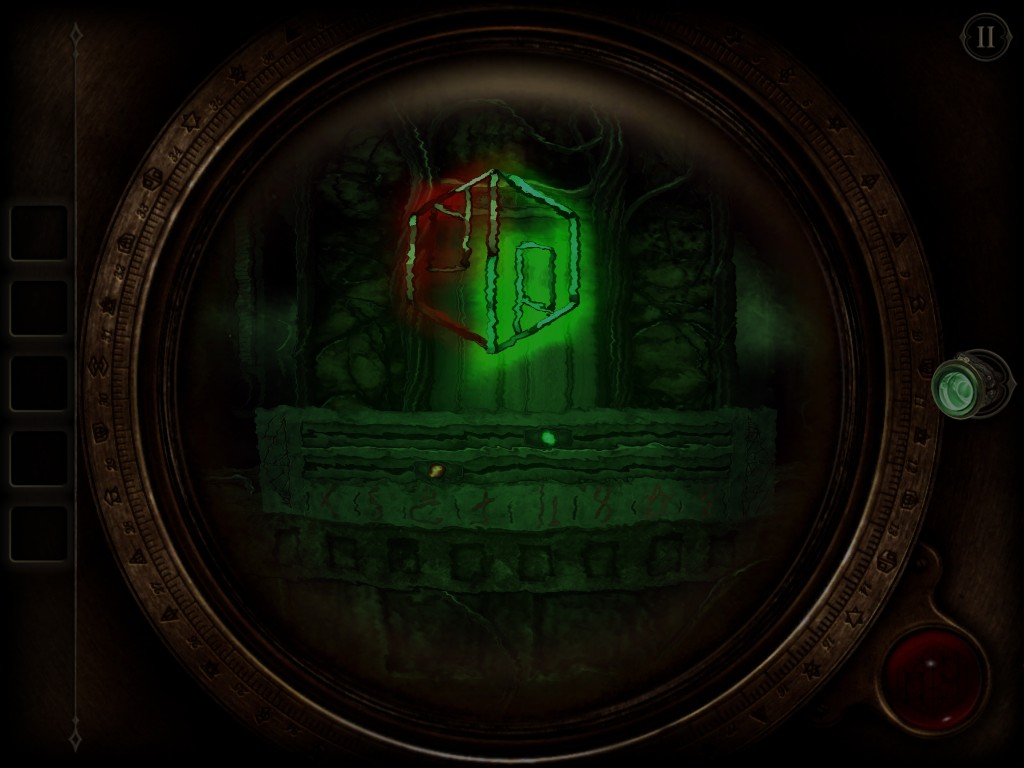
Part 2: Drum of Images
Part 3: Box on the Round Table
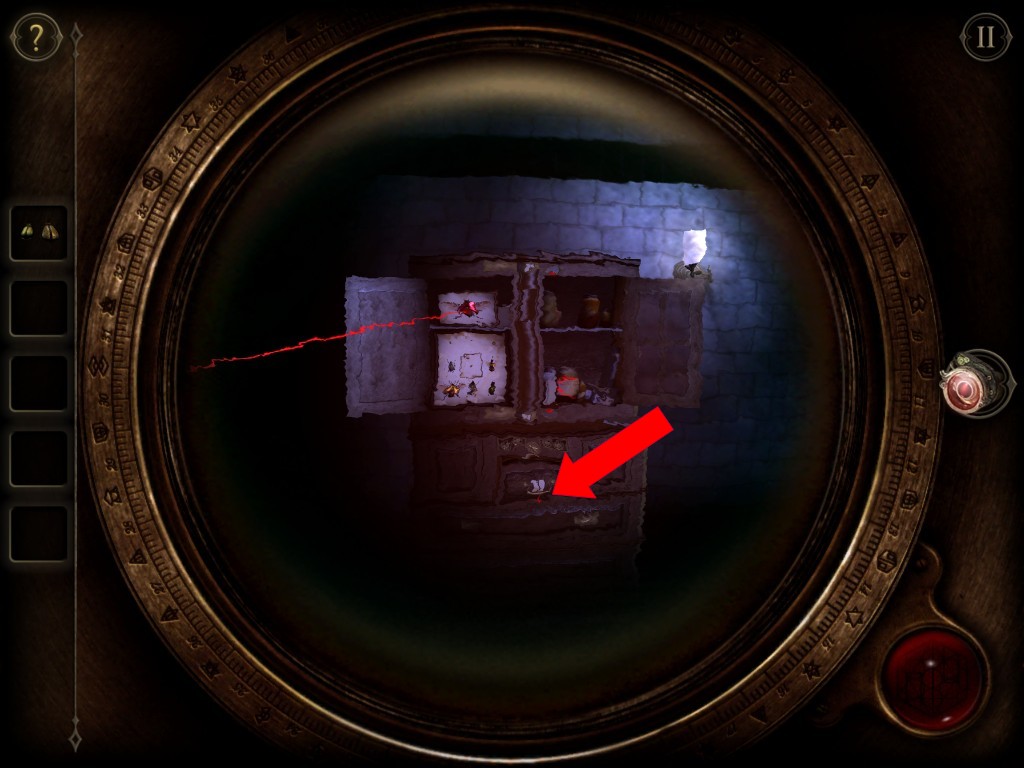
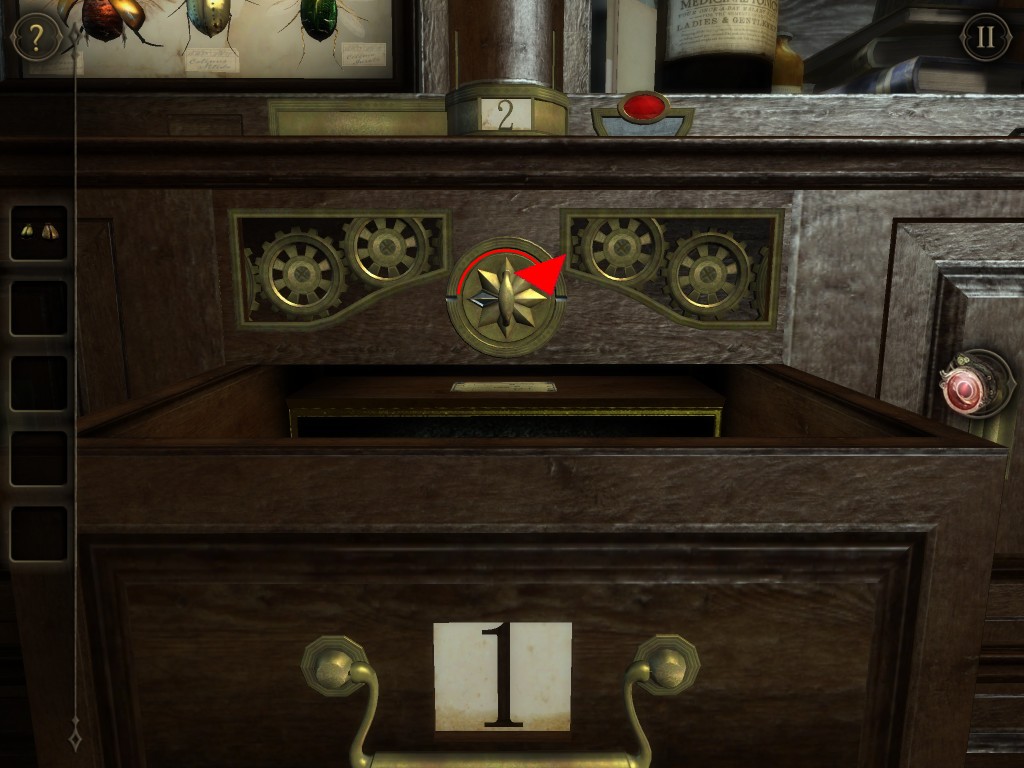
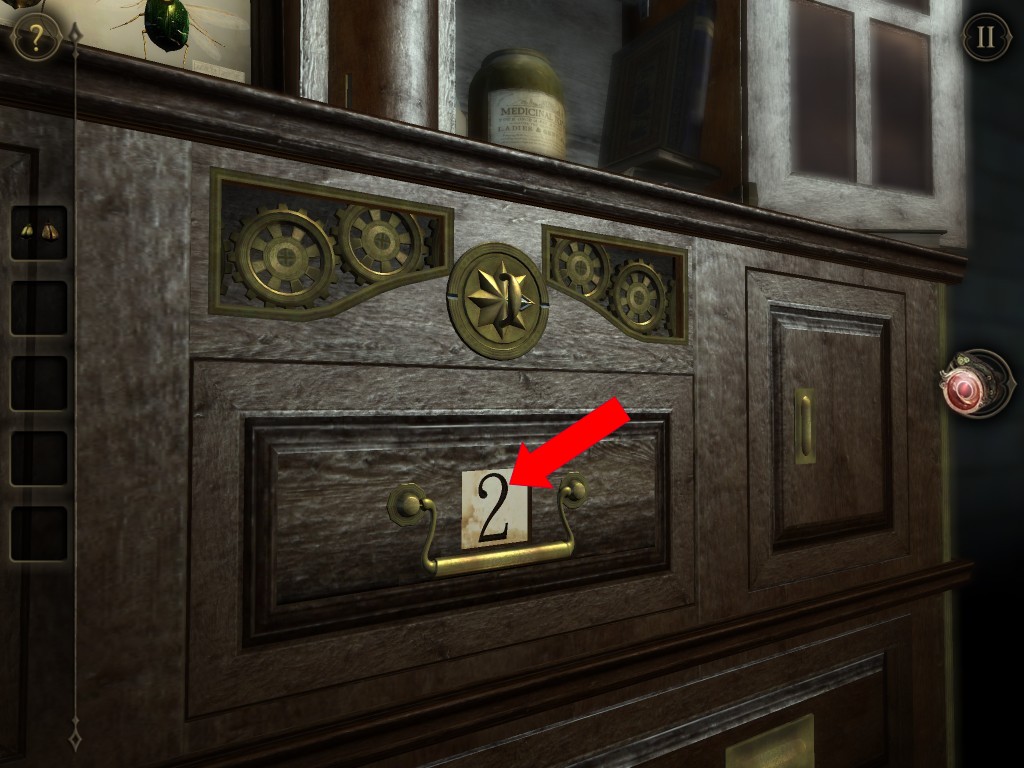
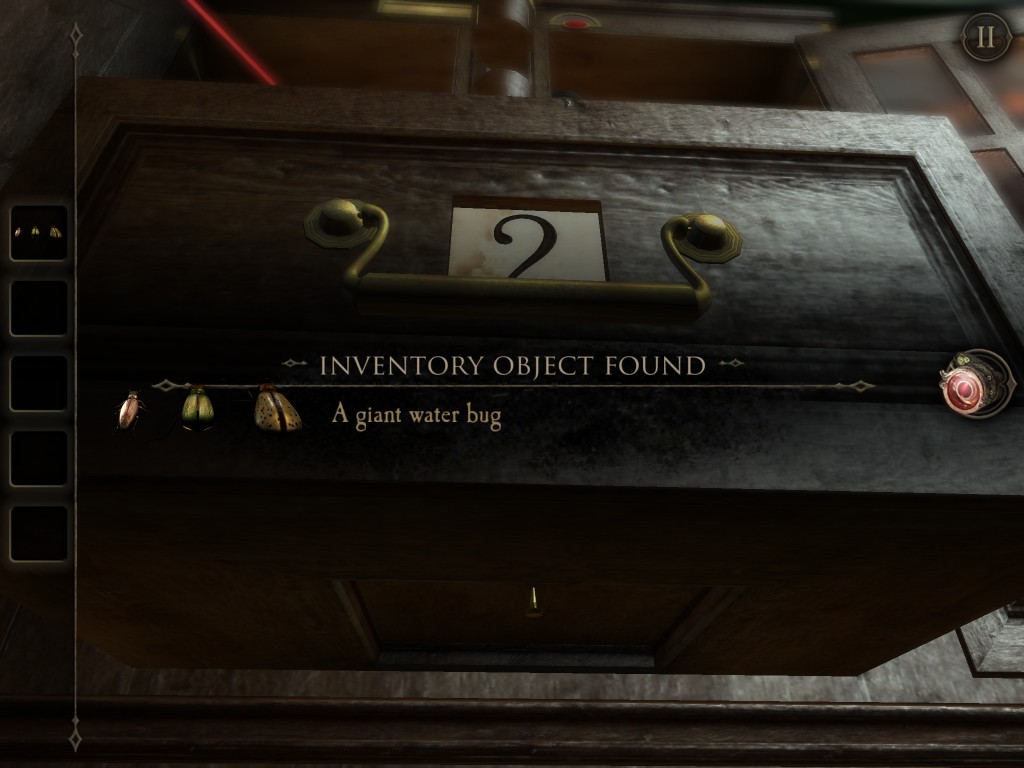
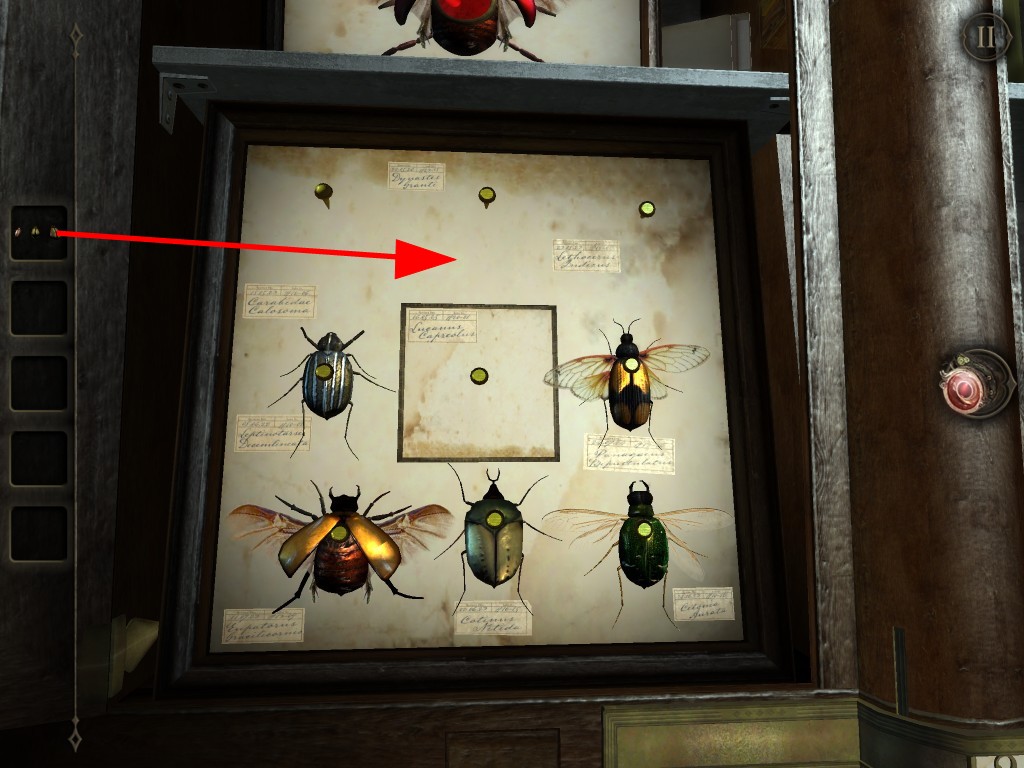
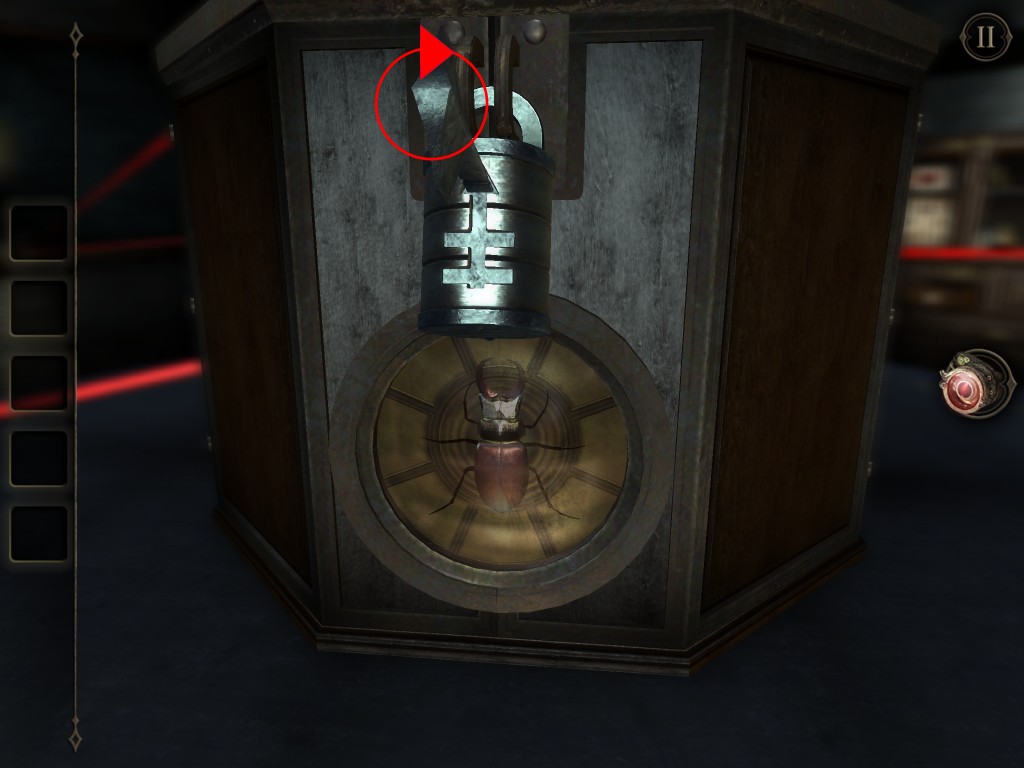
Head over to the Cabinet. Put on your eyepiece. You will see a red arrow on the drawer. Look under drawer 2 to take a Giant Water Bug.
![]()

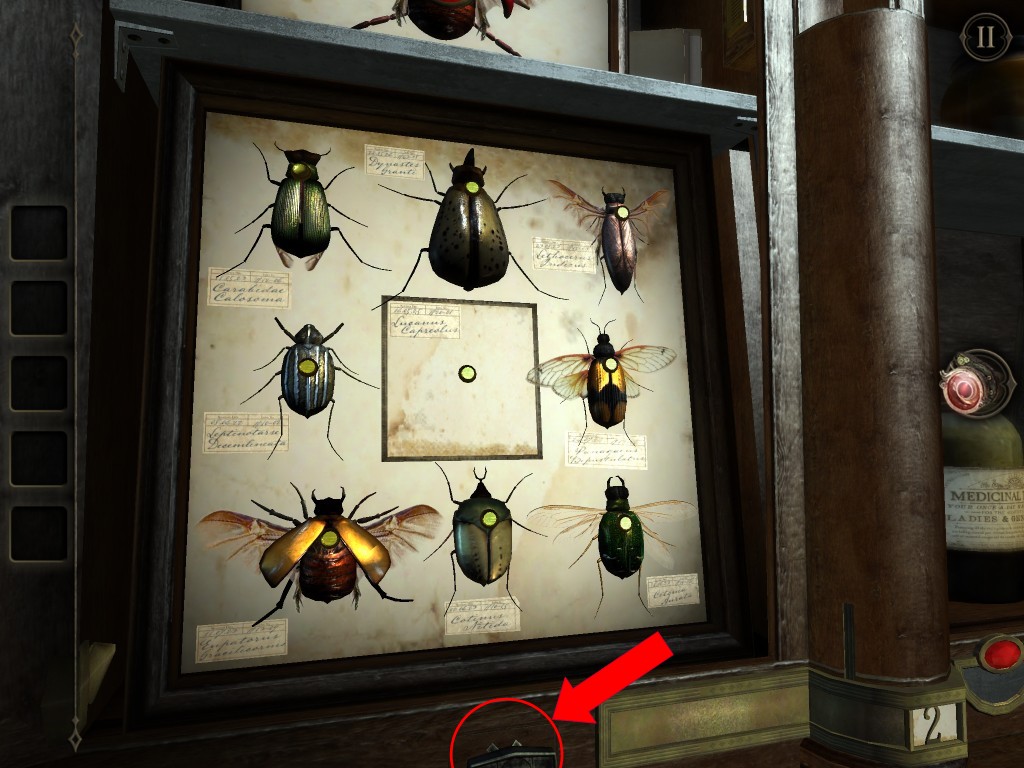
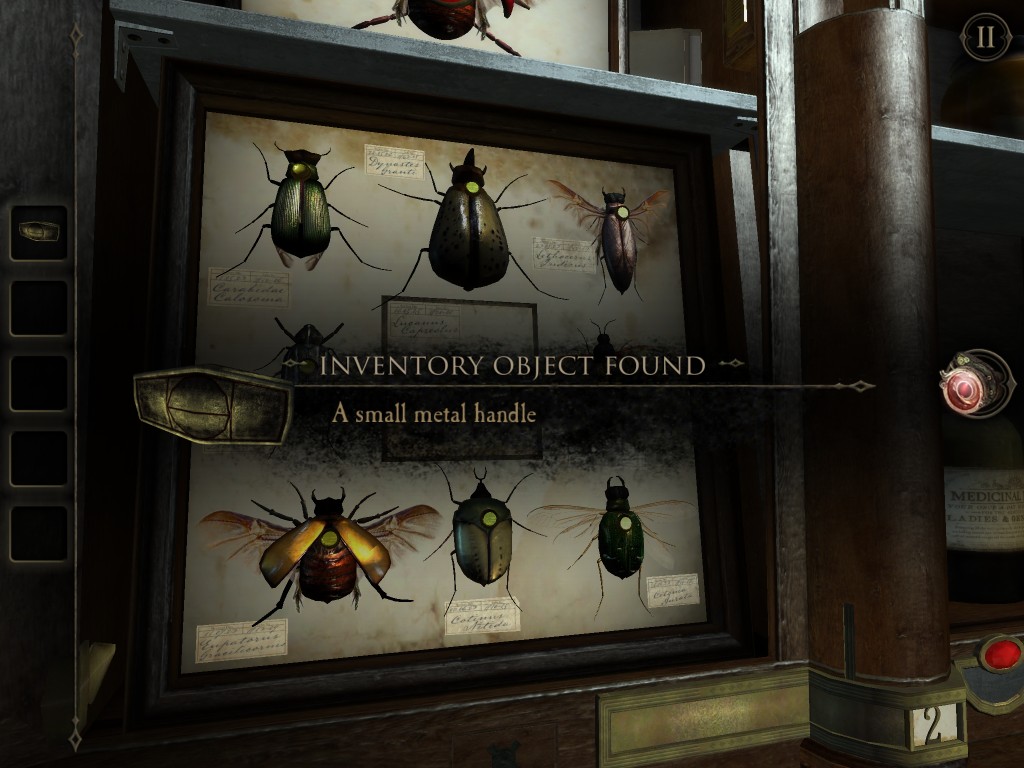
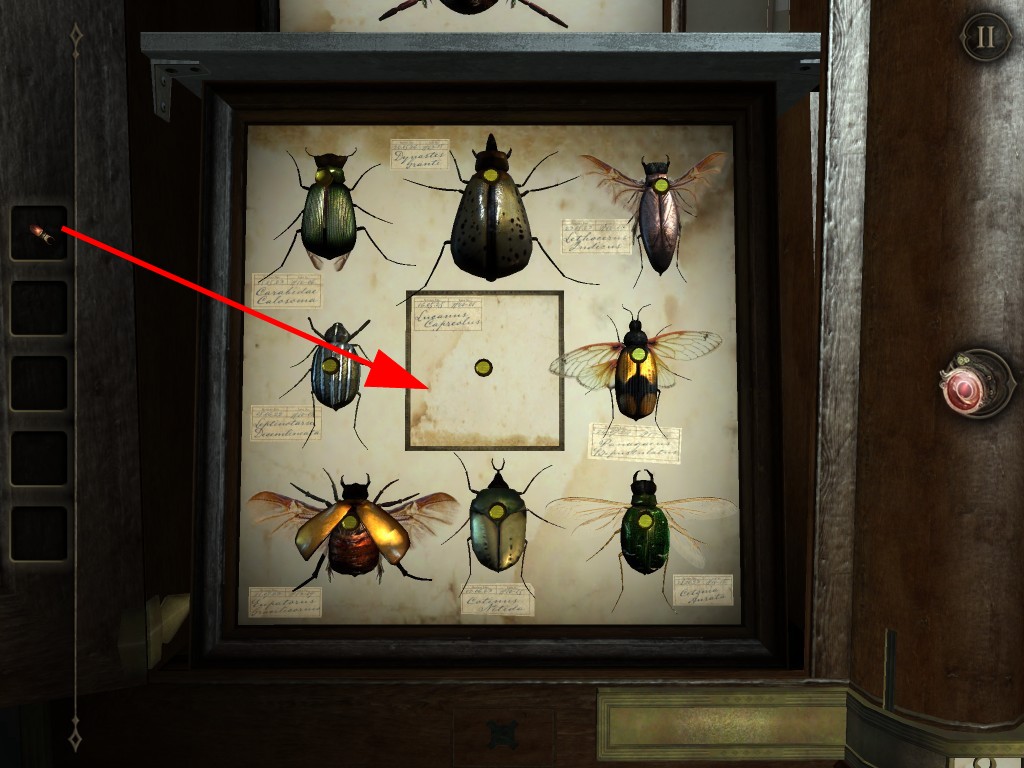
Look into the frame of specimen from inside the cabinet doors. Insert the missing bugs and beetles. Get a Small Metal Handle.

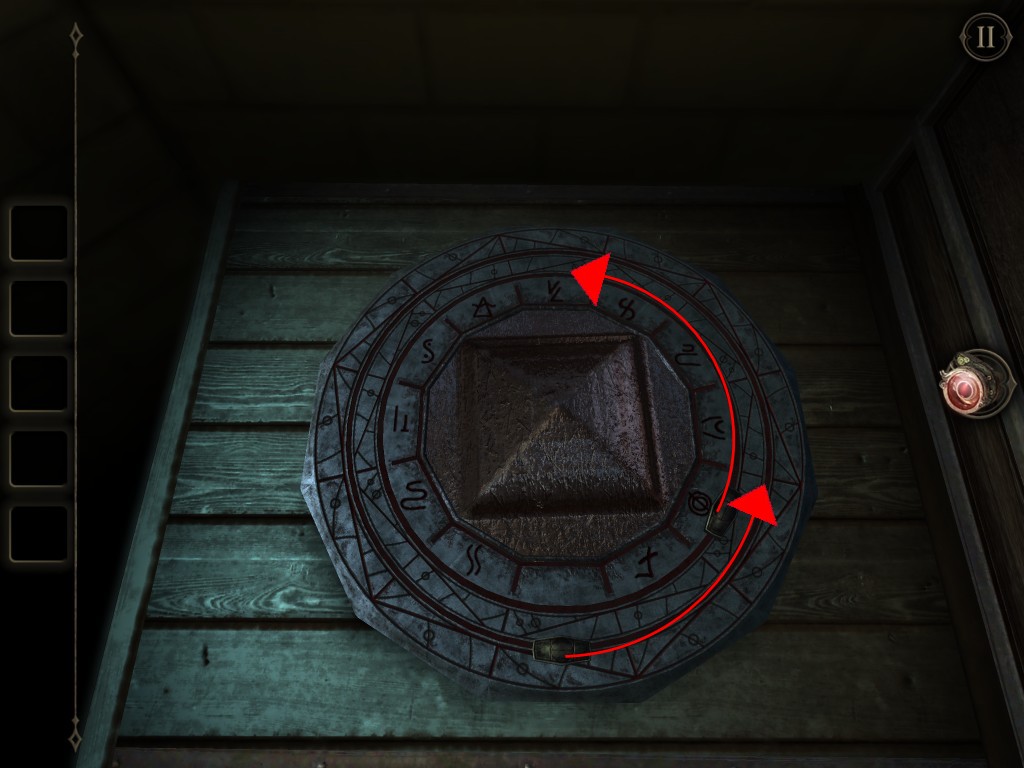
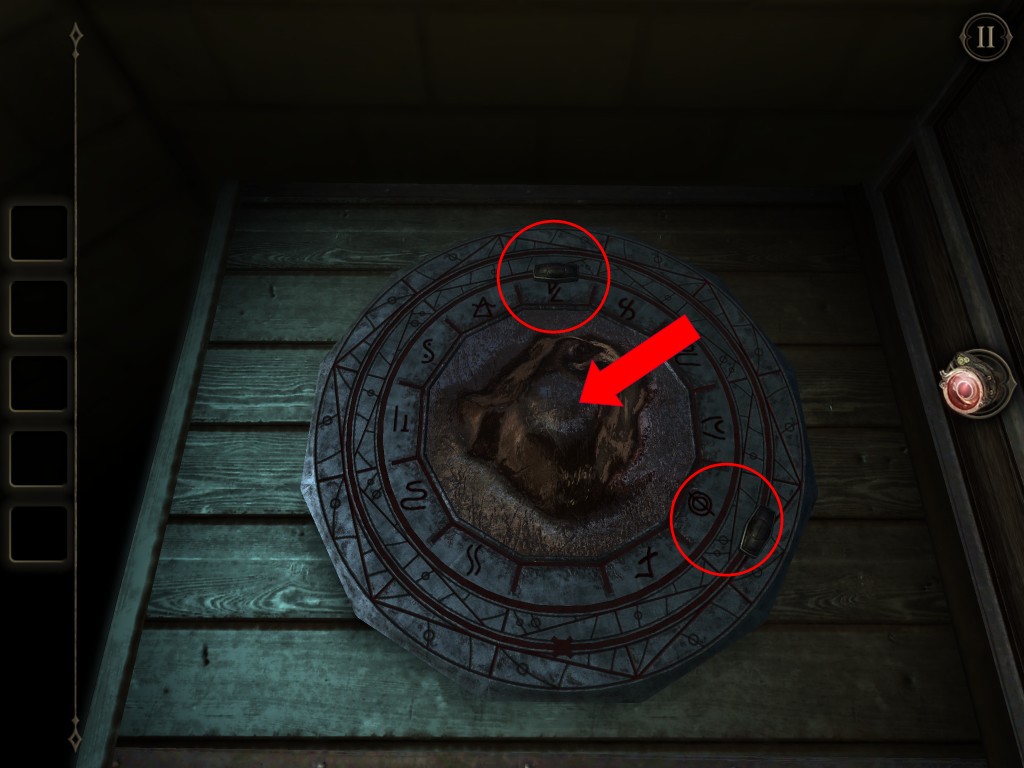
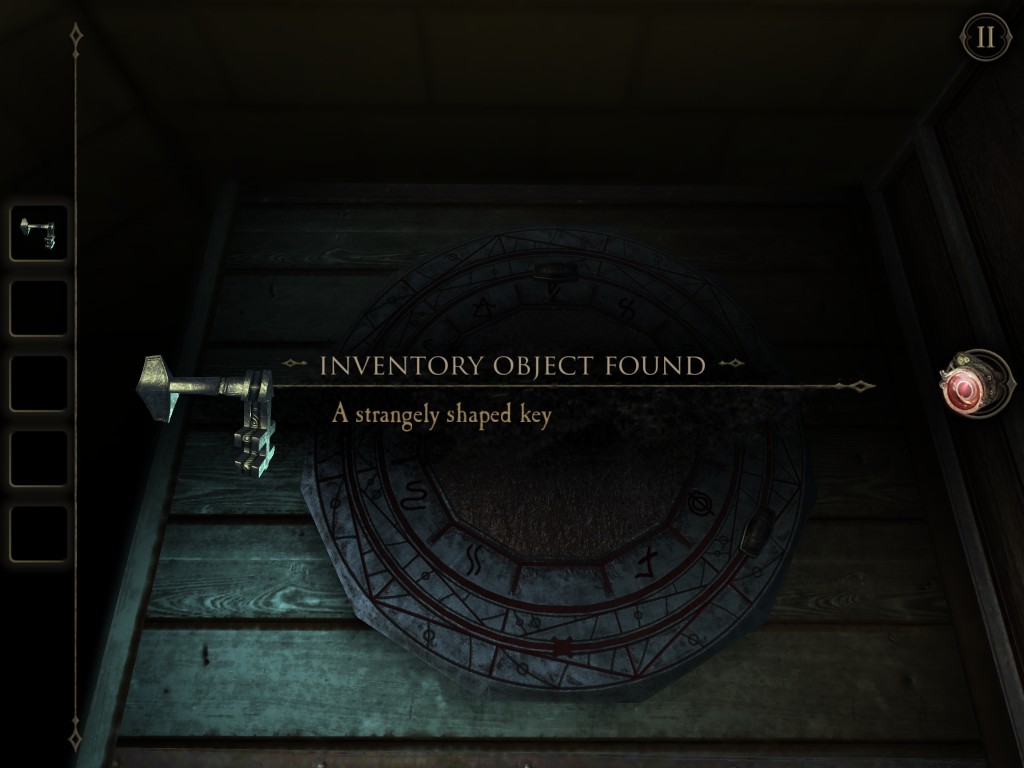
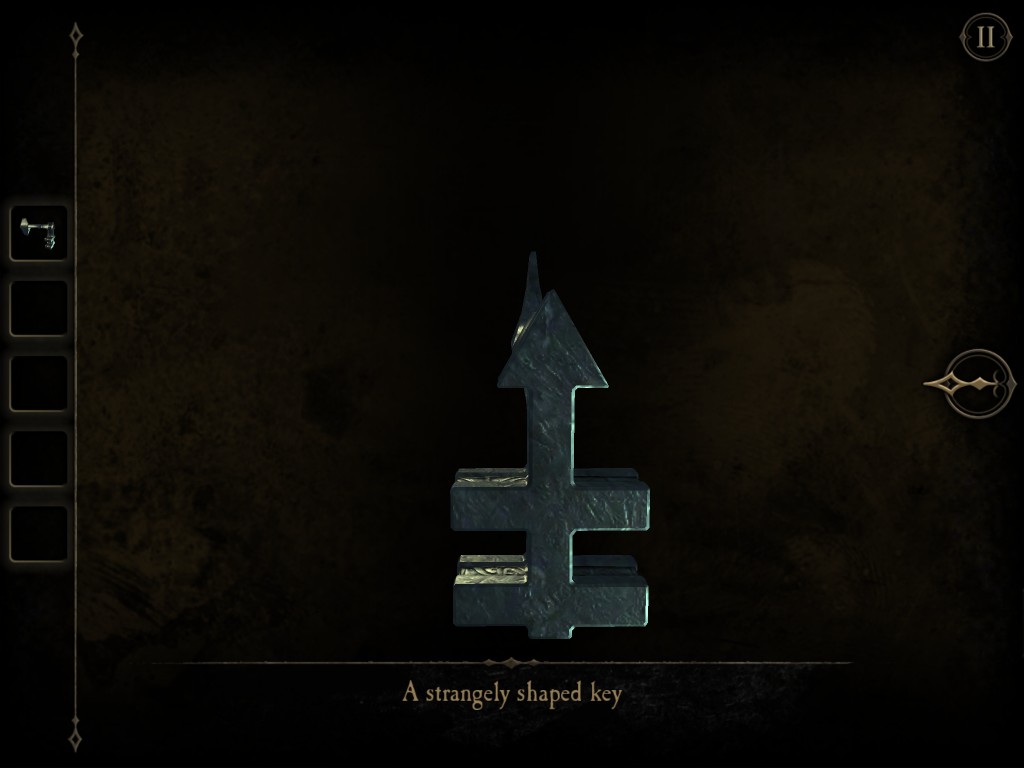
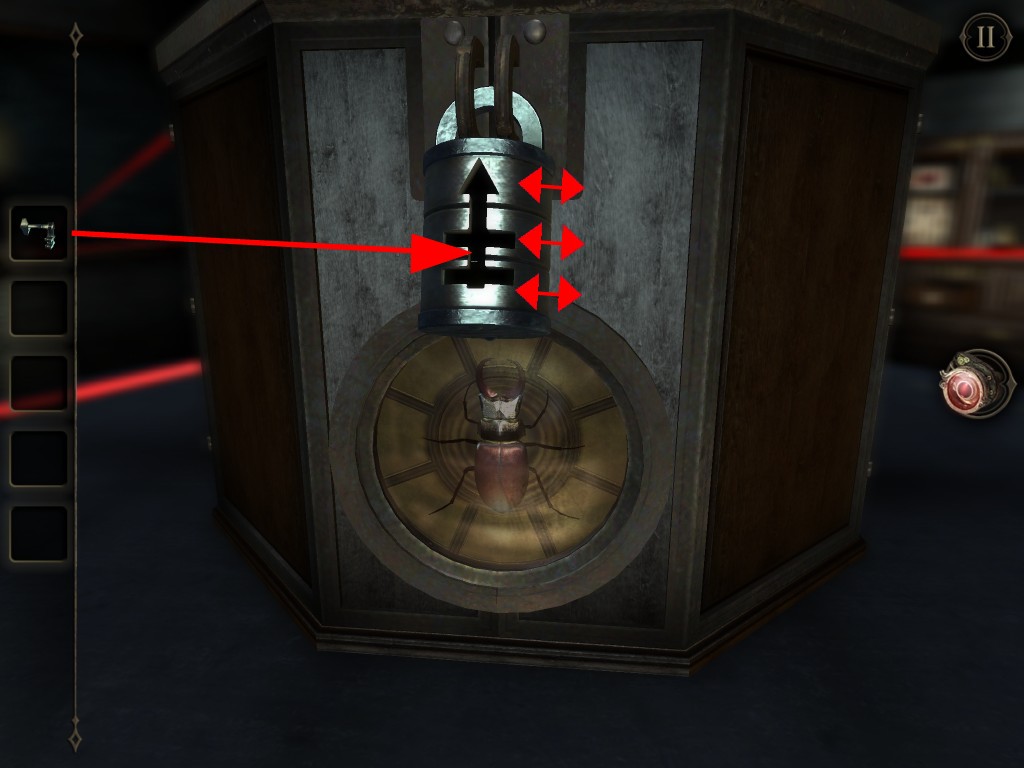
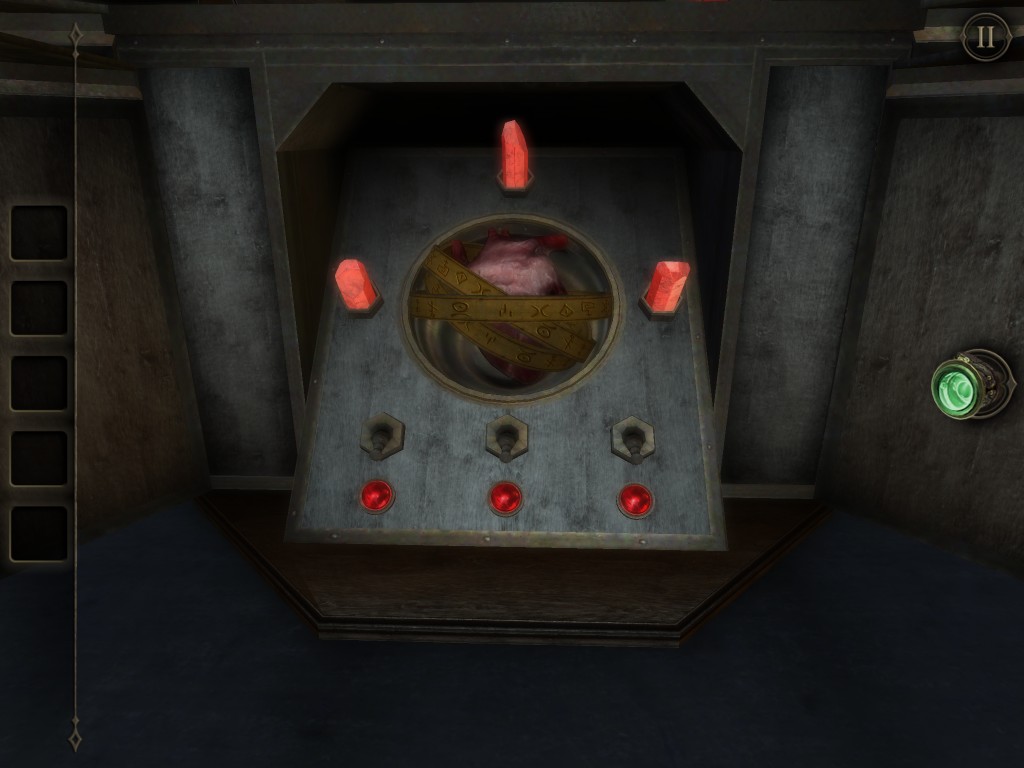
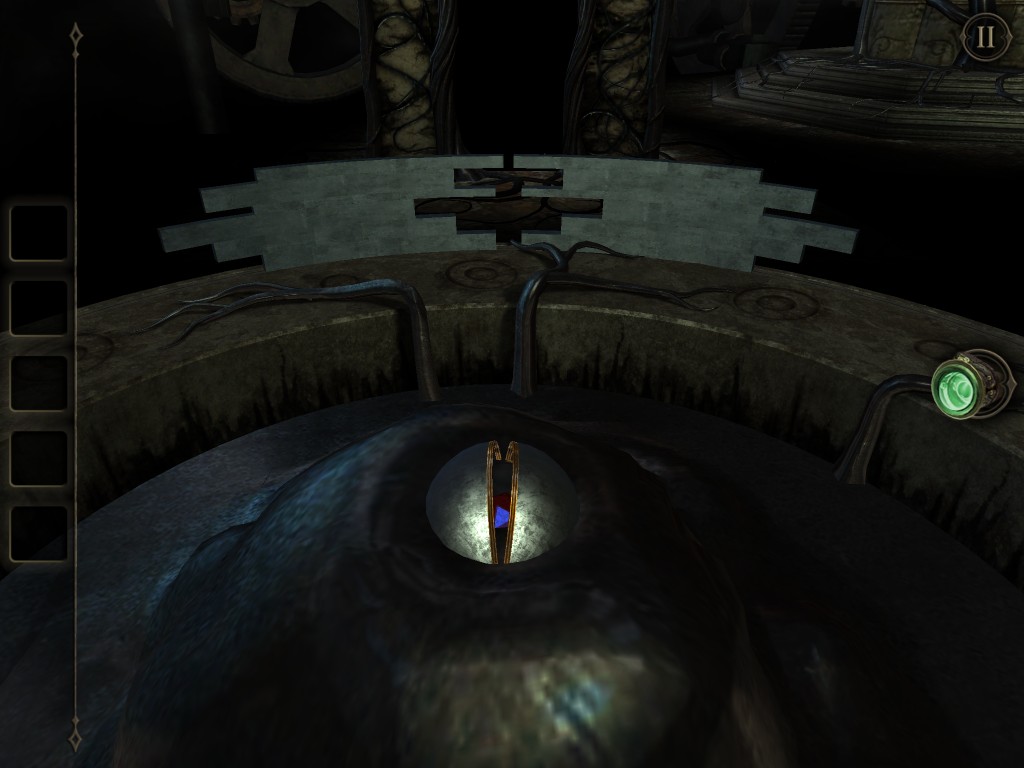
Go to the round stone plate with Black Metallic Liquid in the center. Insert Small Metal Handle on the outer ring. Align the inner ring metal handle with first symbol that you see on the drum of images. Align the outer ring metal handle with the second symbol. Get a strangely shaped key from the center of the plate.

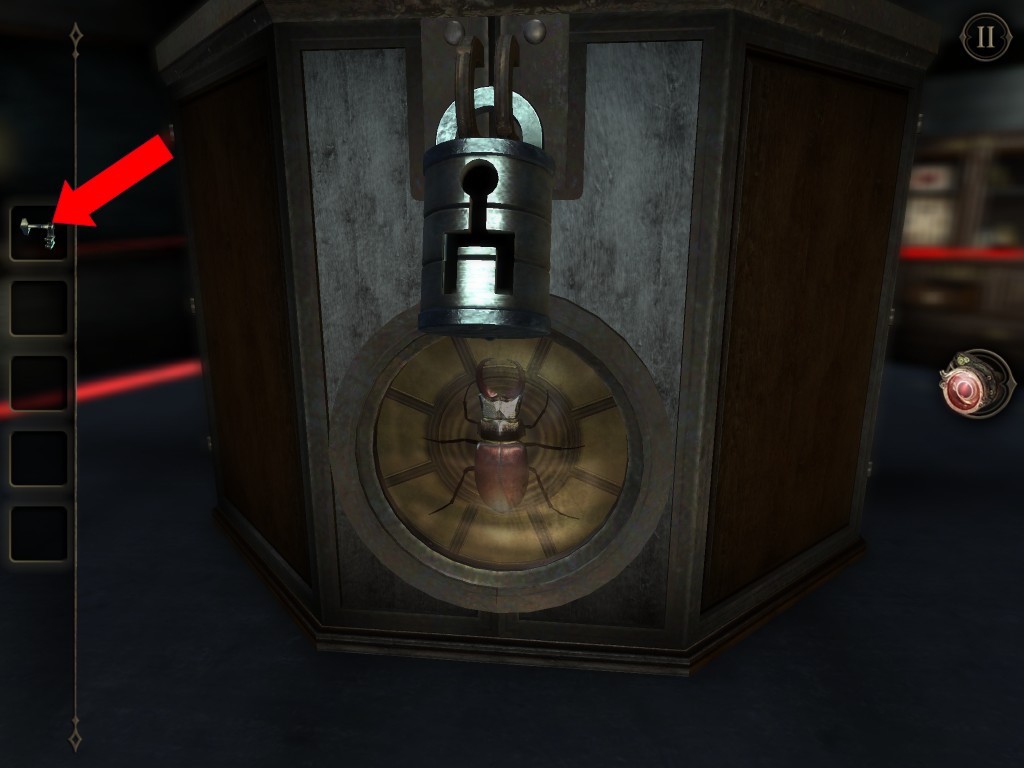
Go to box on top of the round table. Change the lock keyhole shape to match the Strangely Shaped Key. Insert and turn the key. Get a Large Stag Beetle after opening the lock.


Go to the frame of specimen with all the beetles again. Insert the Large Stag Beetle into the center slot. Another reflector will be revealed behind the frame.
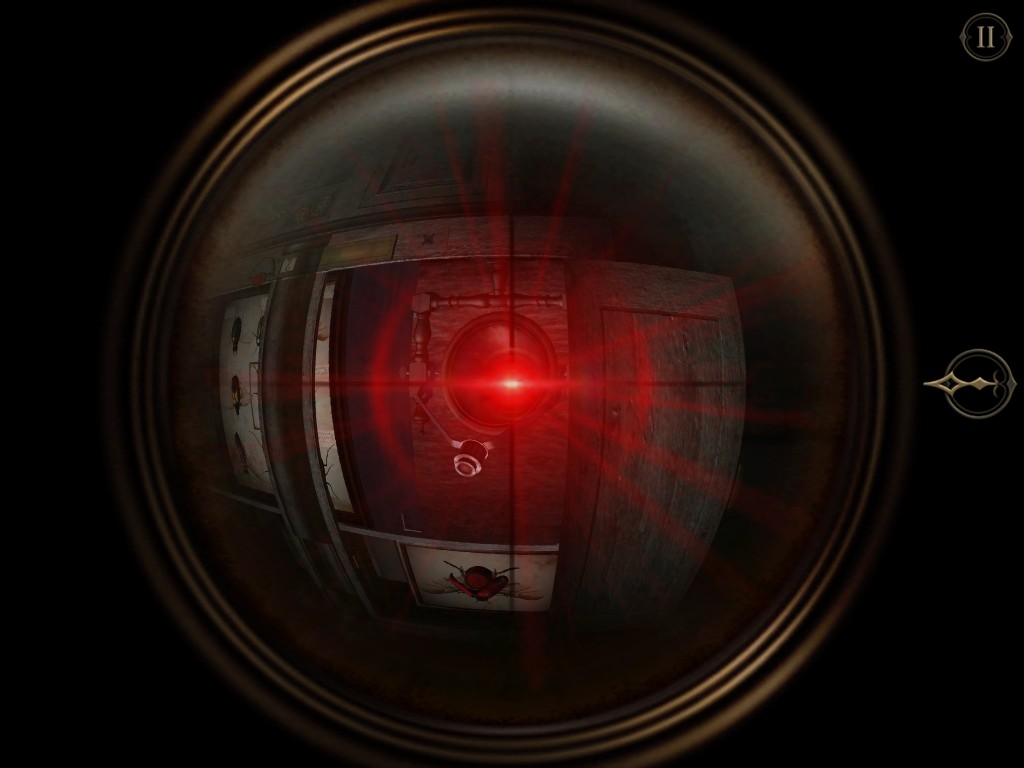
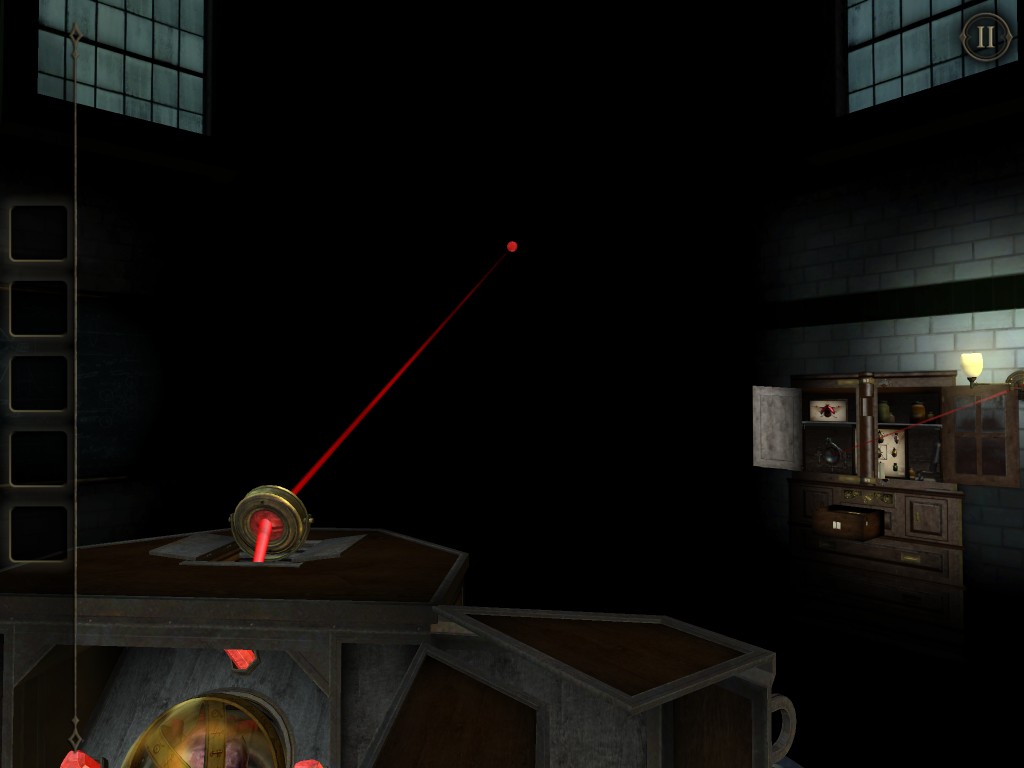
Head to the reflector on top of a chest drawer. Look into the lens and rotate the reflector so the light laser beam is aiming at the reflector under the red beetle.
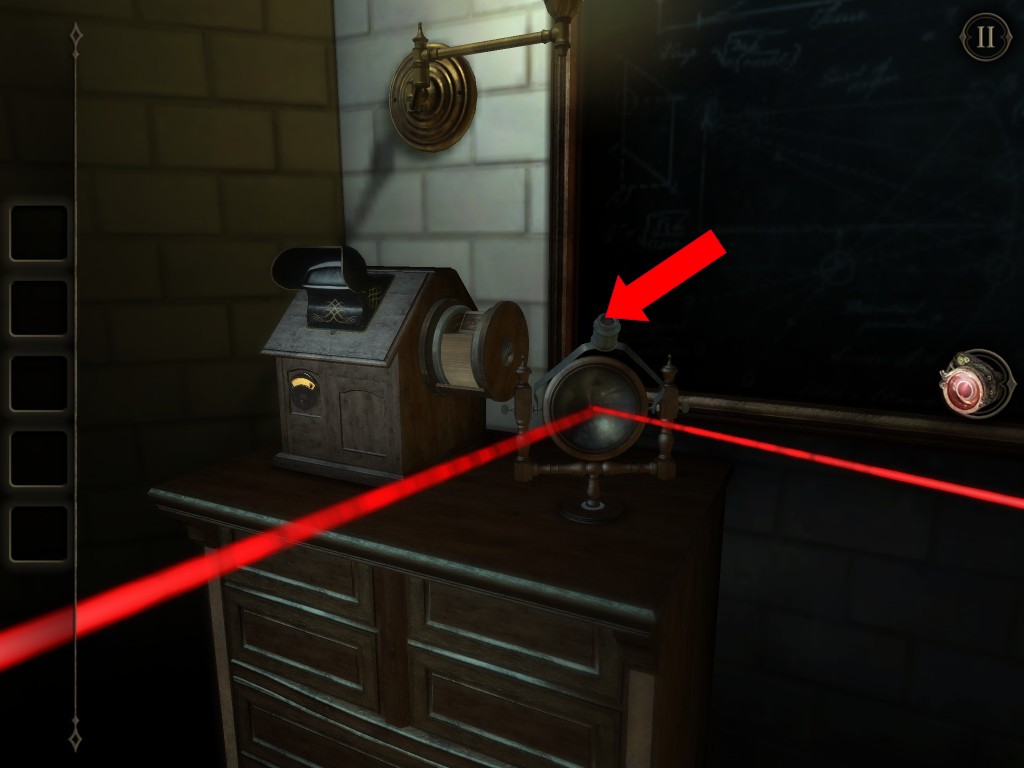
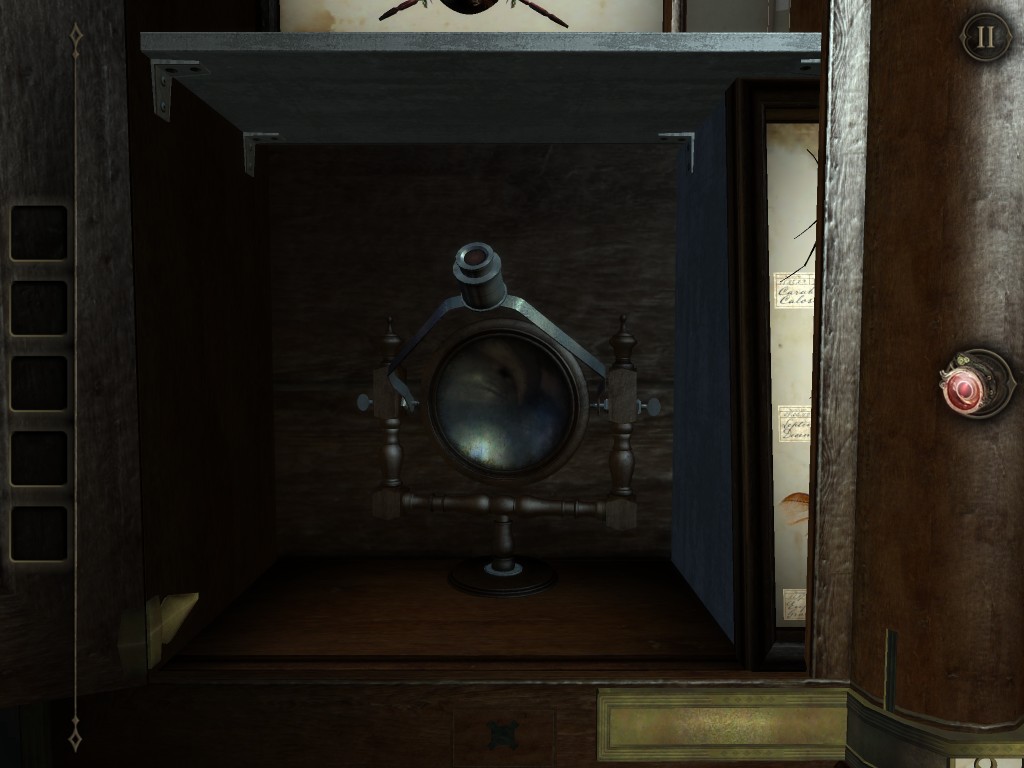
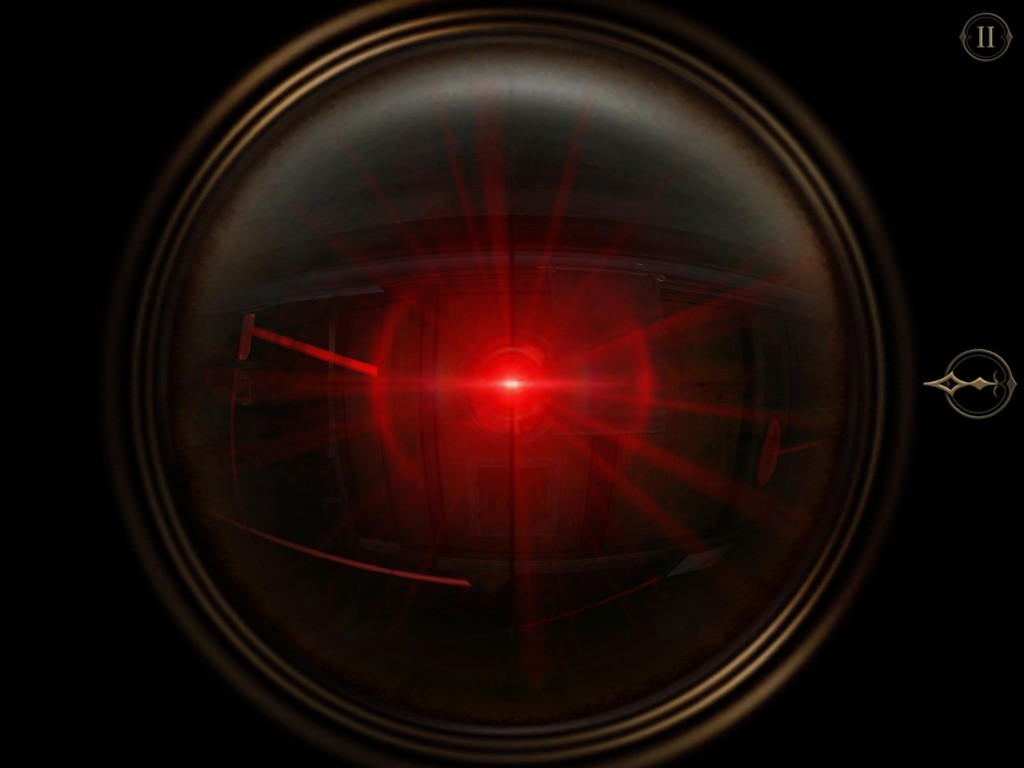
Go back to the cabinet for the reflector lens. Rotate the reflector so the light beam is aiming at the box on the round table. Get a lens (It looks like it would fit my eyepiece).


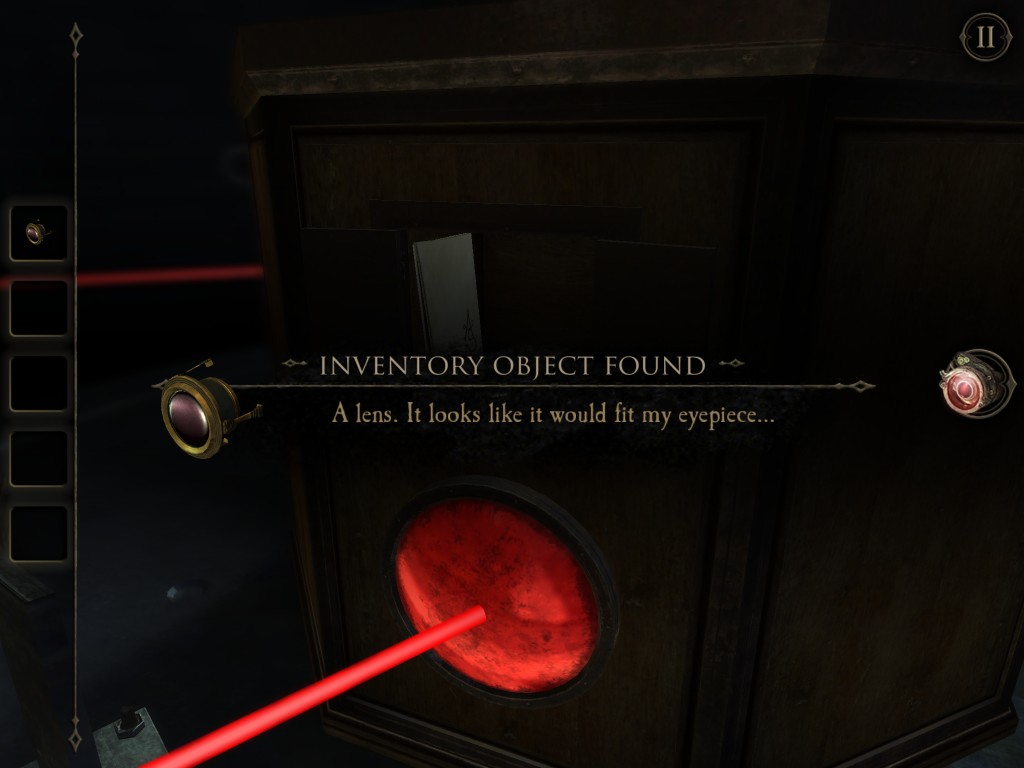
The lens is automatically installed on your eyepiece, your eyepiece is then upgraded allowing you to see more hidden symbols and clues.
Put on the eyepiece and find a puzzle on the back of the box. Look around the room to find these hidden clues:
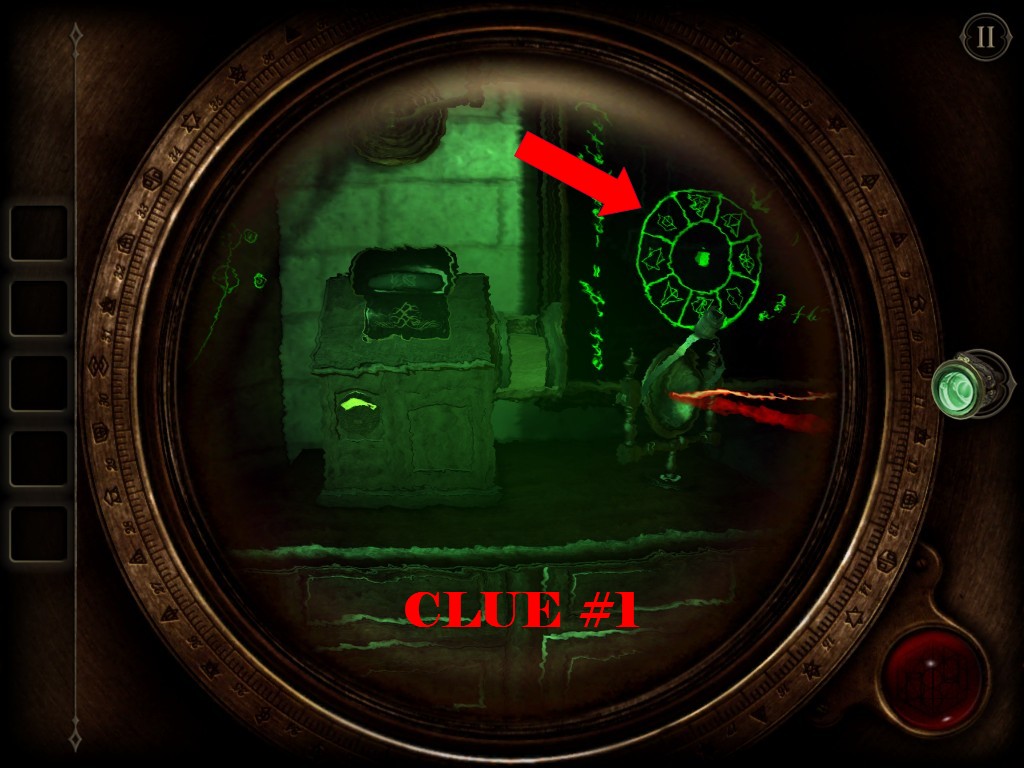
Clue #1 is found to the right of the image viewfinder. Note 1 dot and the triforce triangle symbol.
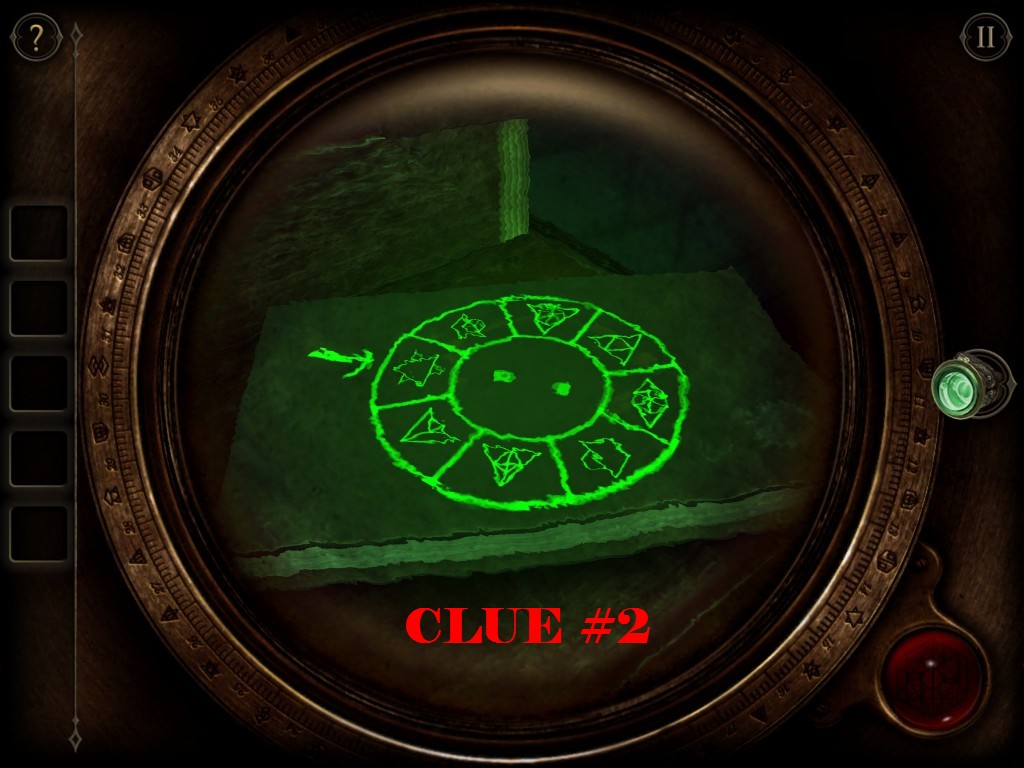
Clue #2 is found on the book on the cabinet. Note 2 dots and a single triangle symbol.
Clue #3 is found right next to the puzzle box on the round table. Note 3 dots and an eye shaped symbol.
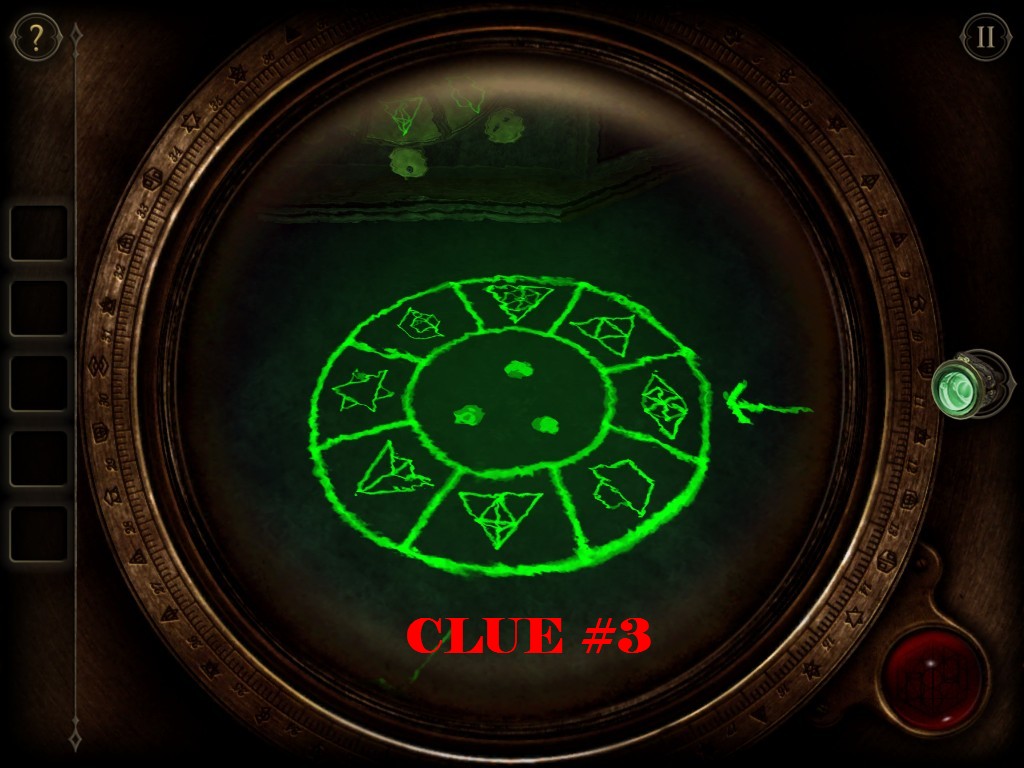
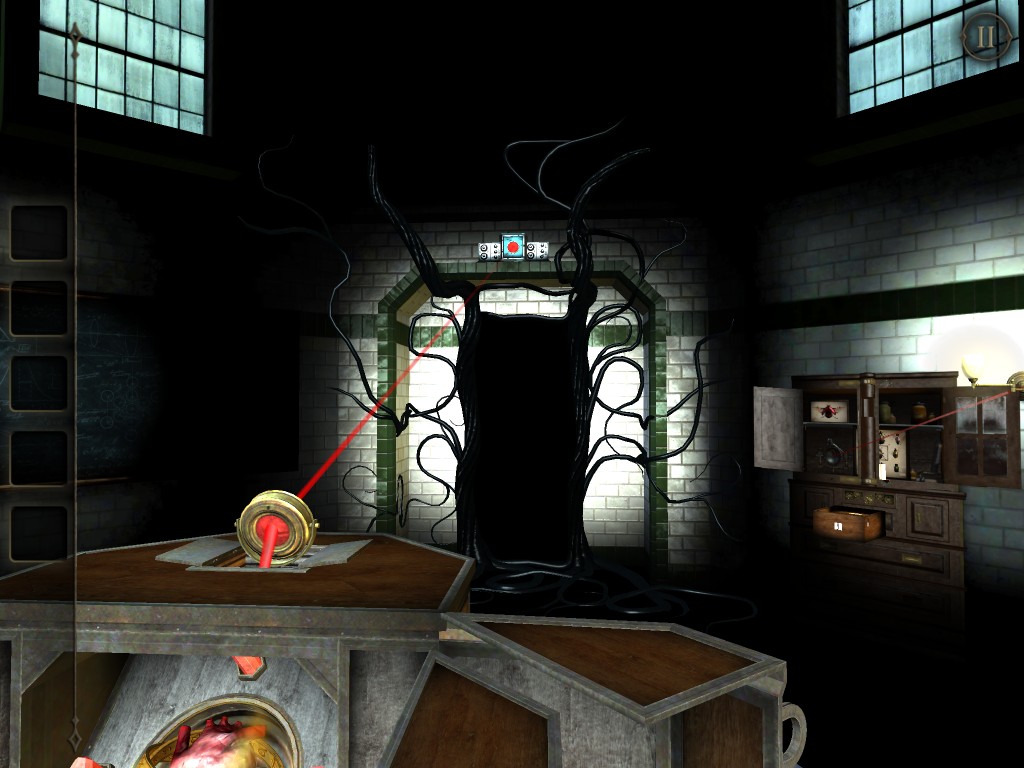
Align each tab with correct symbol and dots with the puzzle. A mechanism will trigger revealing some controller switches. Turn on all three switches.


The light beam will aim into the darkness and open a portal. The room will be transformed.

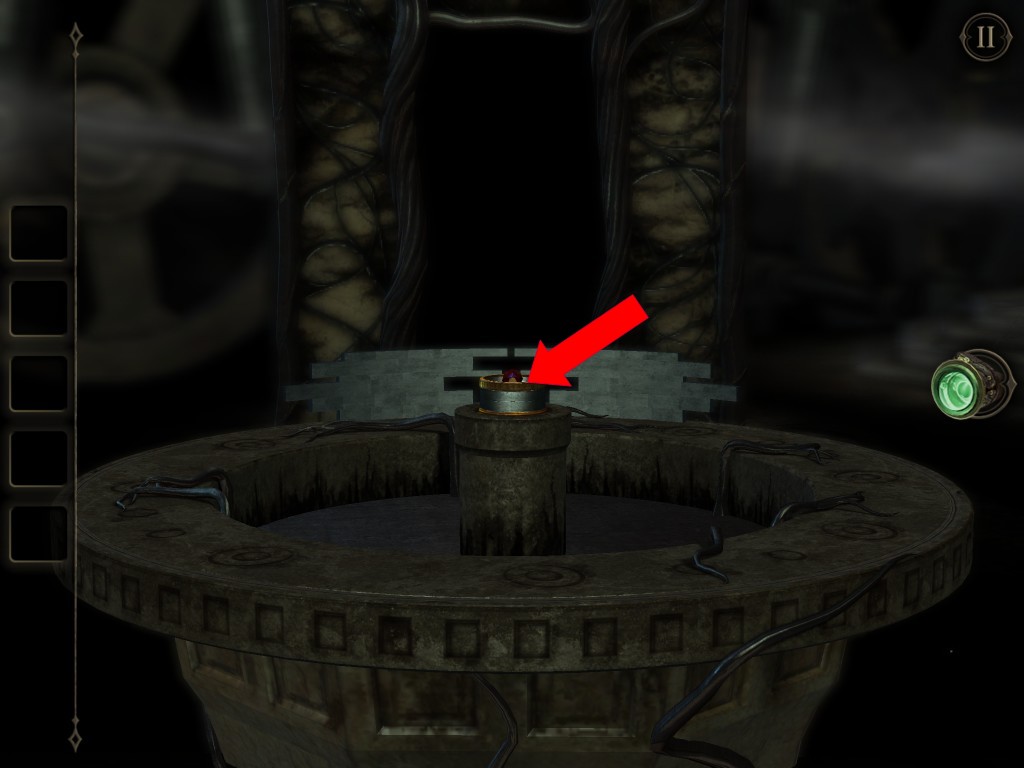
Touch the jewelry box at the center of the stone table. A panel will appear. Put on your eyepiece. Adjust the handles until a symbol reveal. The portal will open once again.


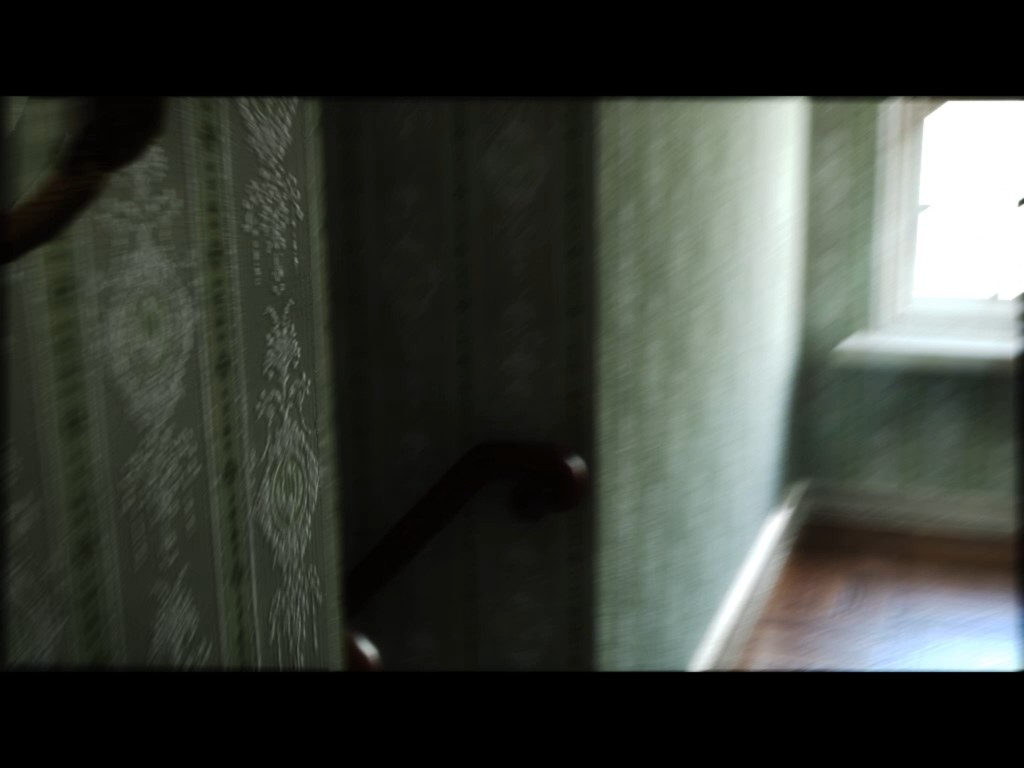
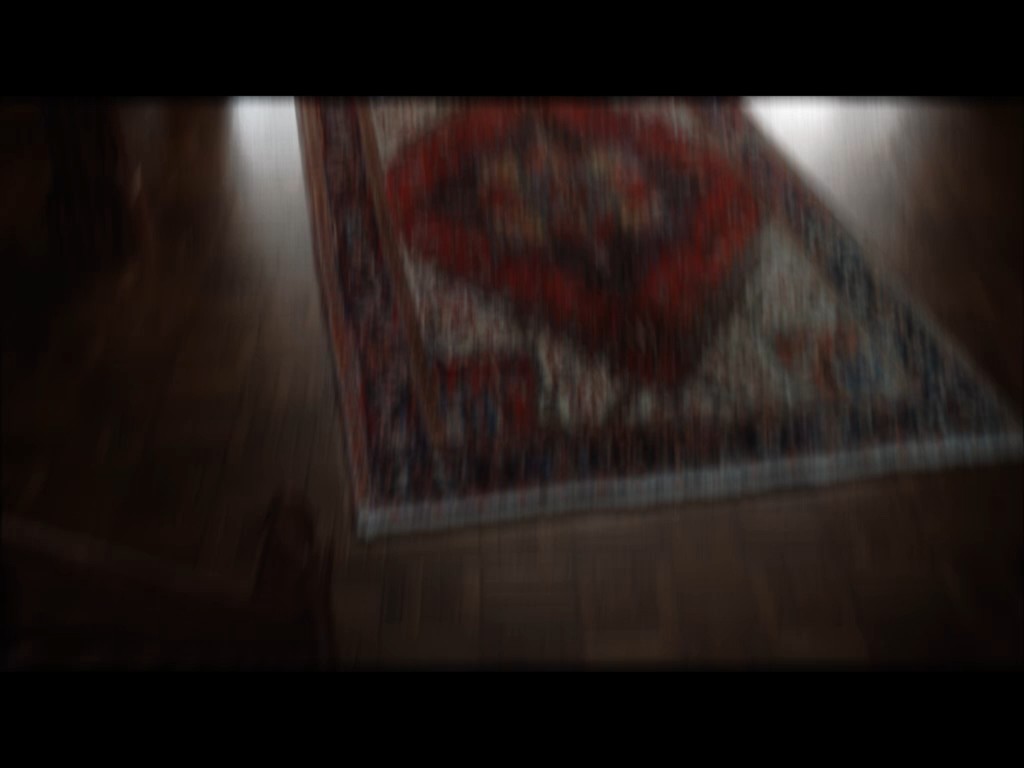
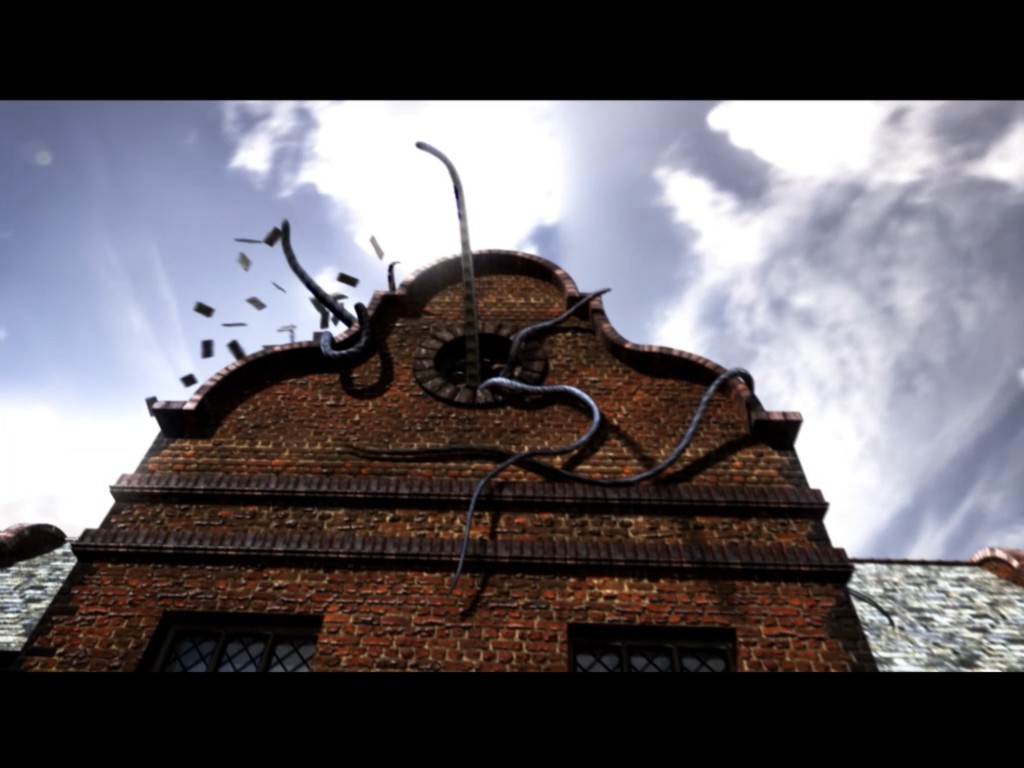
A short animation will show the monstrous black vines coming after you. The vines spread to all the rooms that you visit before. You will flee the lab and escape the confounded house where it all began.


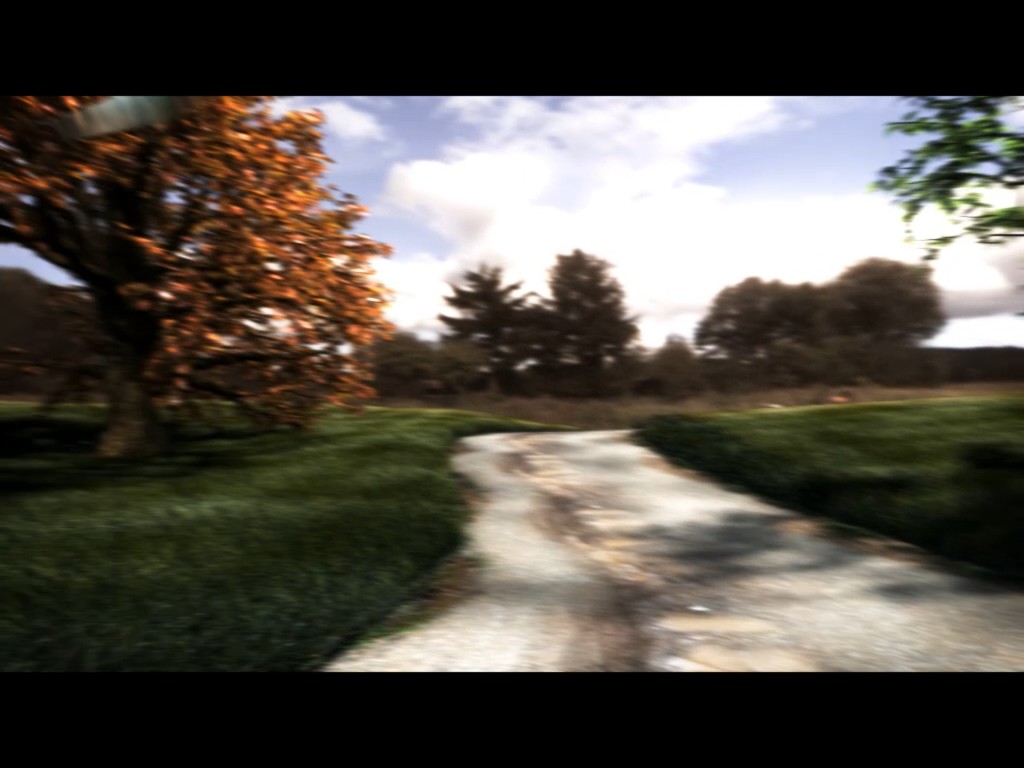
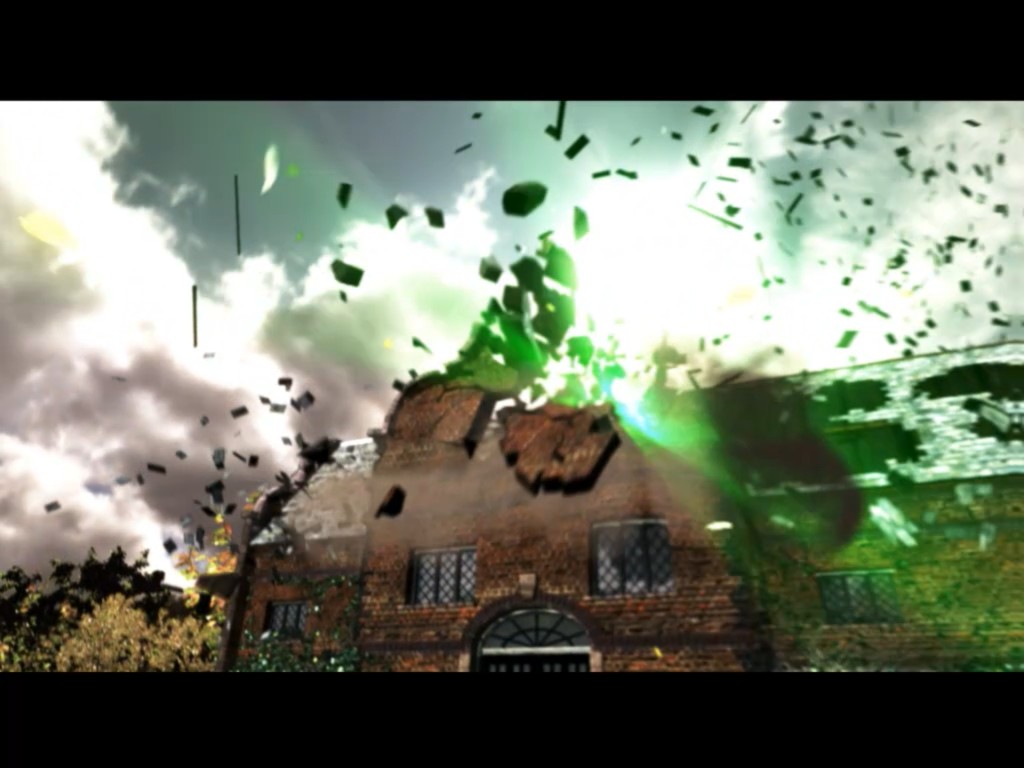

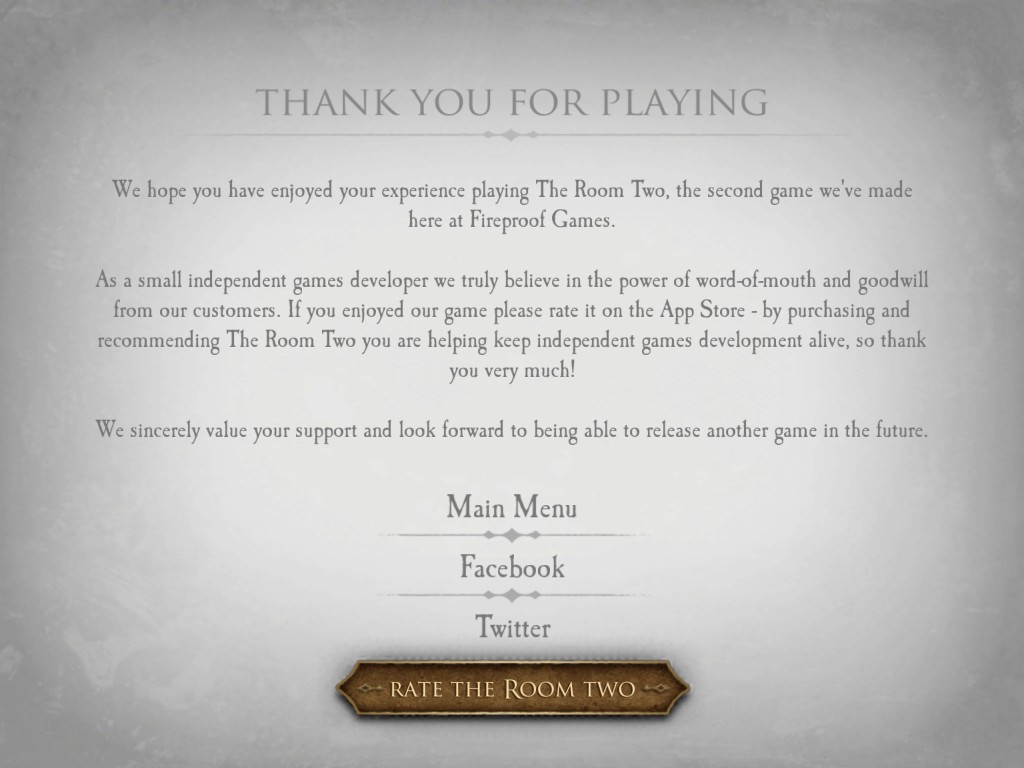
Congratulations, you have completed The Room Two.

Loved both of these versions. Highly addicting and make you think! Sad it’s over now. 🙁 will have to find new games and hope they make a Room 3.
After I put in the three beetles, I get the key with the X shape. I can’t find where it goes
Enjoyed the game, but boy, does it make you think. Better dust off all those cobwebs in your brain if you plan to finish this one. On to Room 3. Will there be a Room 4?