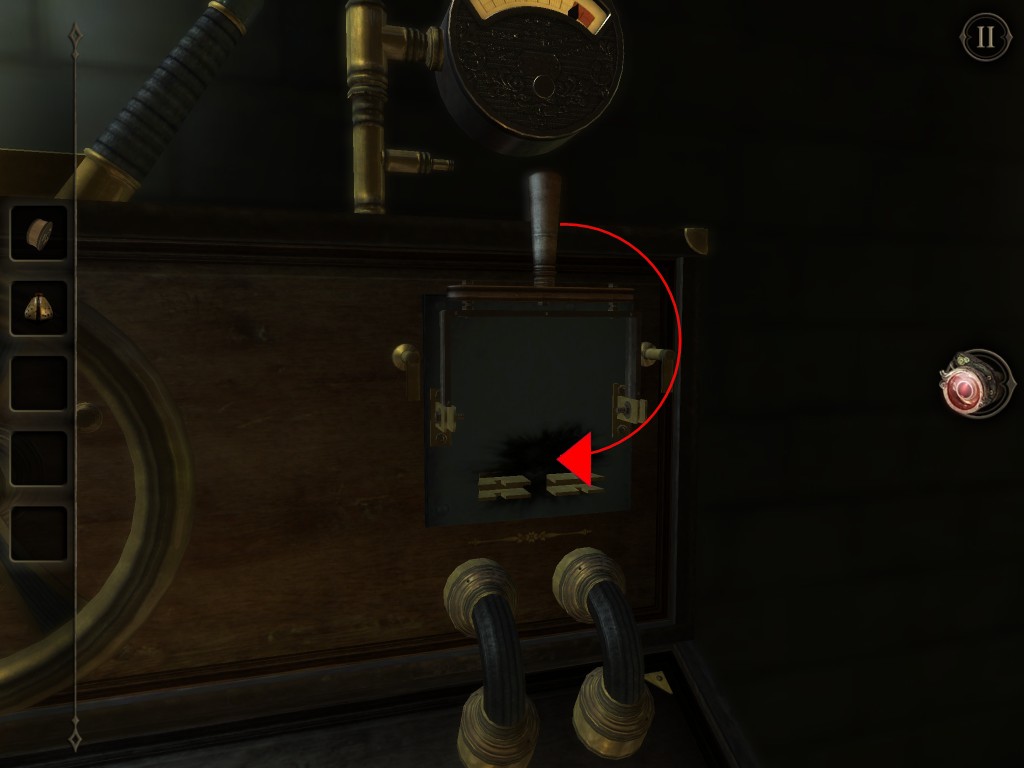
Welcome to the Part 2 of our detailed guide for The Room 2 Chapter 6. This walkthrough guide continues after you have obtained the large handle from the cabinet’s secret compartment. In this part, you will discover the secret hidden inside the drum of images.
Part 1: Drawer Puzzle
Part 2: Drum of Images
Part 3: Box on the Round Table
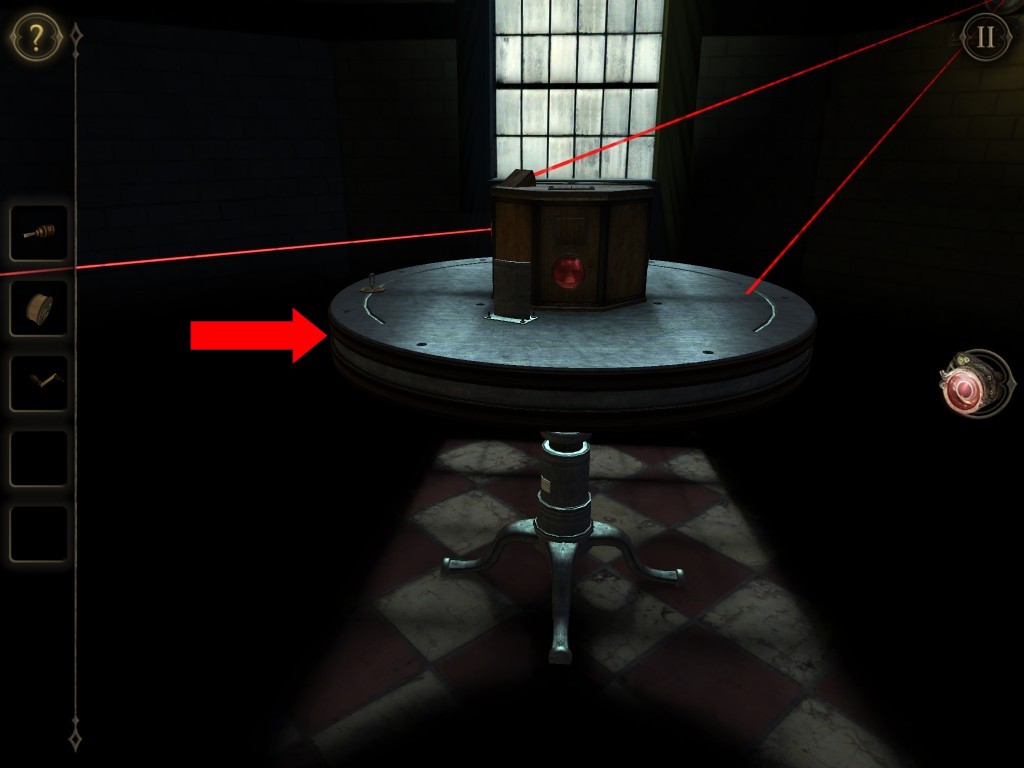
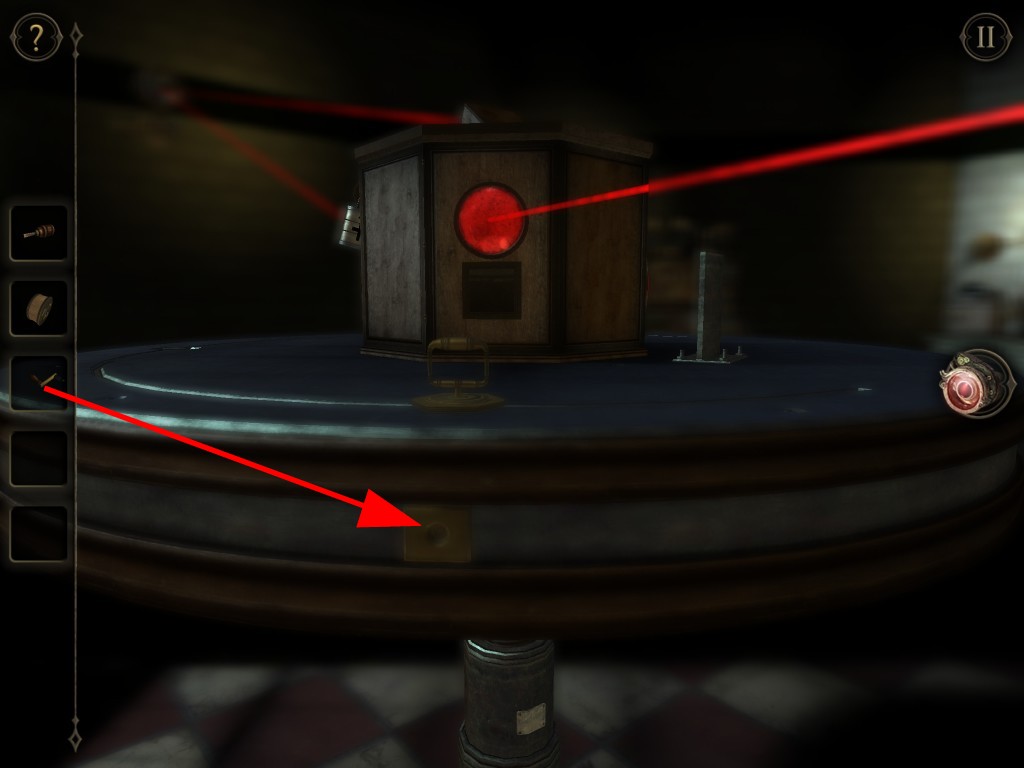
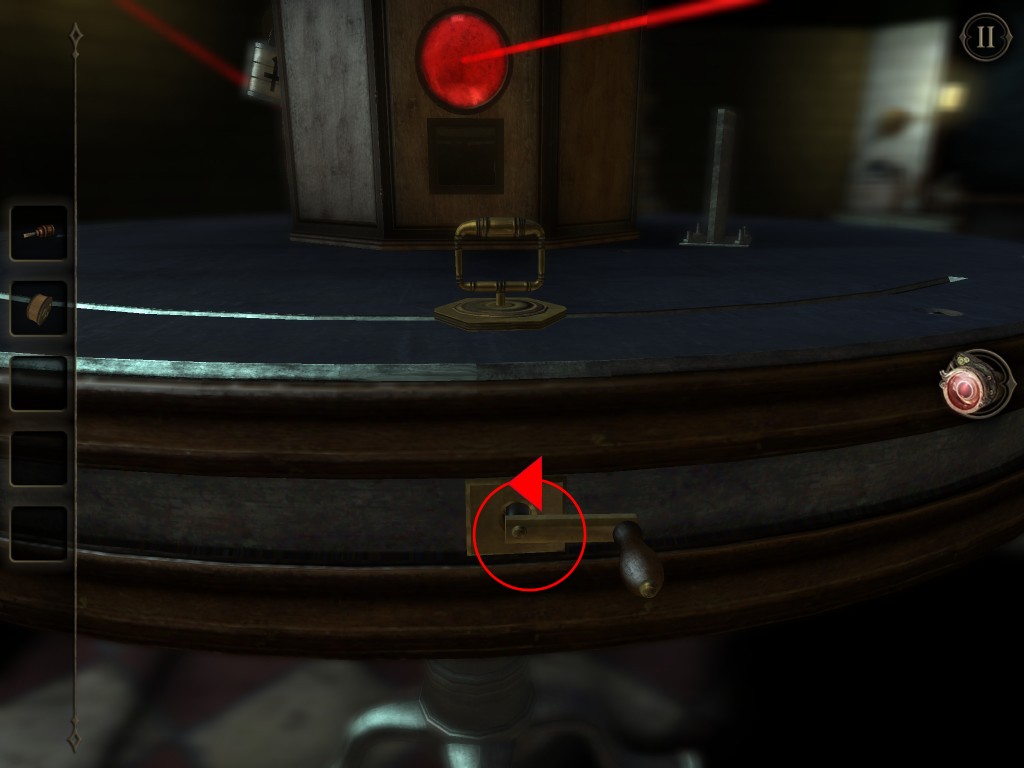
Zoom into the round table. Insert the large handle into the hole on the edge of the table.
Turning the handle will move the Hexagon-shaped plate on the table surface. Align the Hexagon-shaped plate with a hexagon hole. Pull the knob. A crystal will reveal.
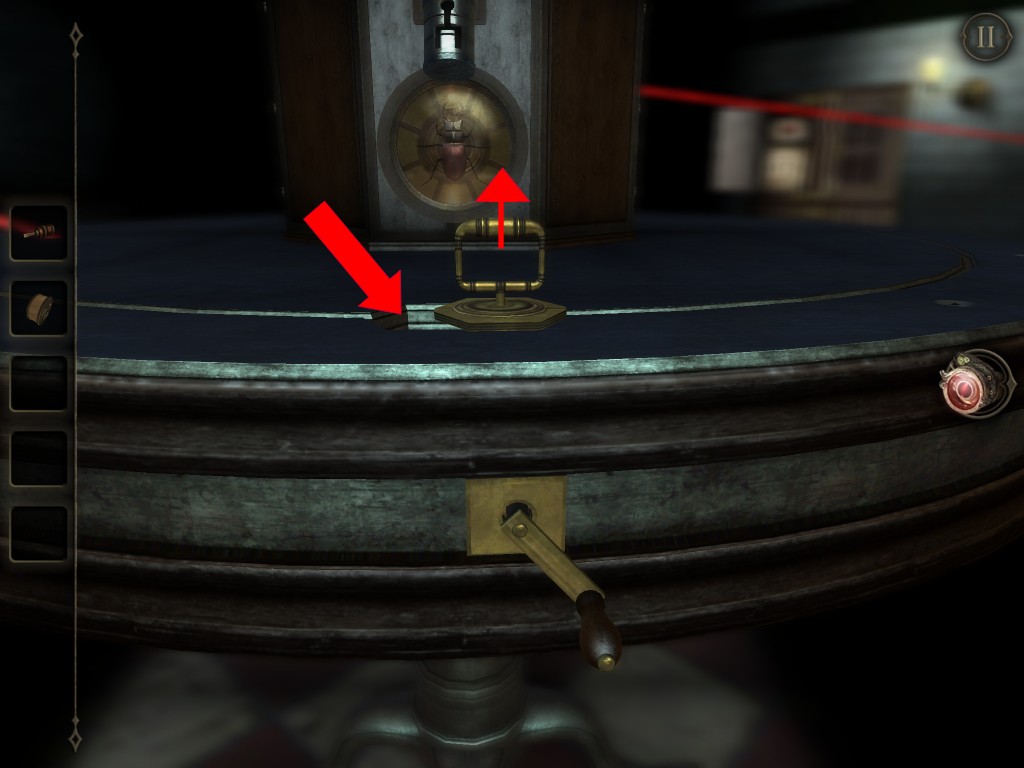
Continue turning the handle unit until the light beam pass through the crystal.


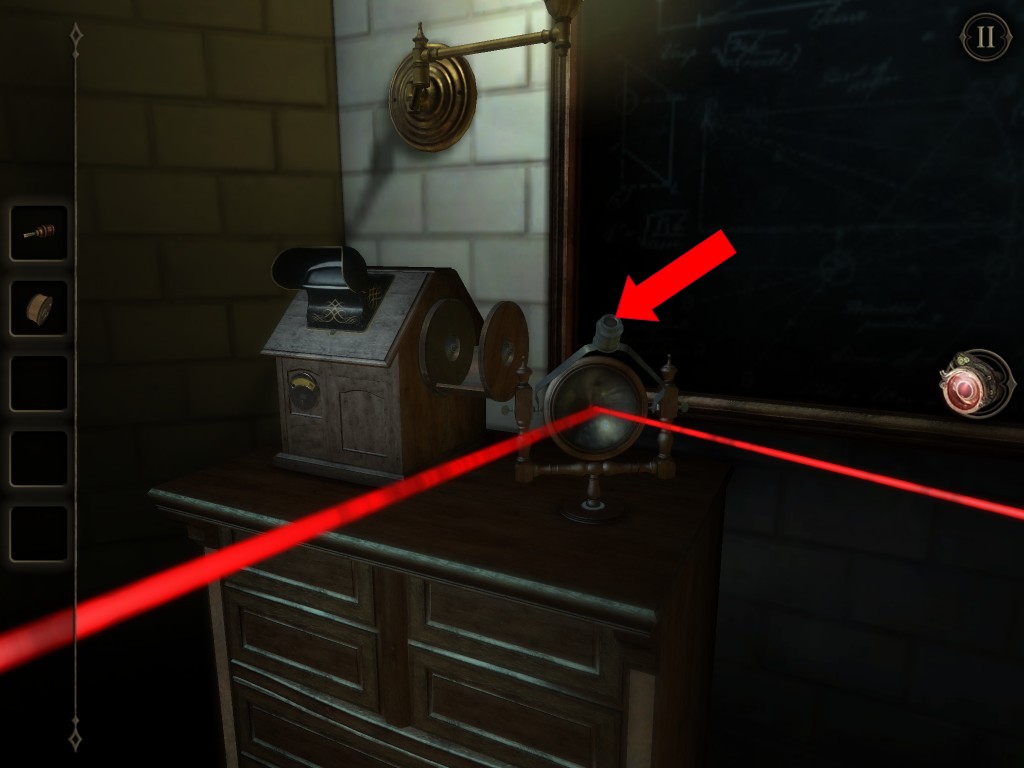
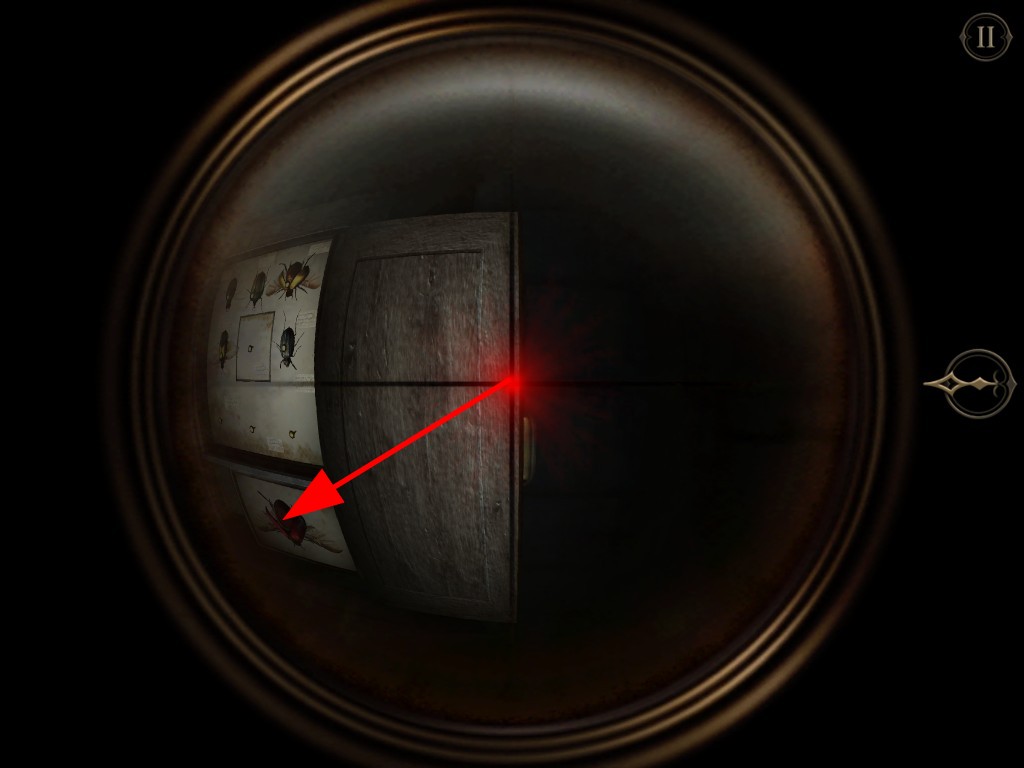
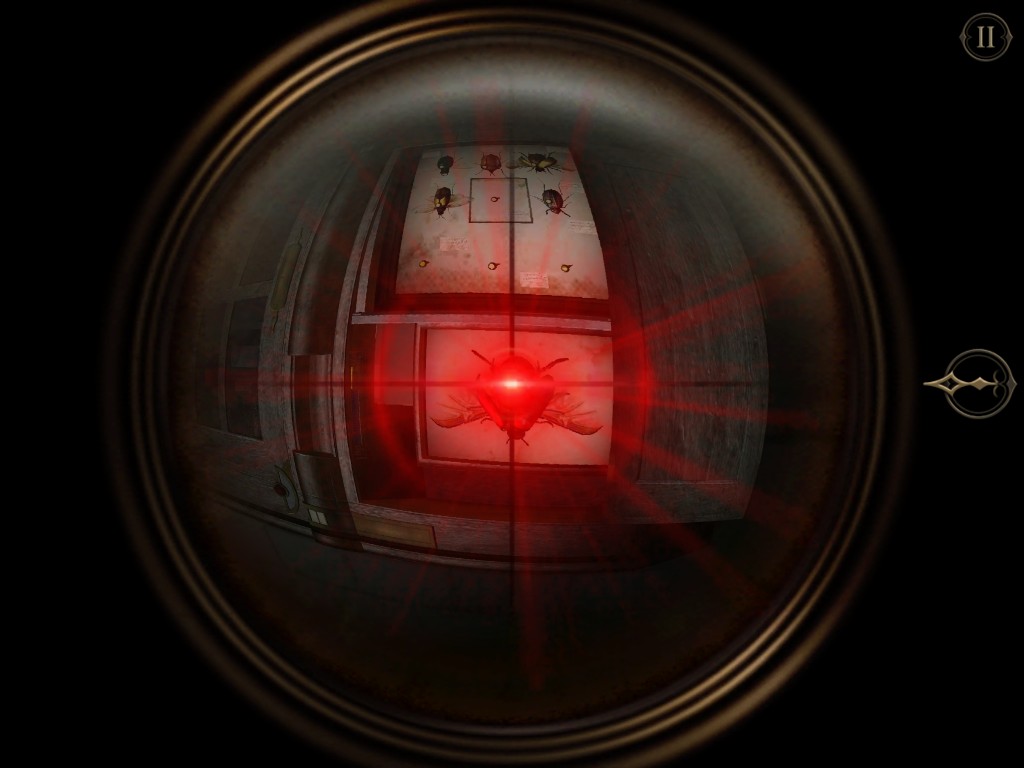
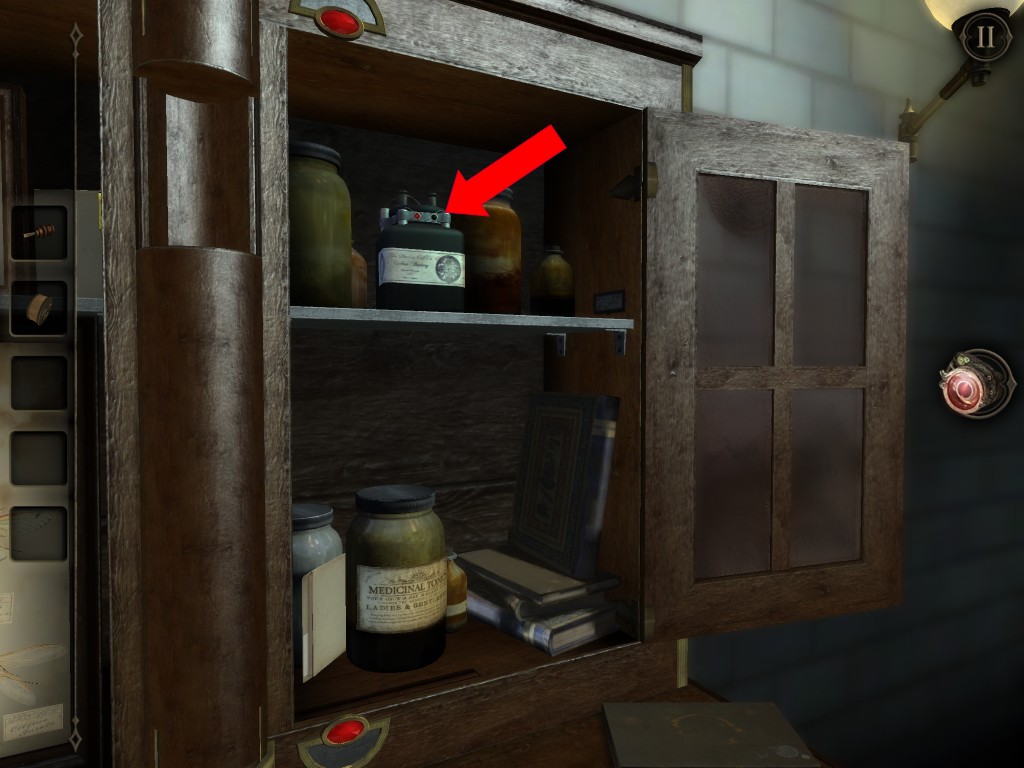
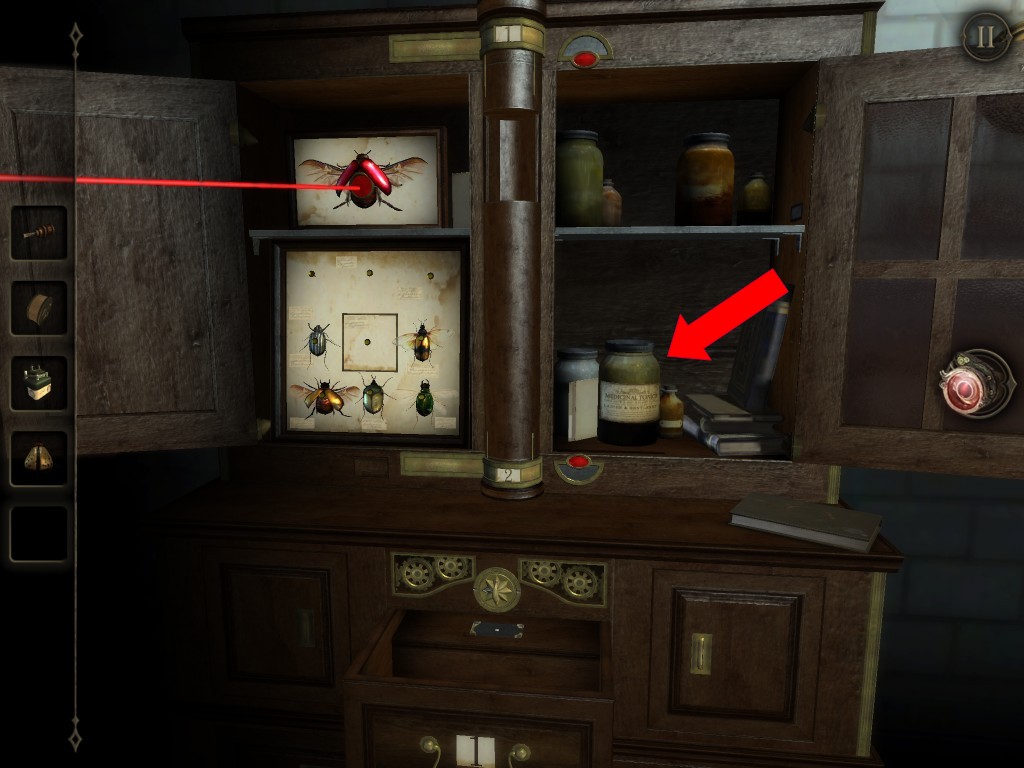
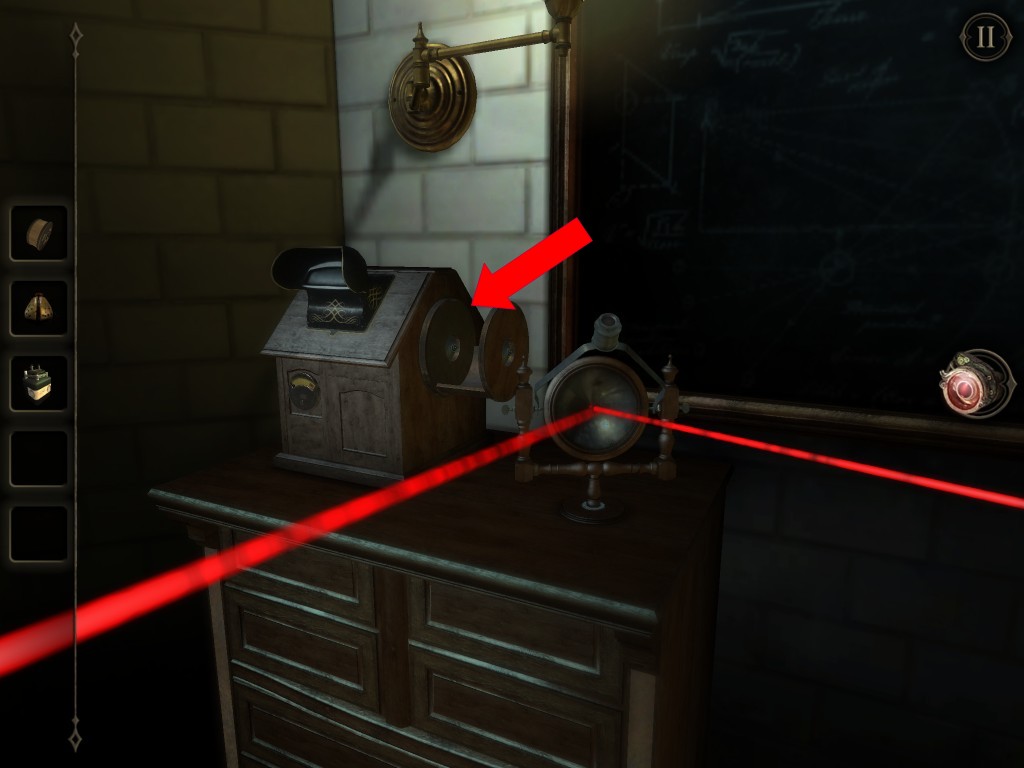
Go to the reflector on top of a chest drawer. Look into the lens and rotate the laser reflector so the light beam is aiming at the red beetle. The right cabinet door will then be unlocked.
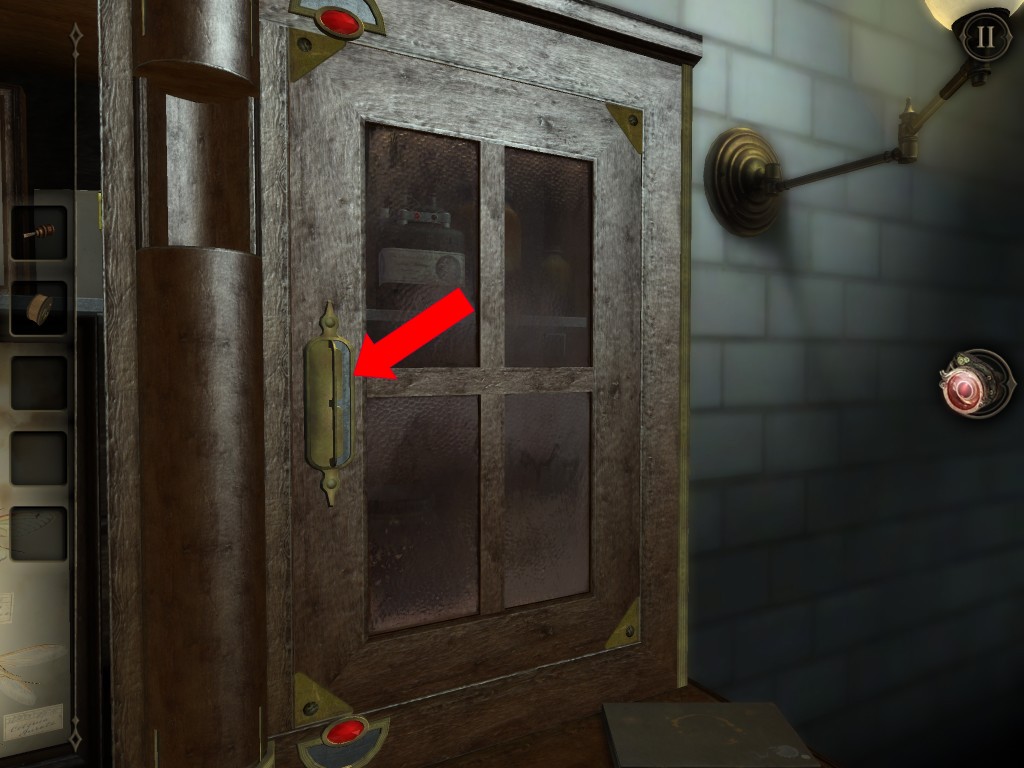
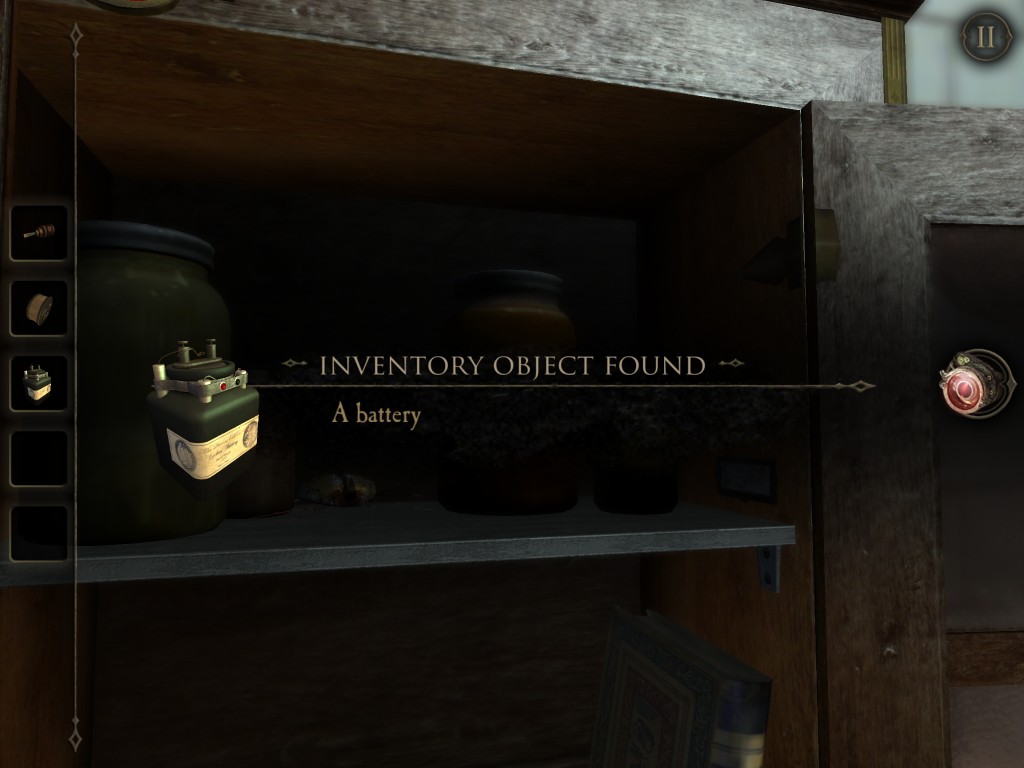
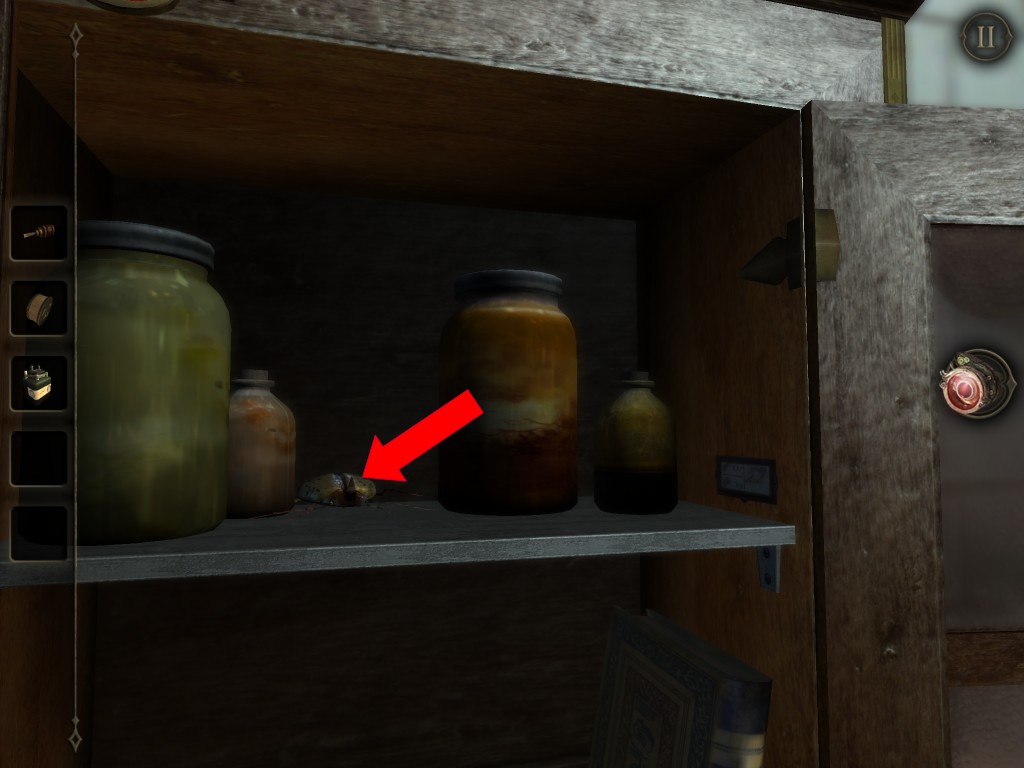
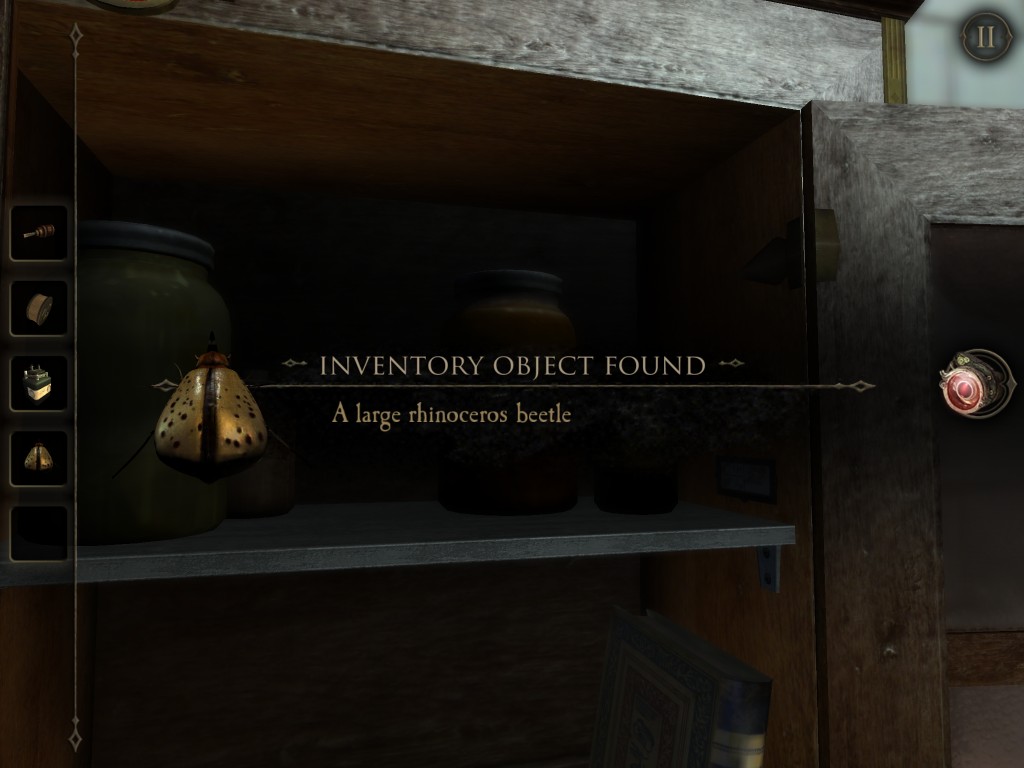
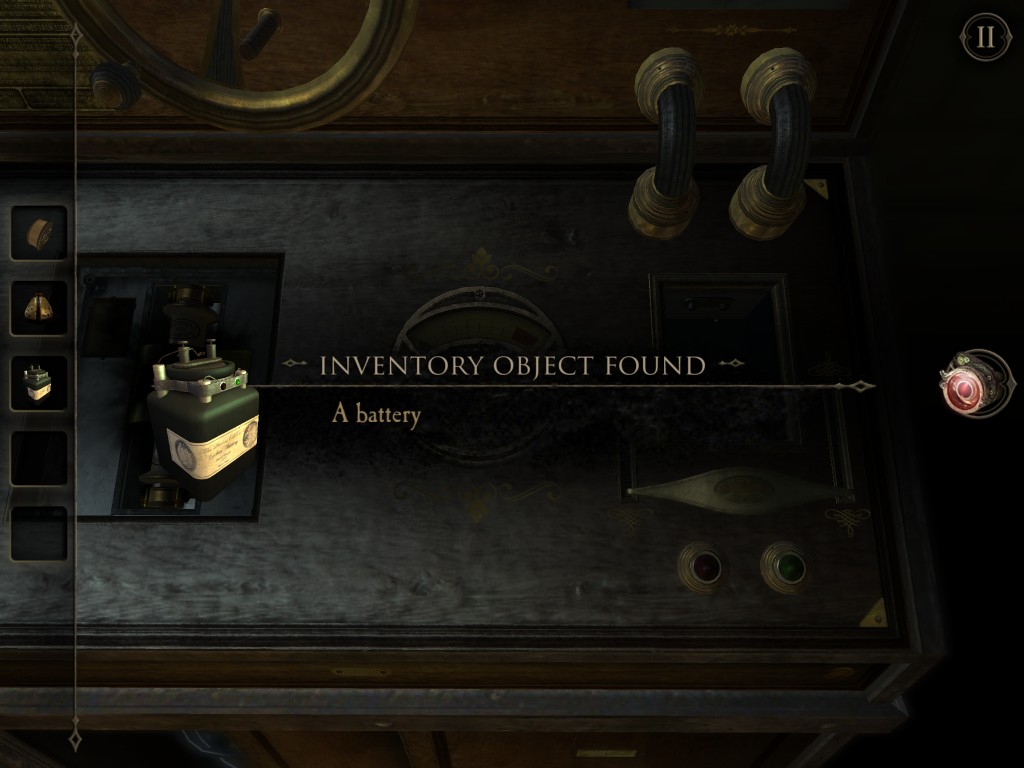
Open the right cabinet door. On top layer grab a battery and a Large Rhinoceros Beetle.
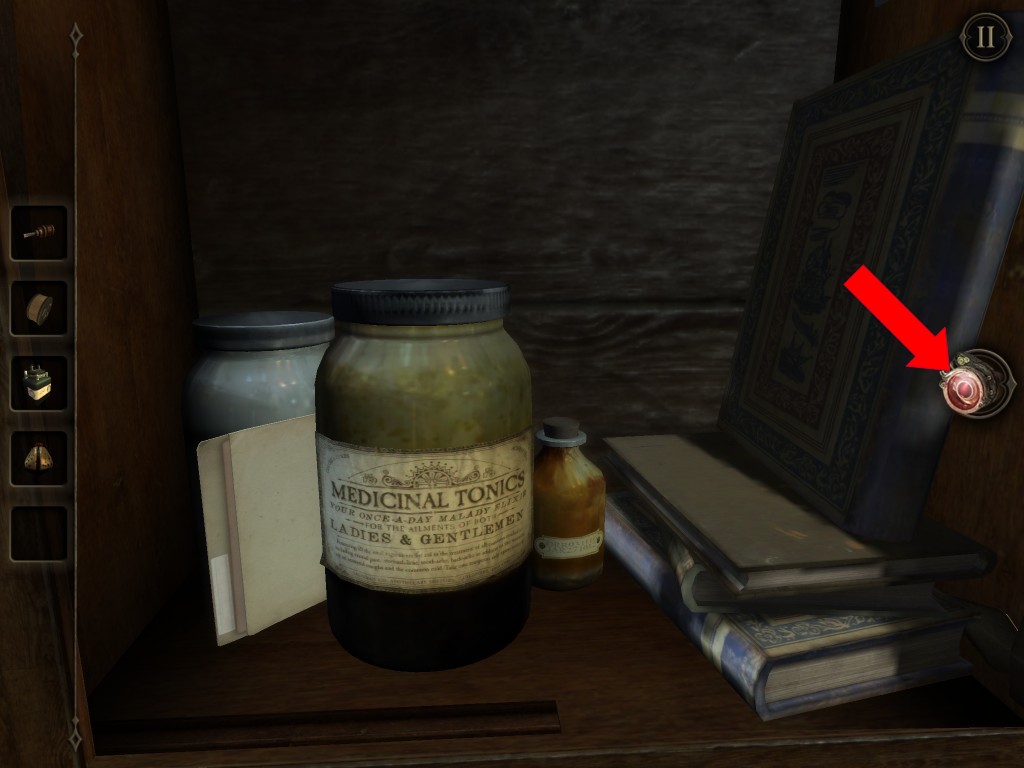
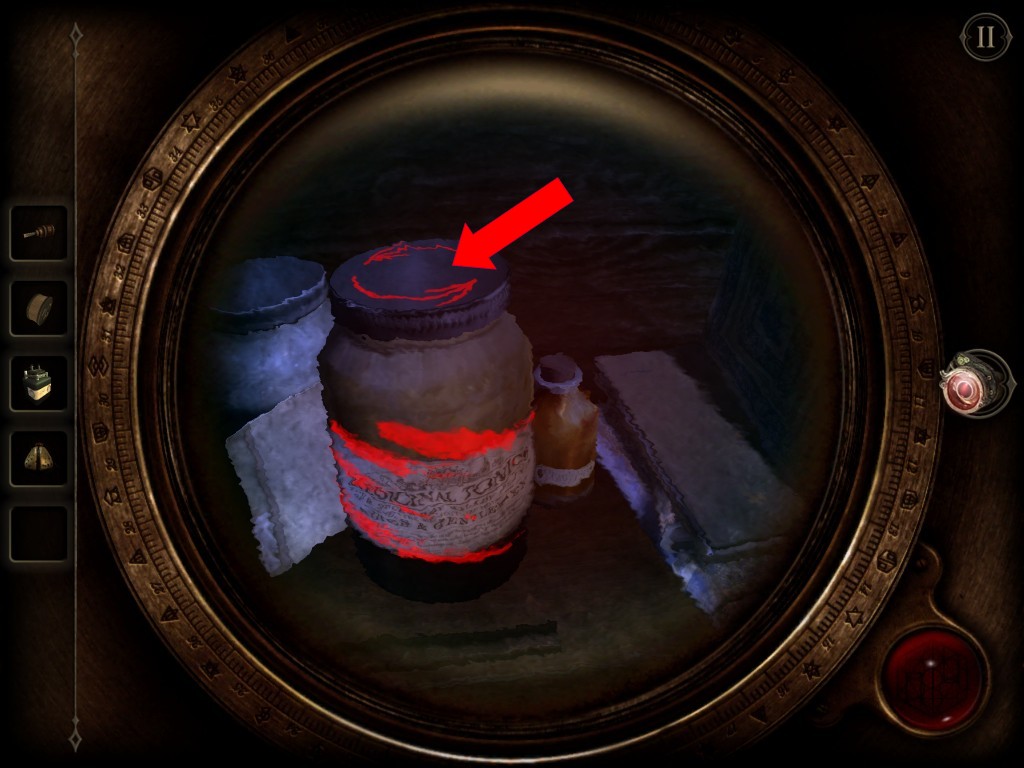
Observe the bottom layer through your eyepiece and note a bottle with fingerpirnts. Open the tonics bottle by turning. Obtain a piece of a Broken Plaque.


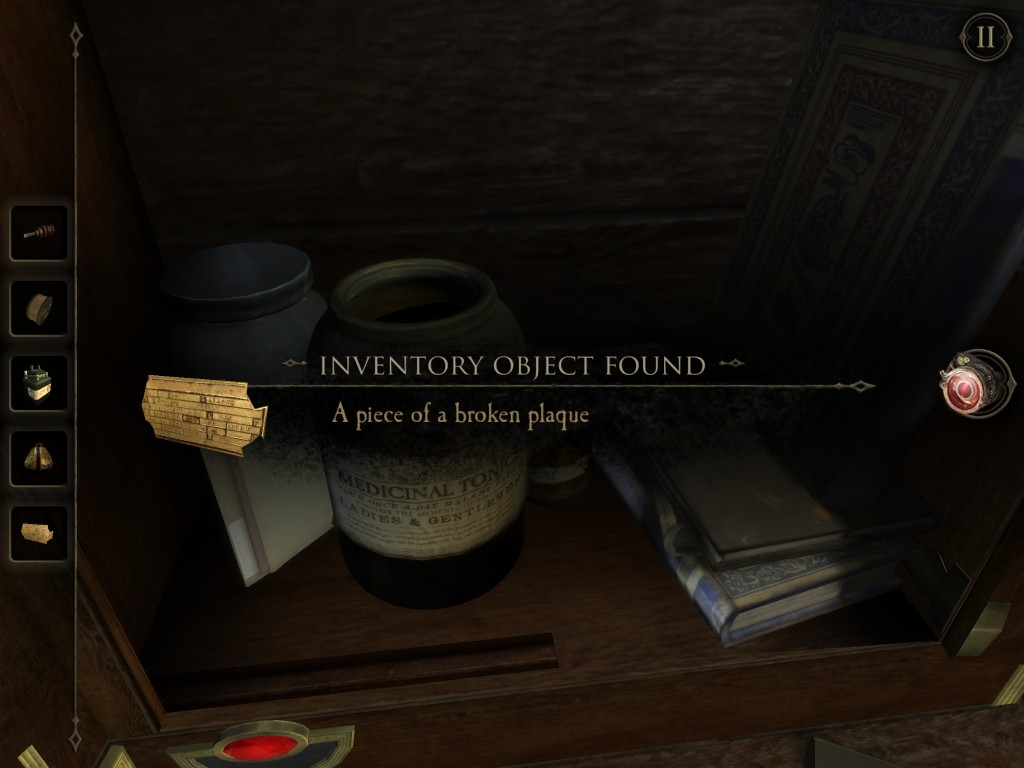
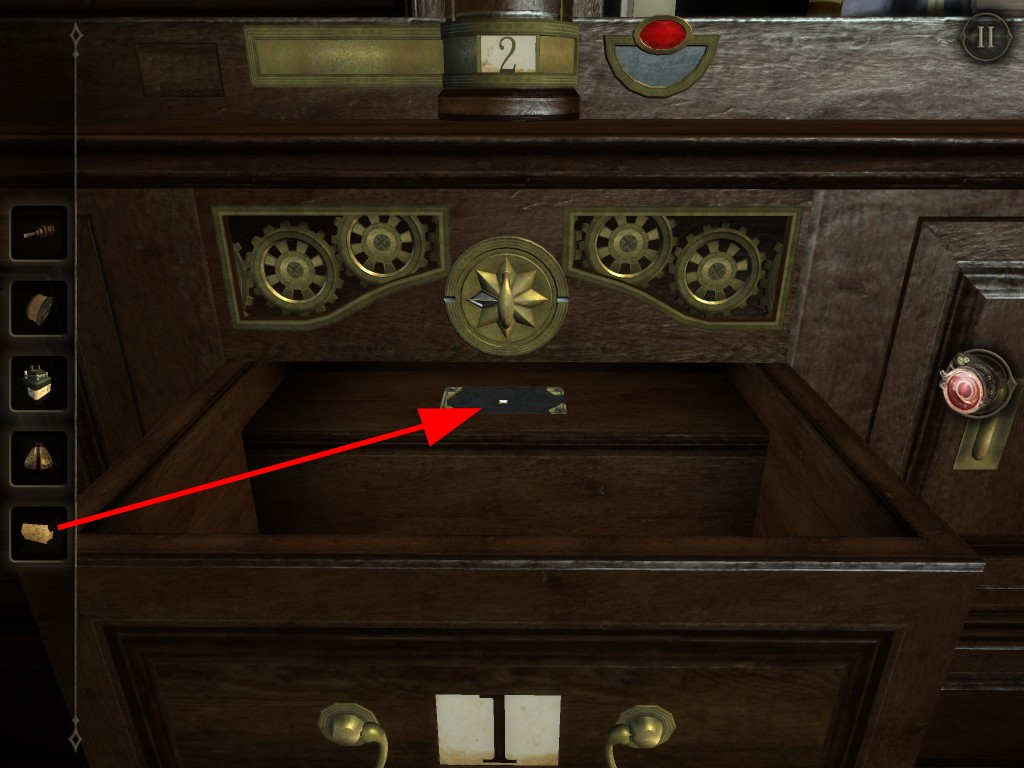
Go back to drawer 1. Insert the Piece of a Broken Plaque and get a fuse (It looks like it’s intact).

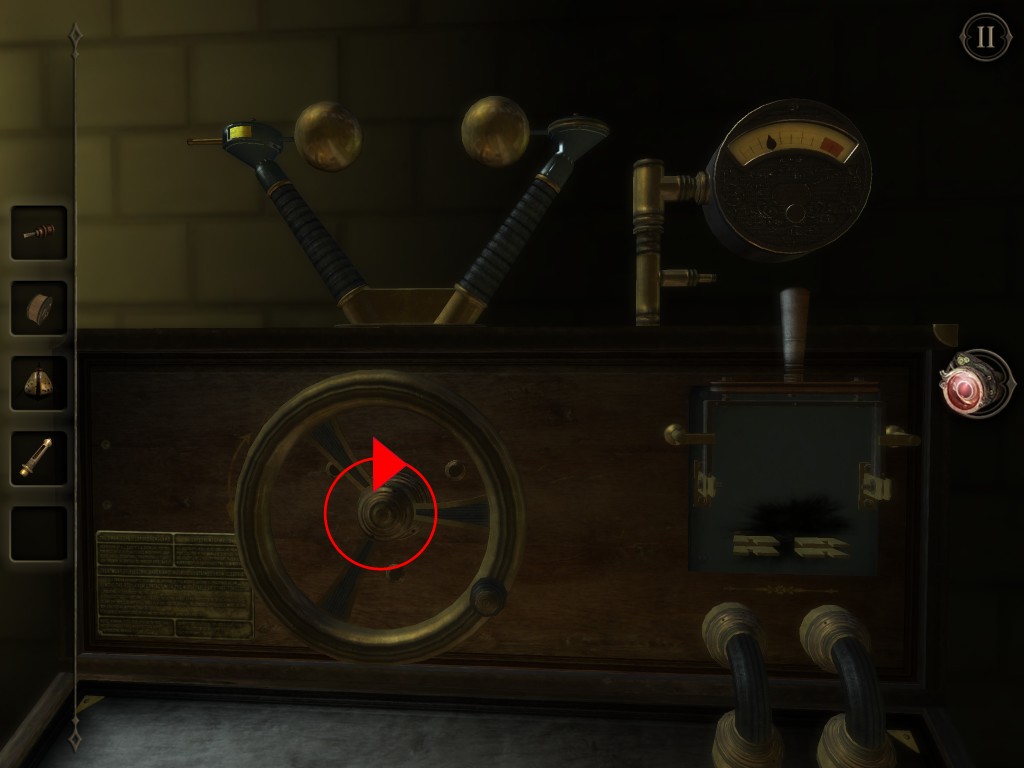
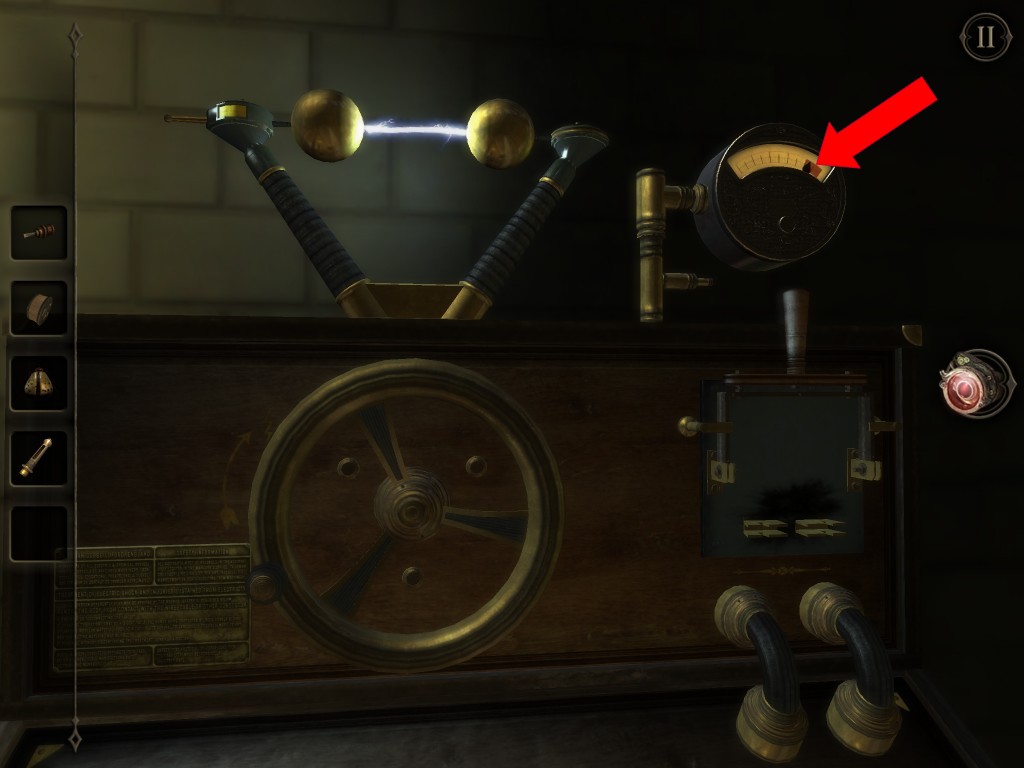
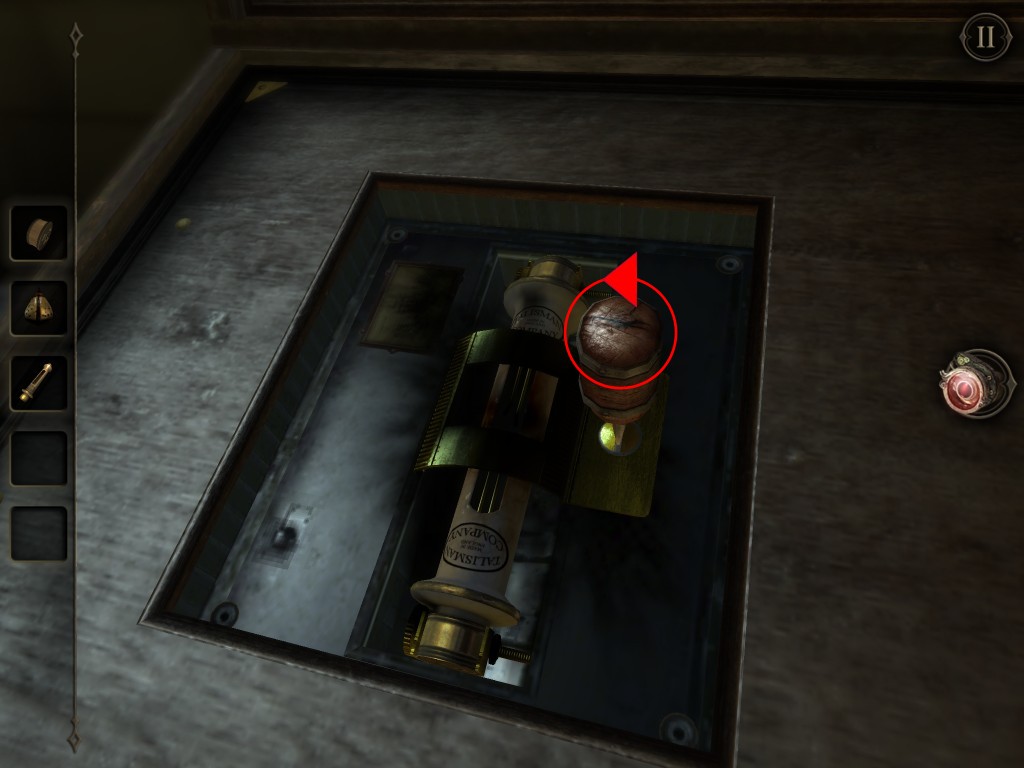
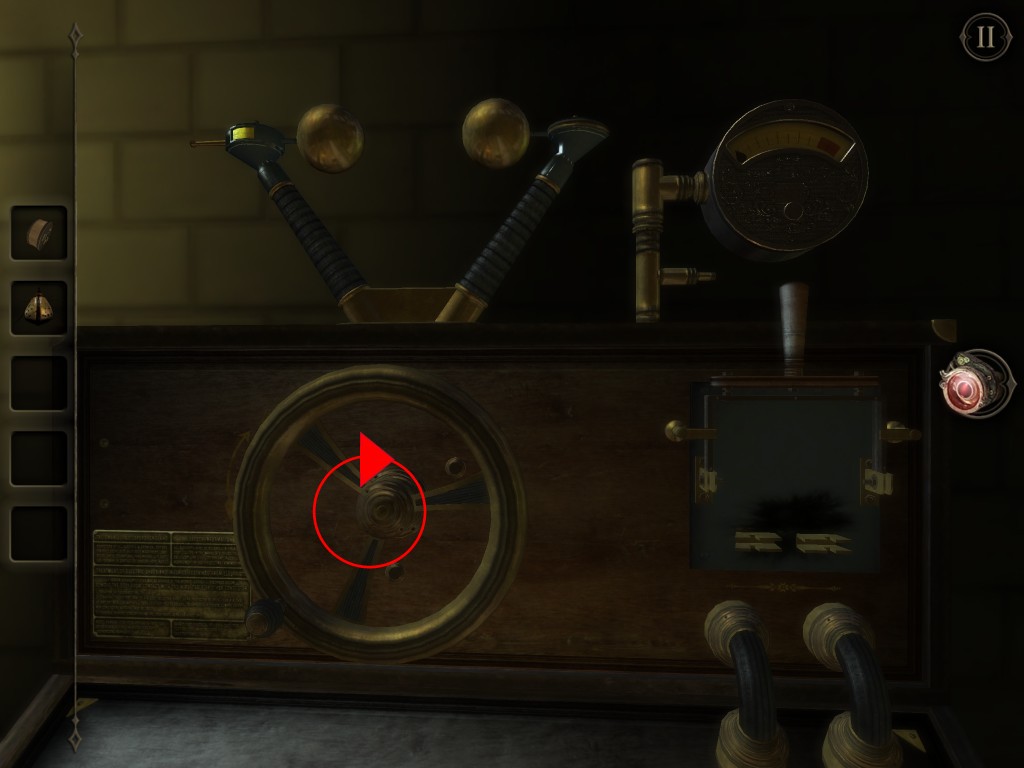
Insert second battery into the generator. Turn the wheel to generate electricity like before. Pull the handle once the gauge reach the red section.


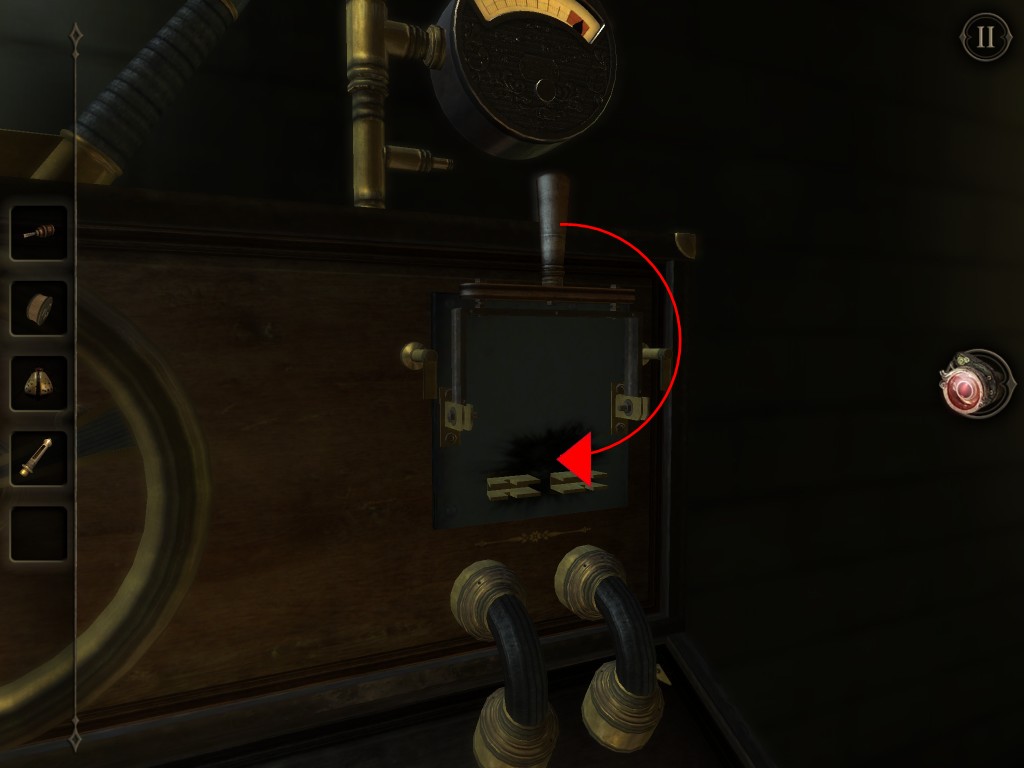
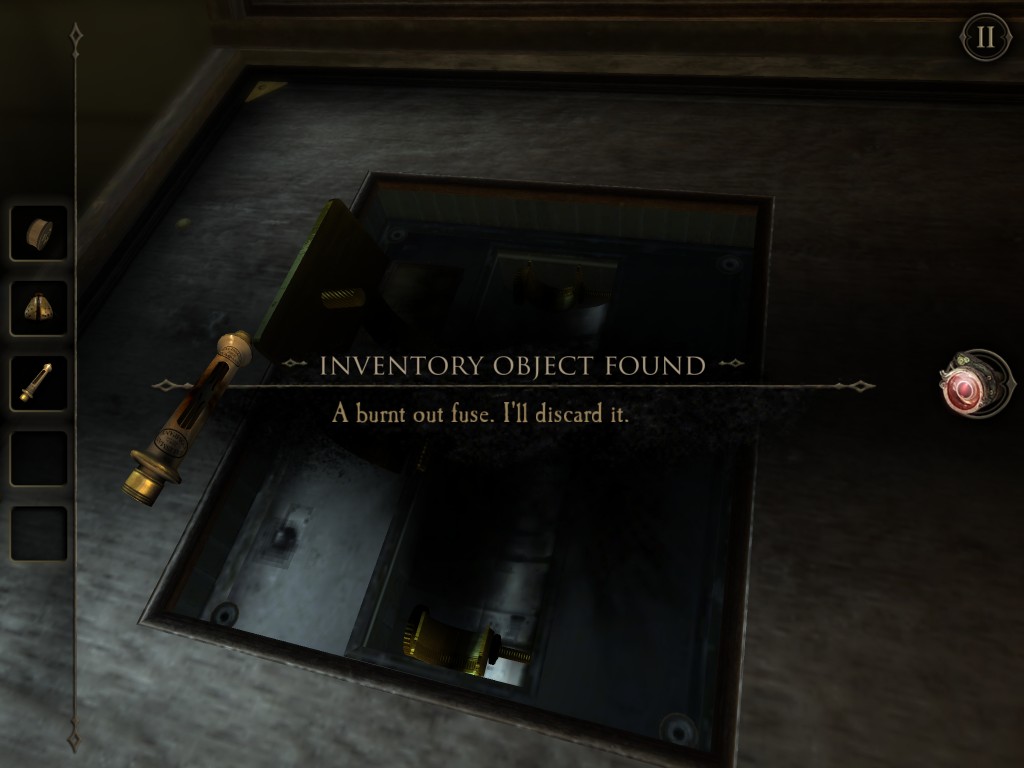
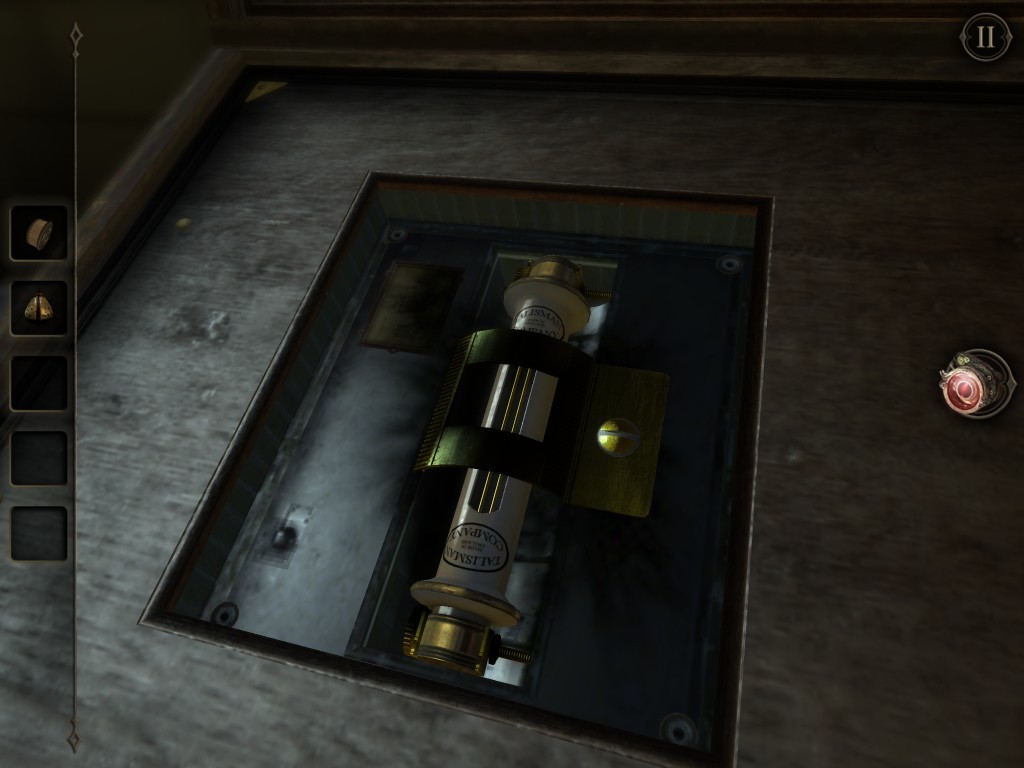
The fuse will be burned out during the charging process. Use the screwdriver to loosen the screw. Discard the burnt out fuse. Insert the fuse from your inventory. Go through the charging process again to complete the charged battery.

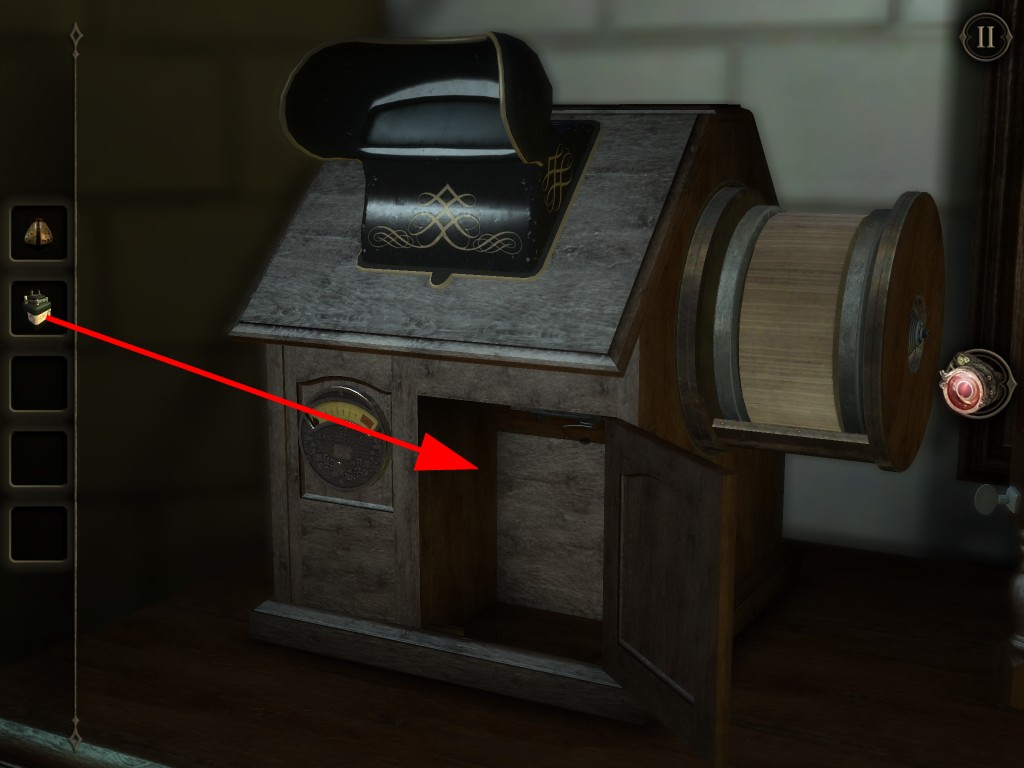
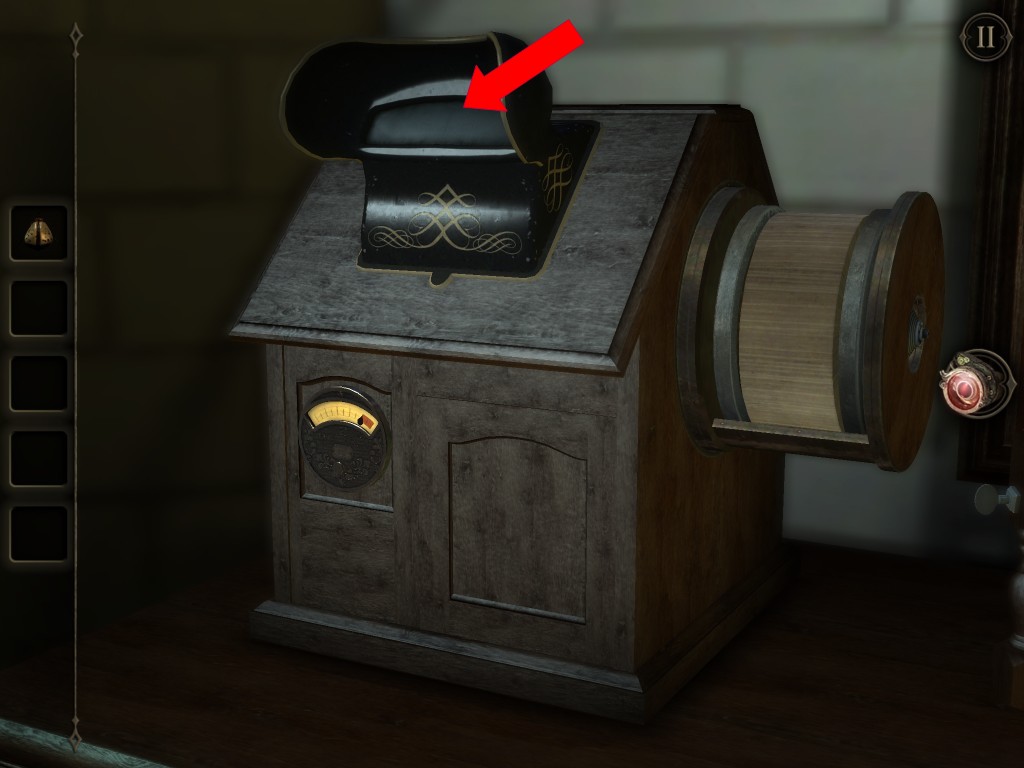
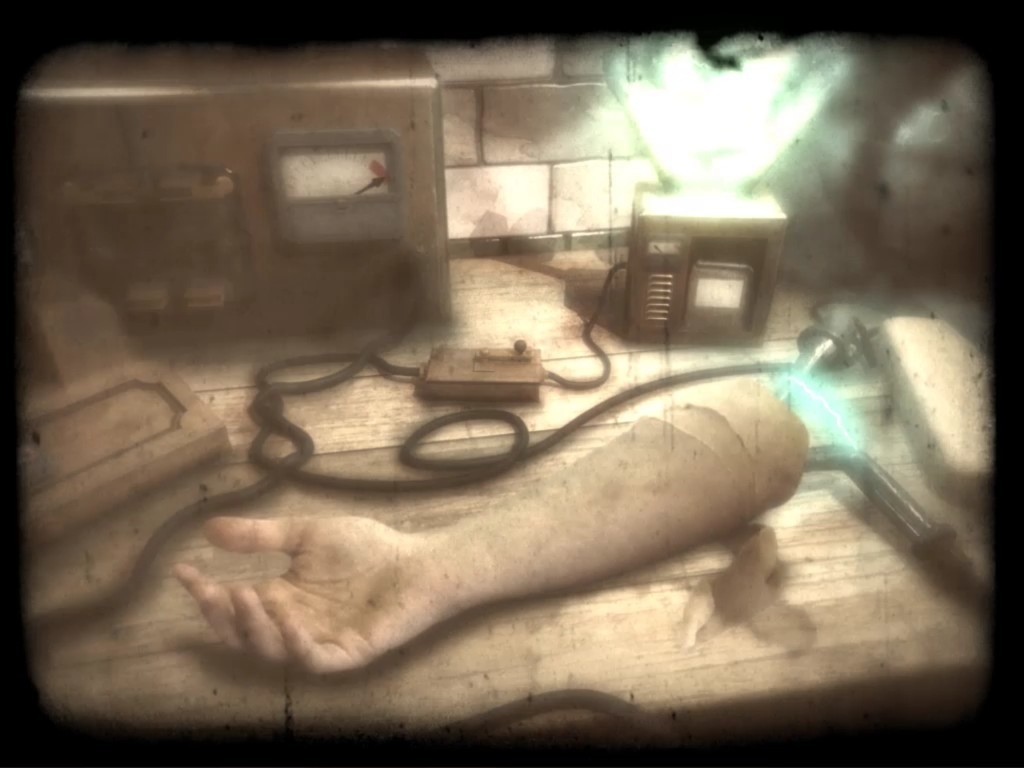
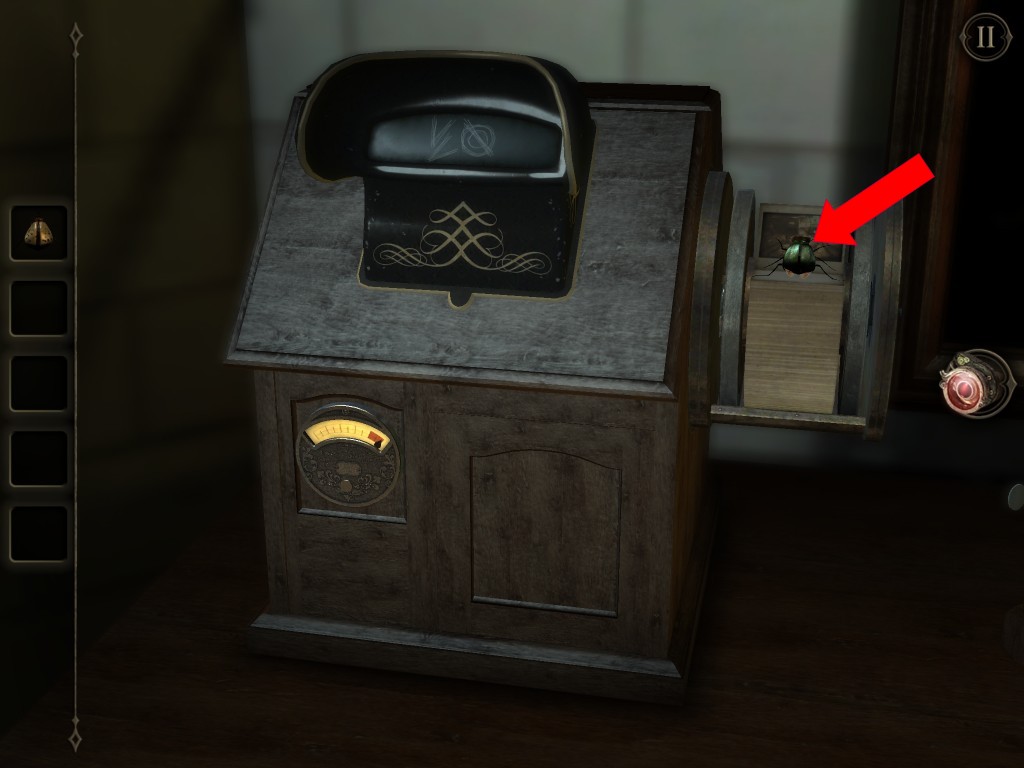
Go to the image player on top of the chest drawer. Insert a drum of images and battery. Look into the screen and see a broken arm.

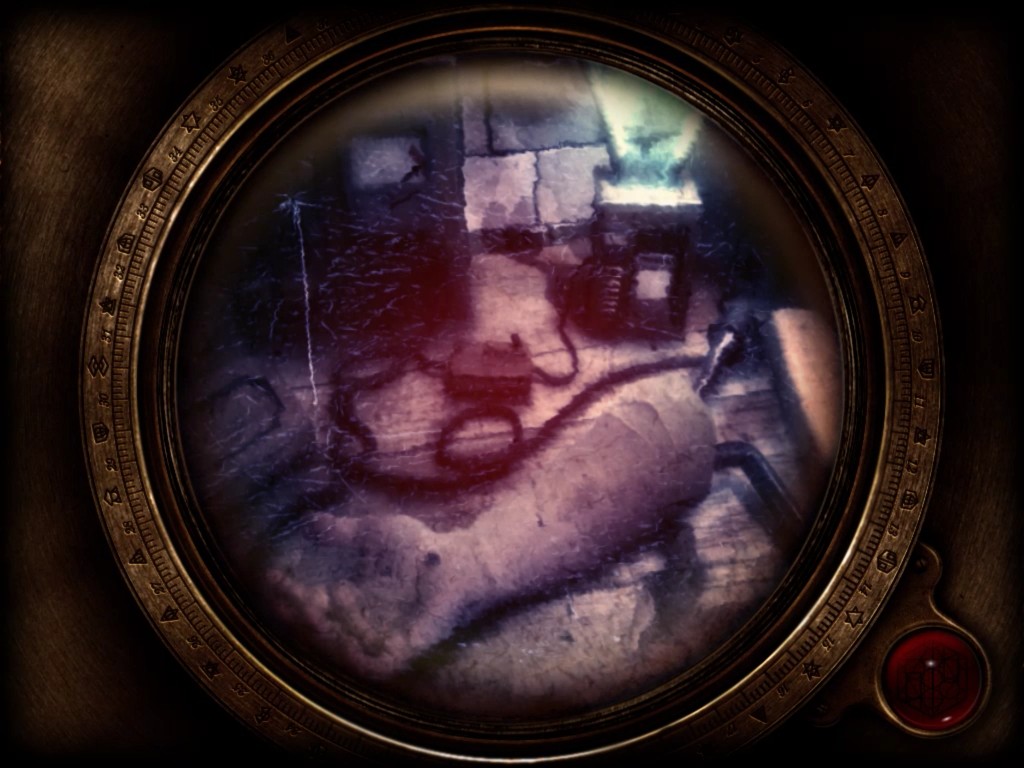
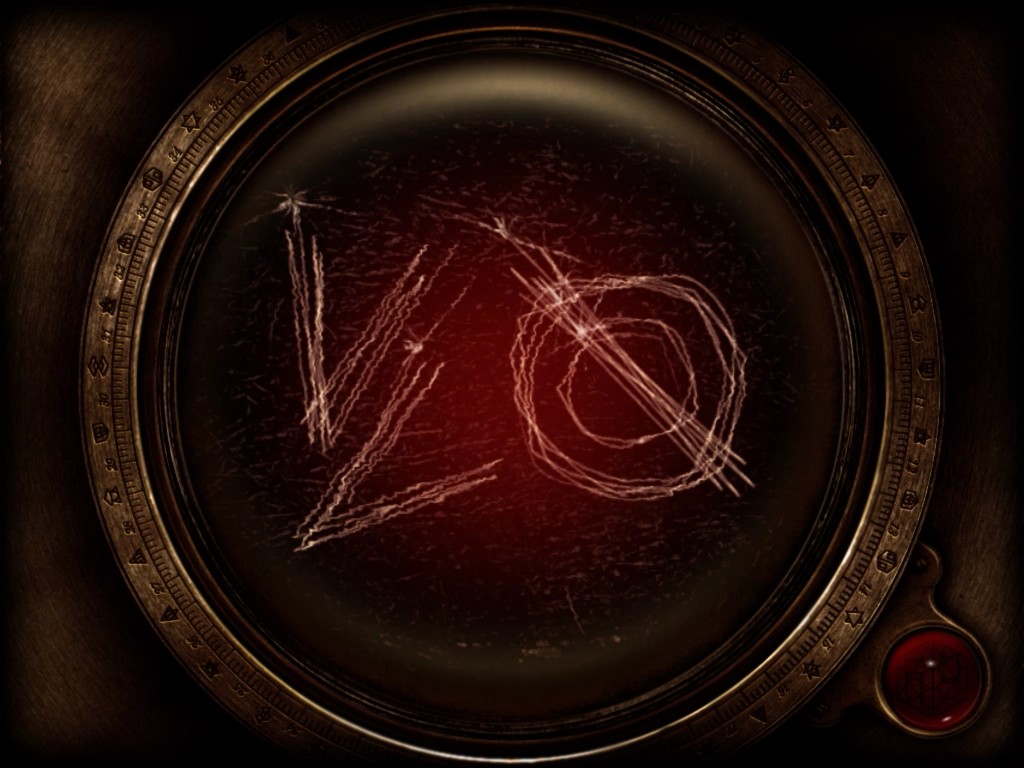
Put on your eyepiece and look into the lends again. This time you will see two symbols. The first symbol looks like a double V and the second symbol is a line strike through two circles.

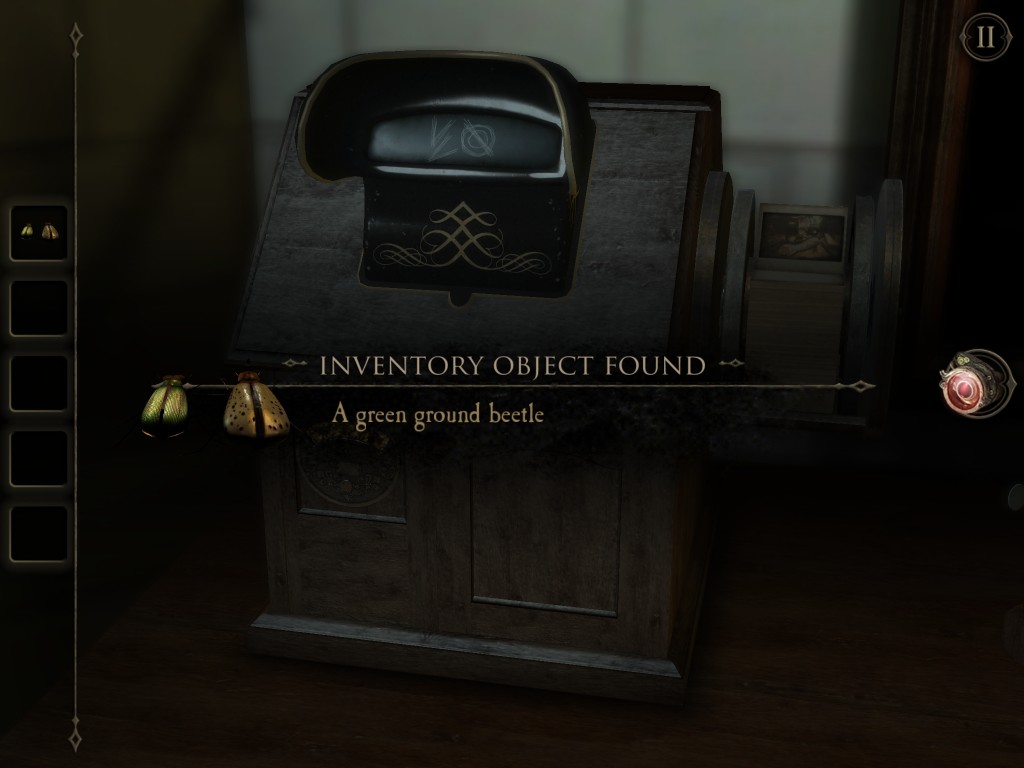
Take a green ground beetle on top of the drum that popped out.
Continue on to the final part of The Room 2 Chapter 6 – Box on Round Table.