Welcome to the best walkthrough guide of Chapter 3 (The Temple) for The Room Two. We have divided the complete walkthrough into easy to read parts featuring the different main locations that you have to solve. Because certain items require several visits, we have divided them accordingly where appropriate. Please let us know if you are still stuck with any of the puzzles or if we are not clear with our best walkthrough solutions.
We have divided The Room 2 Chapter 3 into the following major sections.
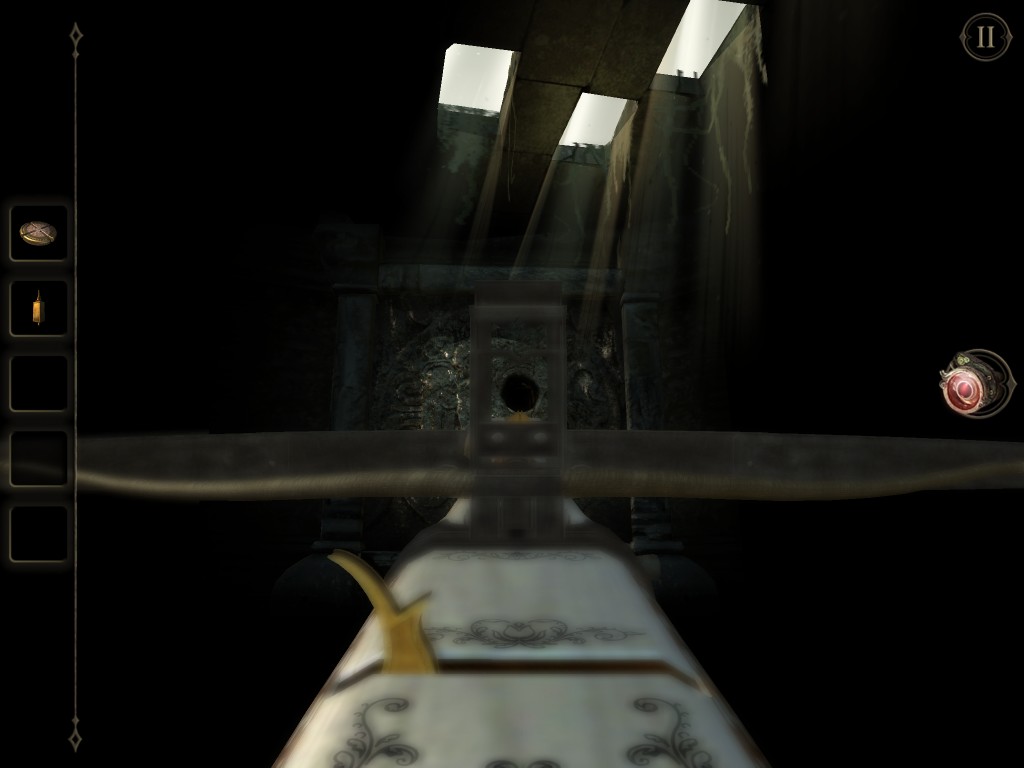
Part 1: Cross Bow Setup
Part 2: Broken Mirror
Part 3: Temple
Part 4: Black Box
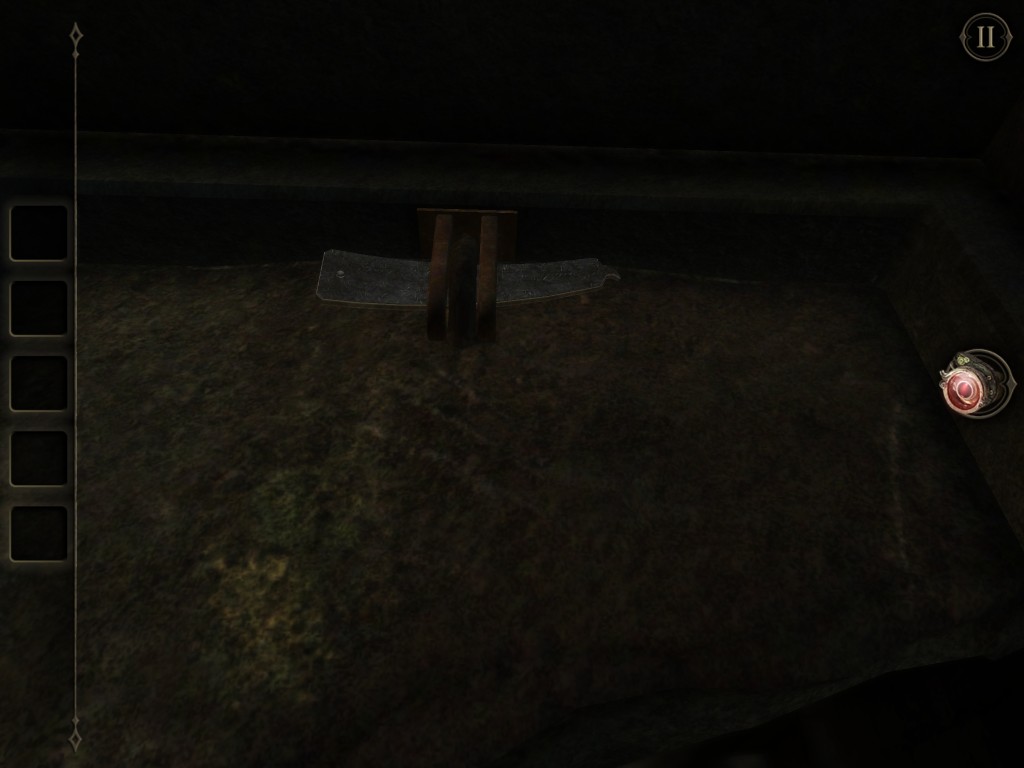
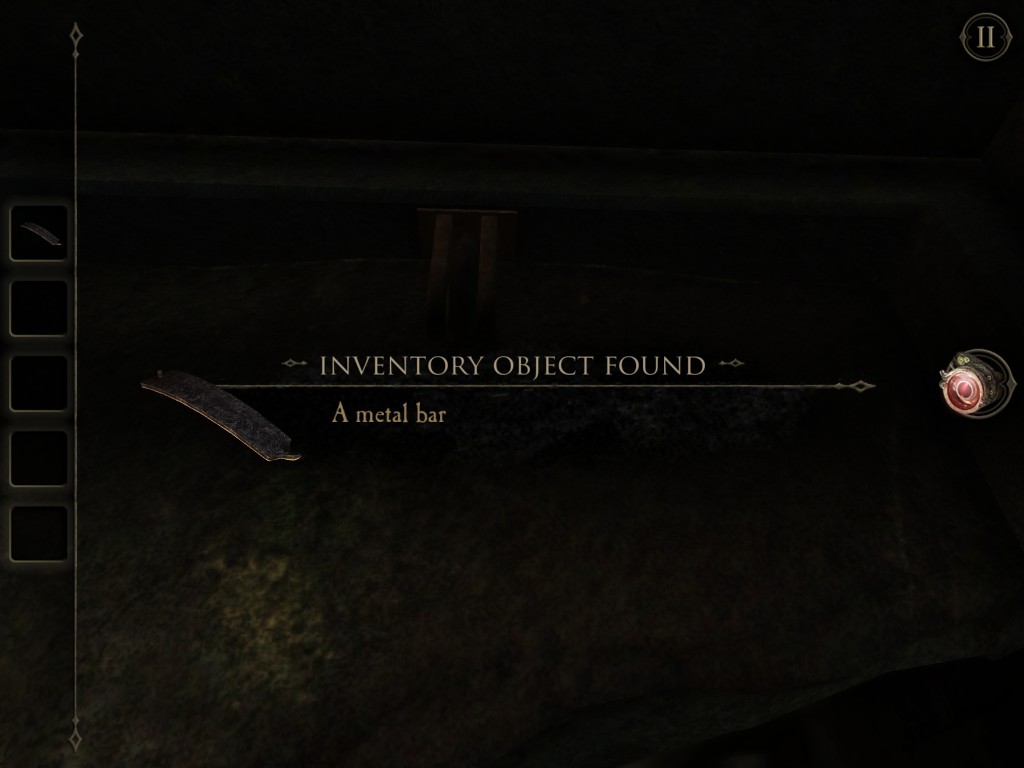
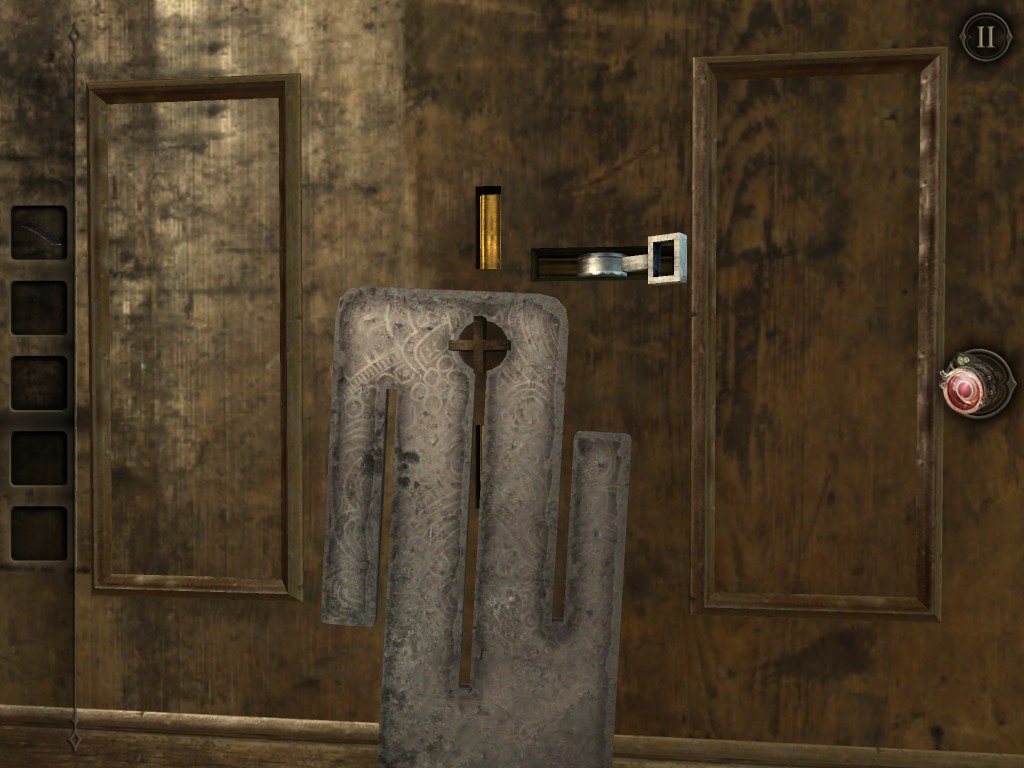
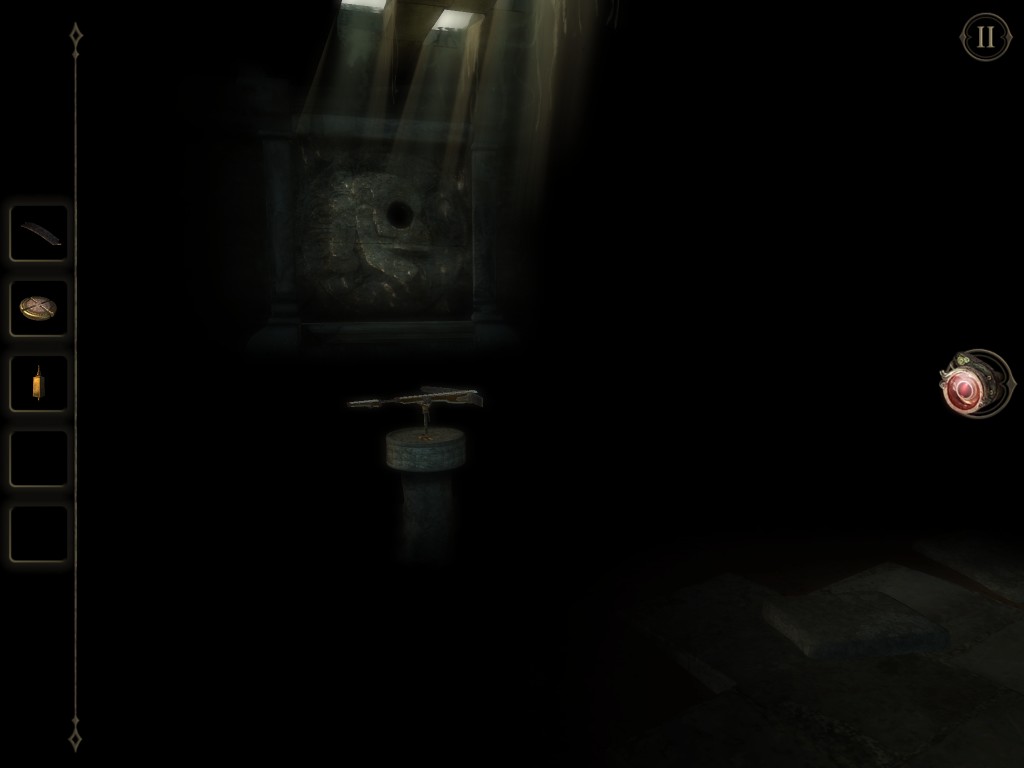
This section features the crossbow. You woke up looking through a crack. Look up and grab the Metal Bar.

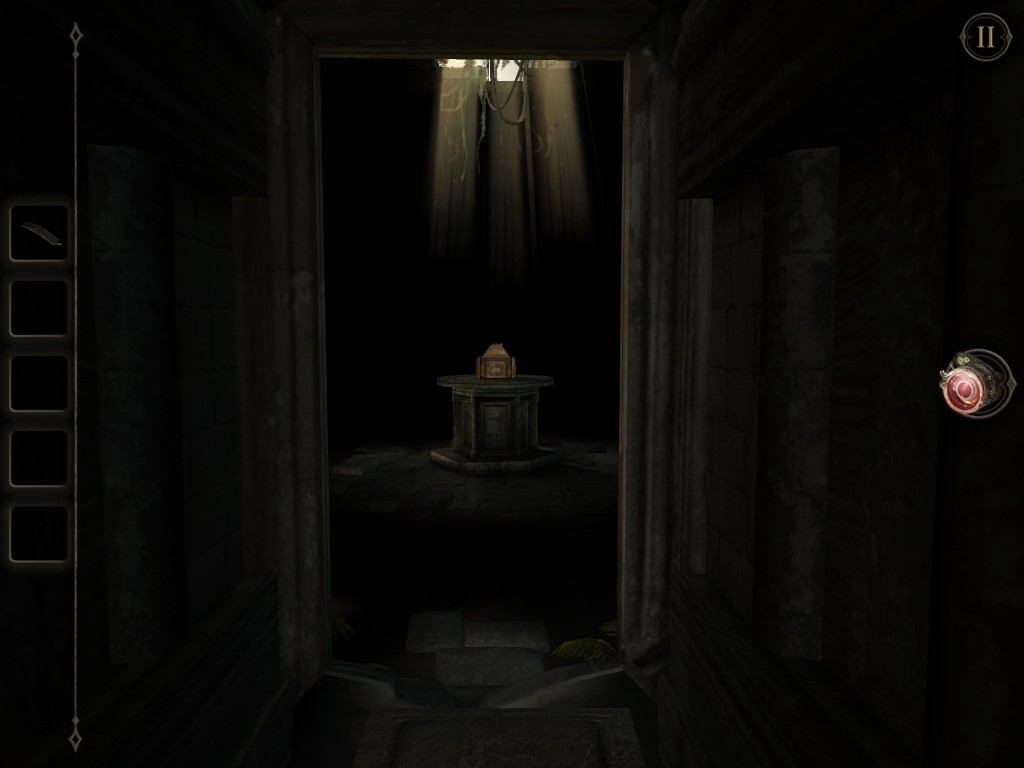
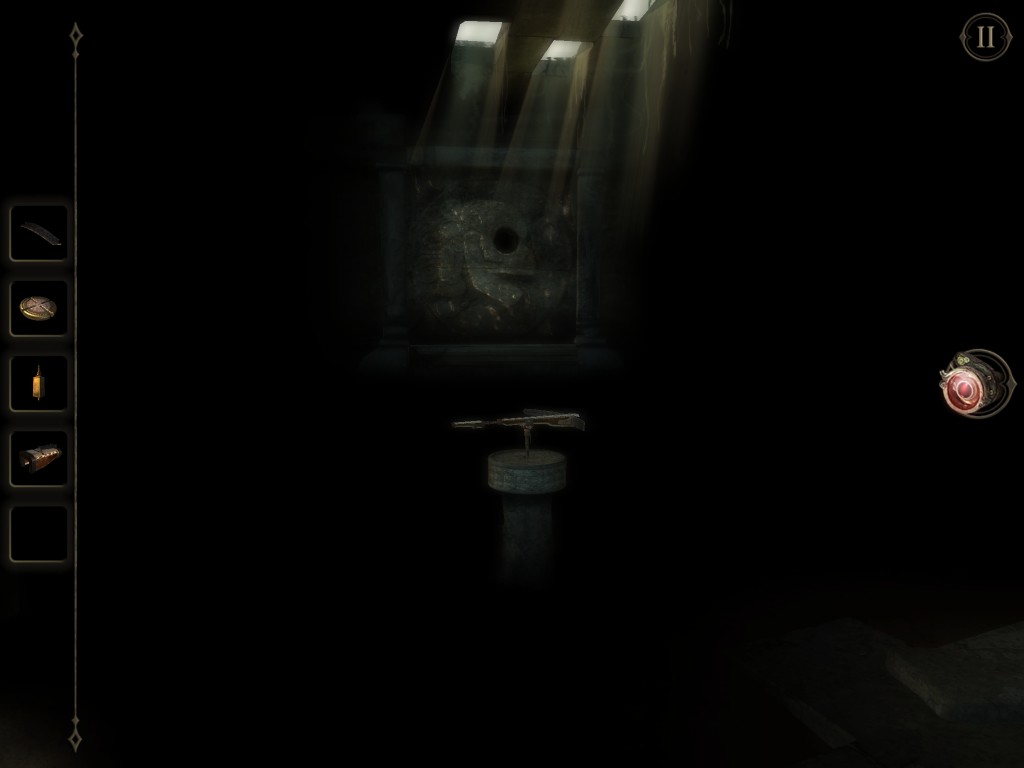
Push down the stone wall in front of you. You will find a box sitting on top of a stone table.

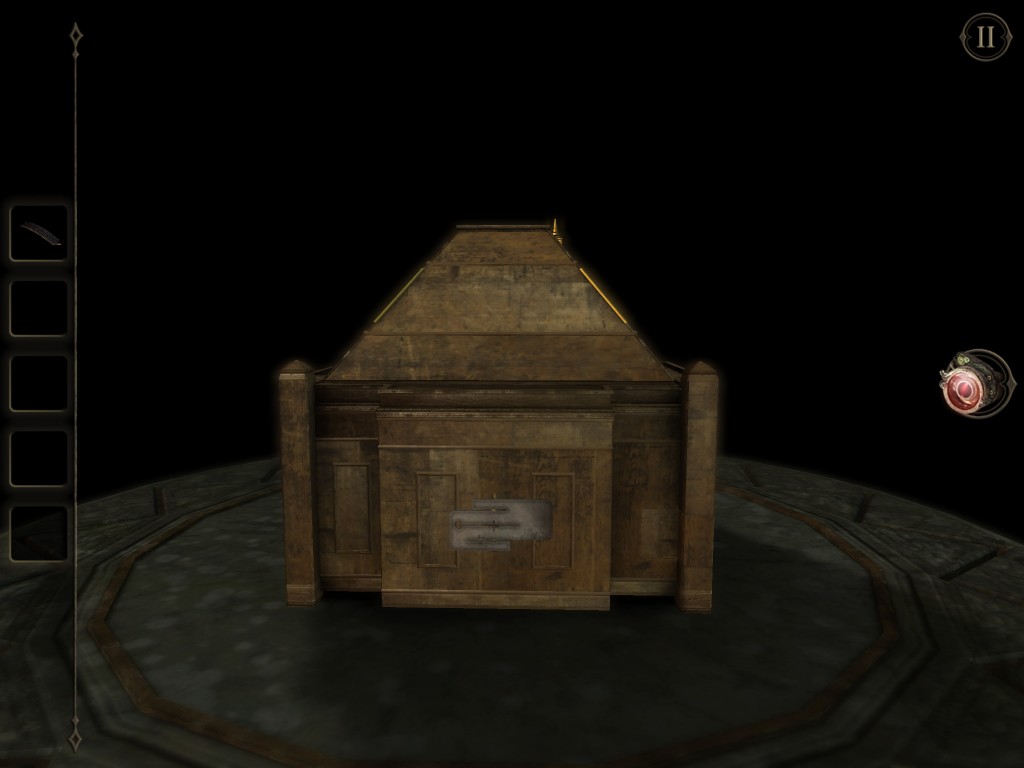
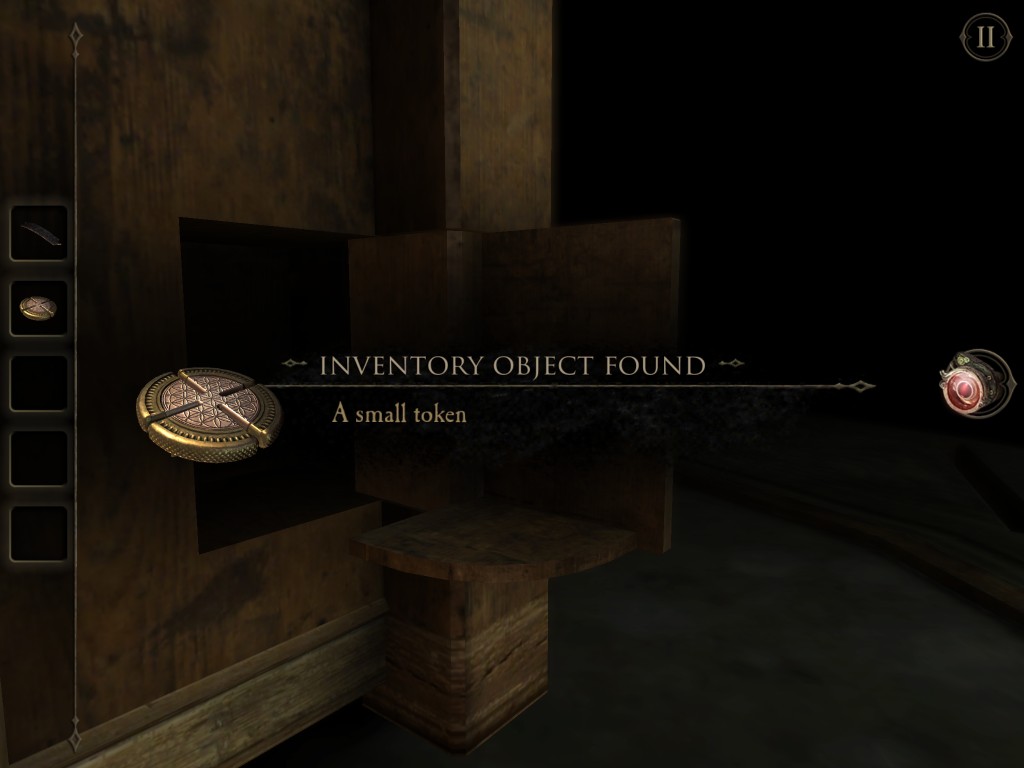
Look closely at the box. Slide open the metal hinge. Grab the Small Token.


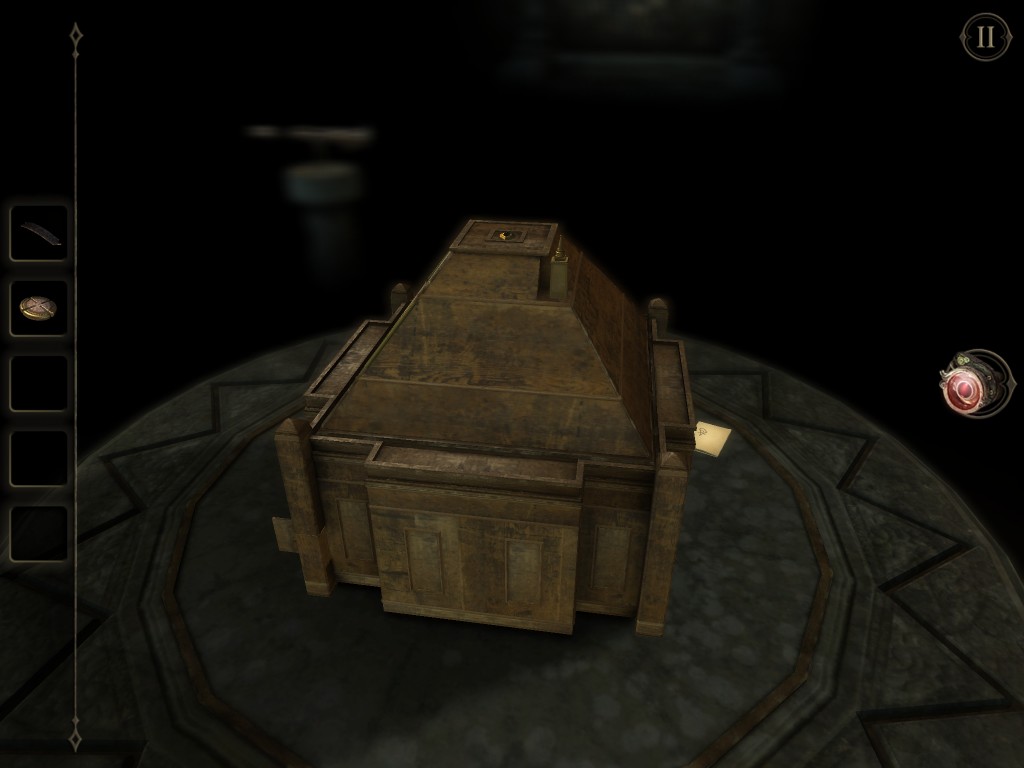
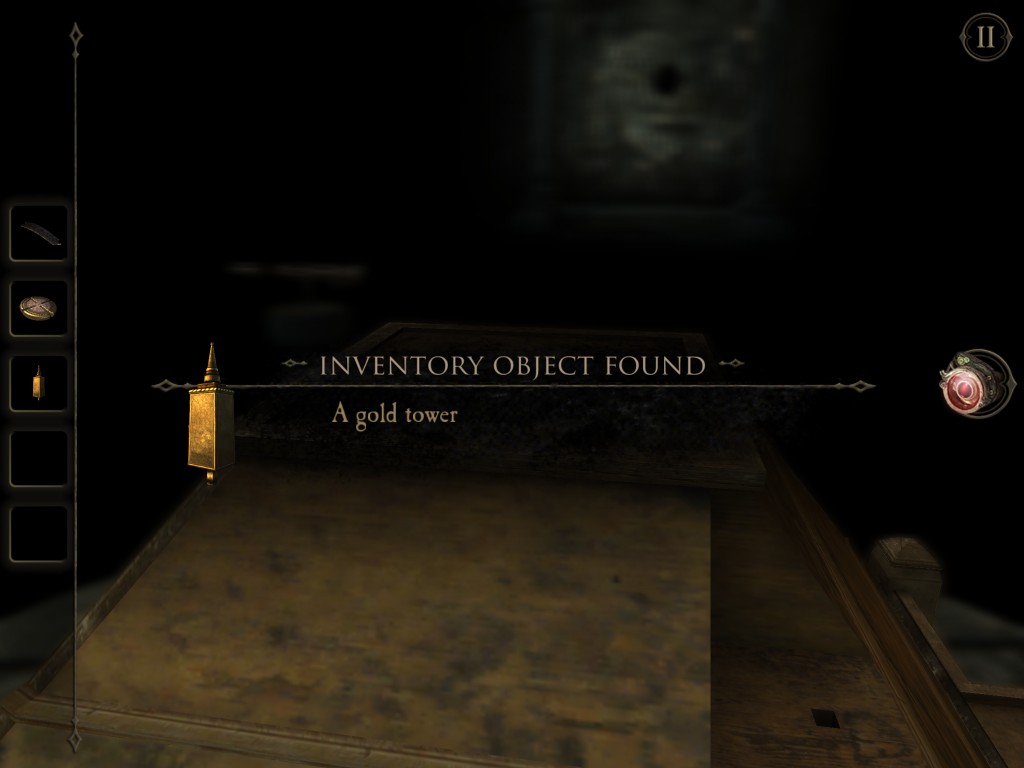
Now change your view to the top of the box and obtain a golden tower.

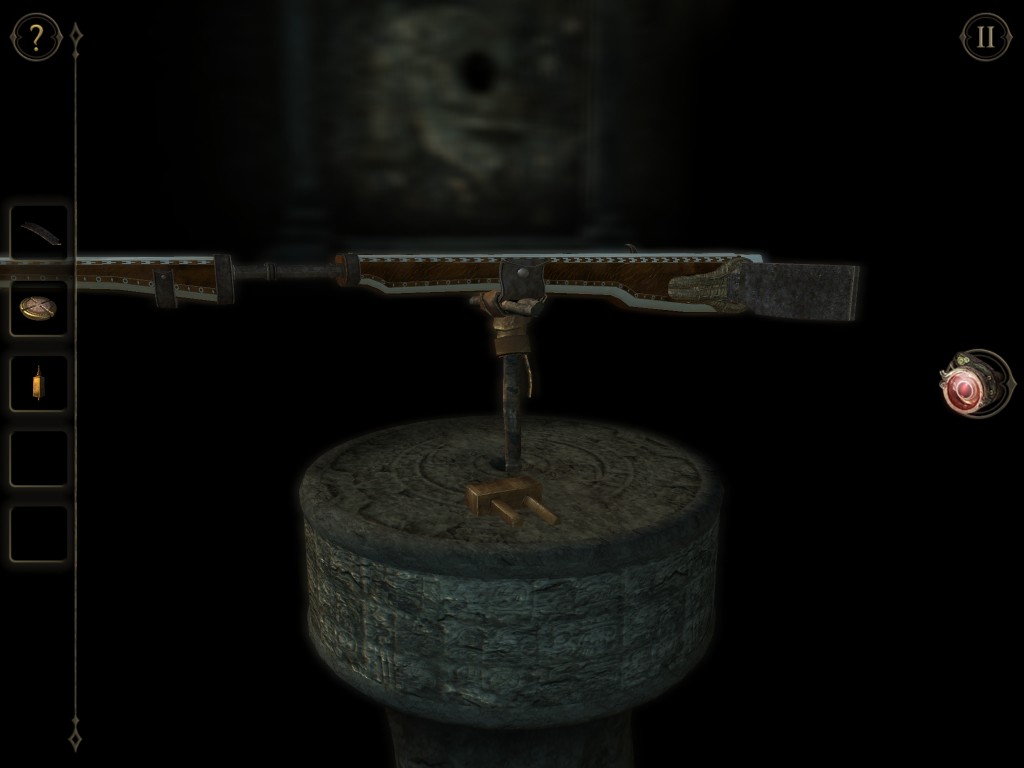
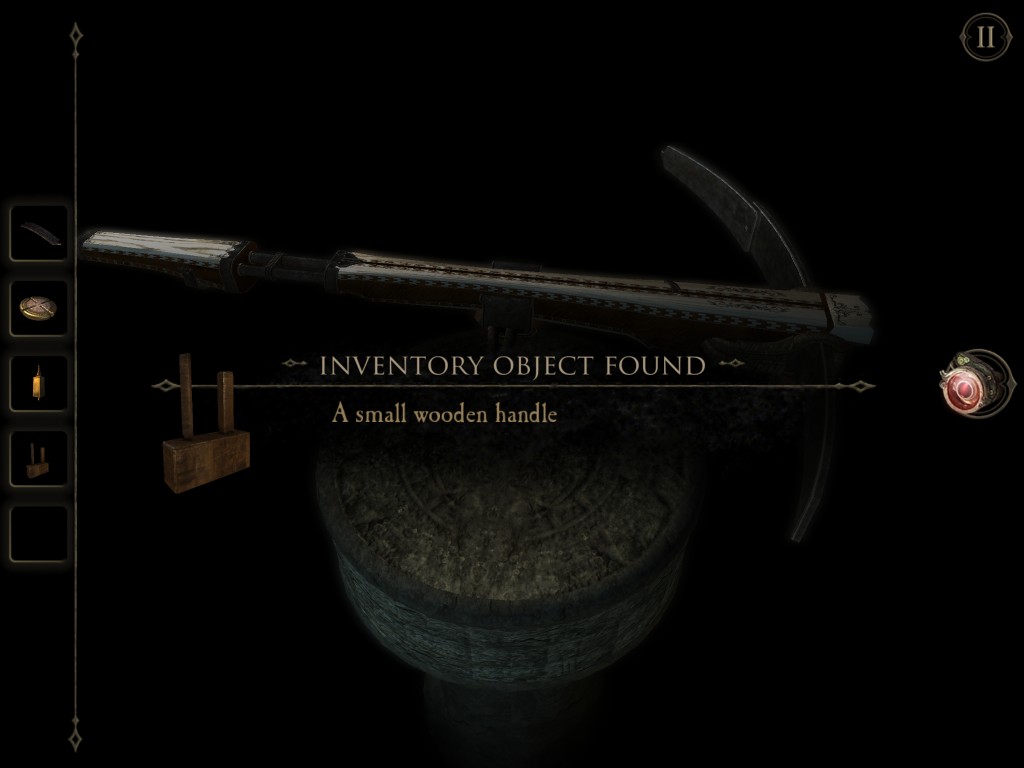
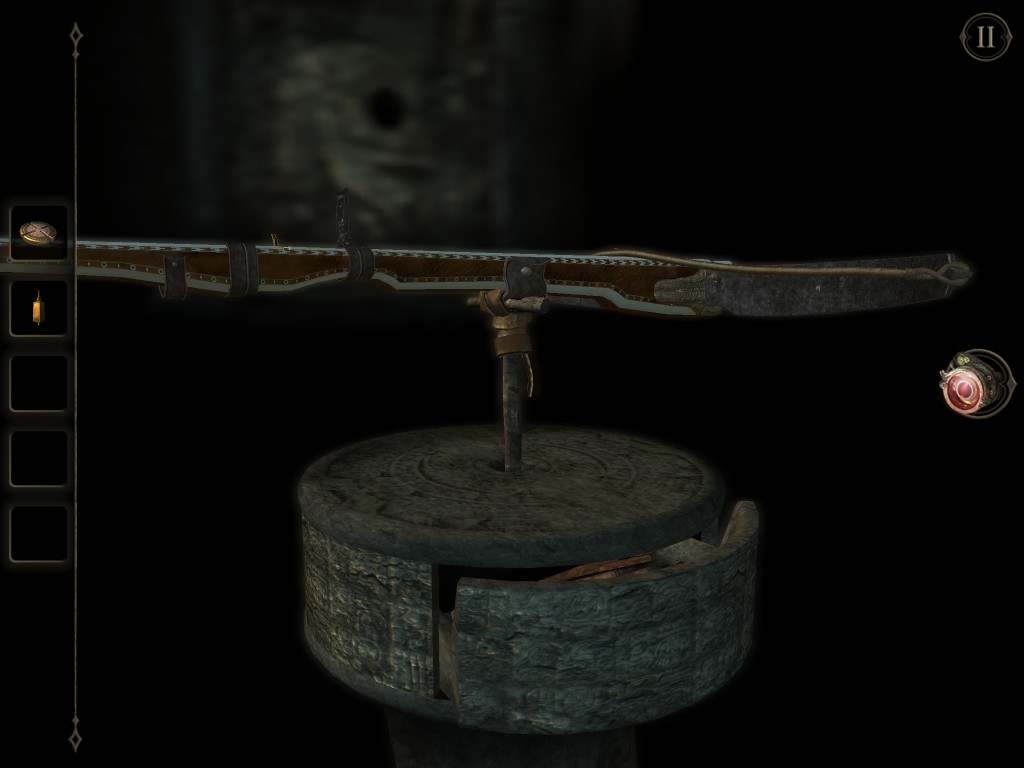
Look around the room. Locate a crossbow sitting on a pedestal. Get the Small Wooden Handle on top of the pedestal.
Go back to the box. Locate the switch with a triangle and a square holes. Insert the Small Wooden Handle. The switch controls the panel on the left. Align each symbols by moving the switch up or down. The puzzle is pretty simple that you should be able to figure it out.

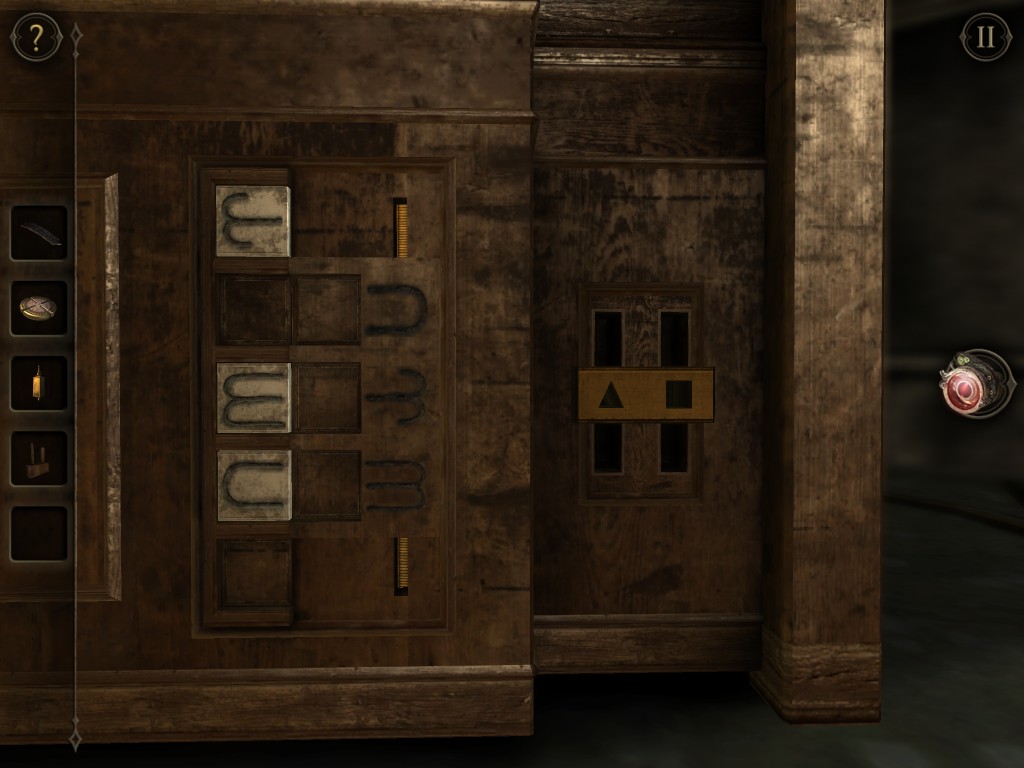
The final solution for the switch puzzle will look something like this. The secret compartment will then open. Get the Trigger Mechanism.


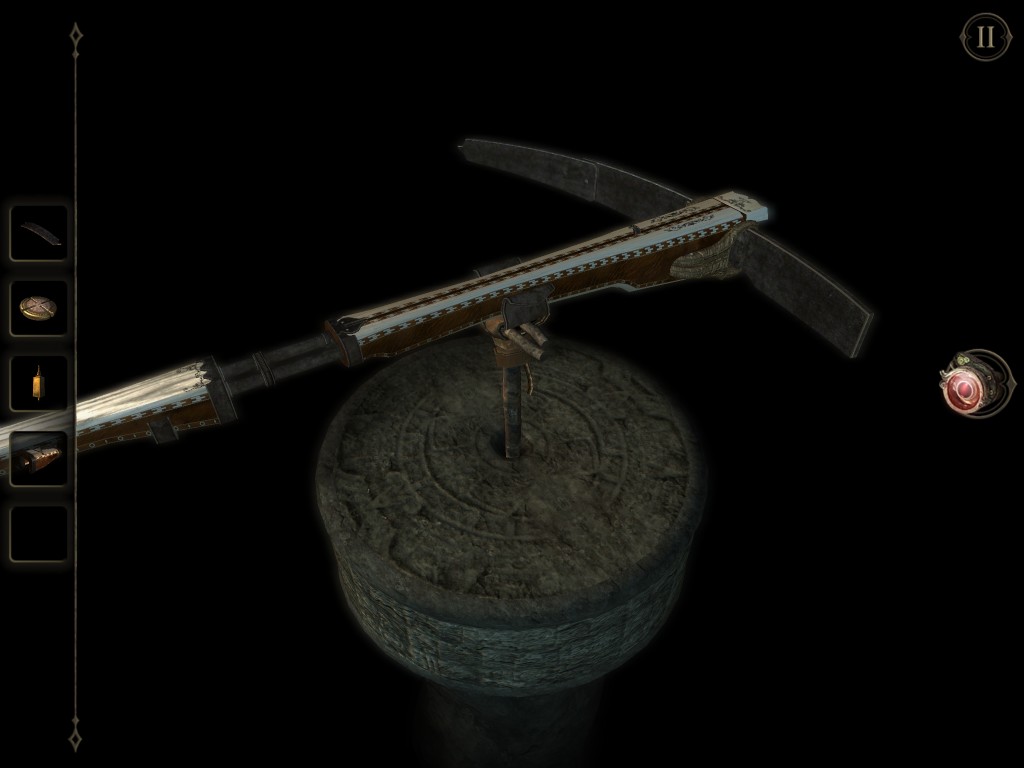
With the trigger mechanism, you can Go to the crossbow and set it up. Insert the Trigger Mechanism and the Metal Bar.
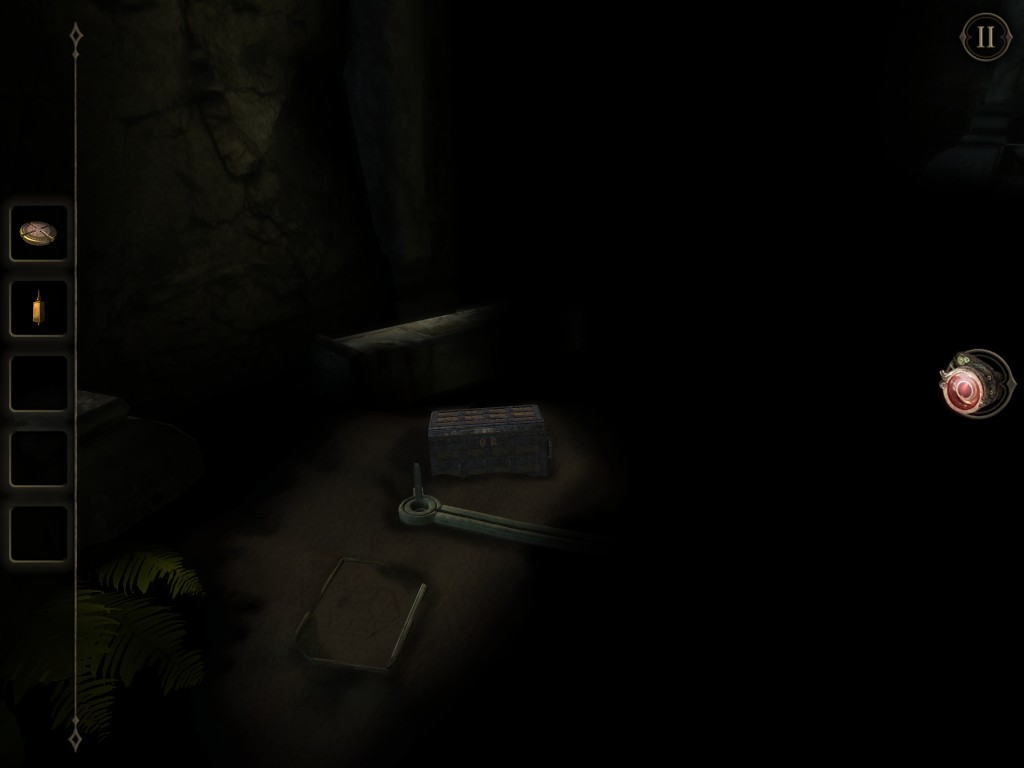
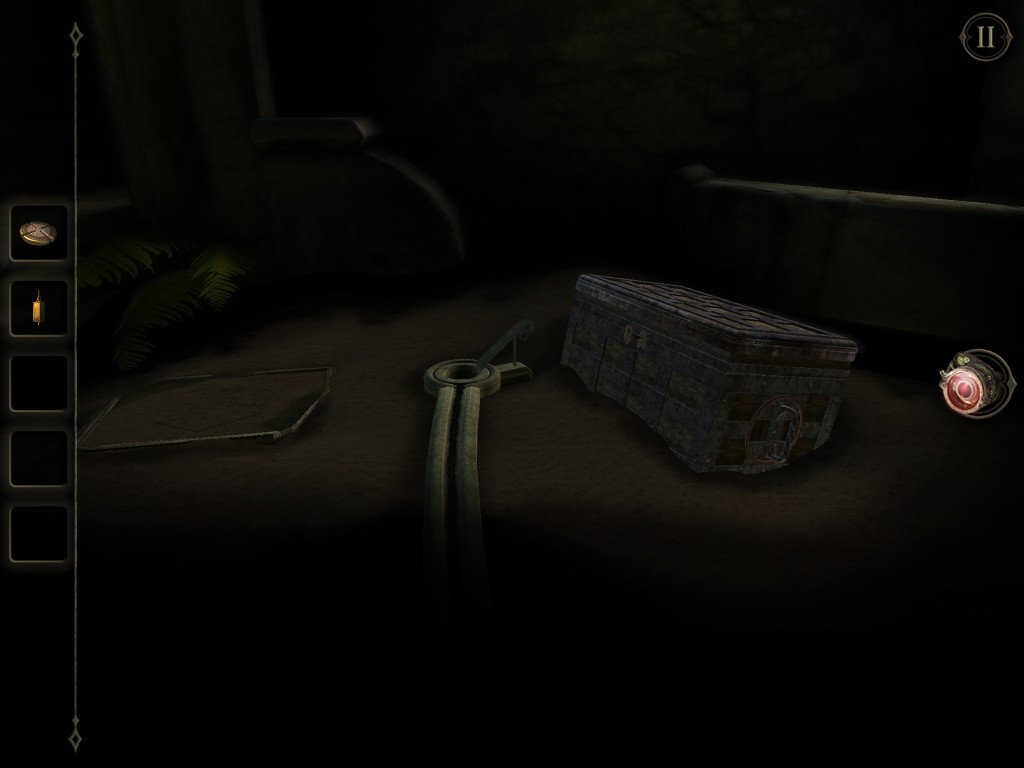
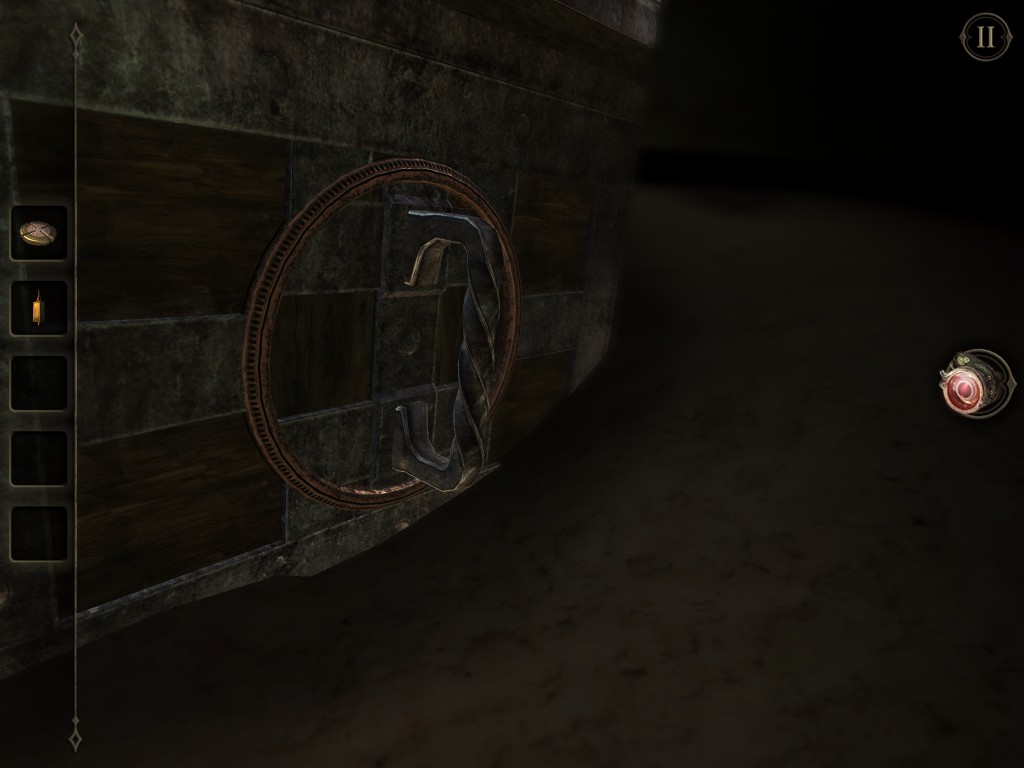
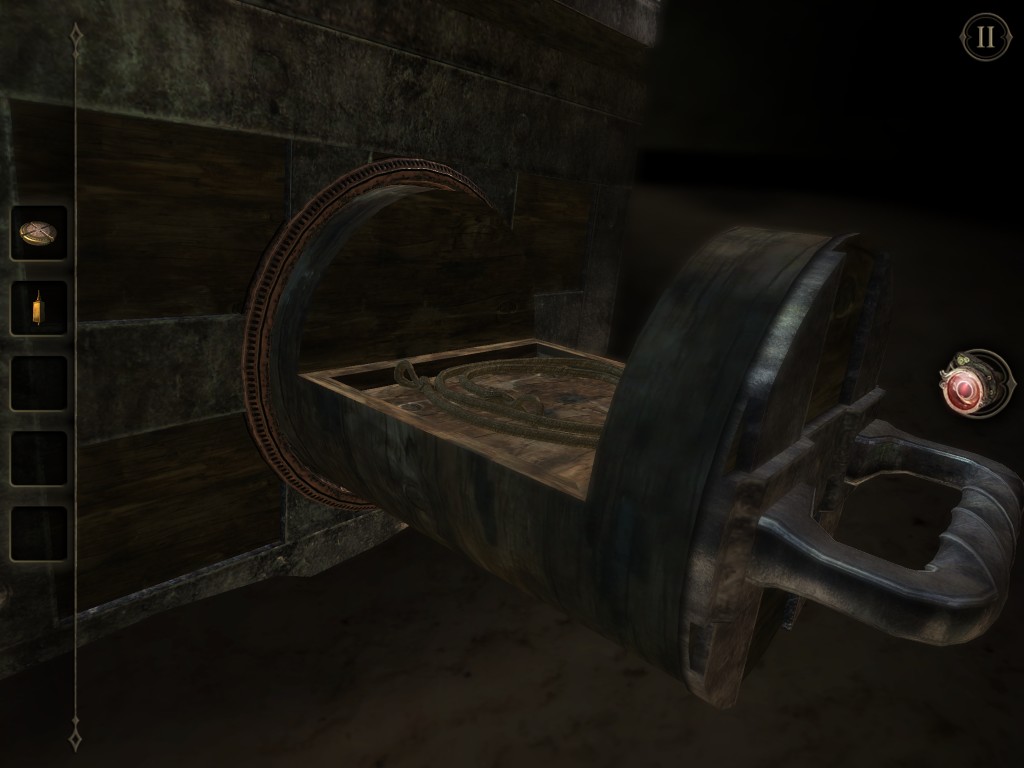
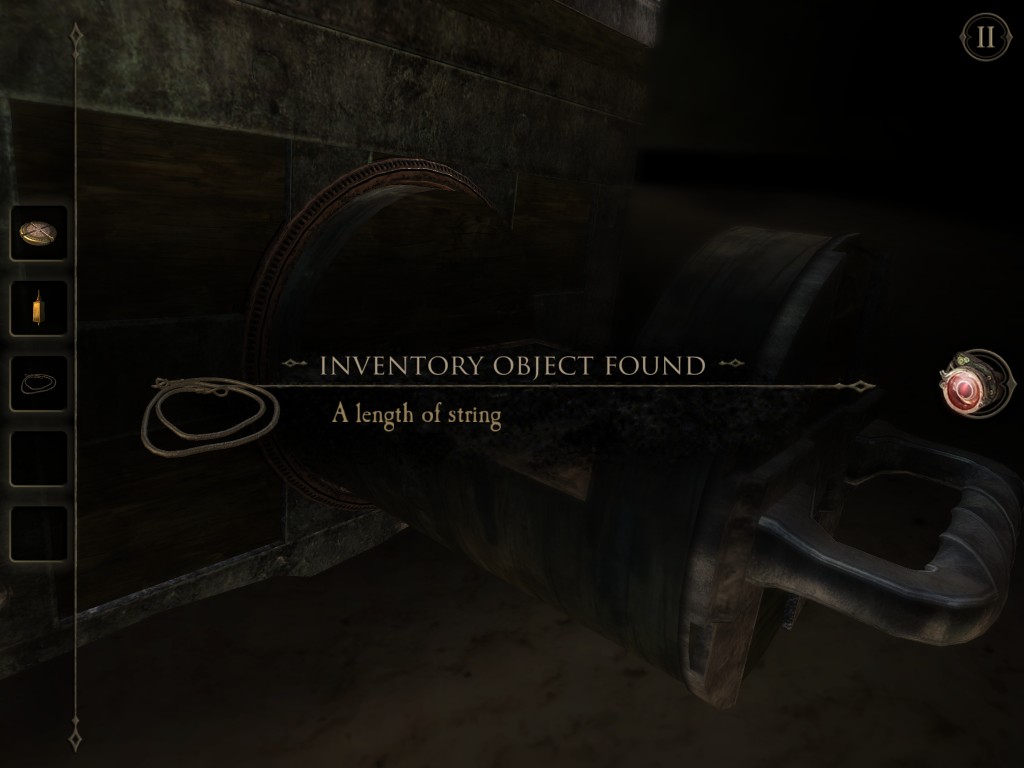
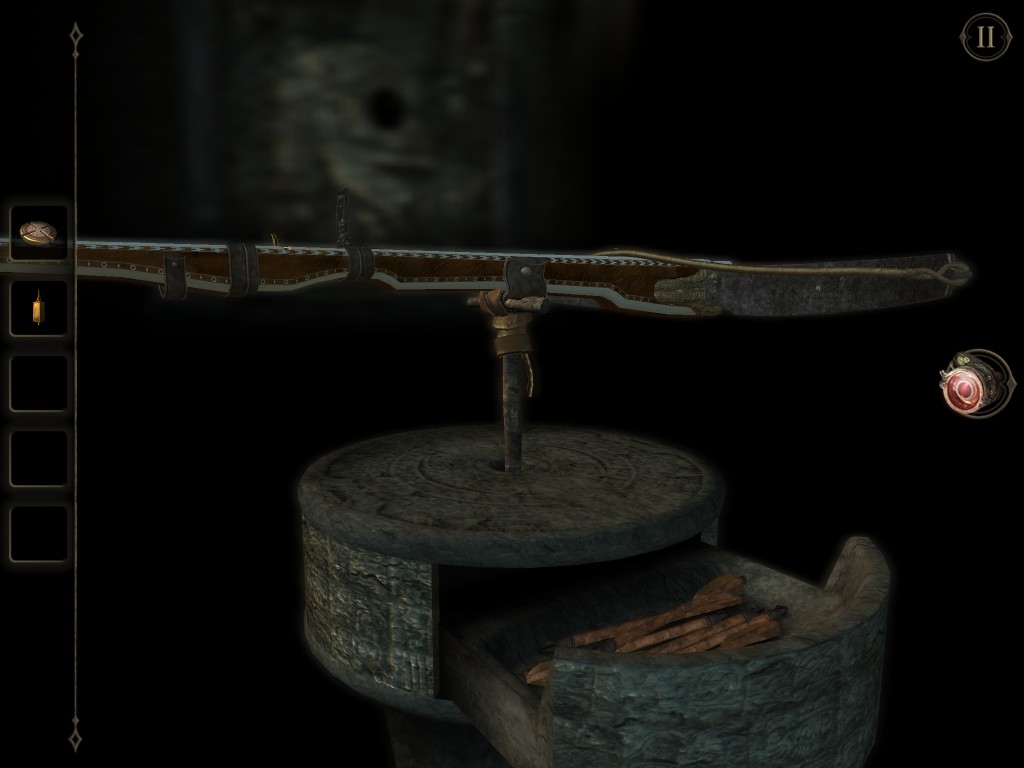
Go to the chest on the other side of the room. Turn the handle on the chest. Grab A Length of String.
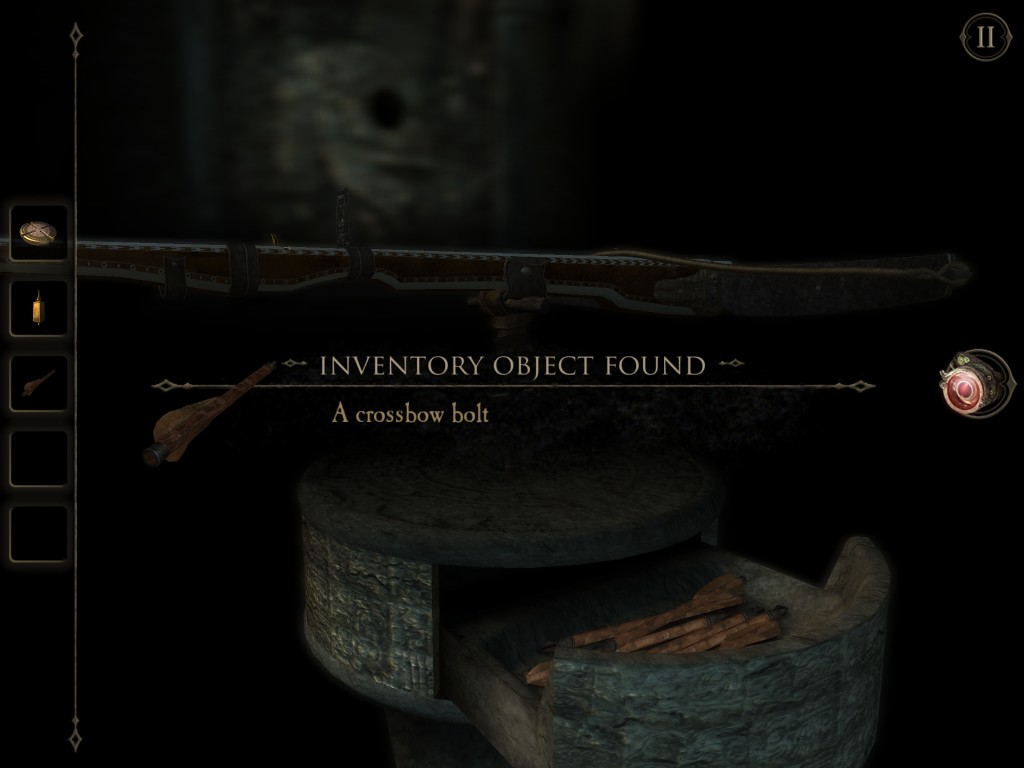
Go to the crossbow. Insert the Length of String. A drawer will open. Grab a Crossbow Bolt from the drawer.
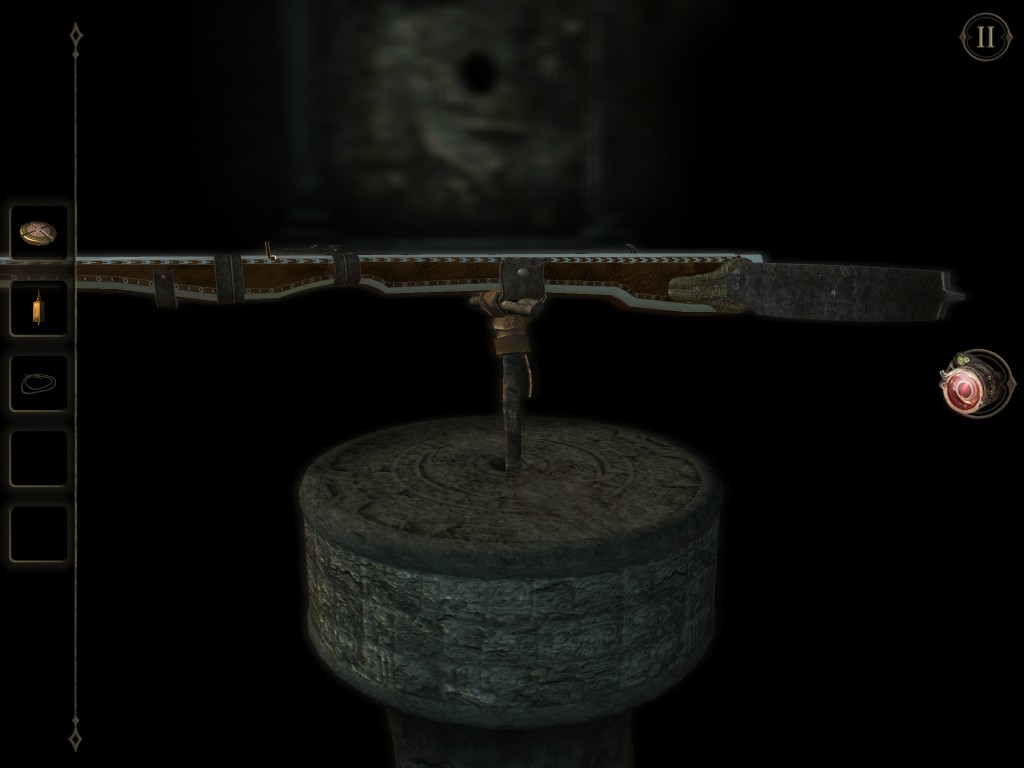
Load the crossbow with the bolt. You will have to pull back the bolt to load it properly.

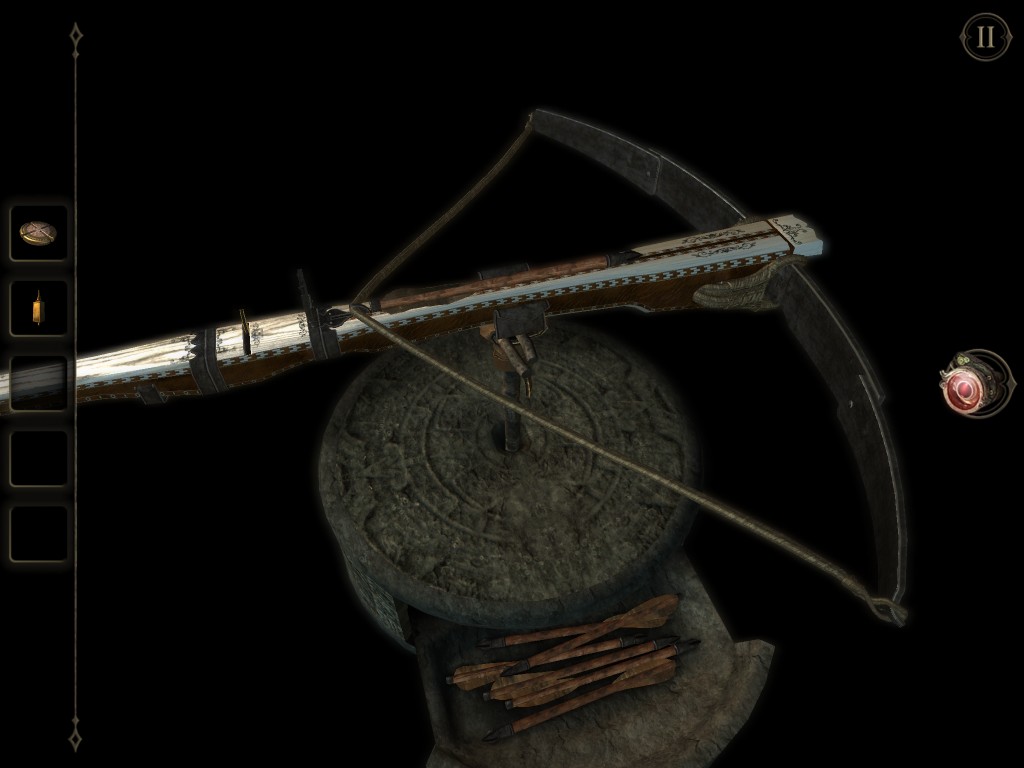
Aim the crossbow at the hole in the stone wall. Trigger the mechanism to shoot out the bolt. Do not worry if you miss as you can get more arrows later.
A mechanism will trigger revealing a broken mirror and puzzle box on top of a stone table. See the next section Chapter 3: Broken Mirror.