This is part 2 of the complete walkthrough for The Room Two Chapter 3. We have put together an easy to follow guide to help you escape from the room and solve the puzzles. Please let us know if you are still stuck reading this guide.
Part 1: Cross Bow Setup
Part 2: Broken Mirror
Part 3: Temple
Part 4: Black Box
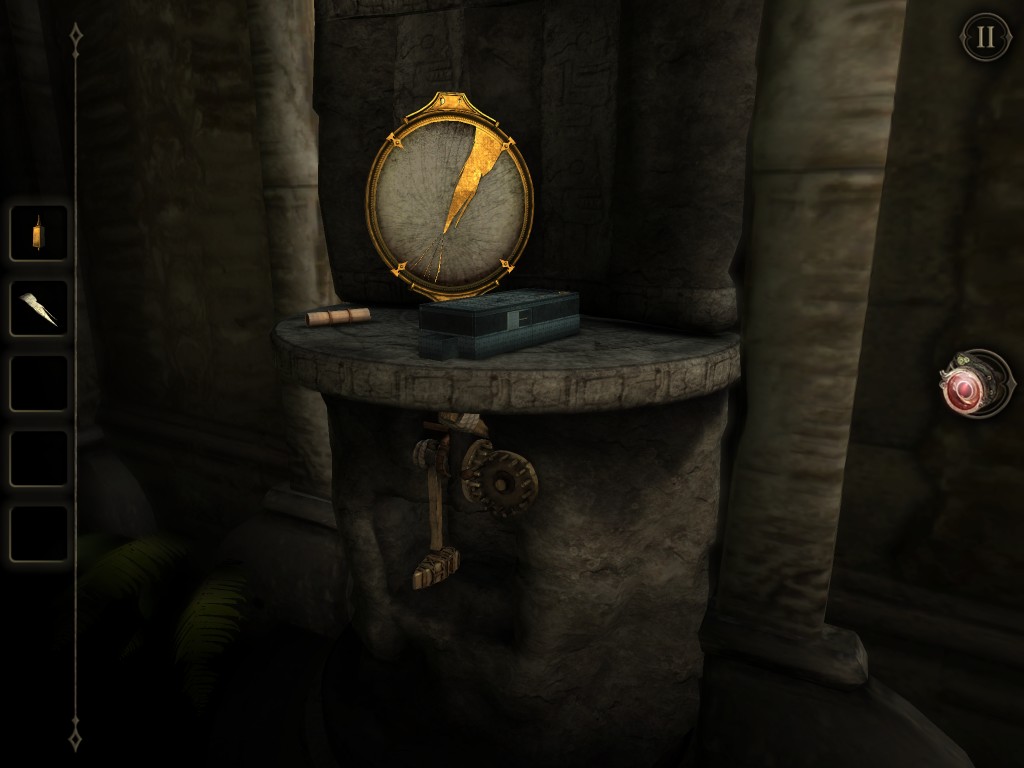
Mechanism triggered revealing a stone table with a broken mirror and a puzzle box. Insert the Small Token on the puzzle box on the upper left of the board.


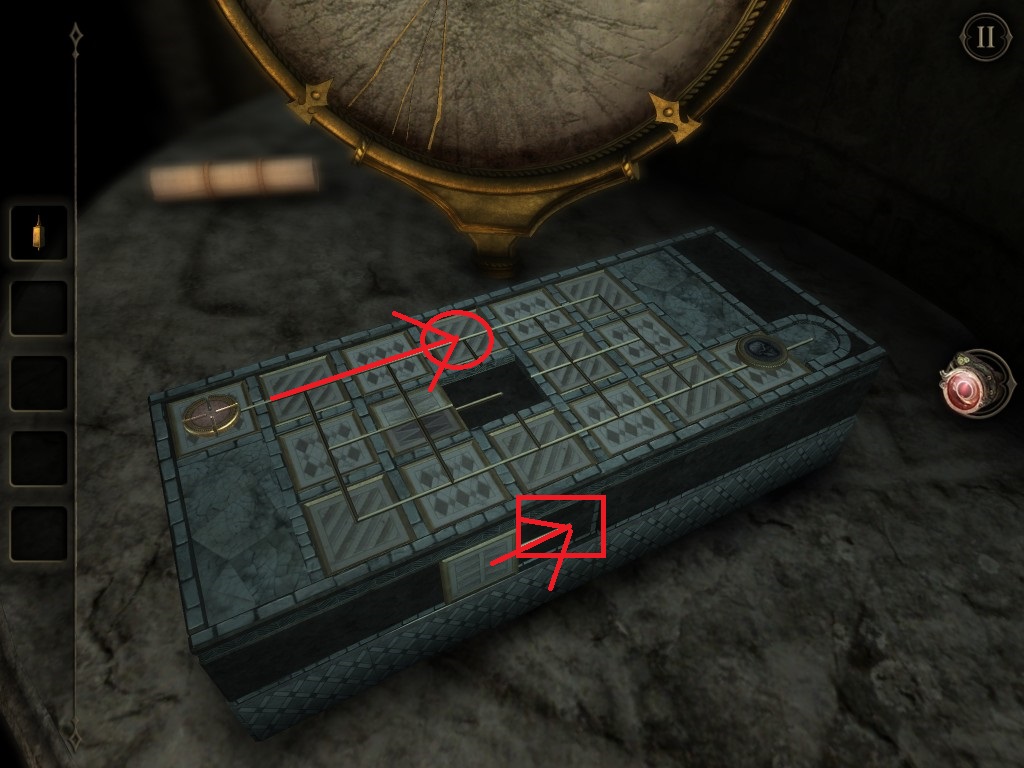
Now you will start a mini puzzle with the goal of moving the token to the bottom right. The opposing piece will always get you unless you “trick” it onto the center piece. Follow the below steps to solve this puzzle.
You need to move the token to the other end of the box. Follow steps as shown.
Step 1:
Step 2:
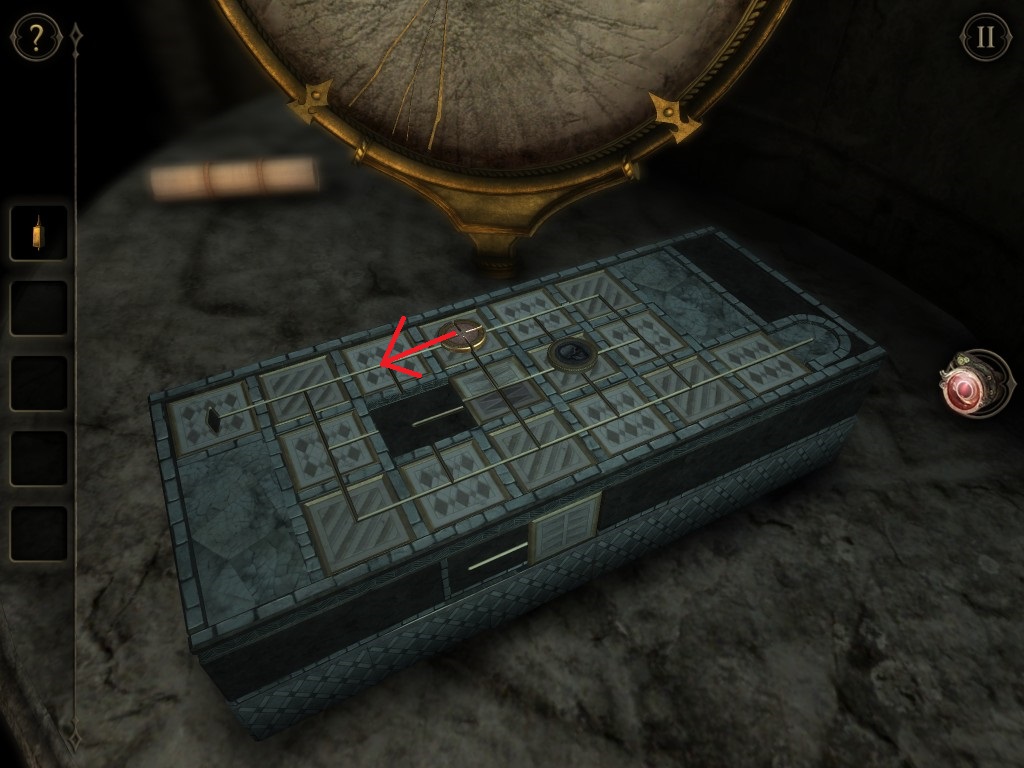
Step 3:

Step 4: After step 3 you are in the clear to move your piece all the way to the bottom right. The final solved puzzle will look something like this.
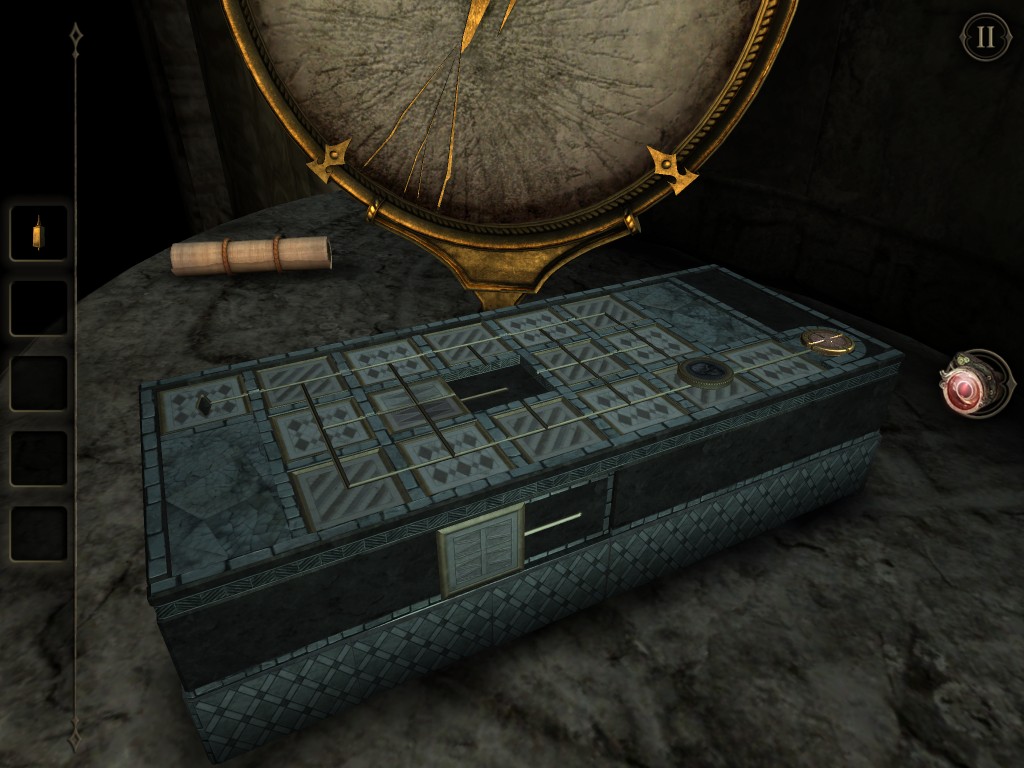
A secret compartment will open with the small key inside. Collect the small key.

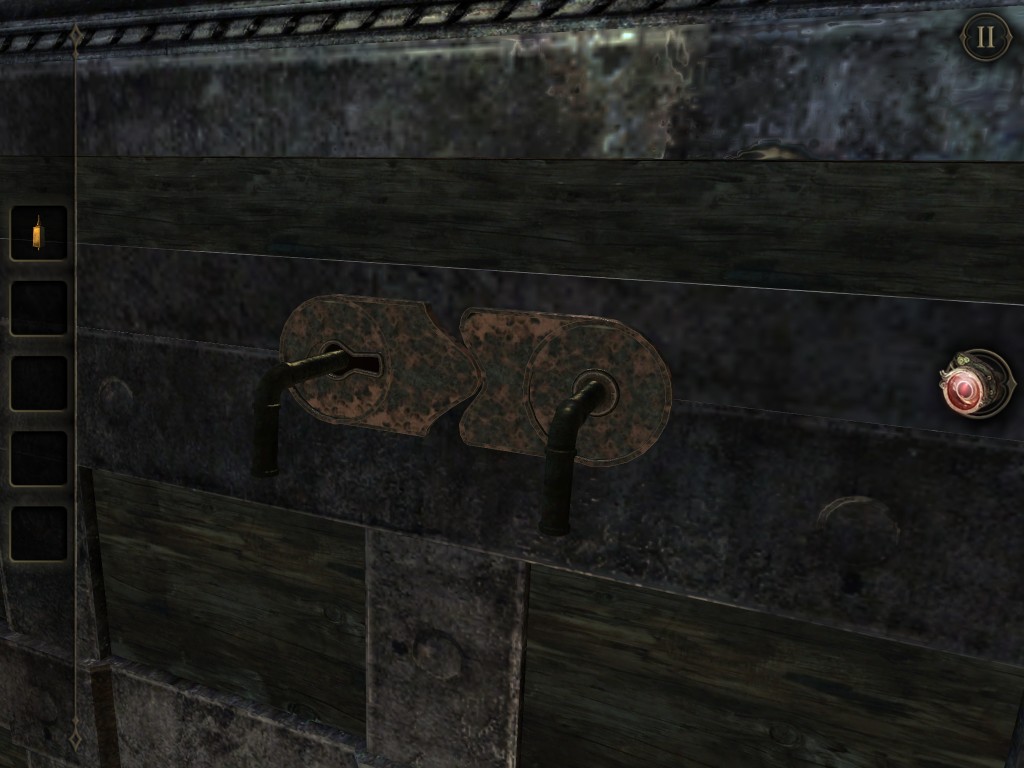
After obtaining the small key, head back to the locked chest lying on the floor. Insert the small key into the key hole on the left.
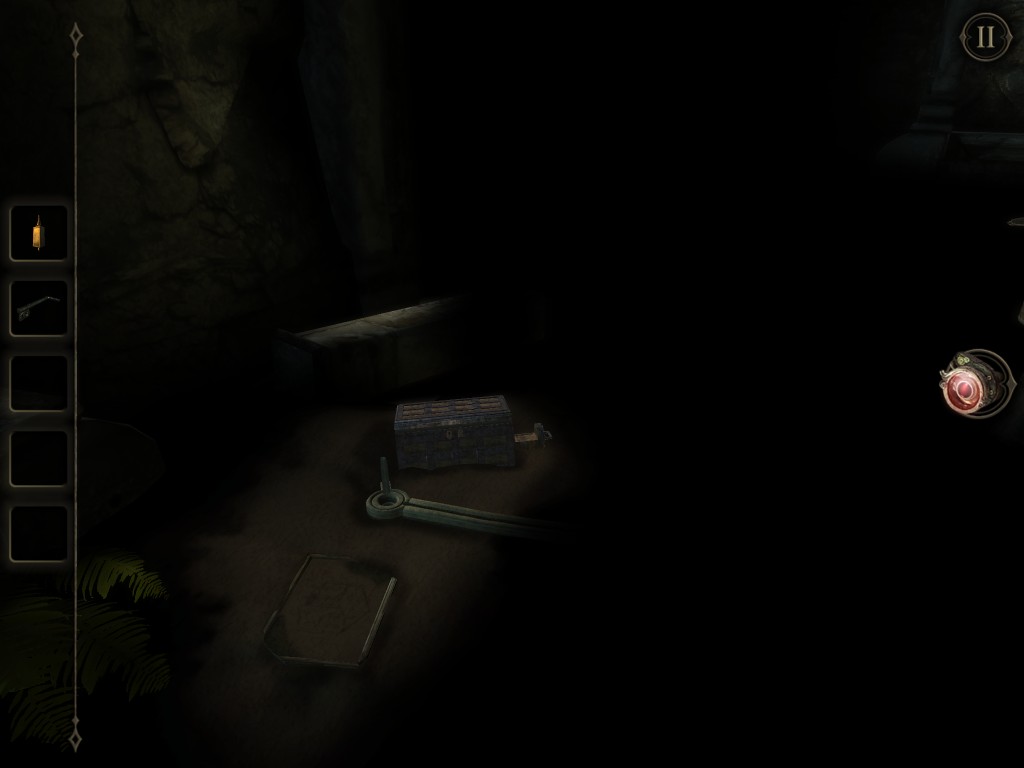

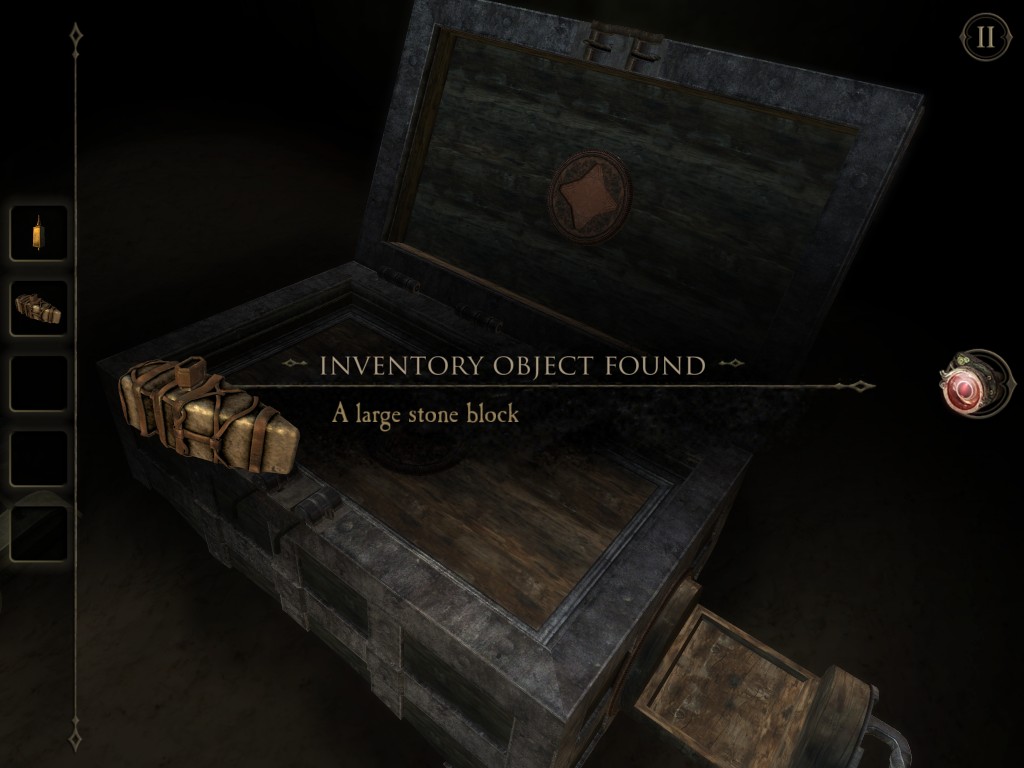
Turn both of the keys at the same time to unlock the chest. Grab the large stone block inside.
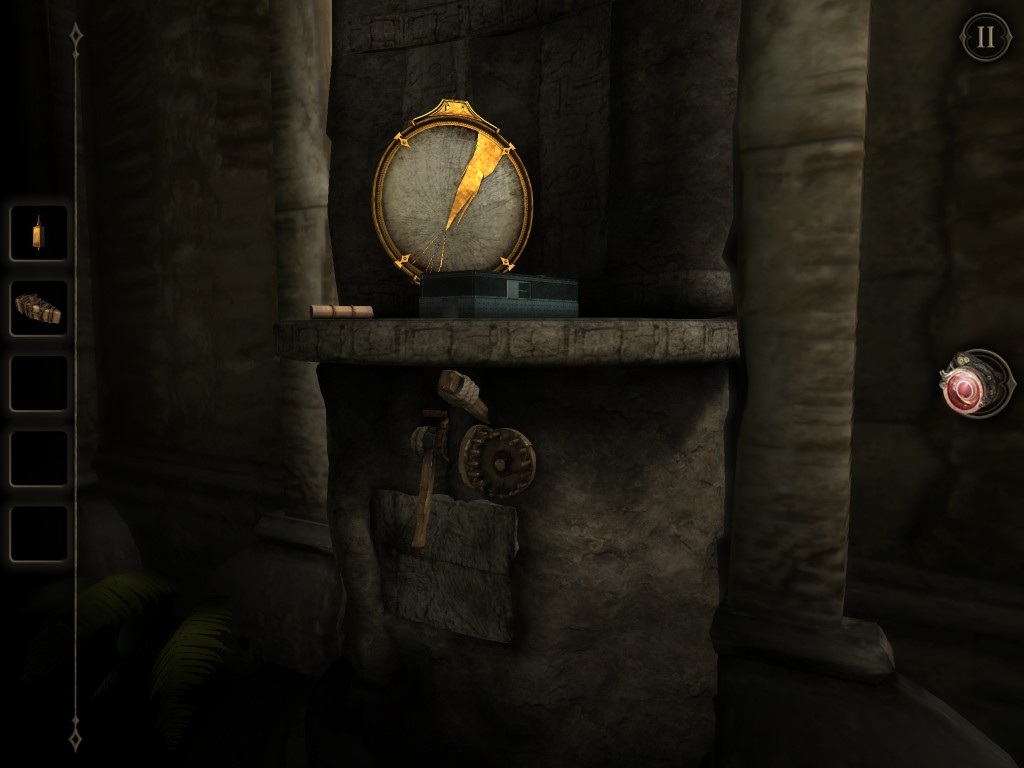
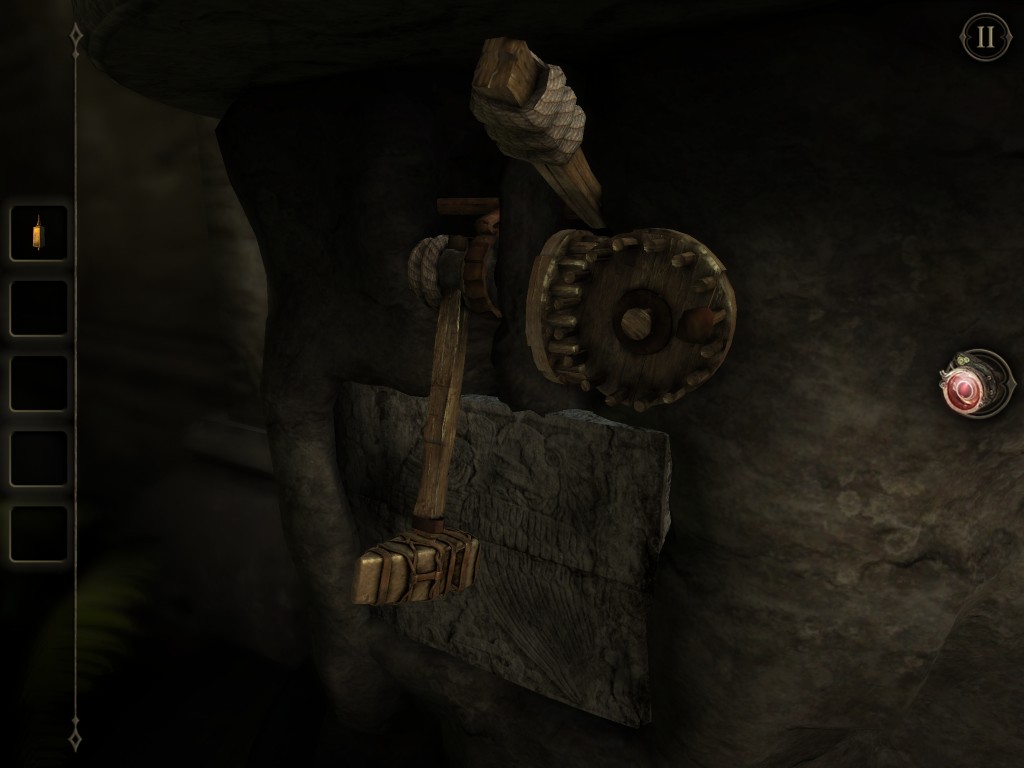
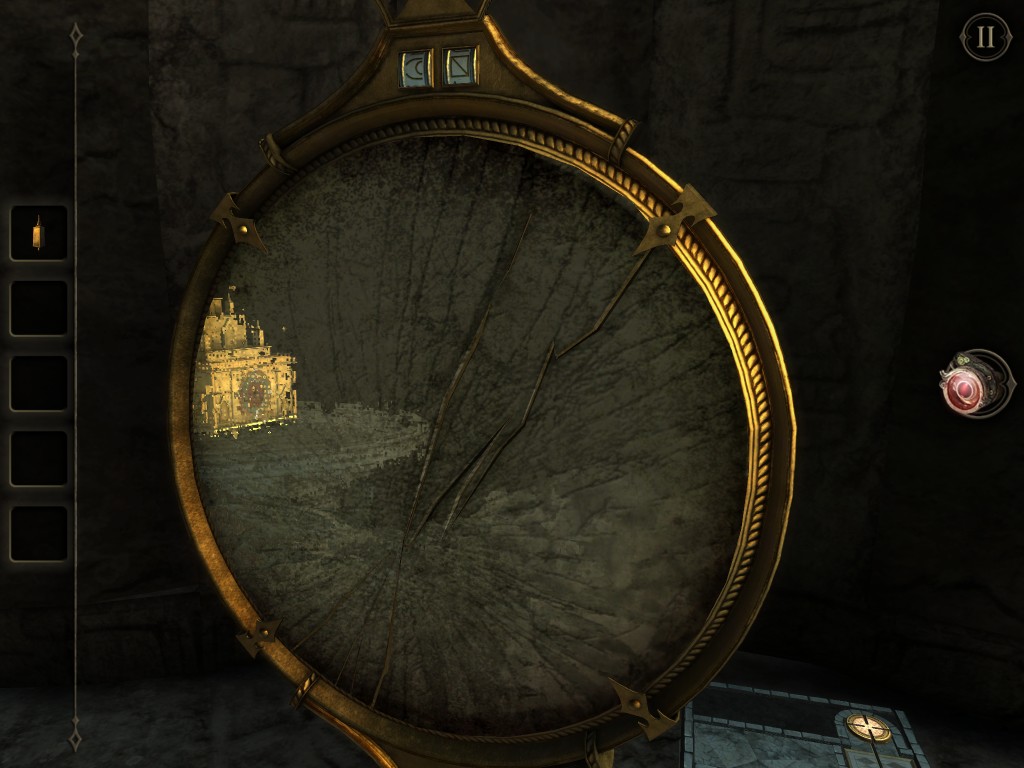
Head back to the section with the broken mirror. Place the stone block at the tip of the wooden block below the table. Raise the hammer by turning the wooden wheel first, then pull the handle to release the hammer. Collect a Shard of Glass.


Insert the Shard of Glass on the broken mirror.
Continue to Chapter 3: Temple.