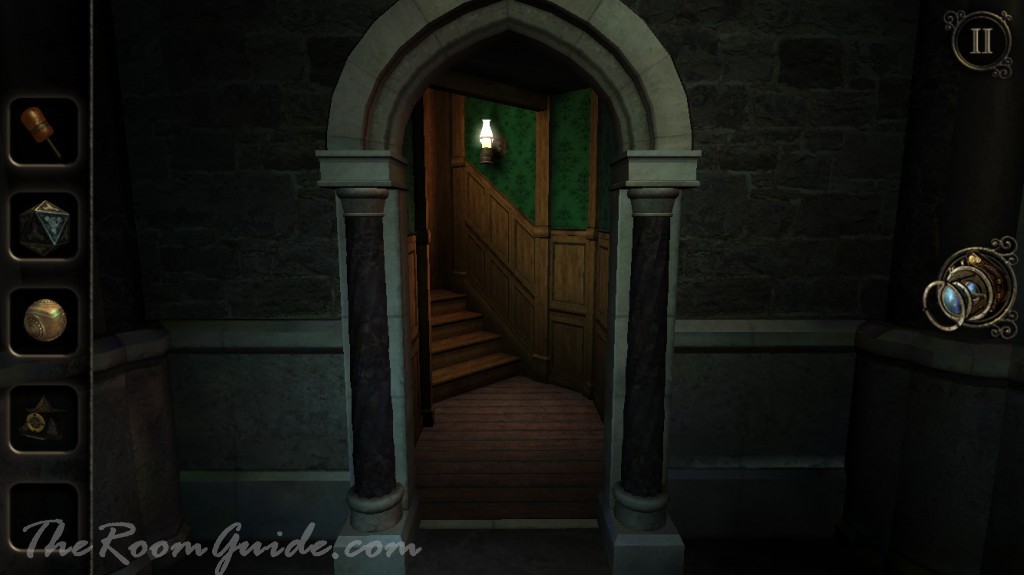
Once back in the atrium. Do not go through the portal.
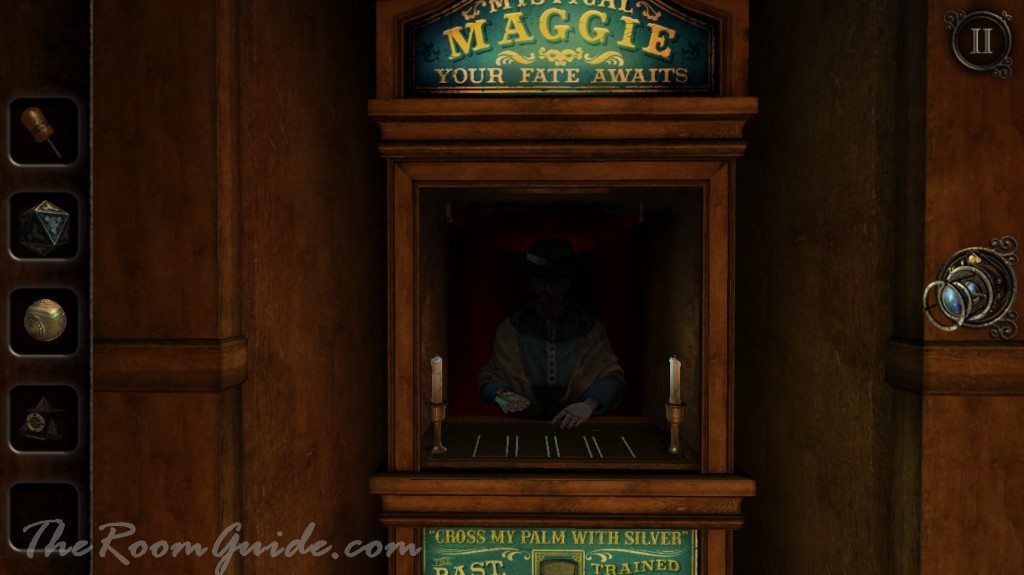
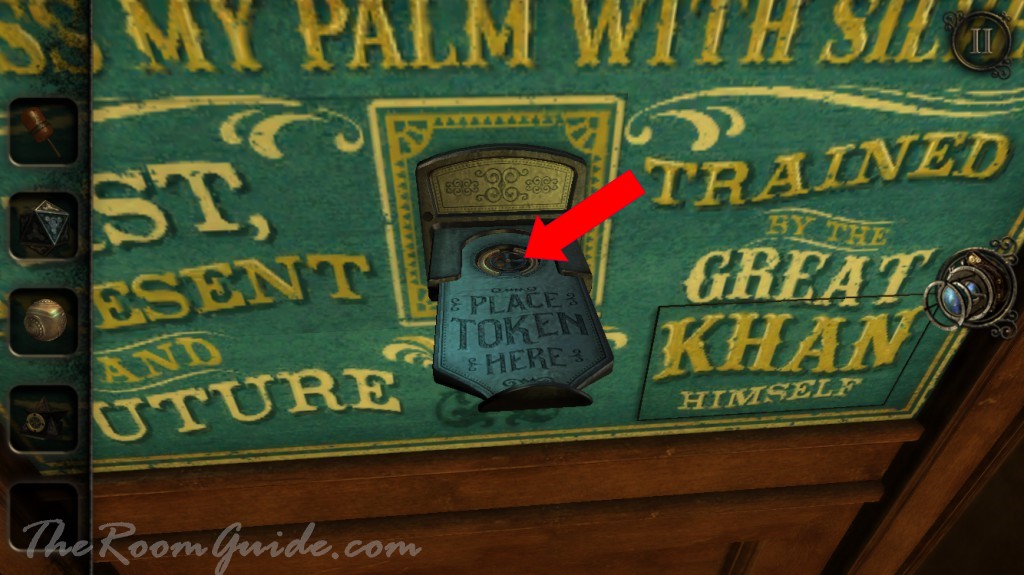
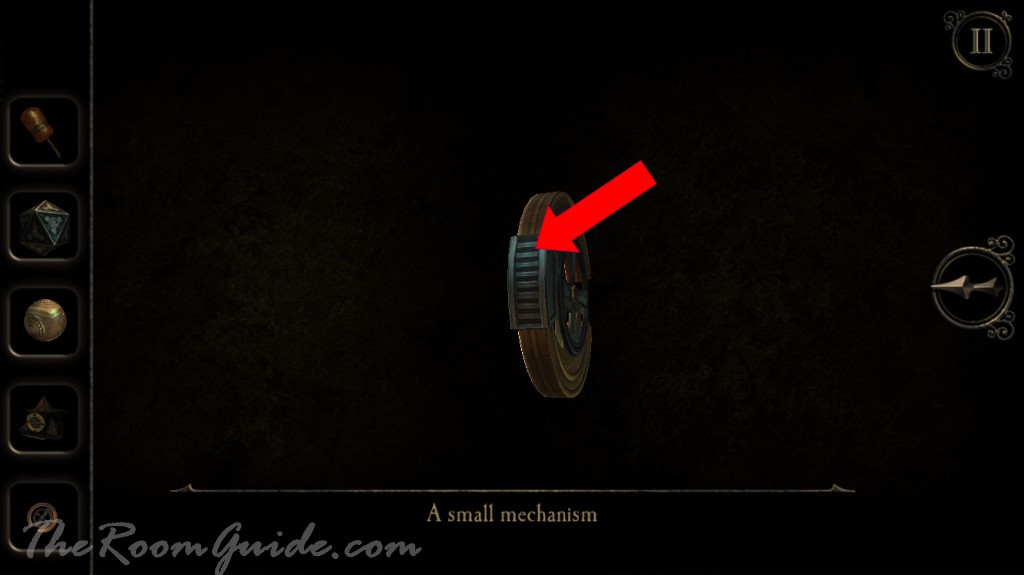
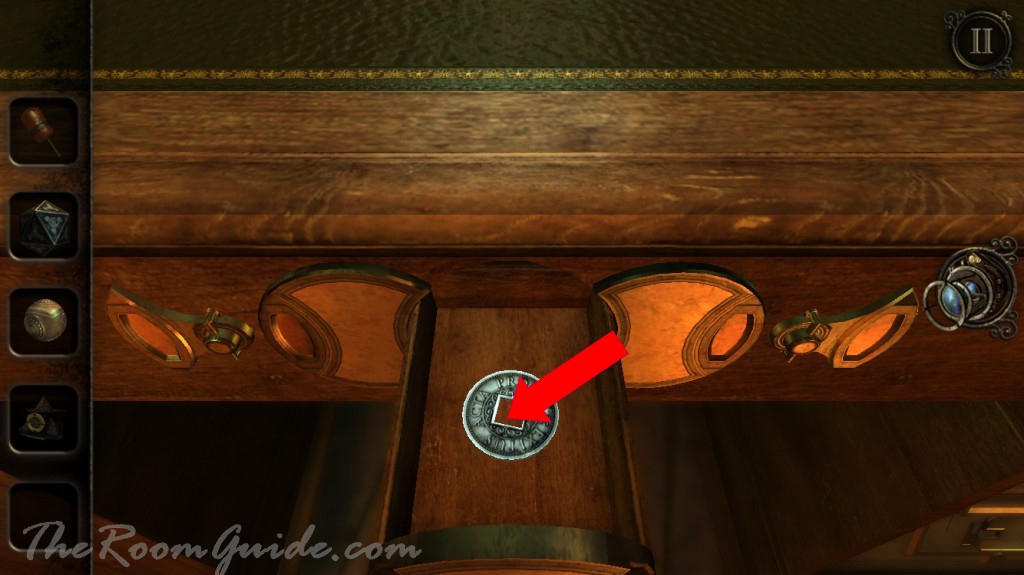
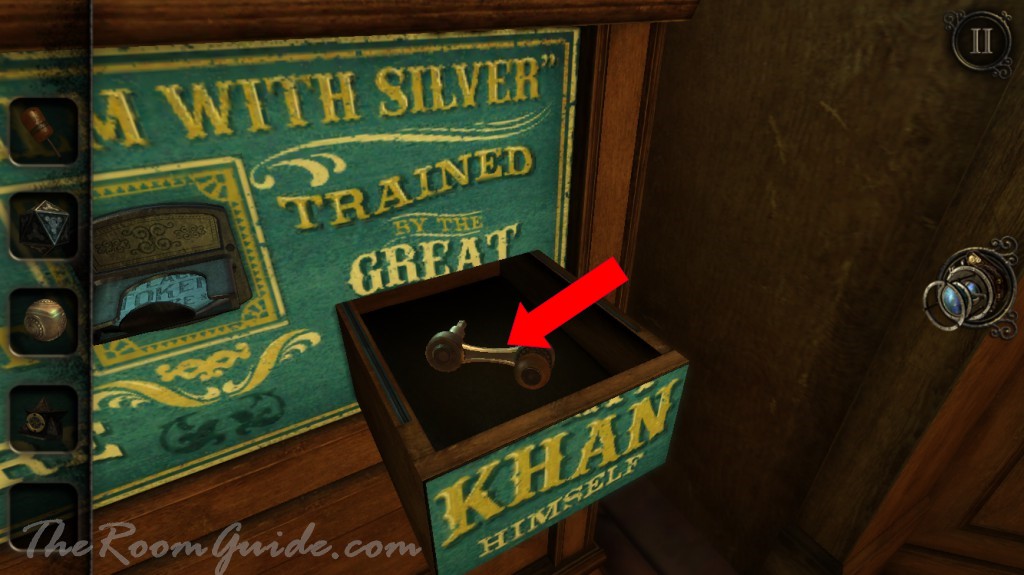
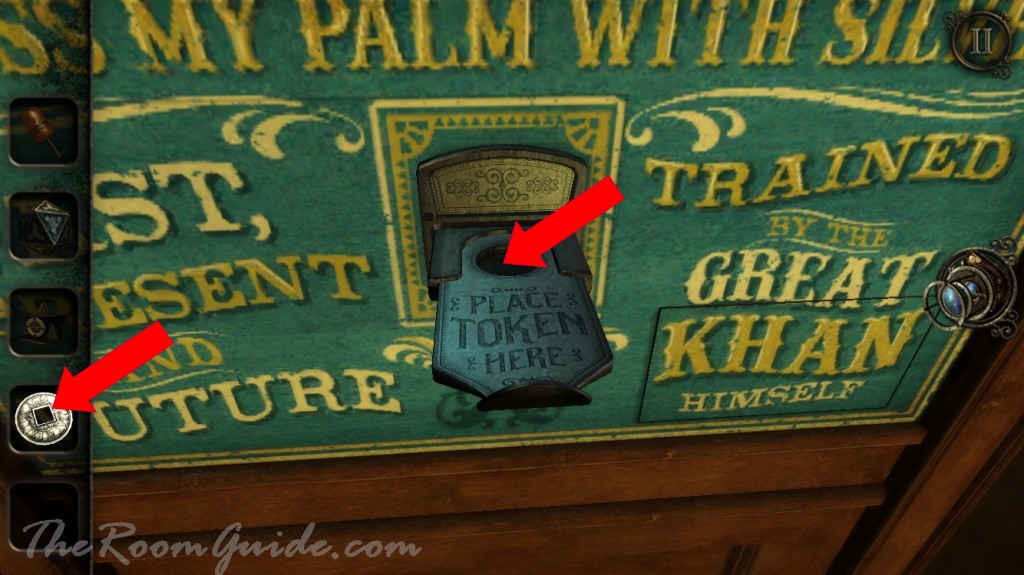
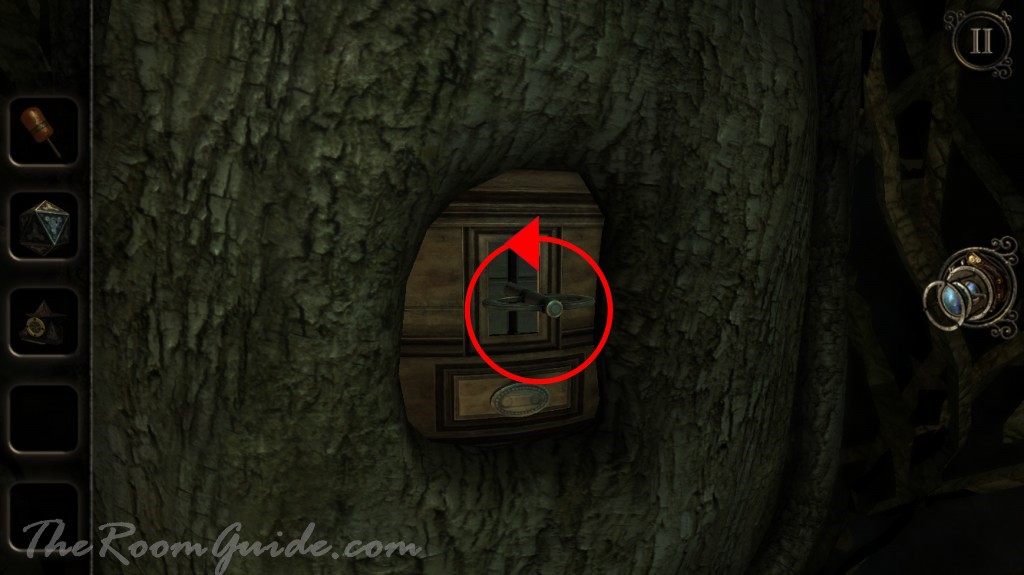
Go to the library. Locate an animatronic fortune teller. Pull out the “Place Token Here” handle. Get a small mechanism.
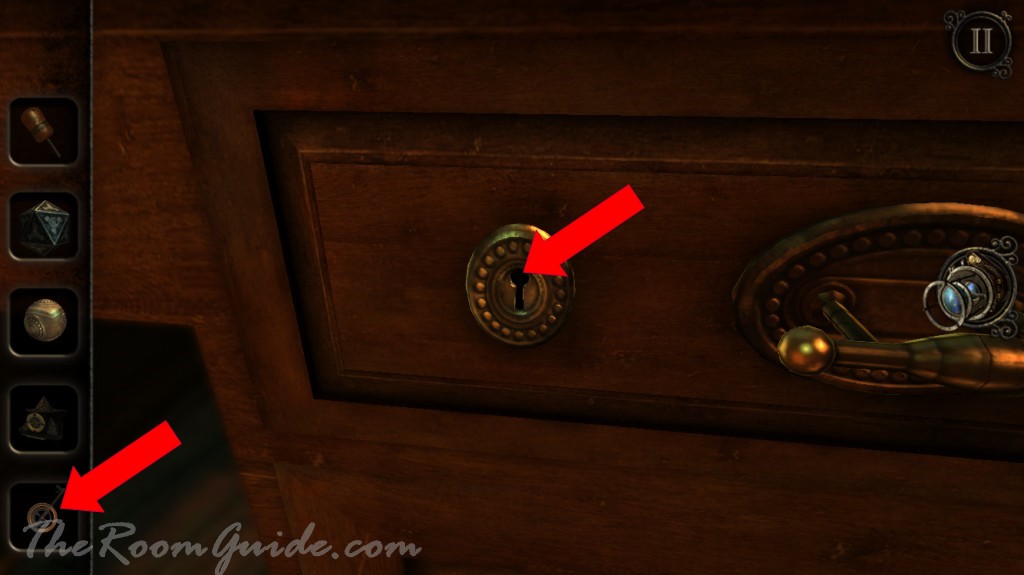
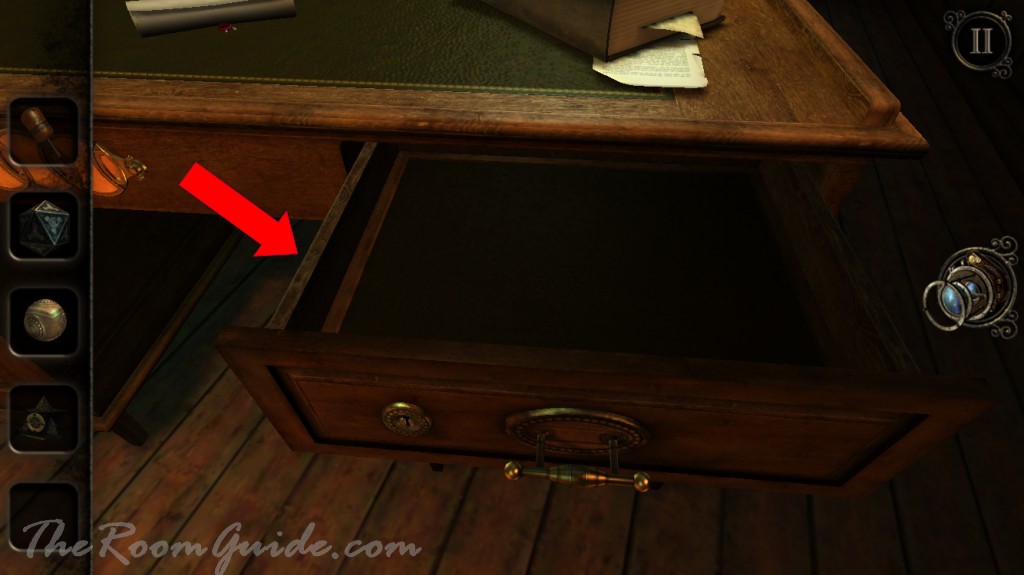
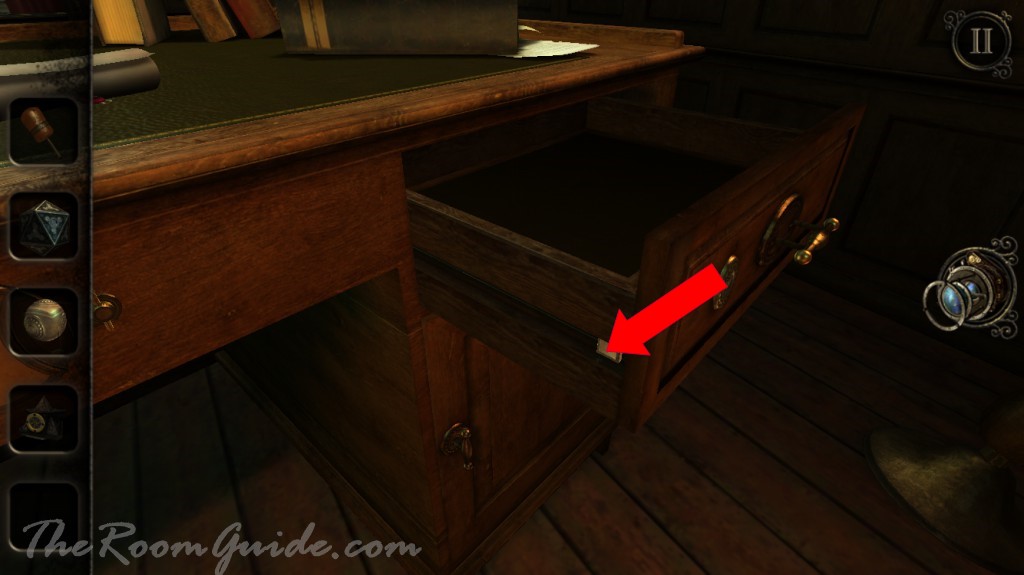
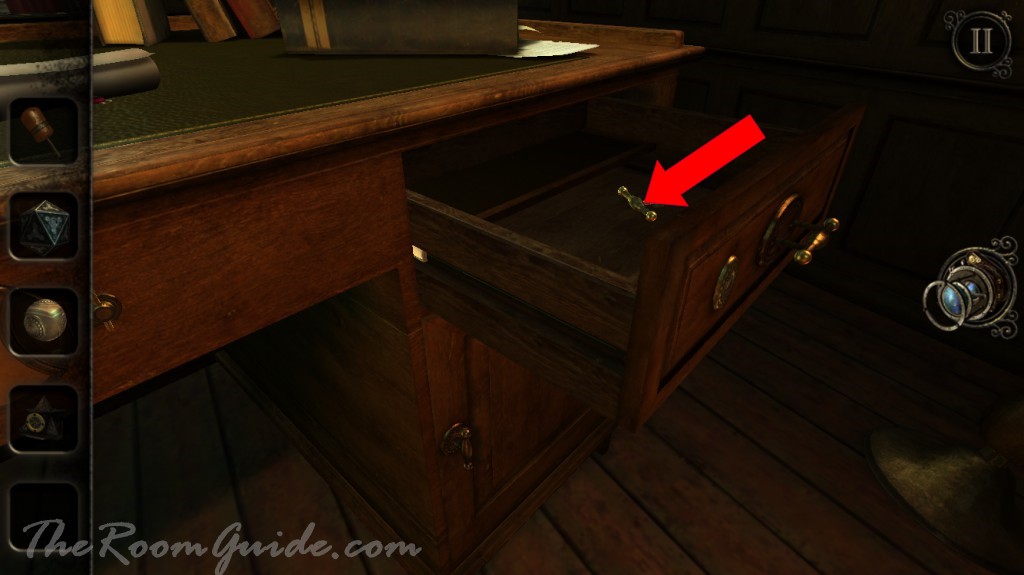
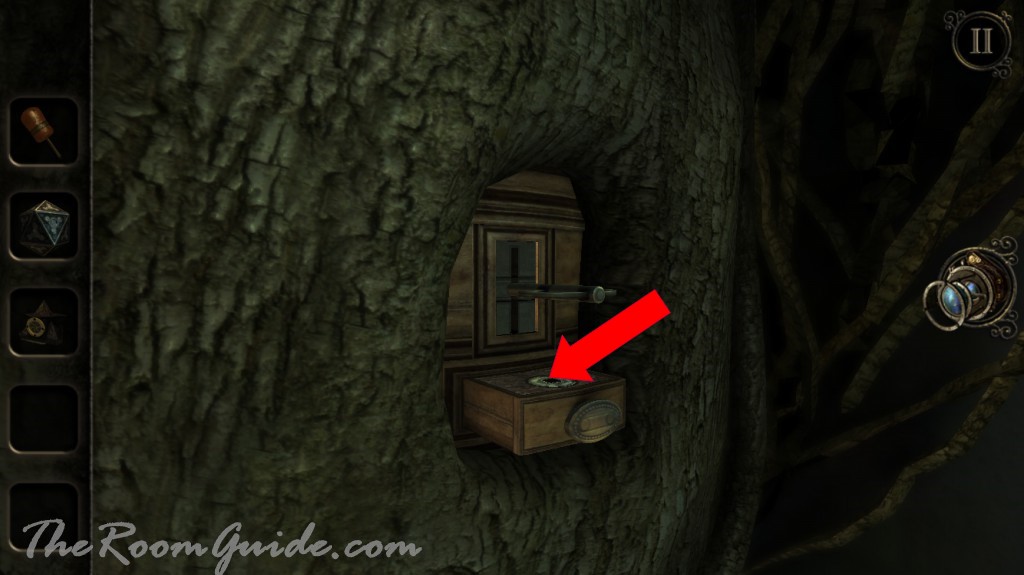
Go to the office. Exam the small mechanism. Slide the switch on the outer edge to the opening. It will become a key. Use the key on the office desk right drawer. Pull out the drawer. Check out the side of the drawer. Slide the switch to reveal a hidden compartment in the drawer. Get a handle.


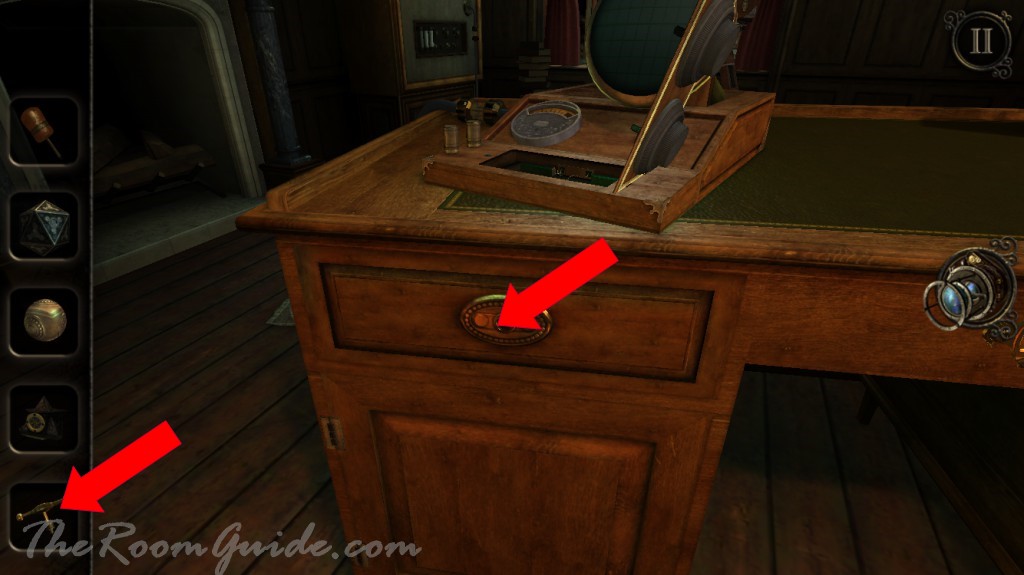
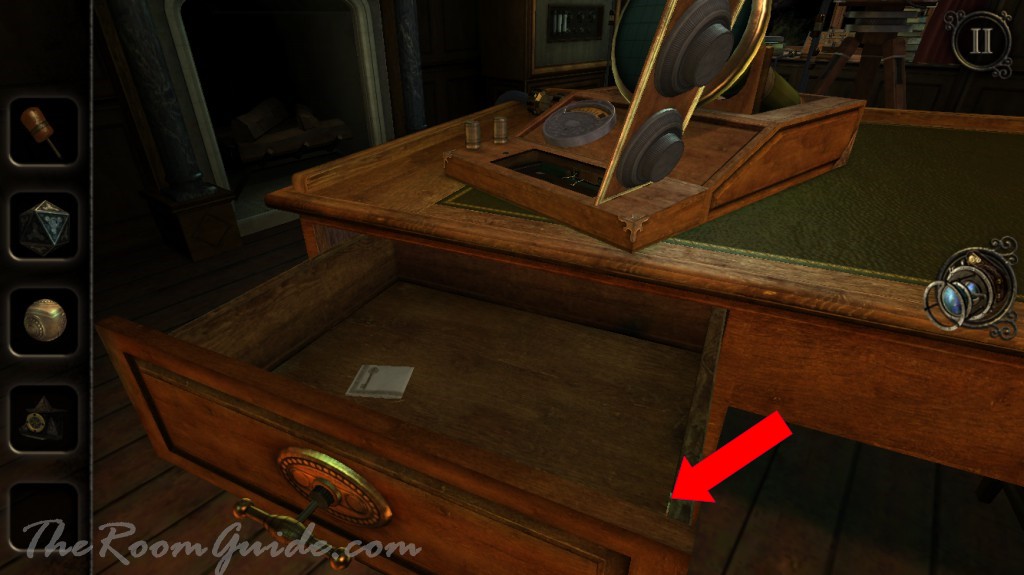
Use the handle on the left drawer. Locate a switch inside the drawer on the right side. Slide the switch. Left lock on the center drawer is unlocked.

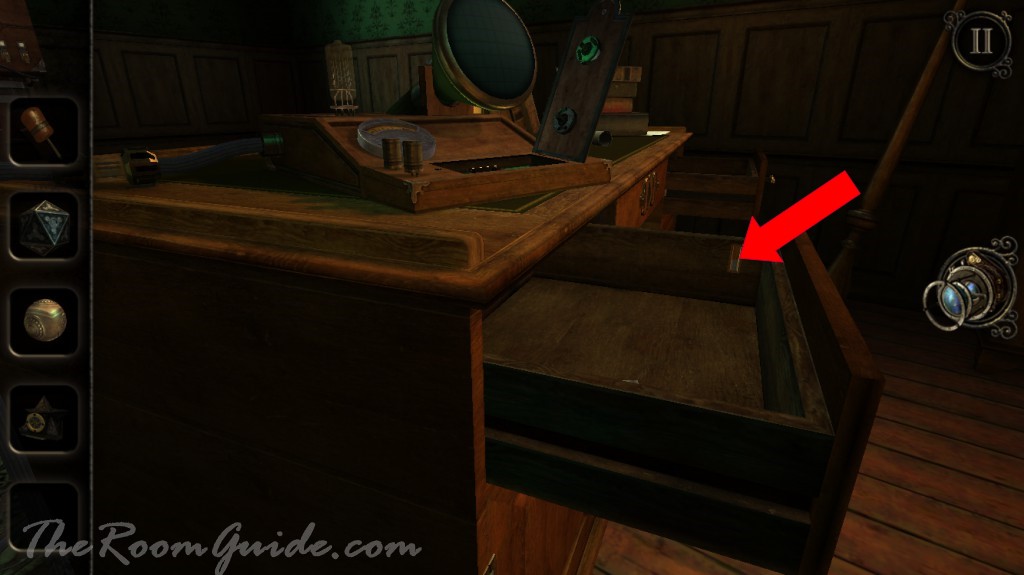
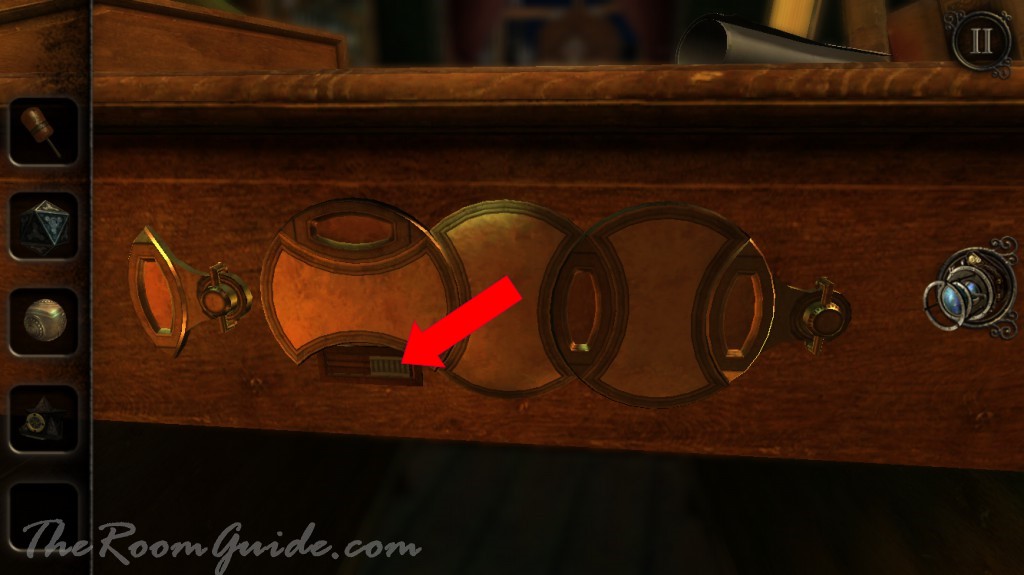
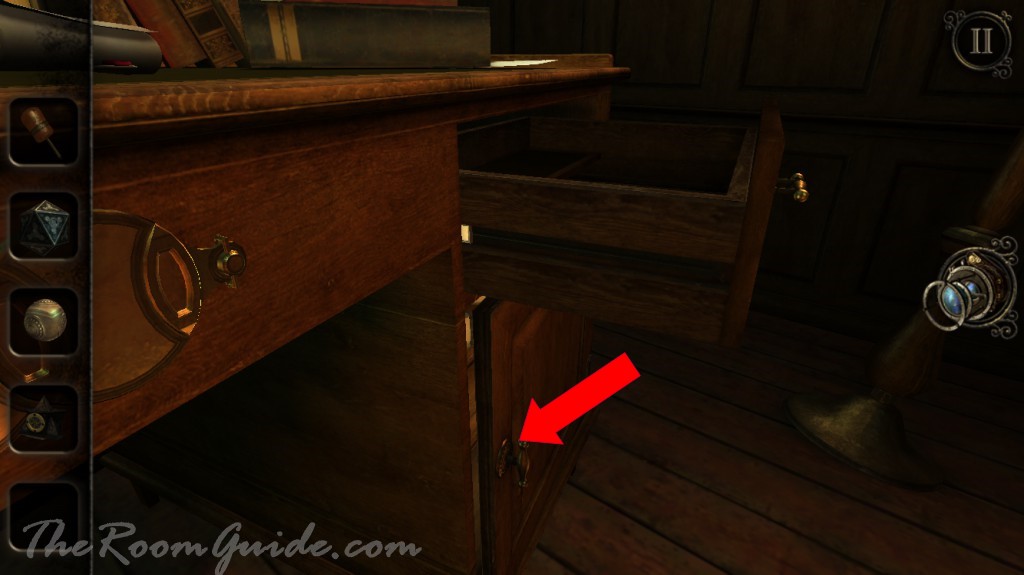
Now exam the center drawer. Rotate the left circle until you see a switch. Turn on the switch. Open the bottom cabinet. Check out a puzzle.


Bottom Cabinet Puzzle Solution:
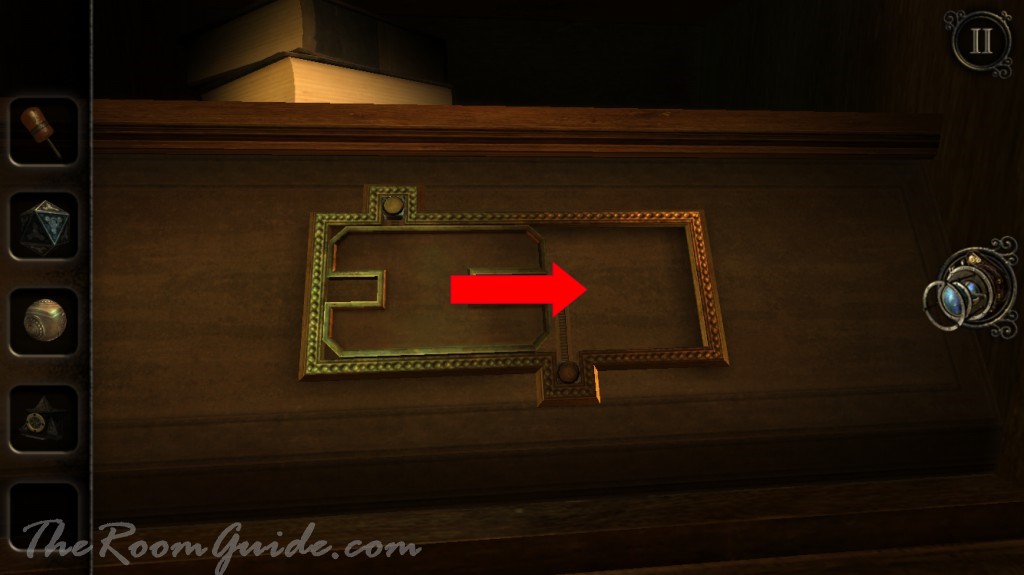
1. Slide the panel to the right. Slide the white button to the very top.
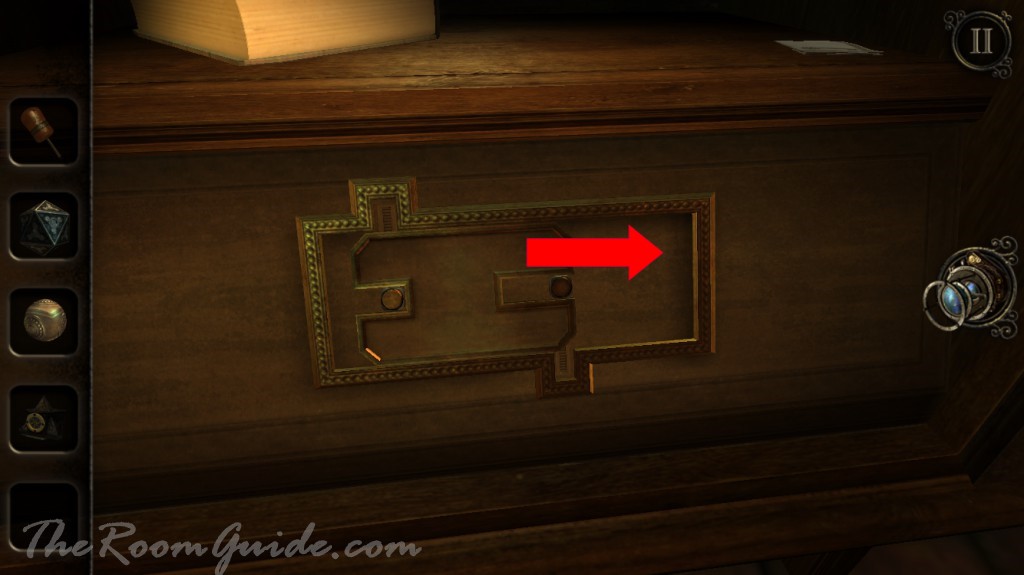

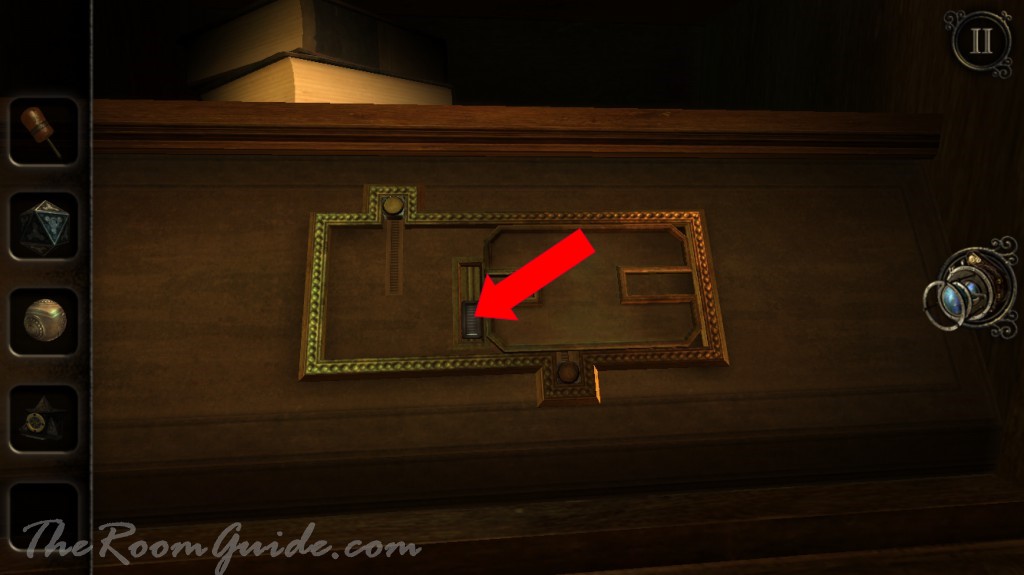
2. Slide the panel to the very left. Slide the brown button all the way down.
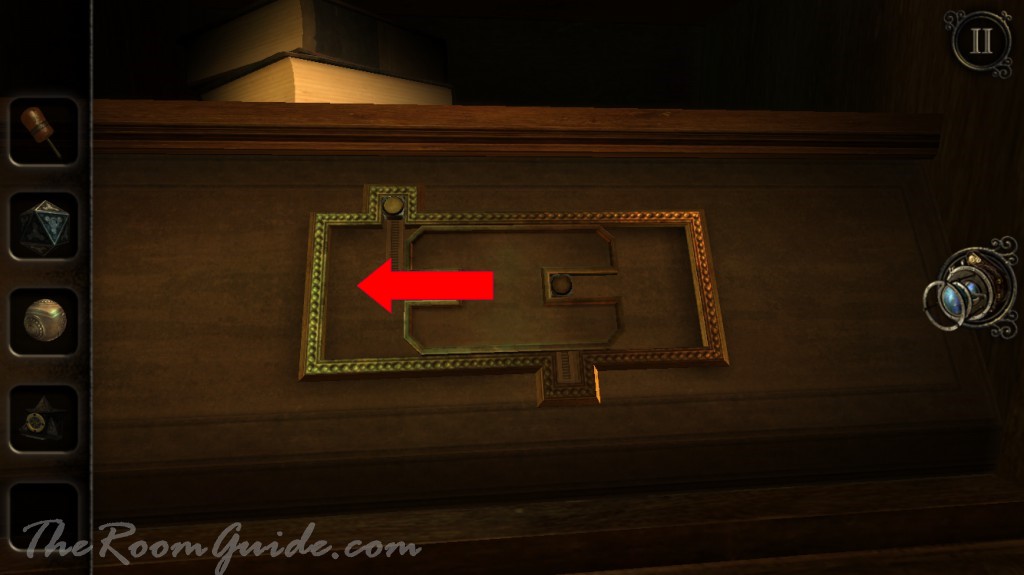

3. Slide the panel all the way to the right. Slide the switch. The right lock on the center drawer is unlocked.
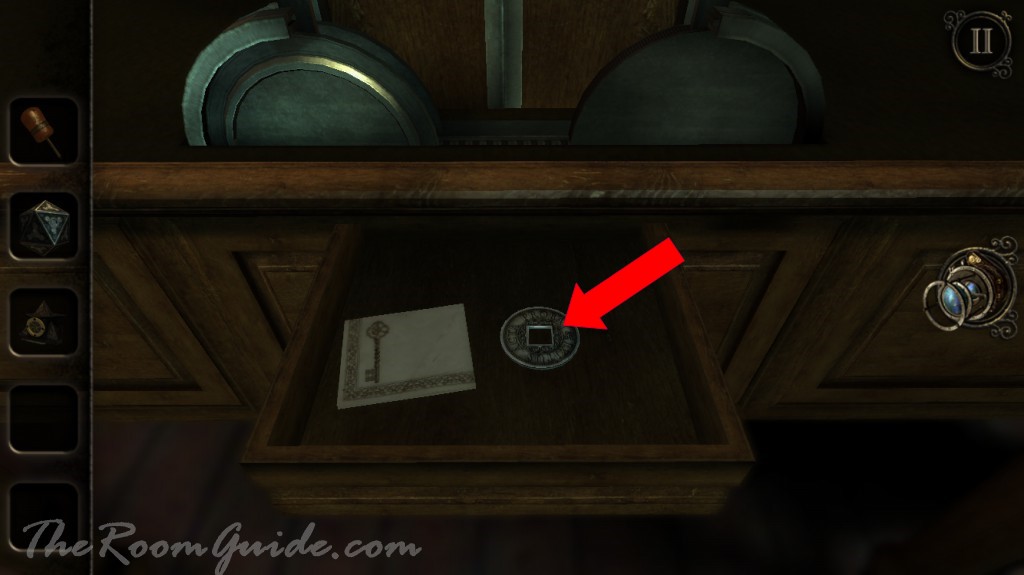
Looking at the center drawer. Notice the indentation on the left circle and the right circle. Adjust the circles so the indentations are on the middle circle. Middle circle compartment will open. Get a token.


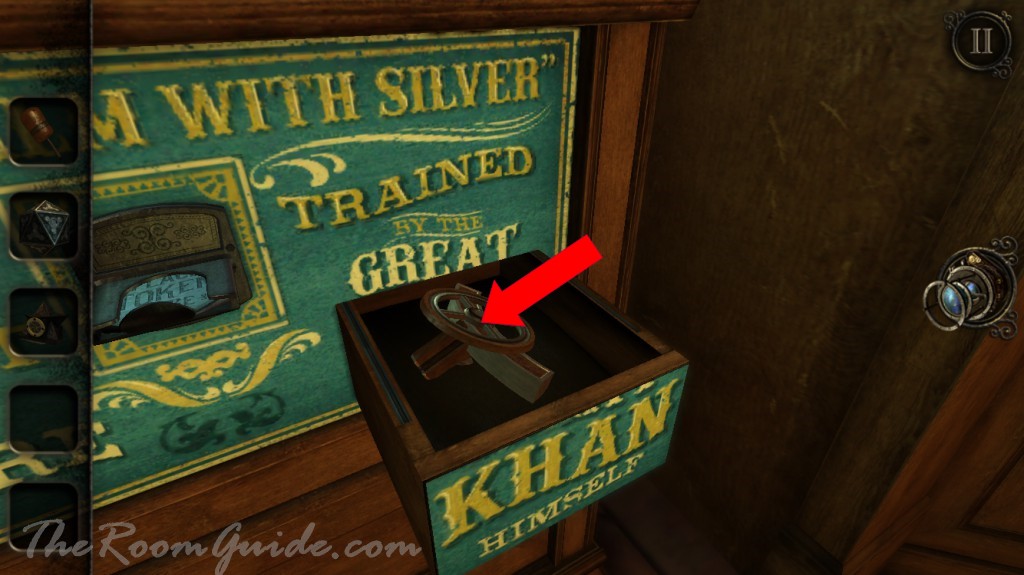
Go back to the fortune teller in the library. Insert the token. A compartment will open. Get a crank wheel.

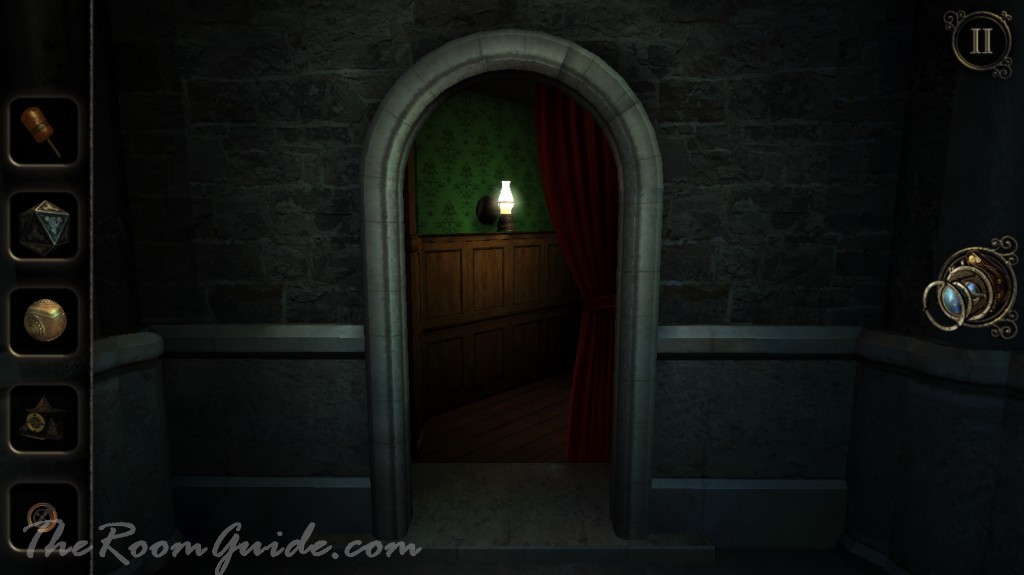
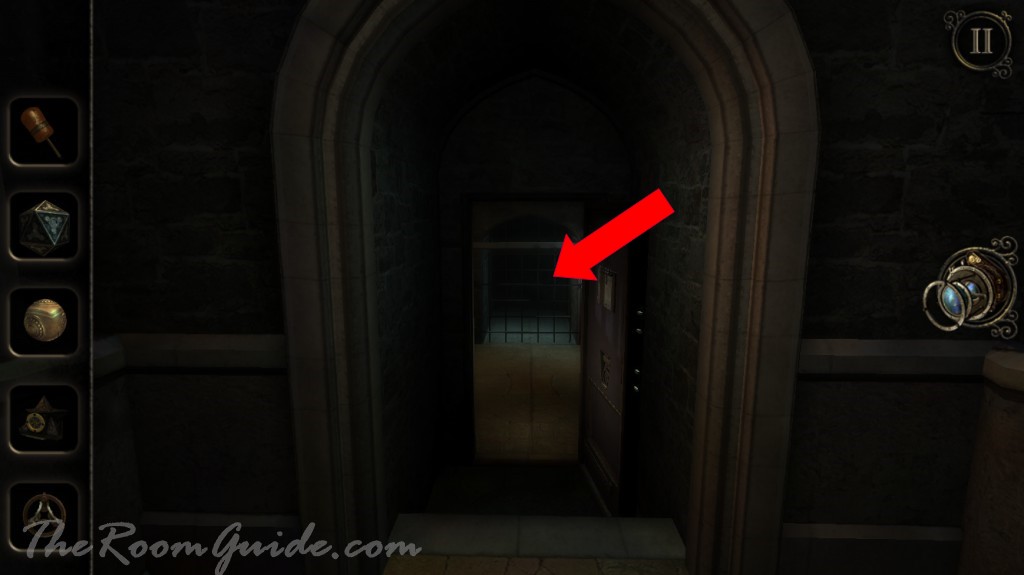
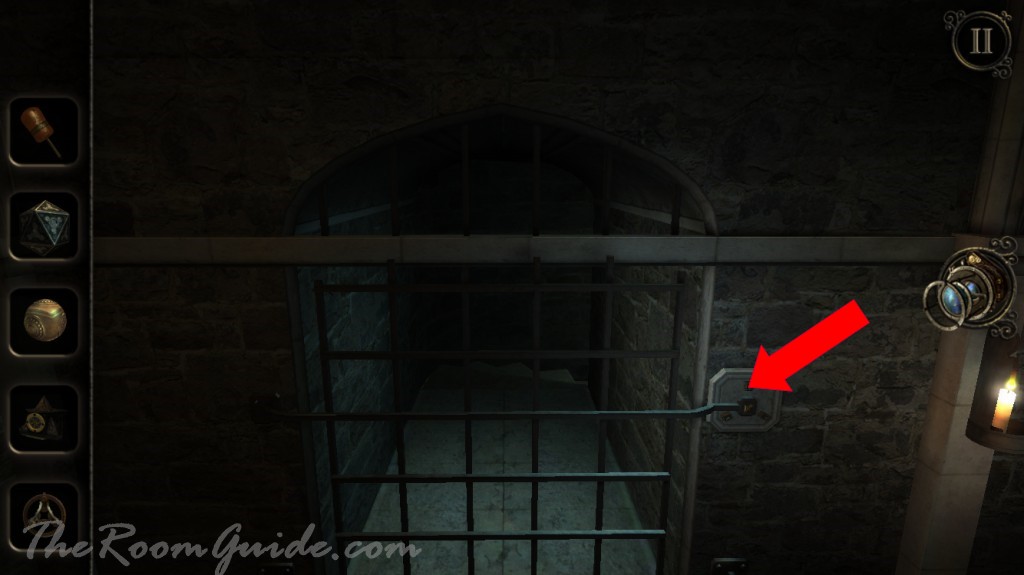
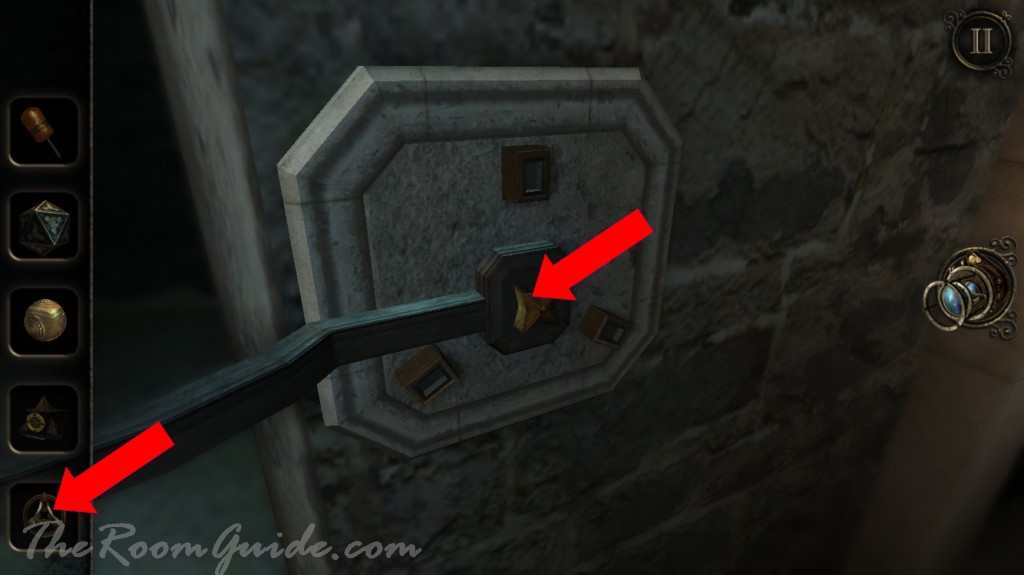
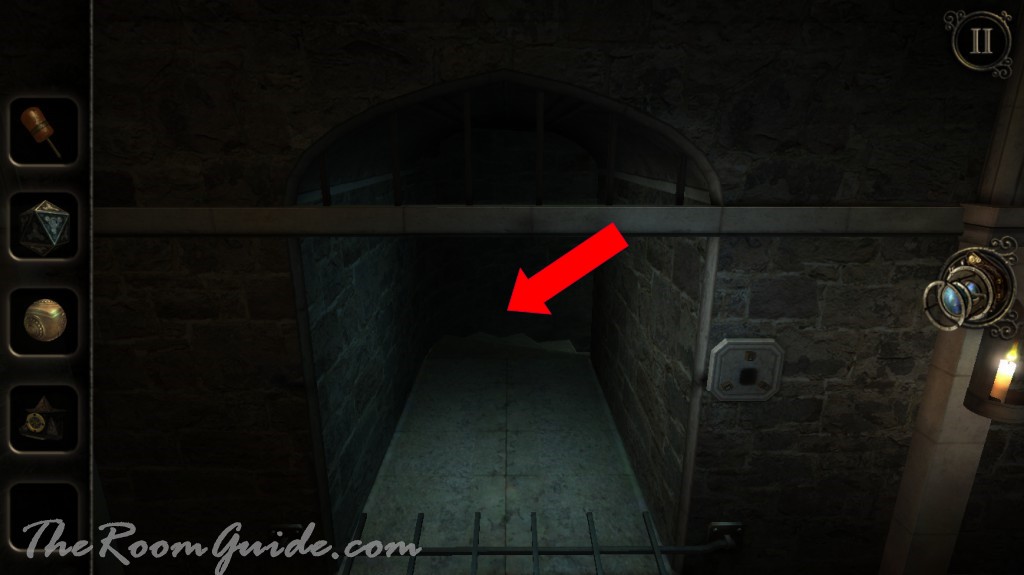
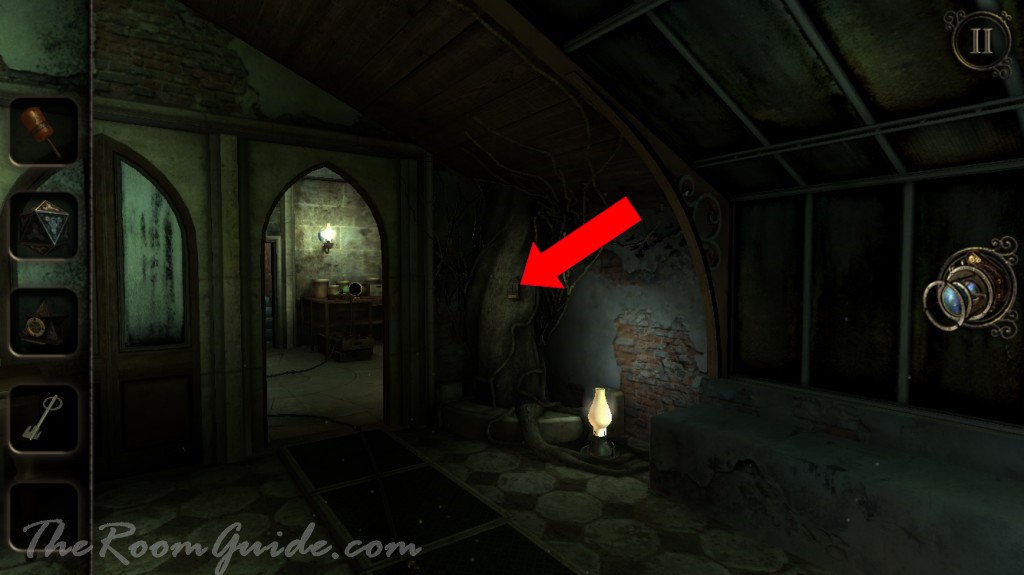
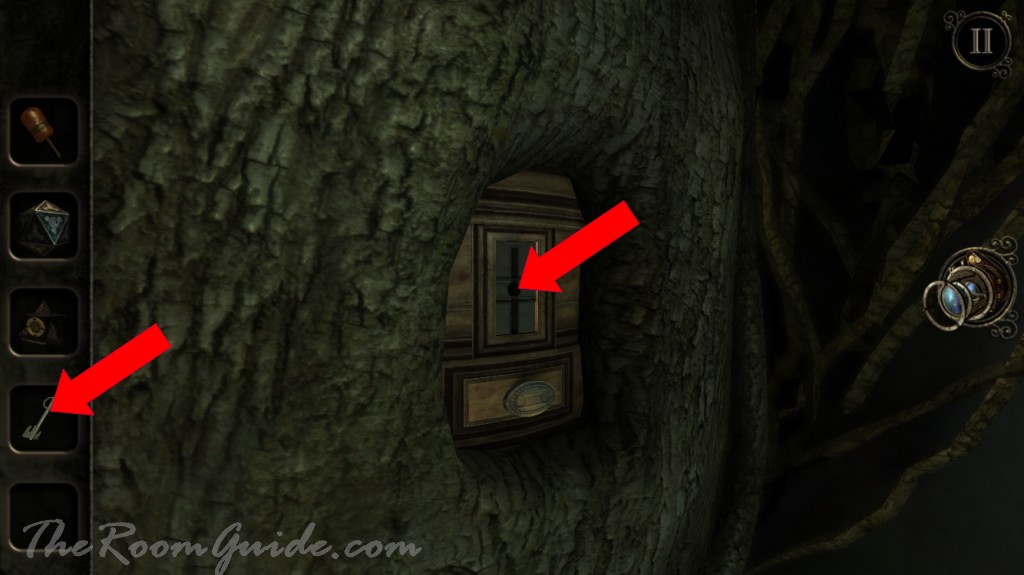
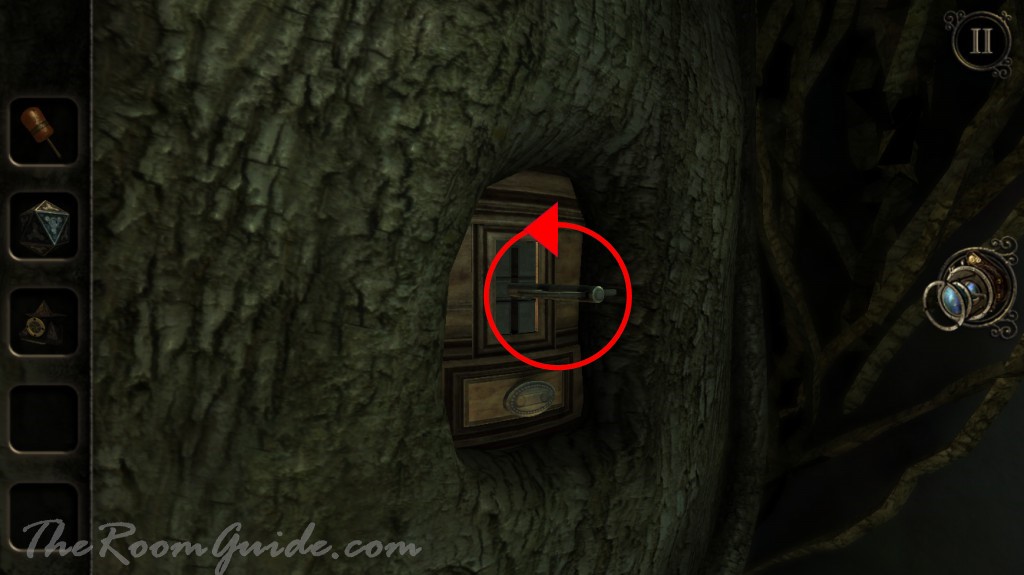
Go to the room at the very beginning of the game. Locate a gate. Insert and turn the crank wheel. Enter basement.

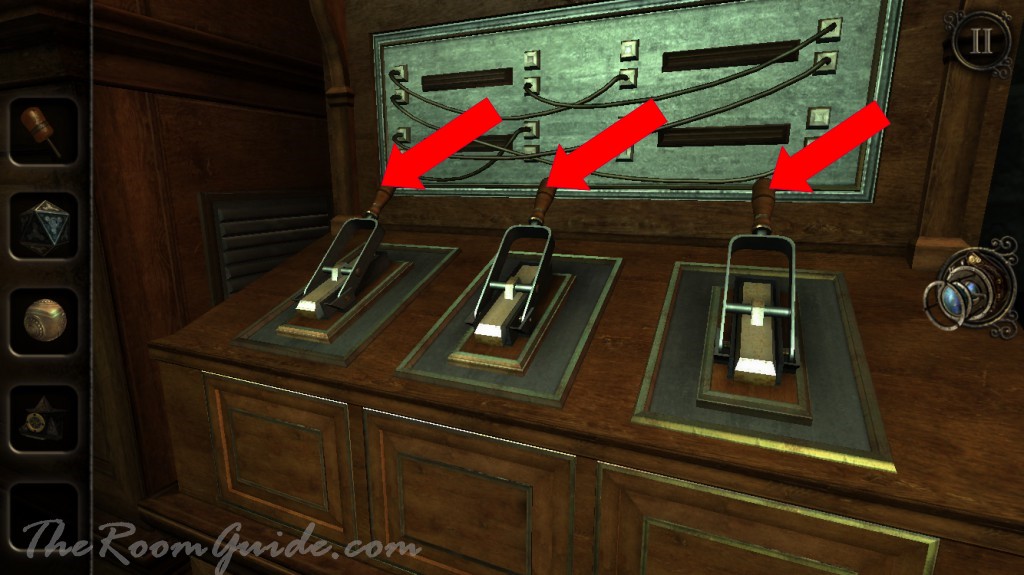
Check out a machine with three handles. Each handle will open a drawer with a math problem. Starting from bottom-up. Turn the switch between the numbers to choose the side to use. The math needs to add up to the number on the top bar.
Drawer Math Solution:
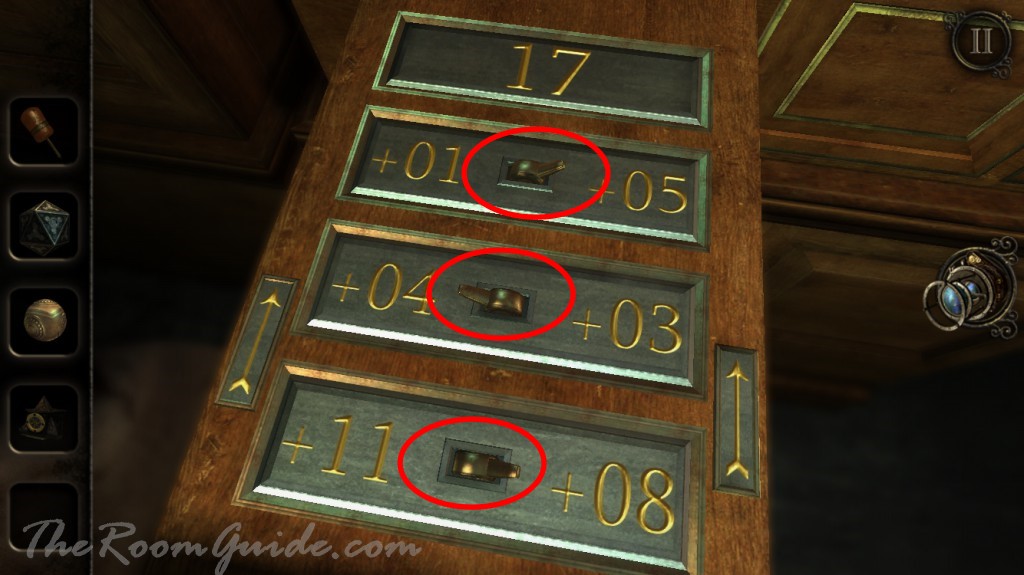
1. Drawer 1: 8 + 4 + 5 = 17
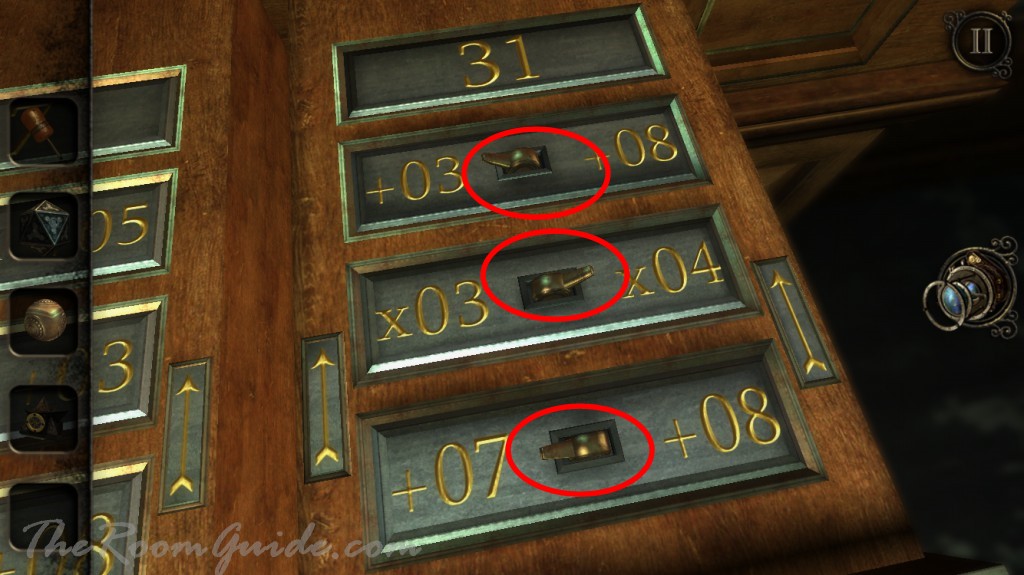
2. Drawer 2: 7 x 4 + 3 = 31
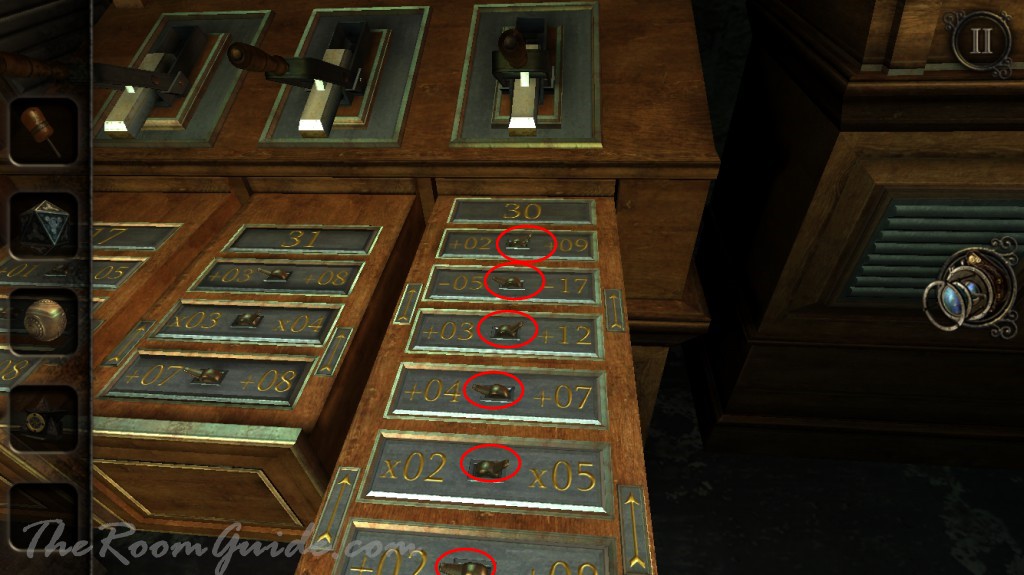
3. Drawer 3: 2 x 5 + 4 + 12 – 5 + 9 = 30
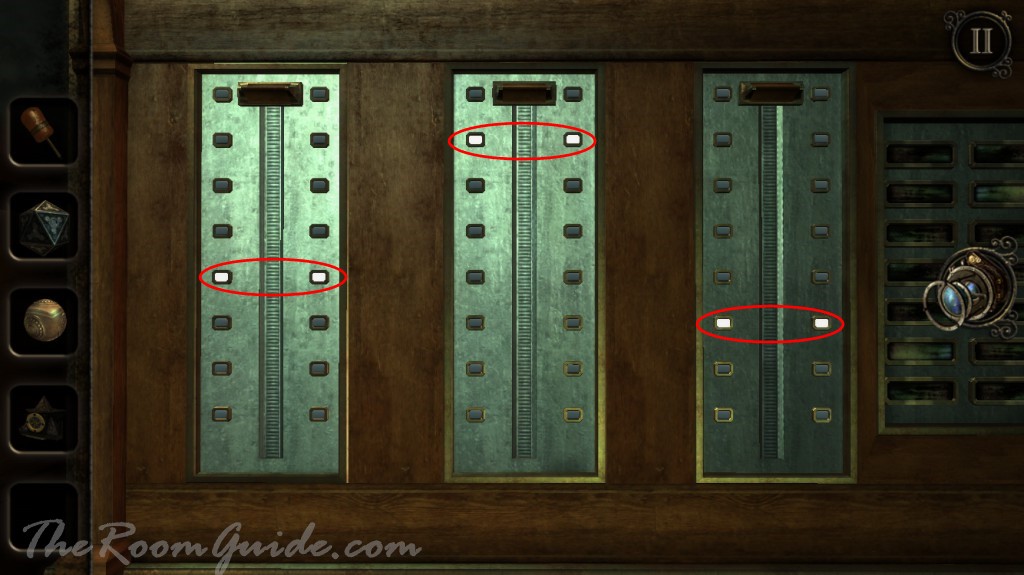
Signals on machine with three sliding bars will turn on. Slide the bars to the illuminated signals. A rectangle with the word LIBRARY will turn on.
Go back to the library. Notice the phone is ringing. Flip the switch. Get a cross shaped key from the gramophone.
Return to the basement. Locate a box with six drawers. Insert cross shaped key into the key hole on the top. Turn the key. Check out the blinking lights. Open the drawers in the same order. If you mess up, just turn the key again to get a different sequence. Get a token from the last drawer.


Go back to the fortune teller. Insert the token. Get a crank handle.

Follow the steps in our Released Ending walkthrough to get a metal object.
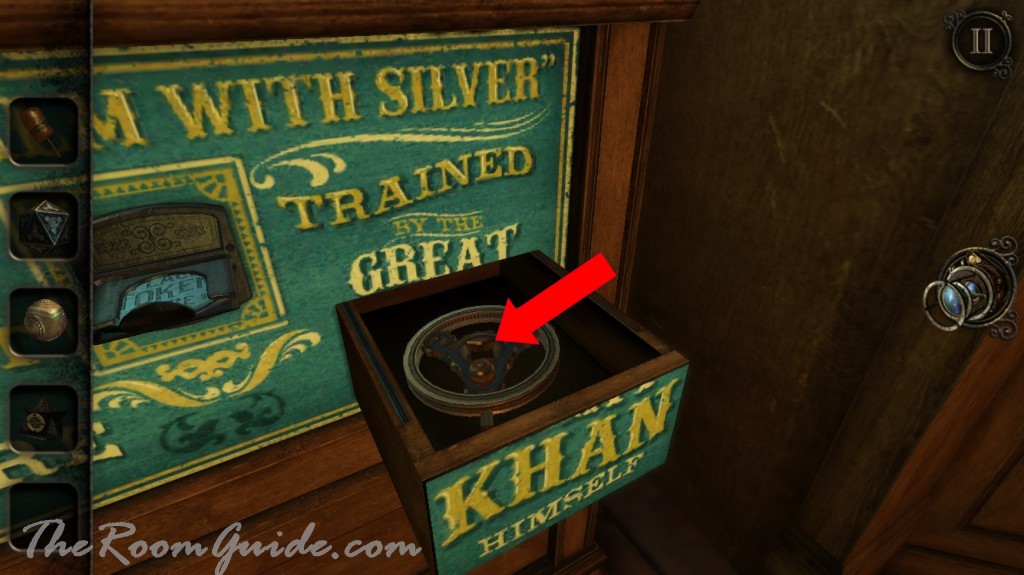
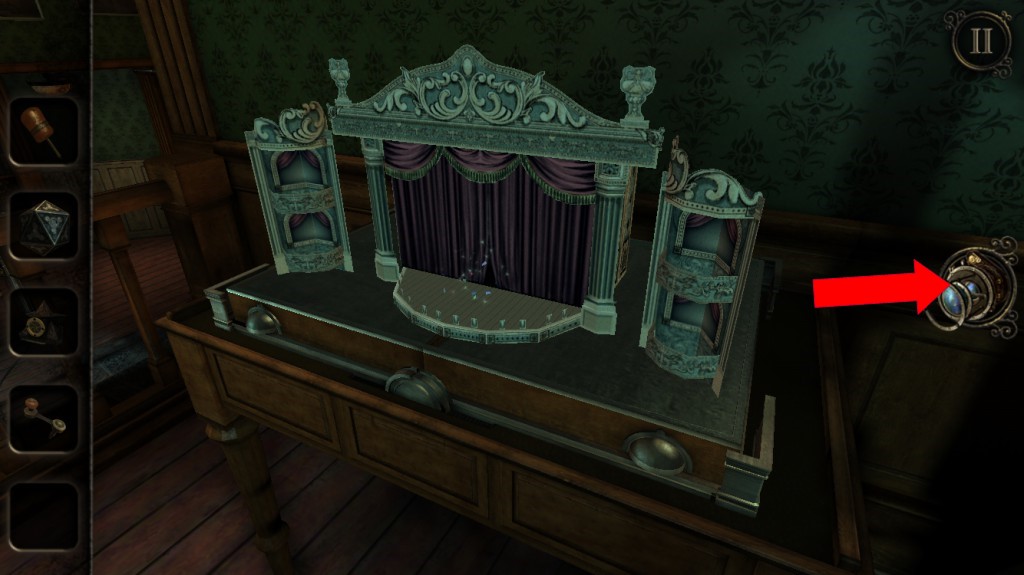
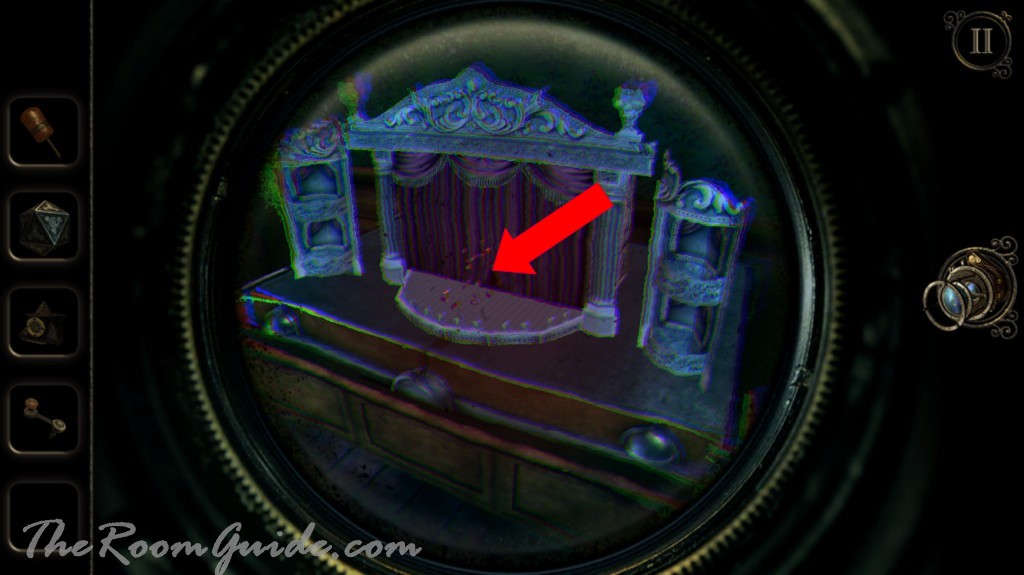
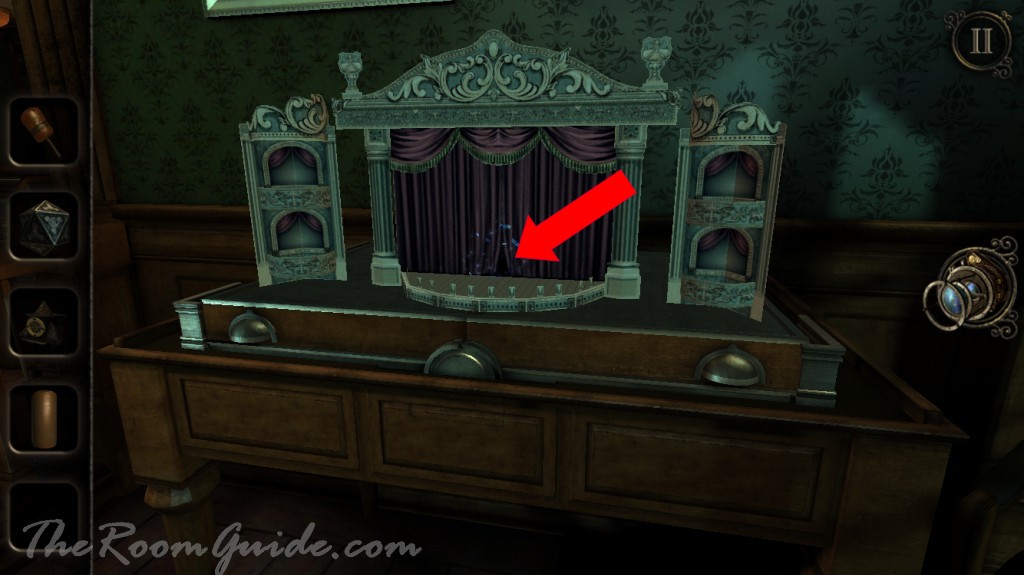
Locate a magazine display with Great Khan in the library second floor. Place the metal object (the metal ball) under the right magazine cover. Slide down the magazine cover. A miniature theater is revealed. Put on eyepiece and go behind the curtain. There is a gramophone on the table. Press the button. Get a blank wax cylinder. Exit theater.


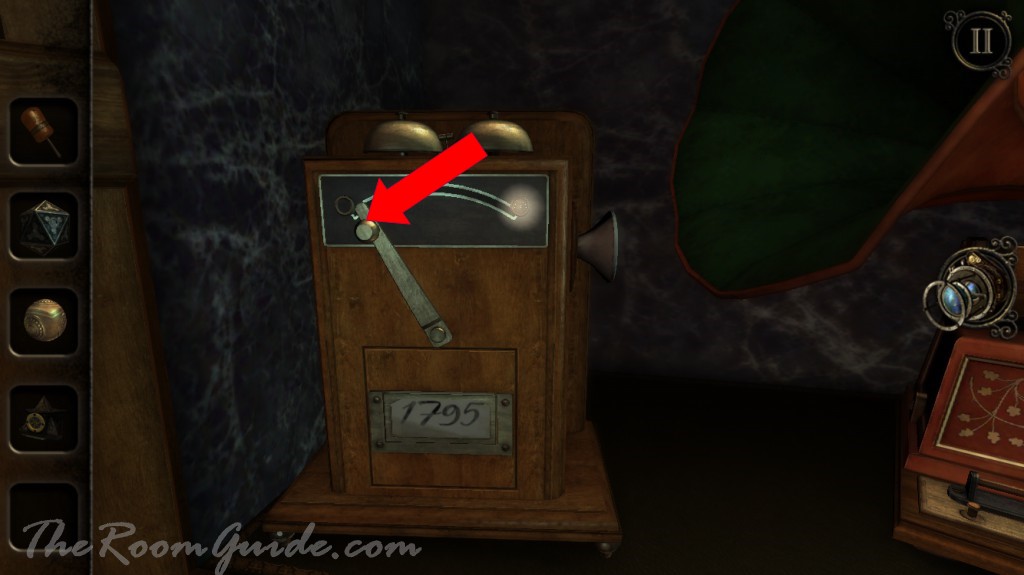
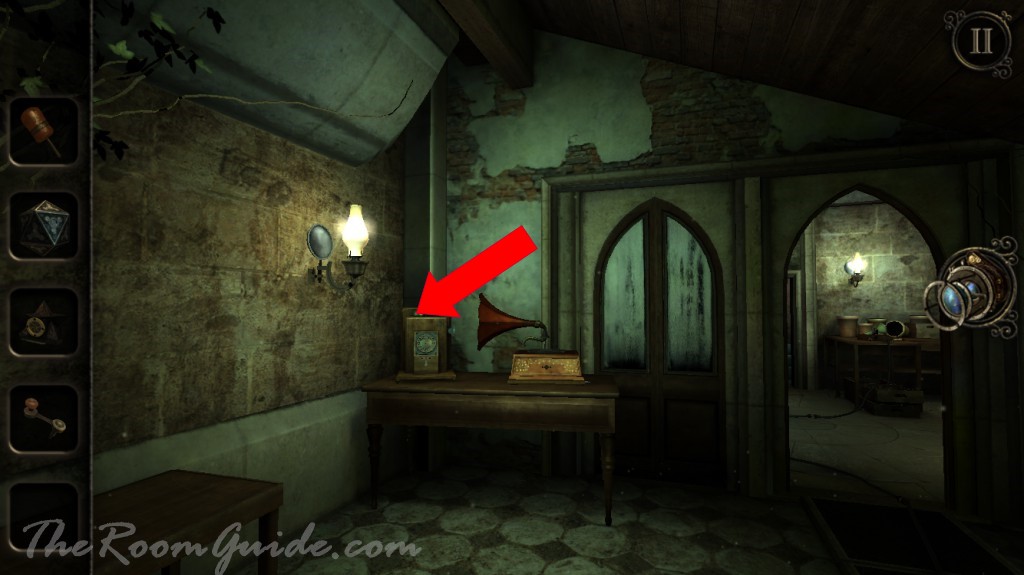
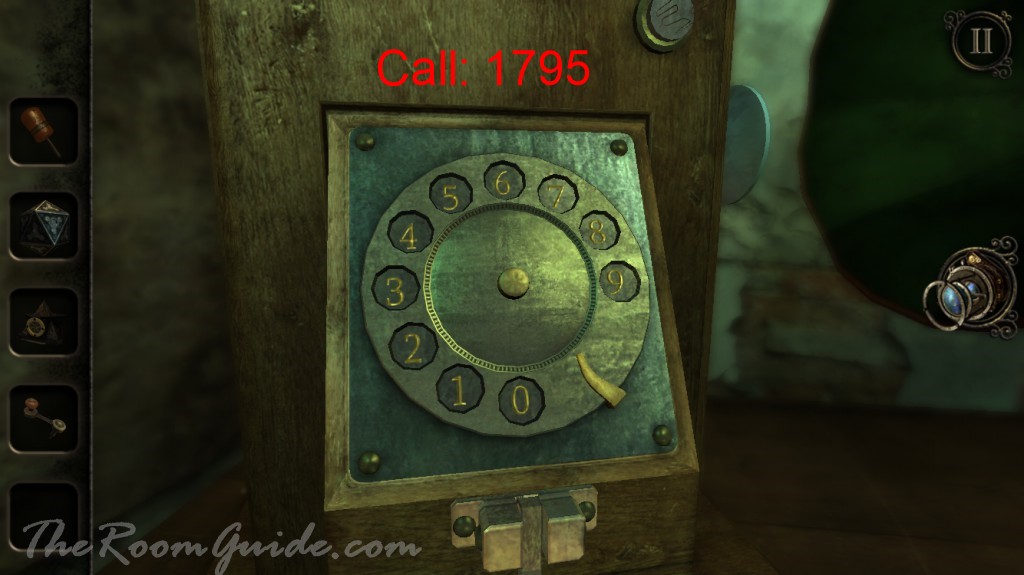
Locate a gramophone in the library’s first floor. Insert blank wax cylinder. Notice the number on the phone: 1795.
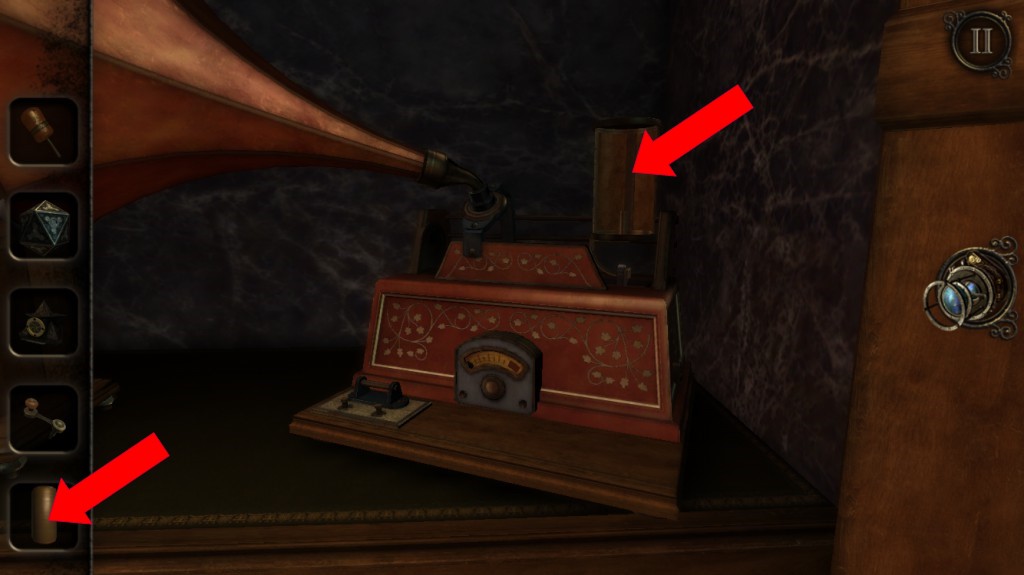
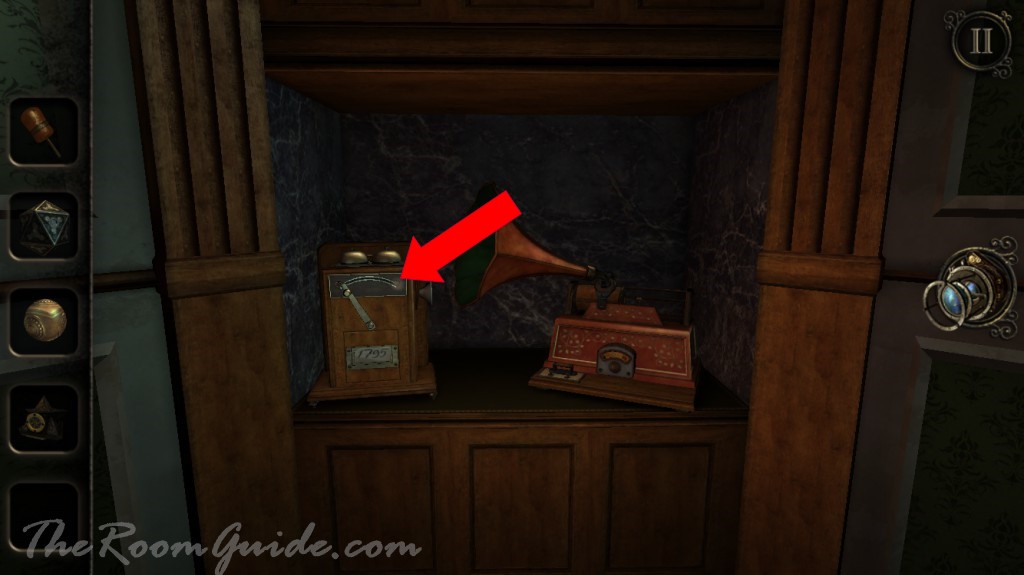
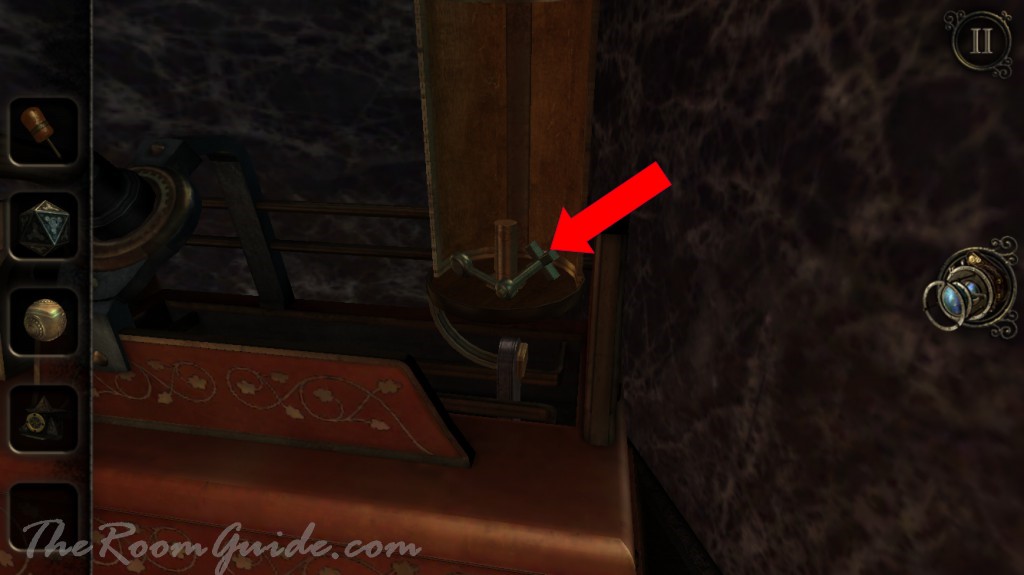
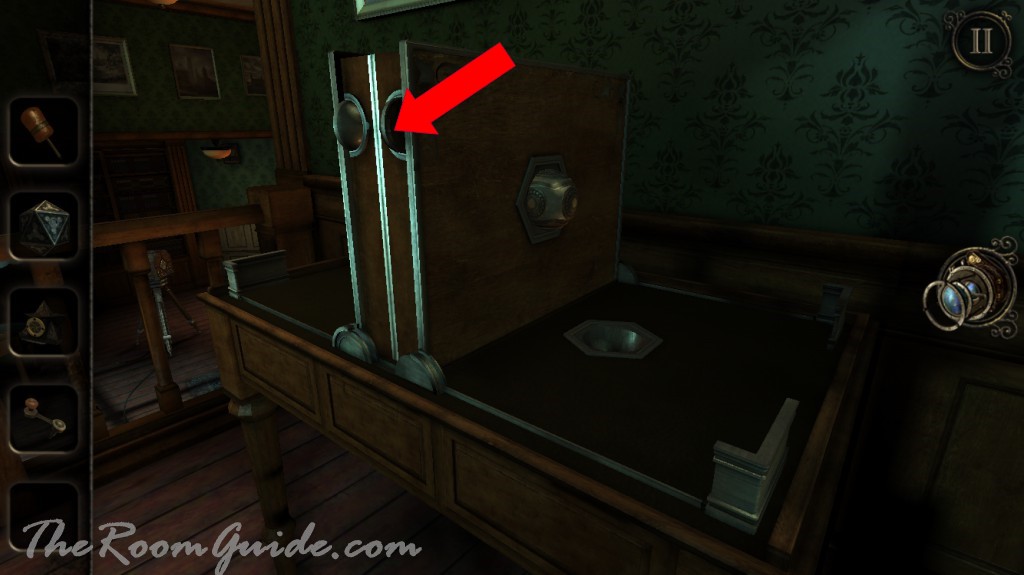
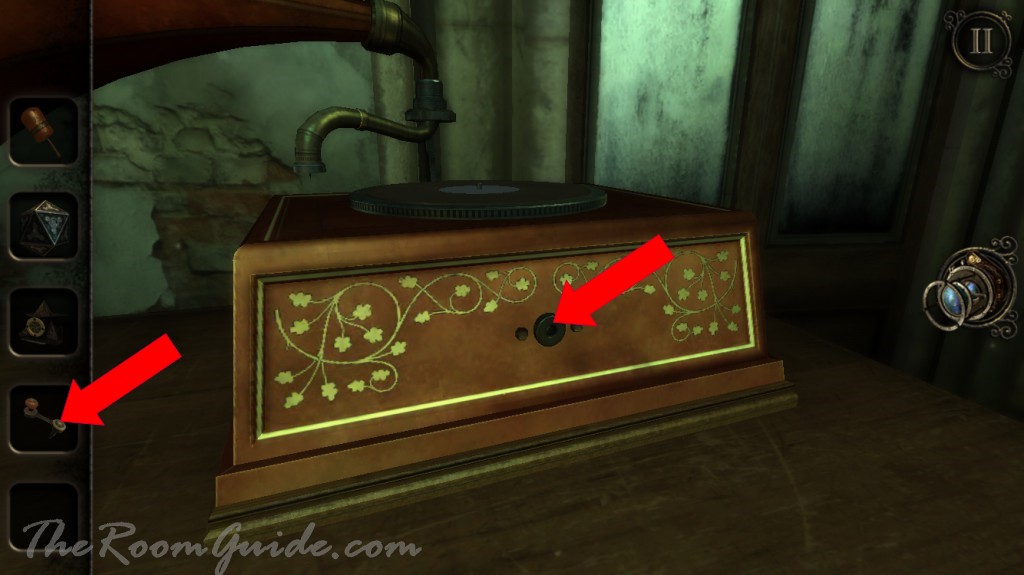
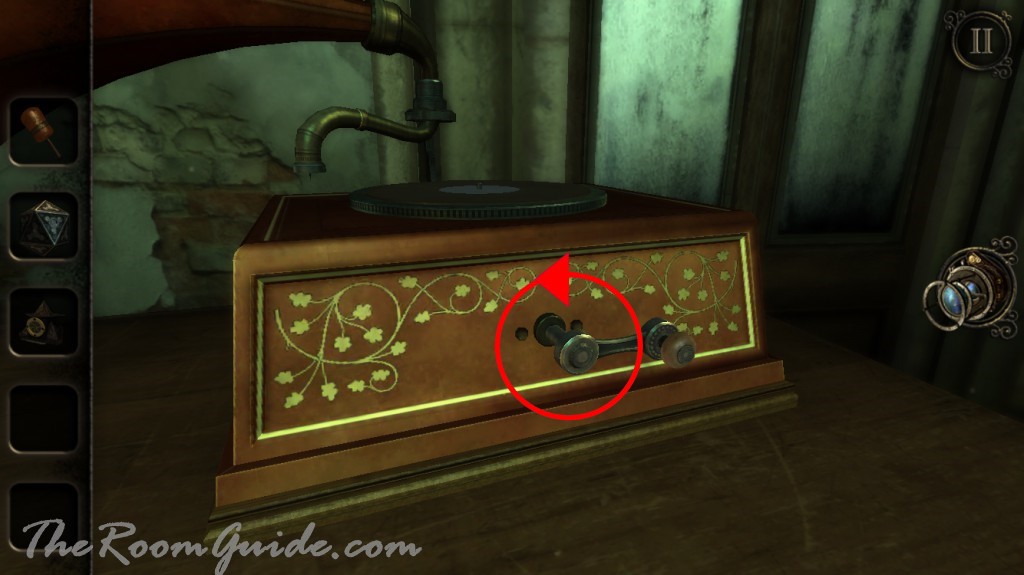
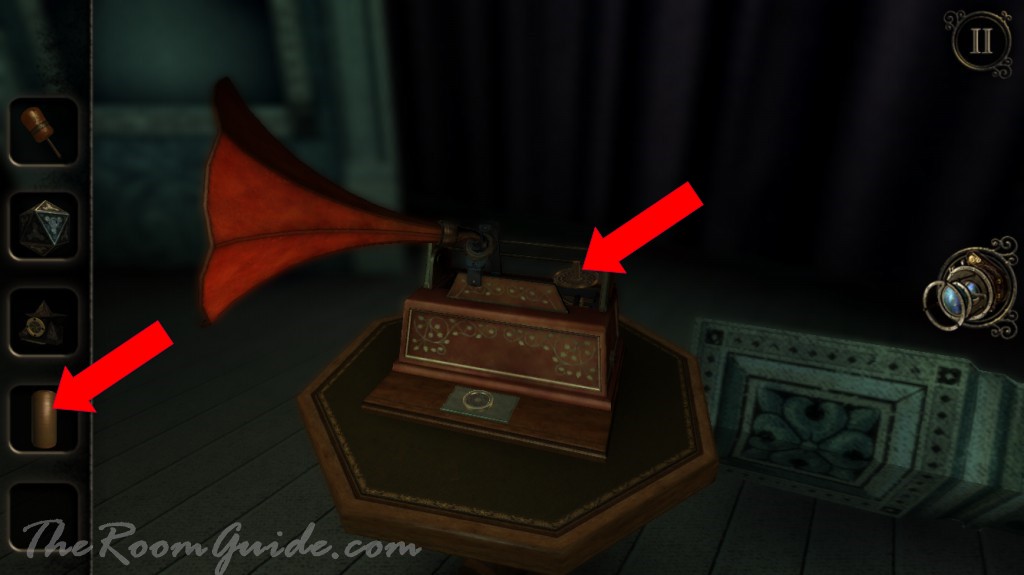
Go to the glass room. Locate a rotary phone and gramophone. Dial number 1795. Place and turn the handle in the gramophone. The music will start to play.
Instruction on how to use a rotary phone:
1. To dial a number by placing the finger in the dial’s hole of the number you wish to dial. Rotate the dial clockwise until your finger touches the metal stop. Remove your finger from the opening to allow the dial to rotate to its original position.
2. Find your second number and repeat step three and four. Do this for the remaining numbers.
Return to library. Slide the handle to pick up the phone. The gramophone starts playing music. When the music stop playing, get an etched wax cylinder.
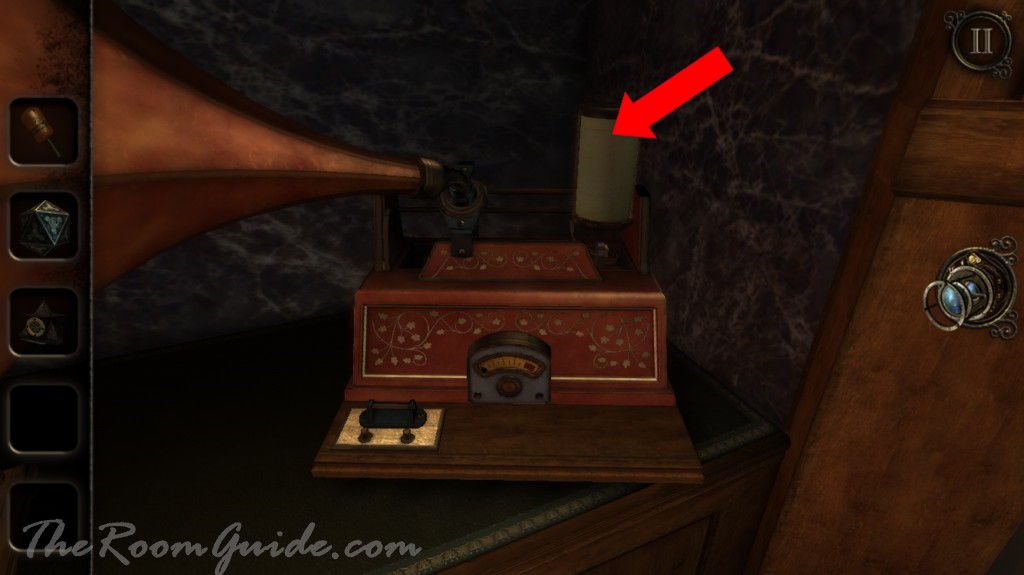
Go to the magazine stand on second floor. Enter the miniature theater. Place the etched wax cylinder on the gramophone. Tap on the round button. Music will start to play. Get a token.
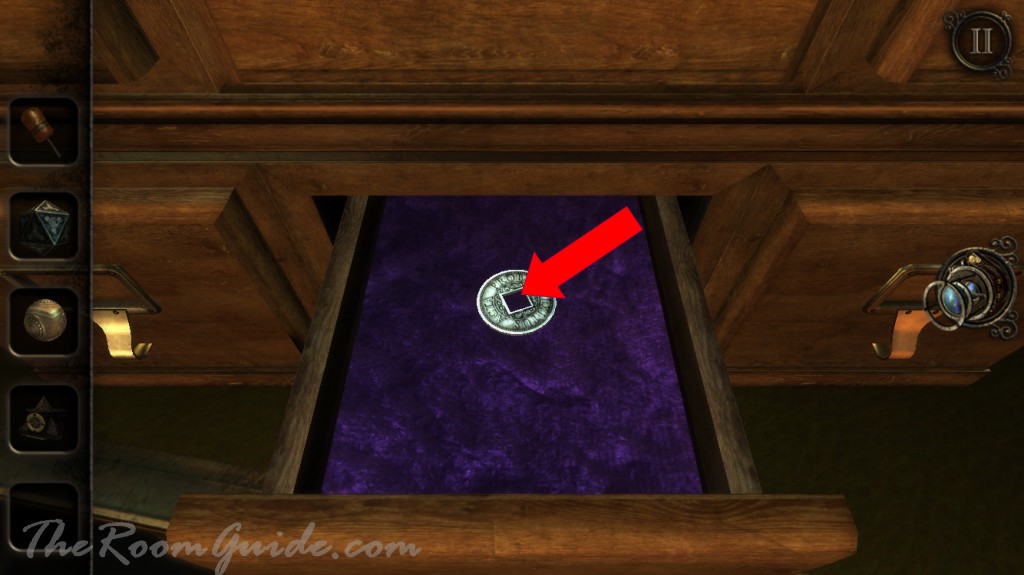
Go to the fortune teller. Pull out the token slot. Insert token. Push in the token slot. Get a metal device.
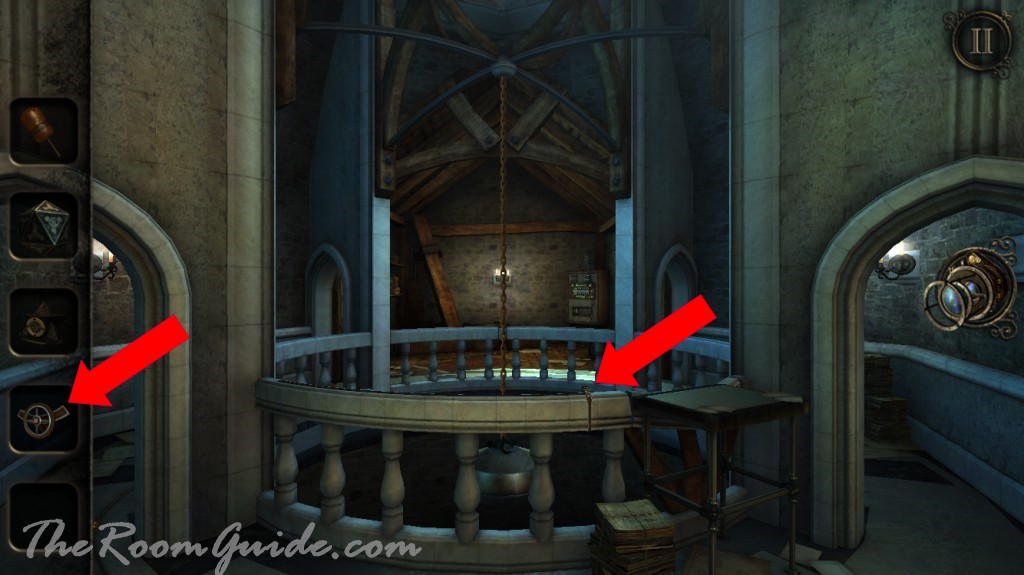
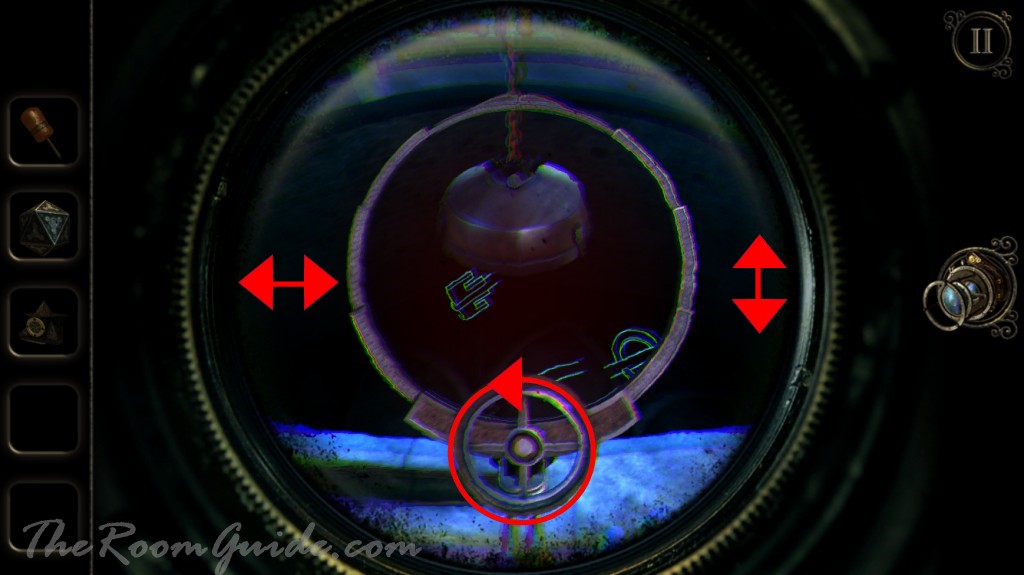
Ride the elevator up to the tower. Locate a T shape slot on the handrail. Insert metal device. Look through the ring with eyepiece. Use the wheel to move horizontally and adjust the view with your finger until an image of a key appears. Get a key.


Go to the glass room.
Key Puzzle Solution:
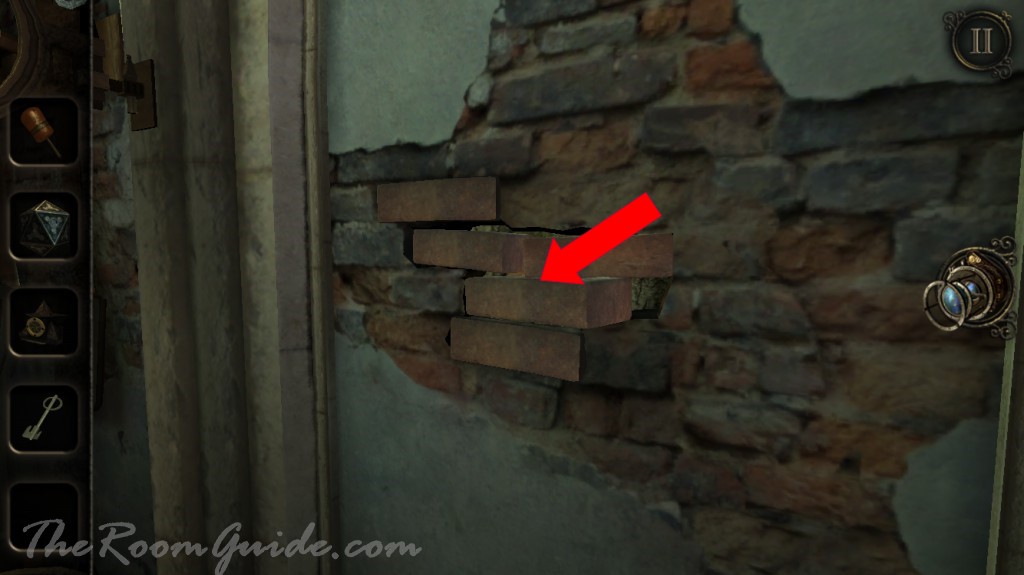
1. Locate a wall with loose bricks in the front room next to the door. Remove the brick. Put on eyepiece. Enter the hole. Three wheels are placed on a table. Adjust the wheels so the light beam passes through the keyhole onto the wall behind.


2. Go to the back room. Look at the wall next to the wall. Find a key hole. Insert and turn the key.
3. Go back into the hole on the other side. Check out the tip of the giant key. Rotate the bar.

4. Go back to the key. Turn the key again.
5. Go inside the hole. Rotate the bar again on the tip of the giant key.

6. Go back to the key. Open drawer. Get a token.
Return to fortune teller in the library. Insert token. Get a mysterious artifact with hexagon base.
Now you are ready to enter the portal.

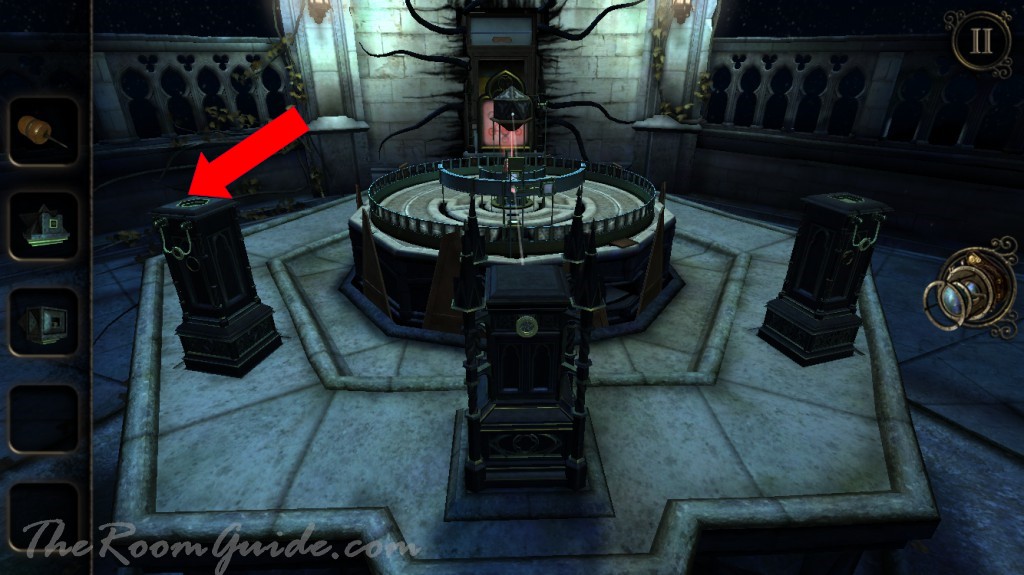
Repeat steps in our Imprisoned Ending walkthrough guide. Until you get a red beam. Do not enter the train door.
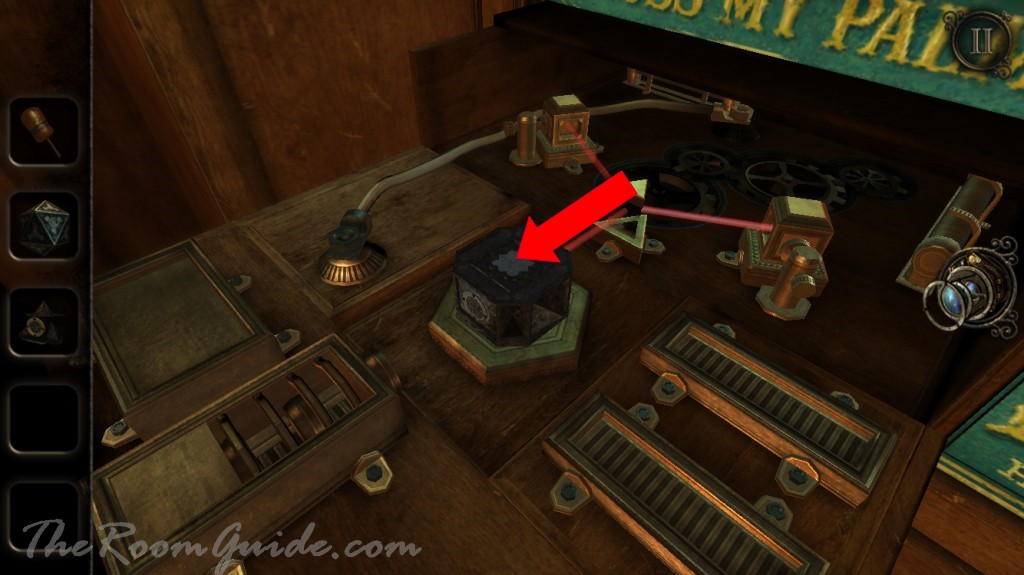
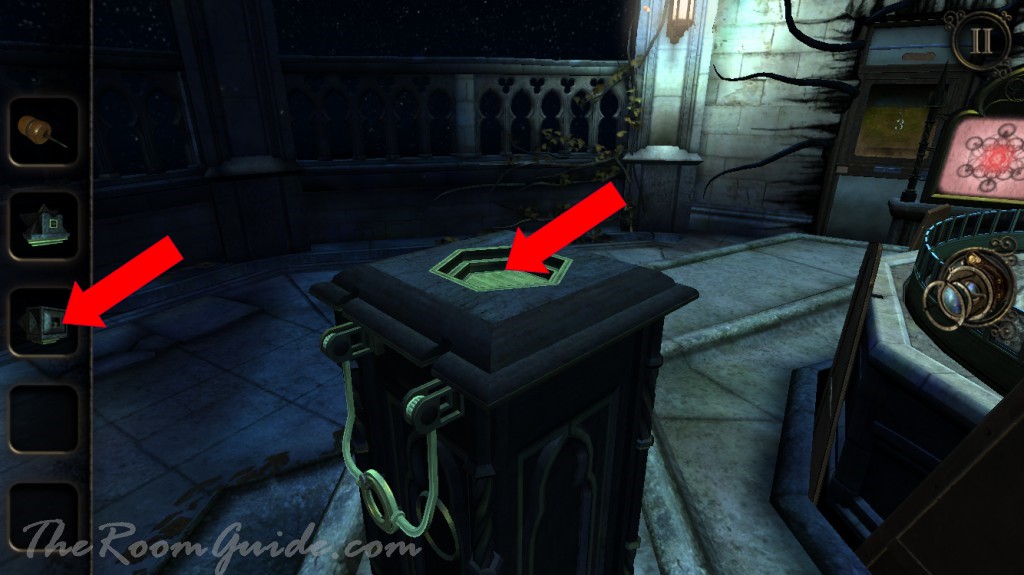
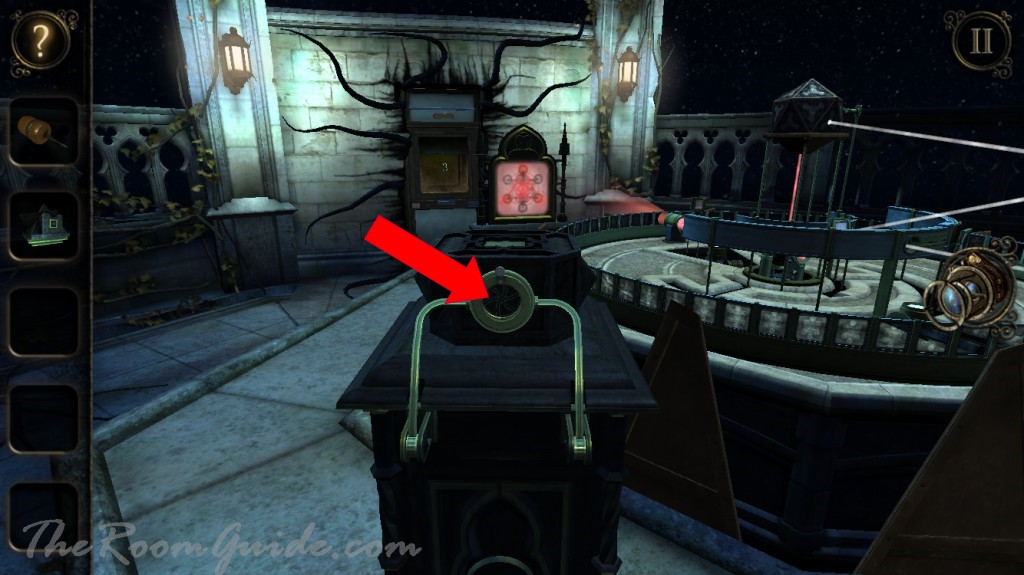
Instead, place the mysterious artifact with hexagon base on the left pedestal. Turn the round handle. Put on eyepiece. Enter the artifact.
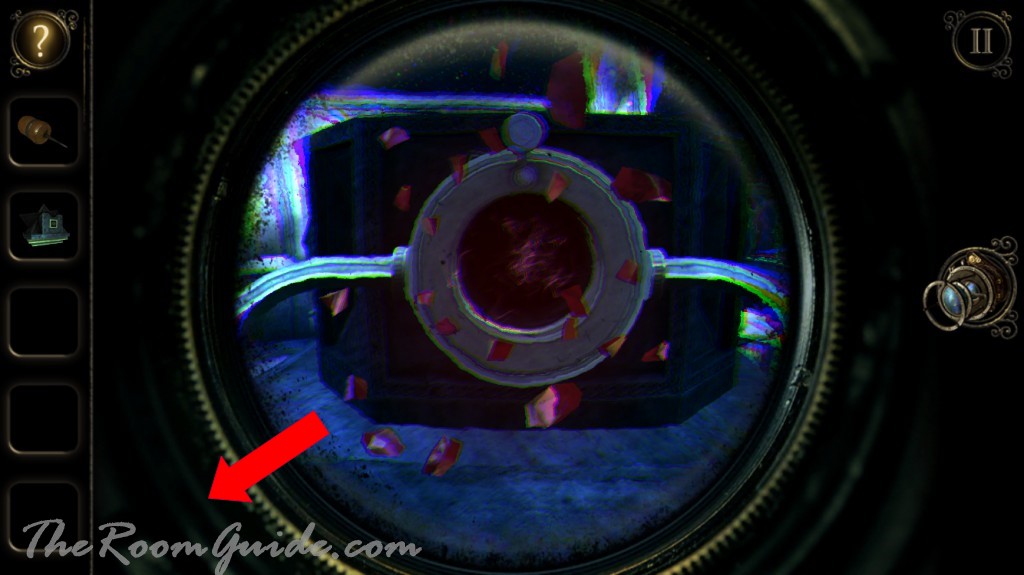
In the artifact is a green crystal. The outer bars are like battery. Rotate the wheel slowly until you spot a light beam. Follow the light beam allowing it to pass through the opening on the wheel until the “battery” is charged.


Tap on the button on top of the artifact. A green beam will emit. A wooden door will appear. Enter the door to see the escape ending.
The gramaphone in the glasshouse played for ages. It was on a loop.
I pulled out the coin slot on the fortune teller but there was no device.