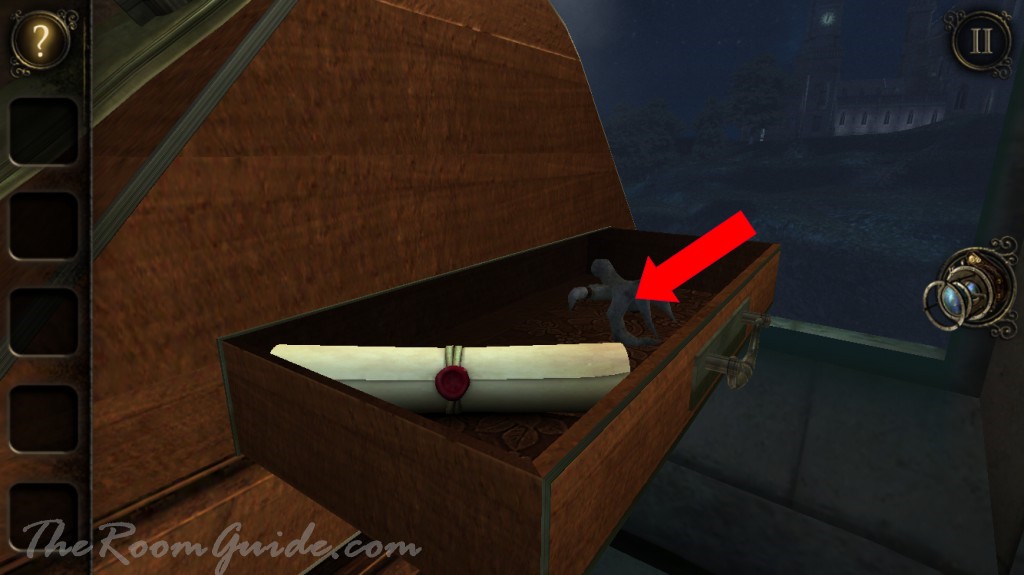
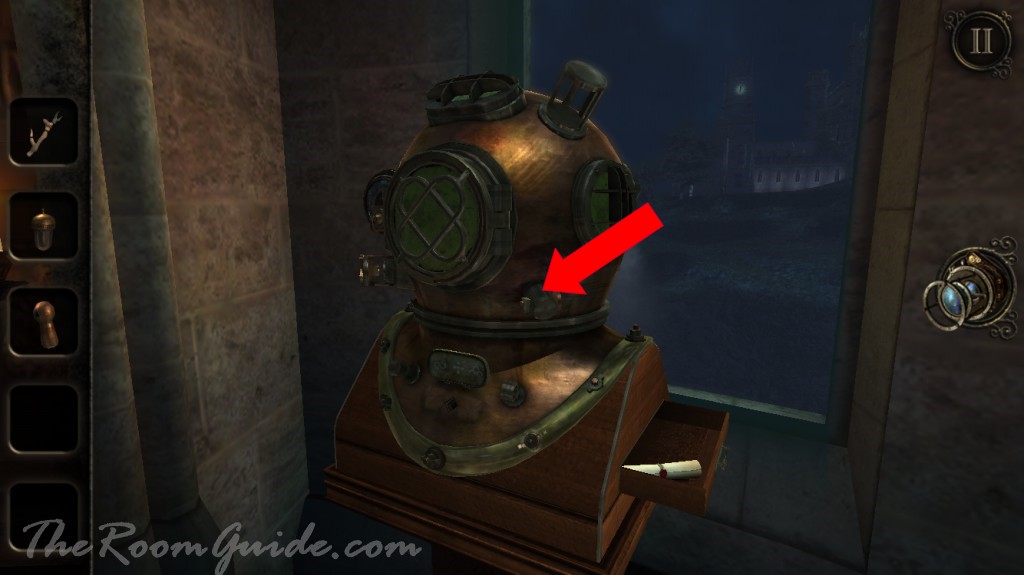
Go over to the diving helmet next to the window. Open the drawer on the right side. Get a antler.

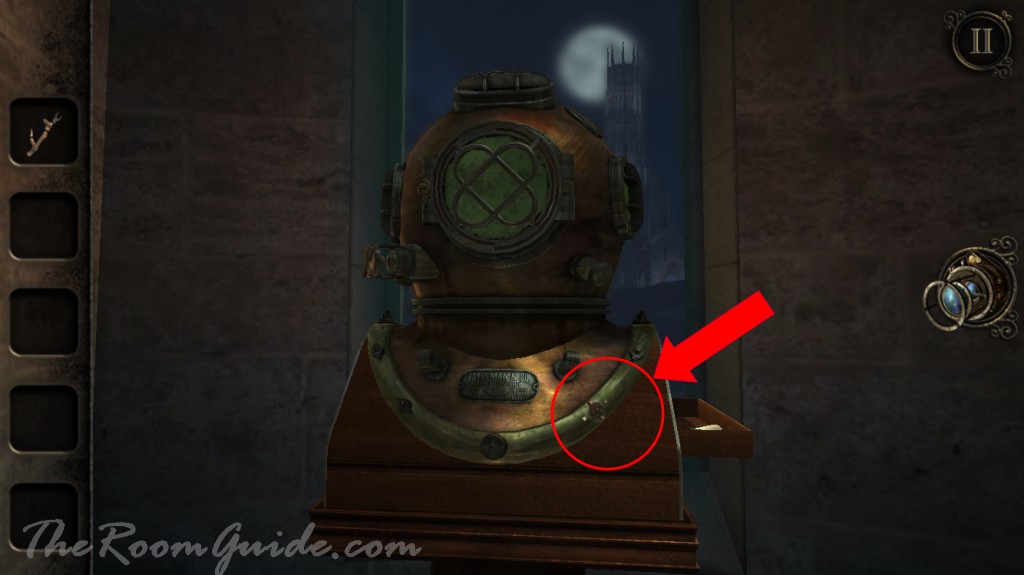
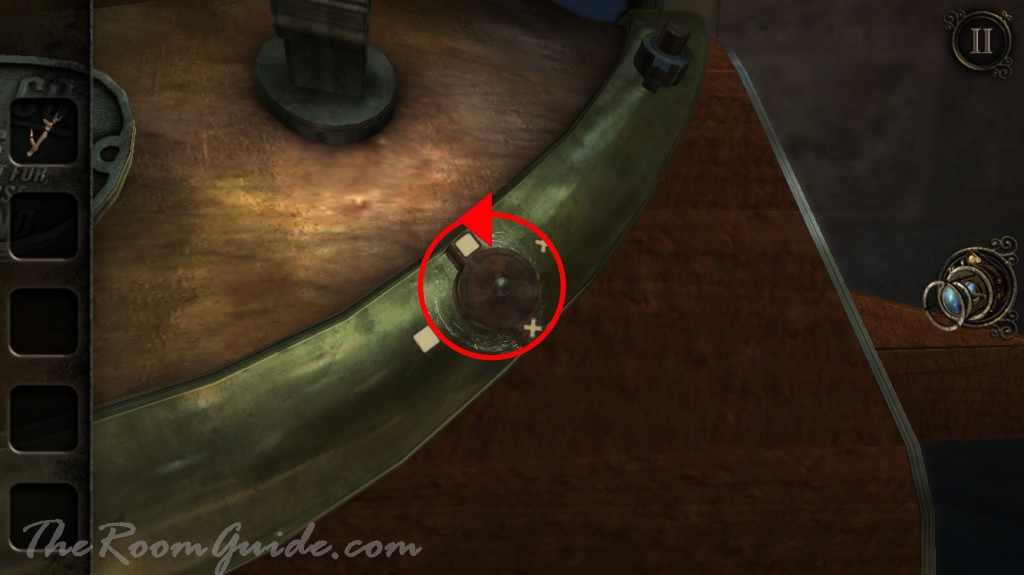
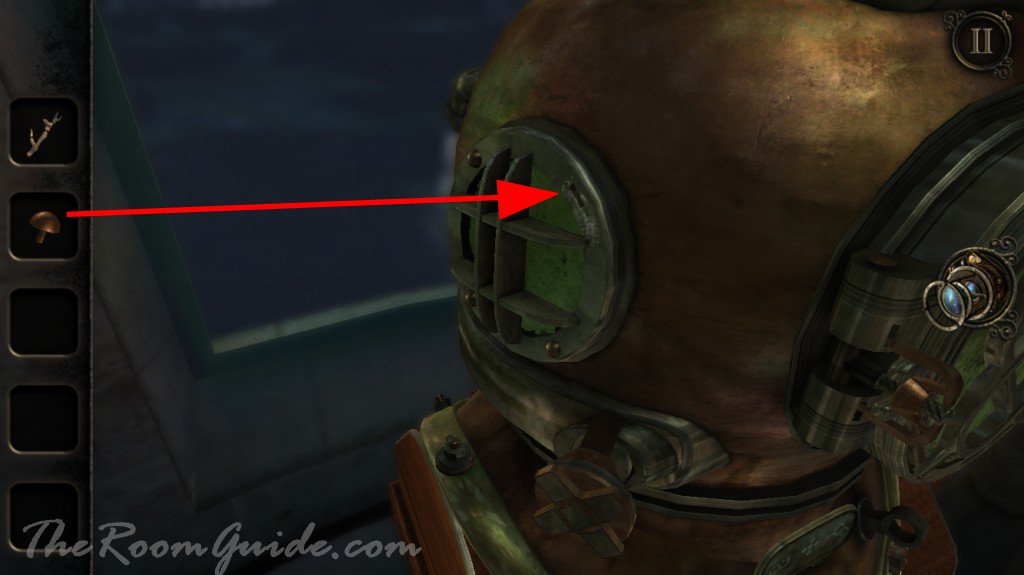
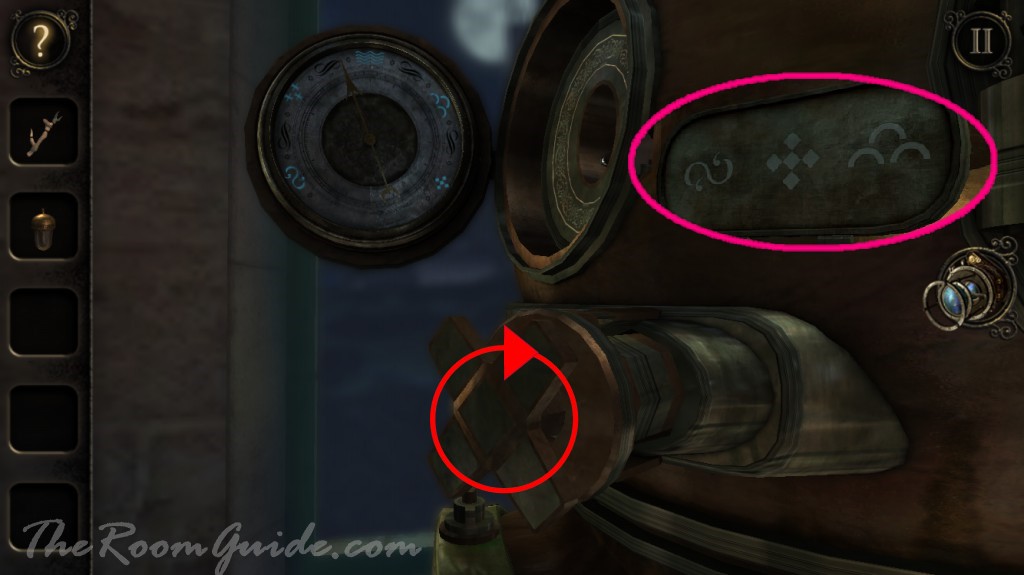
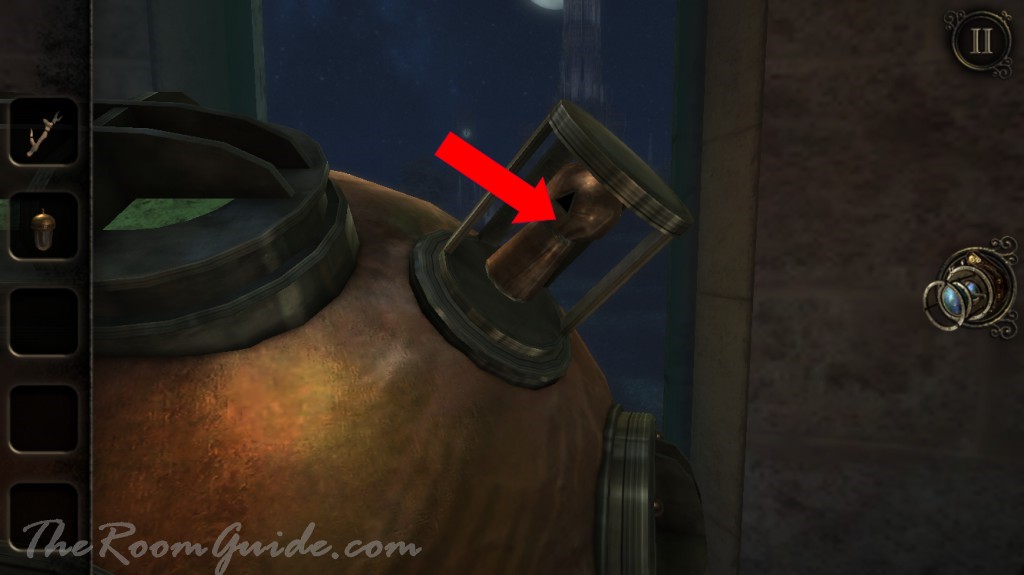
Notice a wingnut looks different than others. Turn the nut to open a secret compartment. Get a brass rivet inside. Notice a strange set of three symbols on the cover above.

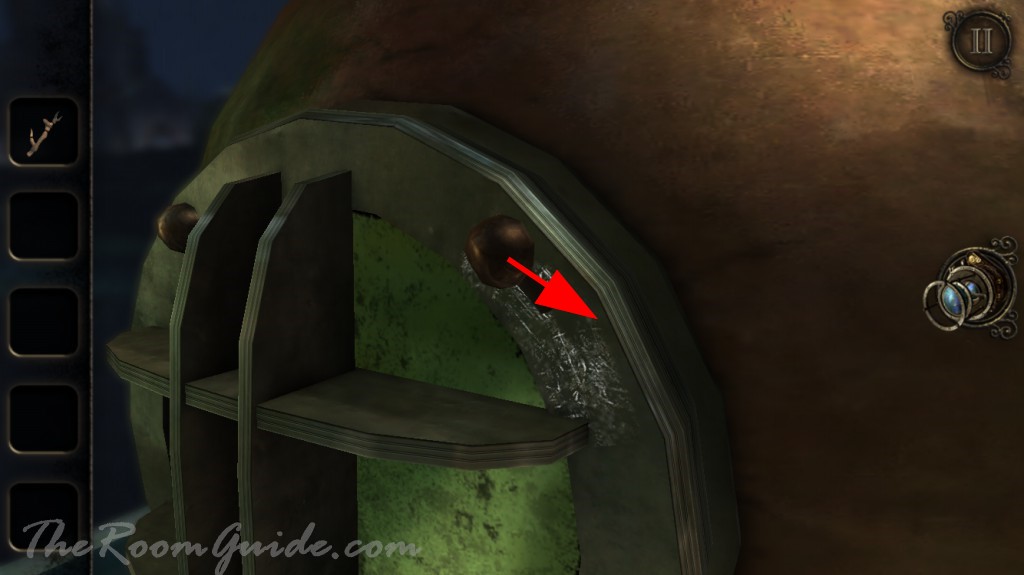
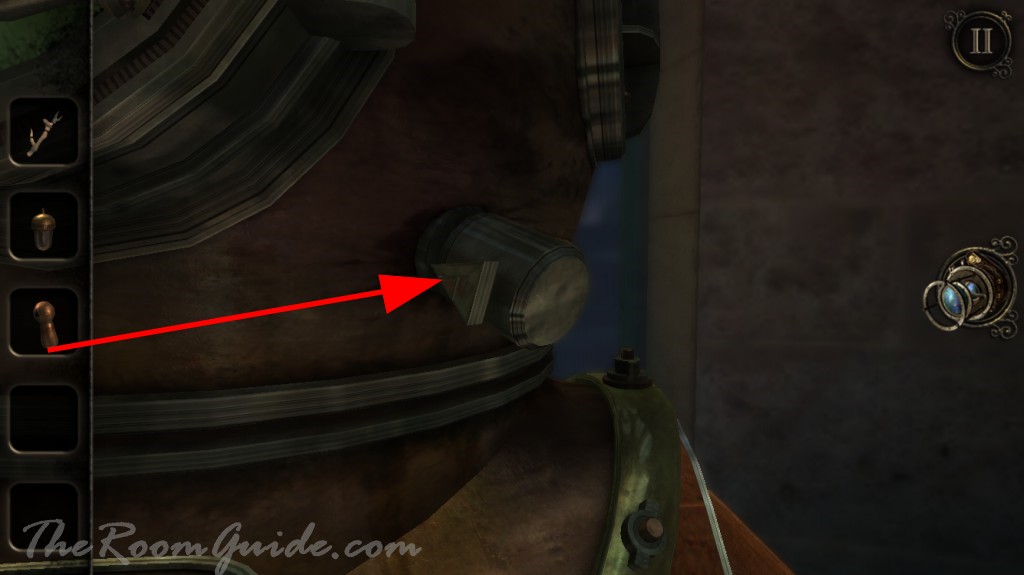
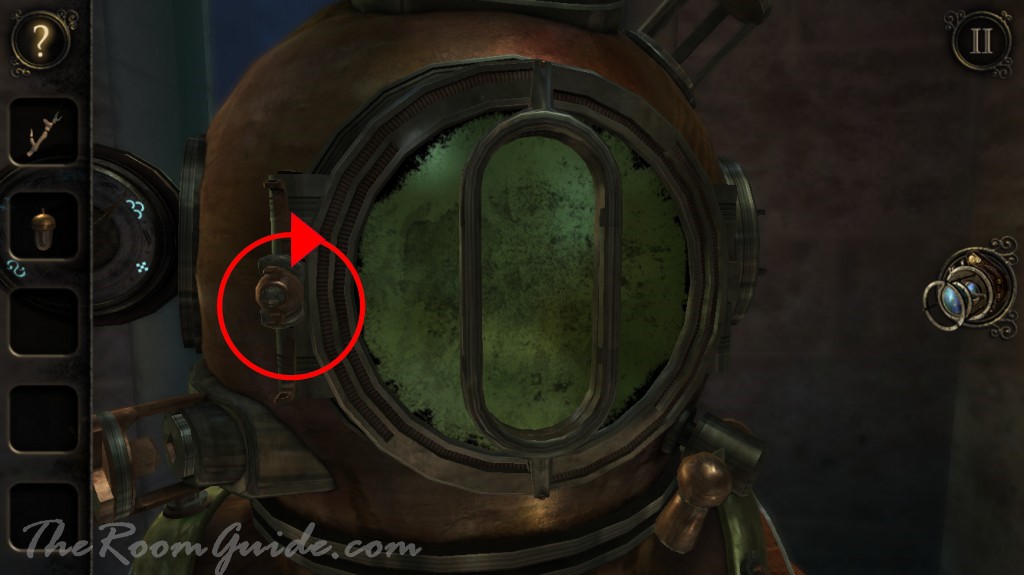
Go over to the left side of the helmet. Insert rivet in the missing spot. Slide the rivet and open the the panel. Get a model acorn. Turn the switch underneath. A compartment will open. Grab the wooden model piece.

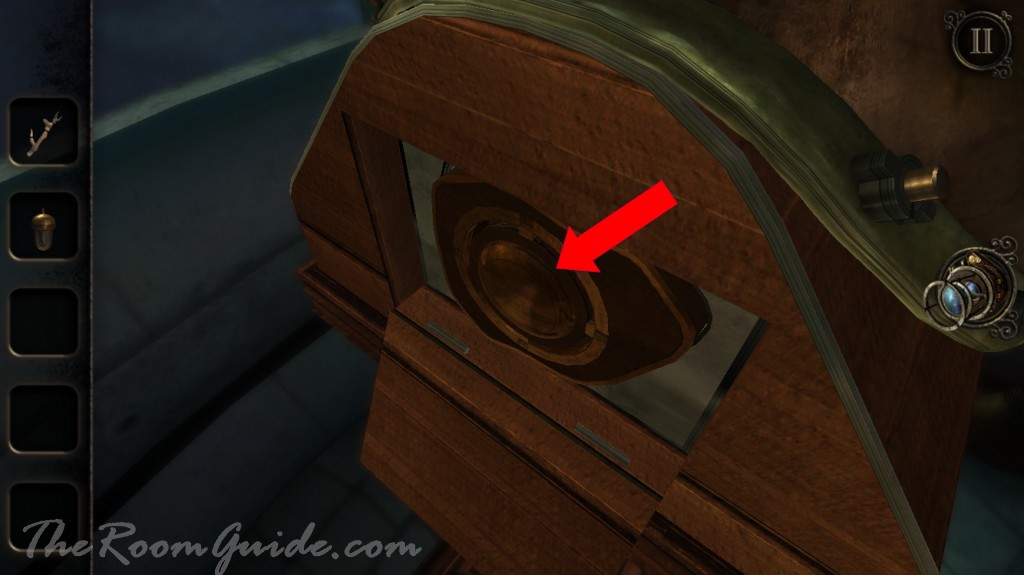
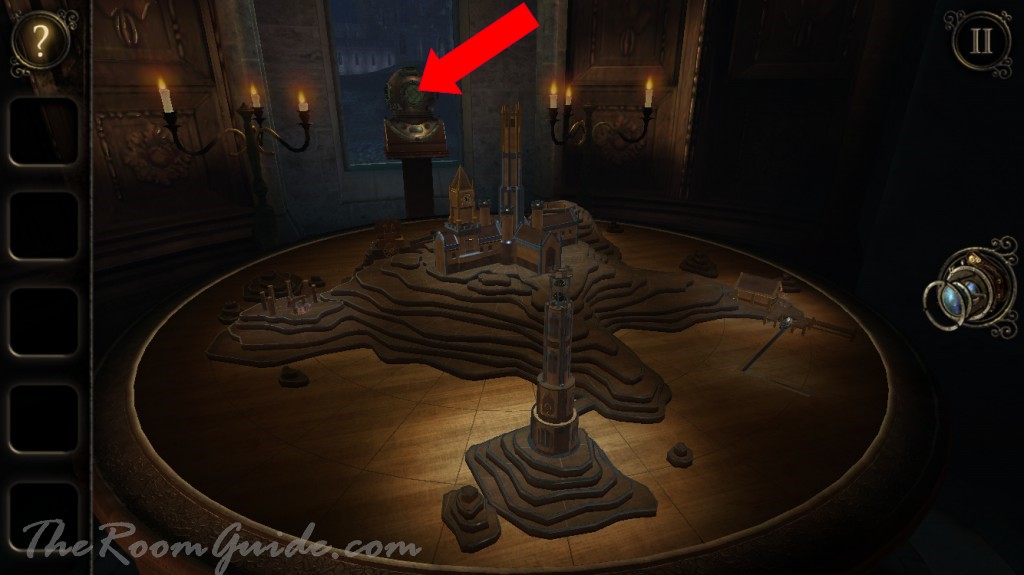
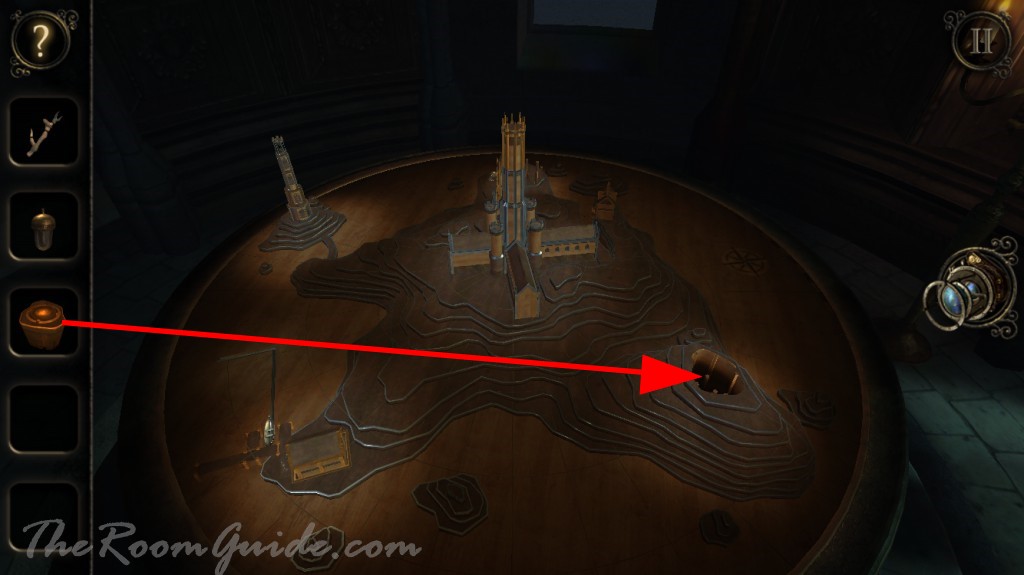
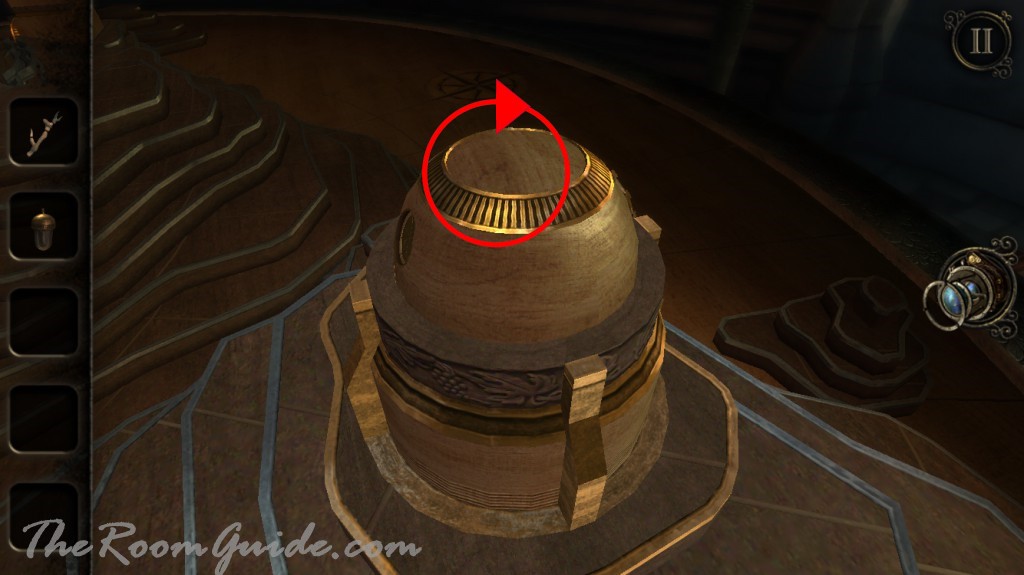
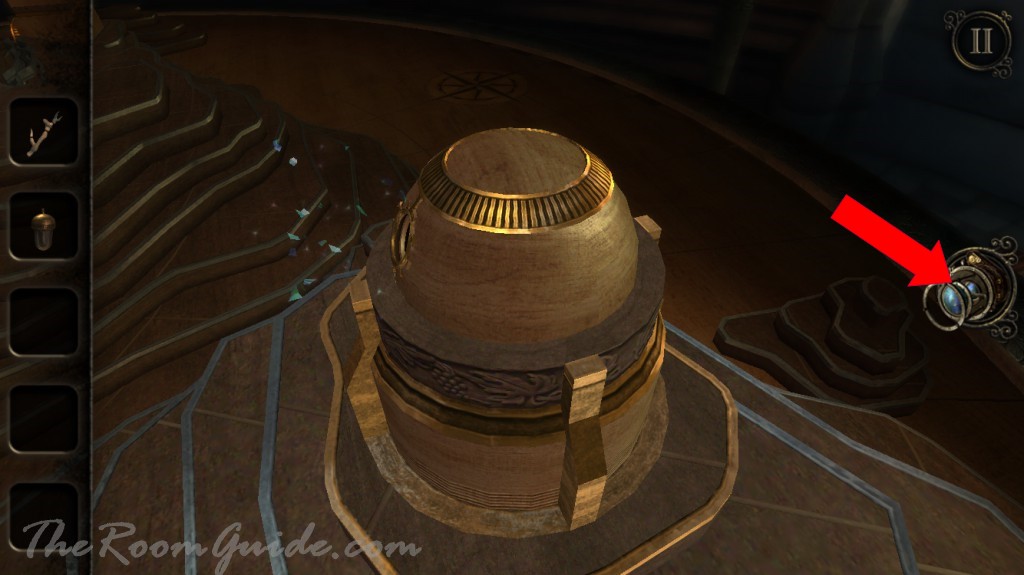
Locate a empty slot on the table. Insert wooden model piece. Rotate the dial on top and align the frame and the opening. Put on your eyepiece and enter the model observatory.
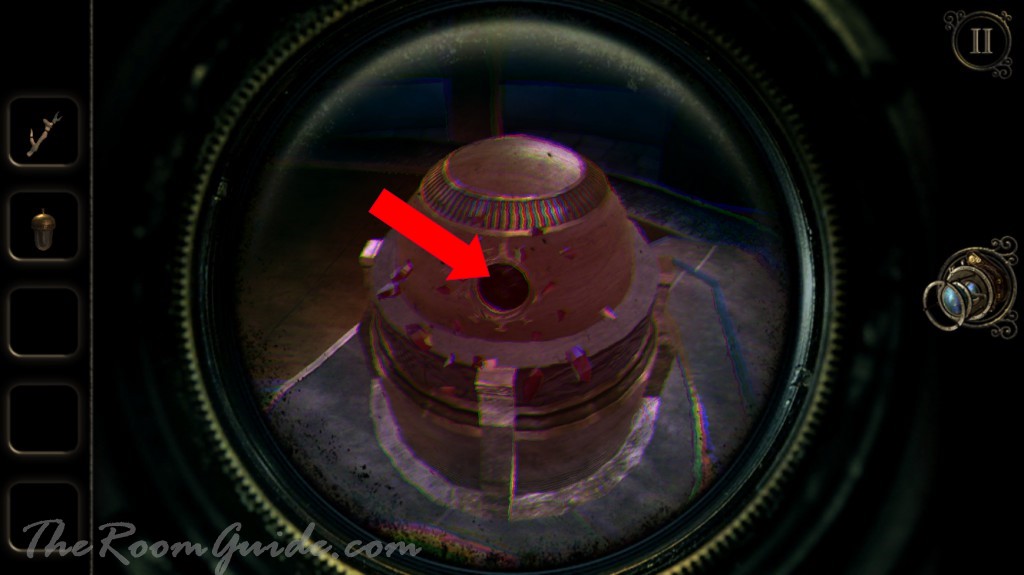
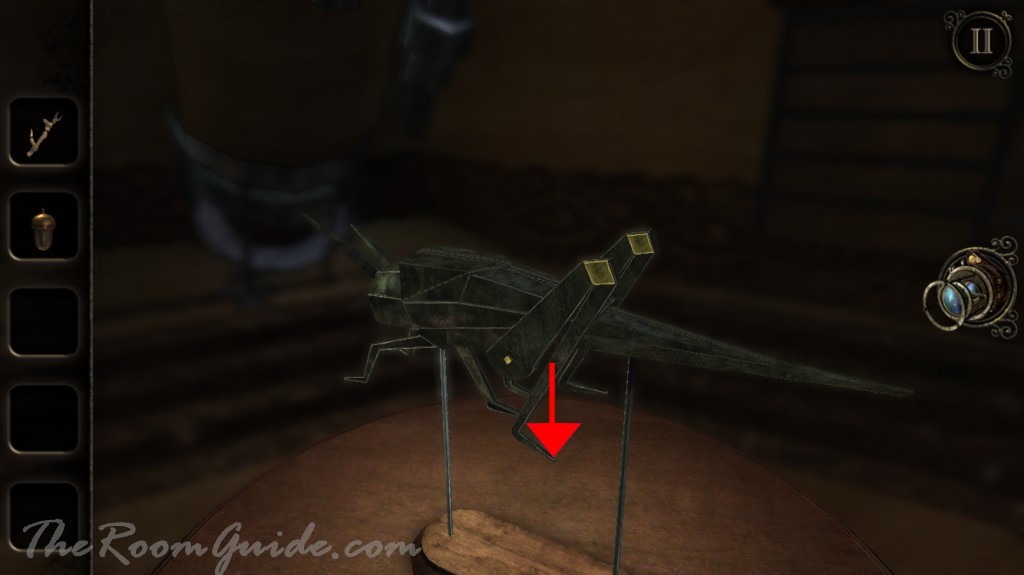
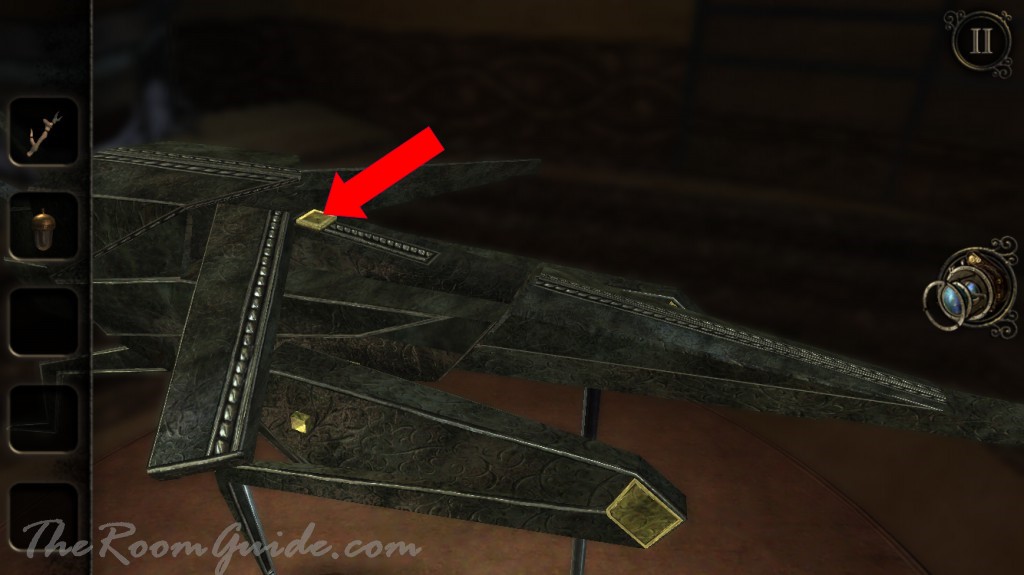
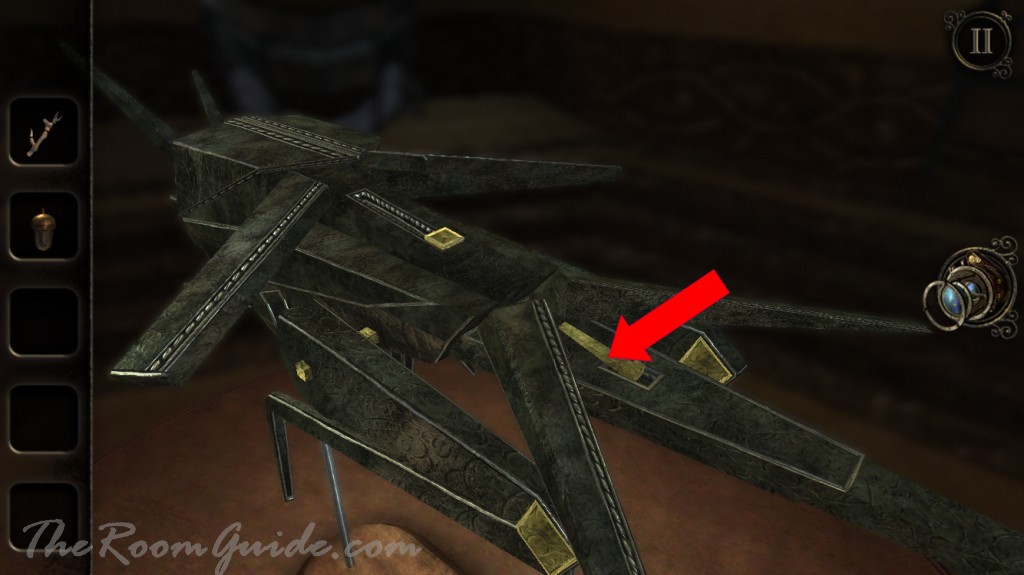
Inside you will find a model grasshopper. Slide the button on top of the grasshopper. Then flip the switch under the second set of wings. Pull the head. Get a metal pointer.

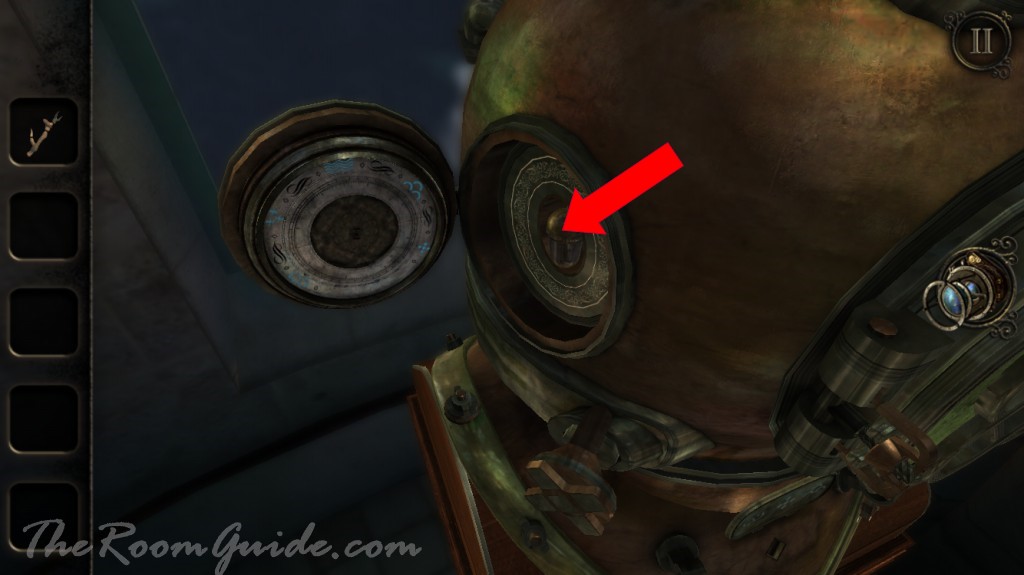
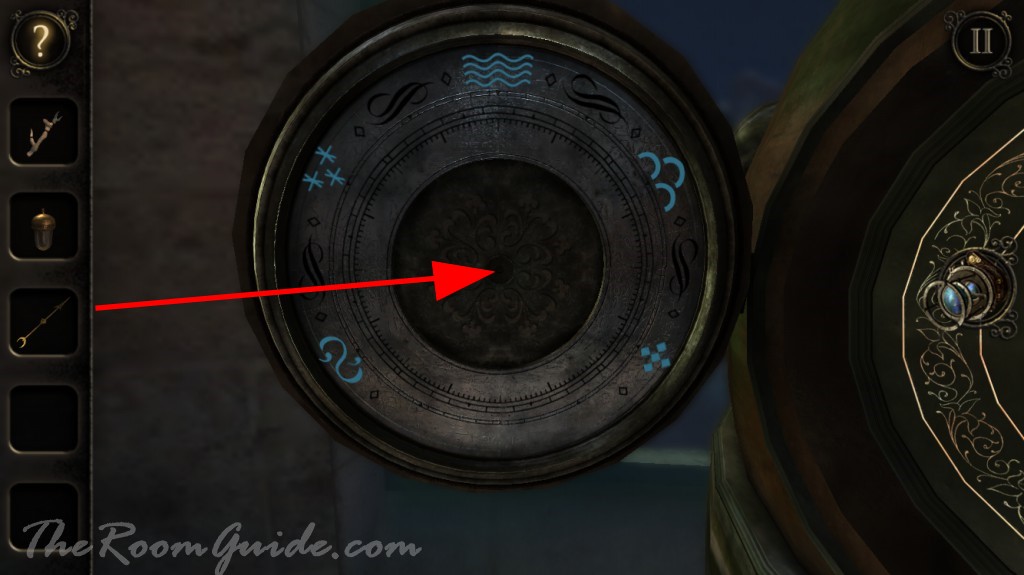
Go back to the helmet. Notice strange symbols on the inside of panel door similar to the one on metal plate. Insert the metal pointer and use the X shaped dial to operate the barometer. A copper tap will appear. Grab the copper tap.

Locate a triangle shape similar to the one of the copper tap. Place and turn the tap.

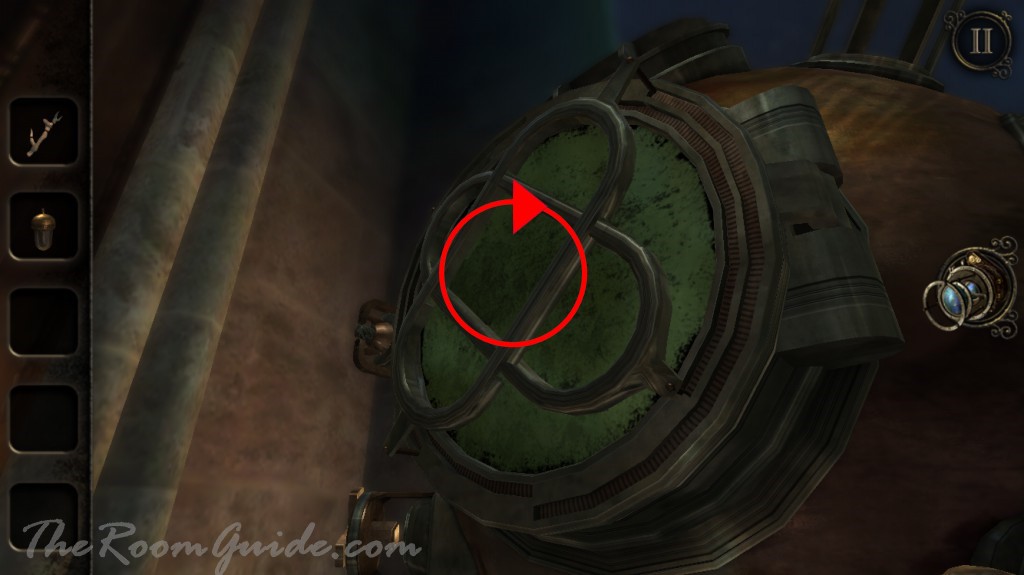
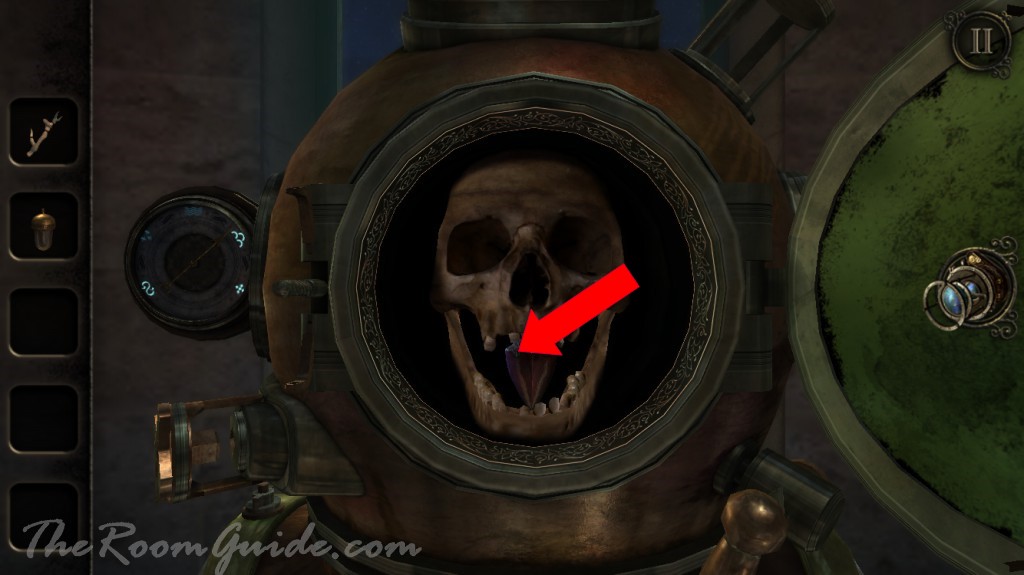
Rotate and align the oval shapes. Unscrew the wing nut next to the main window. The window will open. Grab a crystal phial.
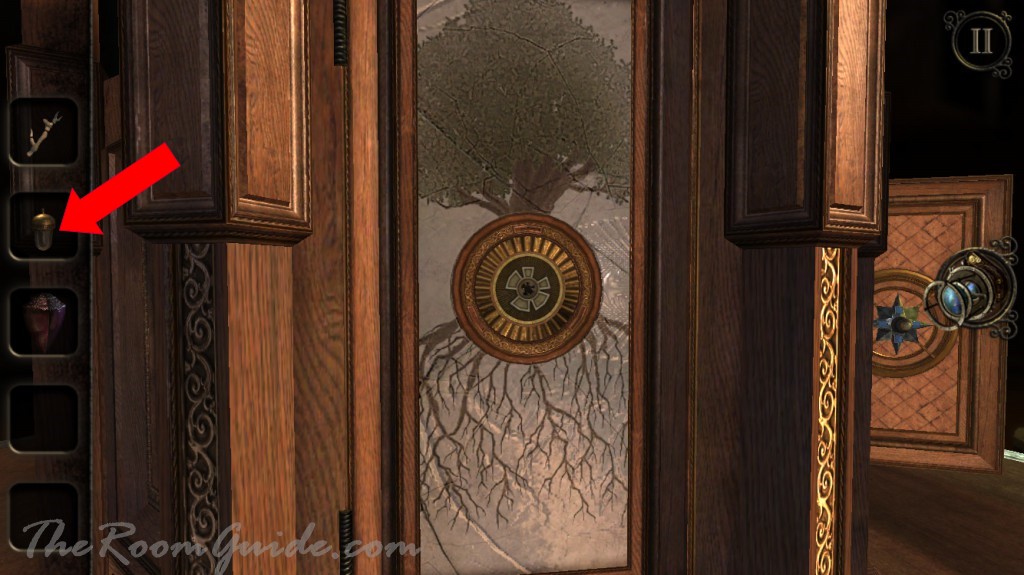
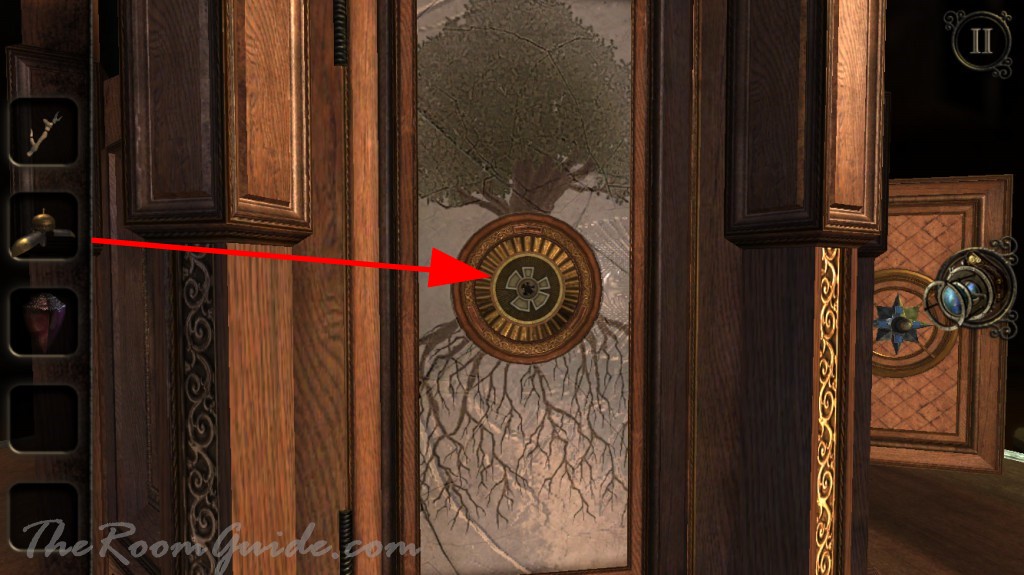
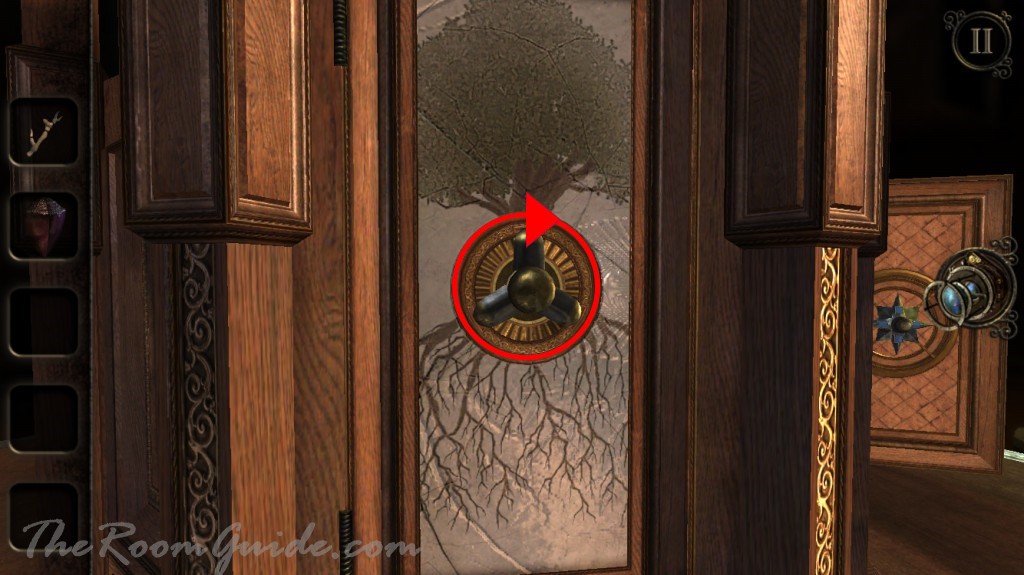
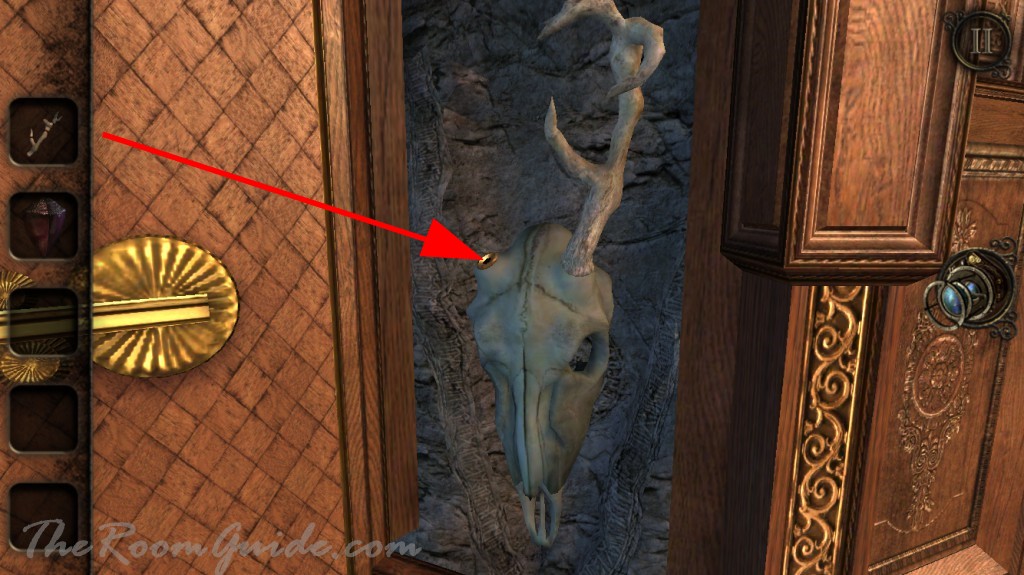
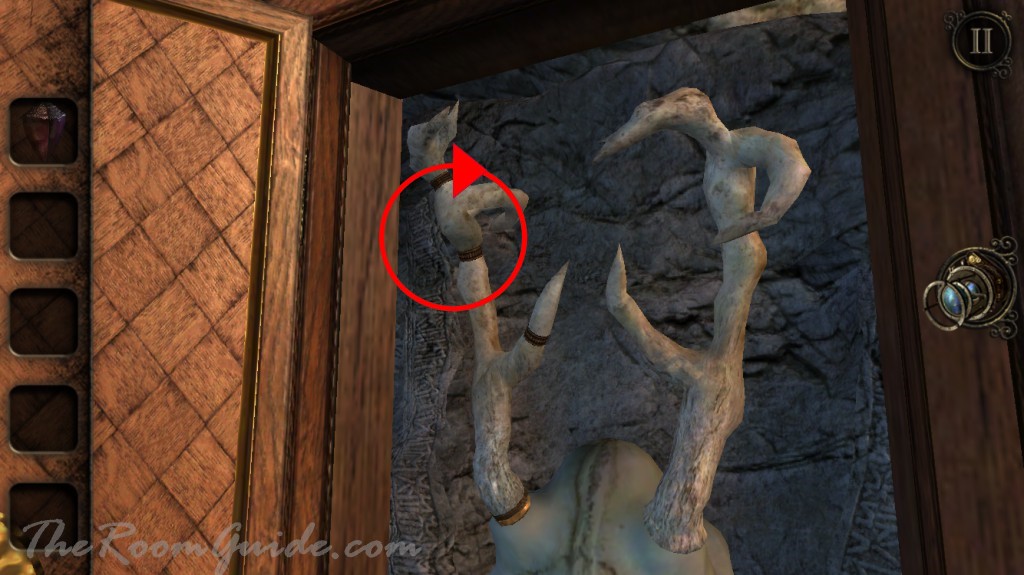
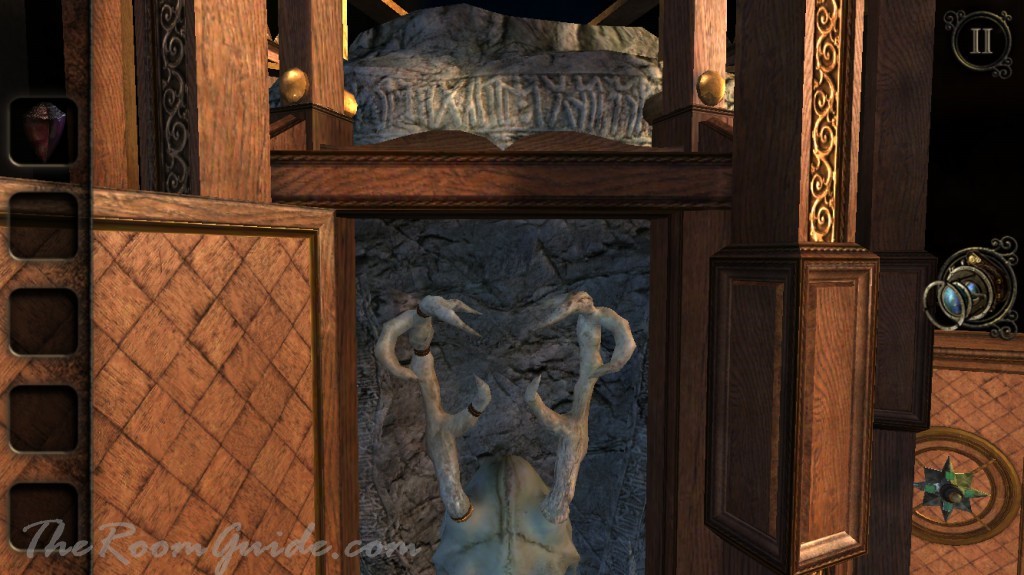
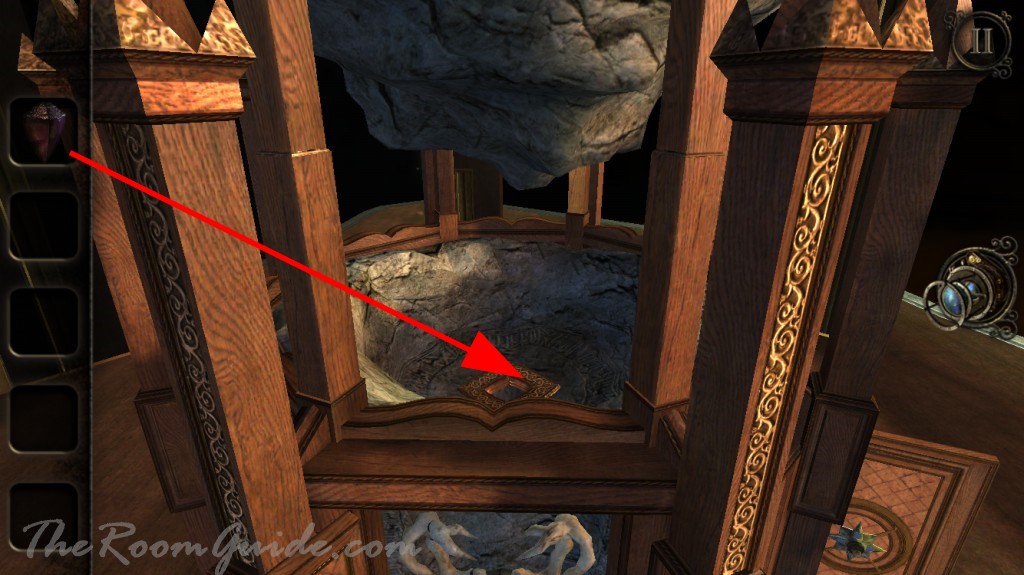
Go back to the stone circle. Exam the metal acorn. Turn the top part to open the acorn revealing a key underneath. Then place the metal acorn on the tree image. Turn the dial to open the door. Insert the antler. Adjust the left antler to mirror image the right antler. The top part of the box will lifted revealing a stone mortar. Place the crystal phial in the center. Get a glowing gemstone.


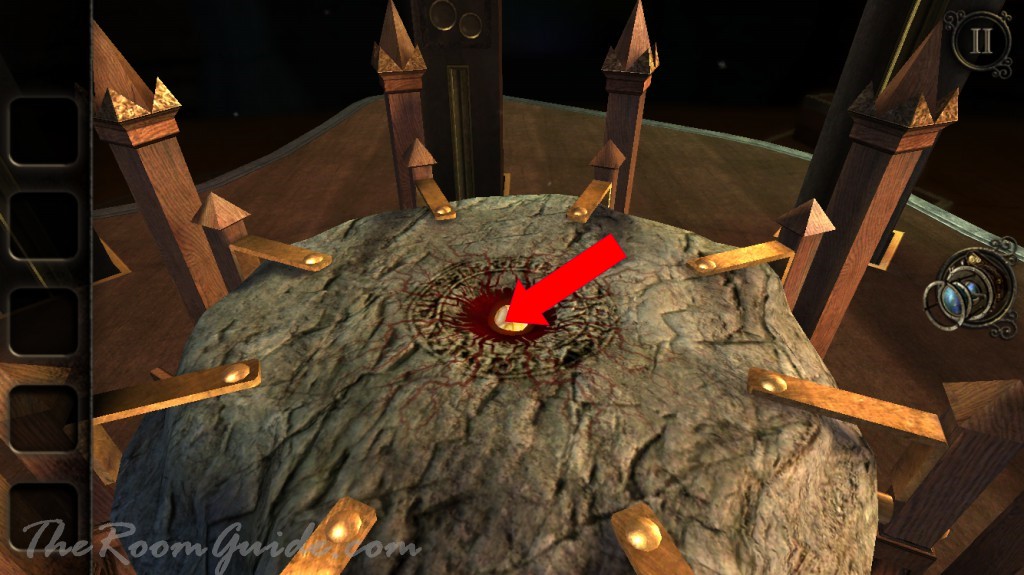
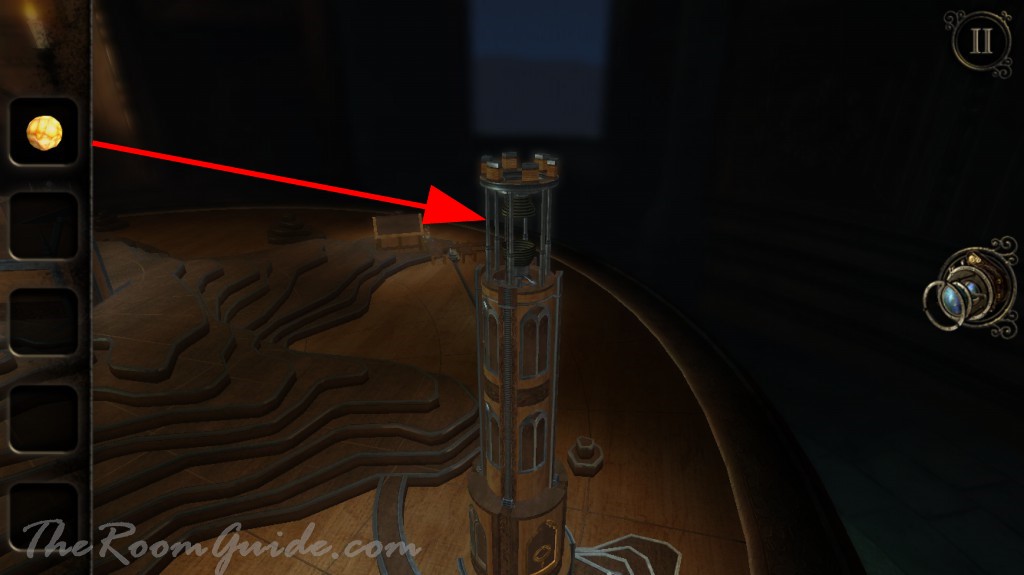
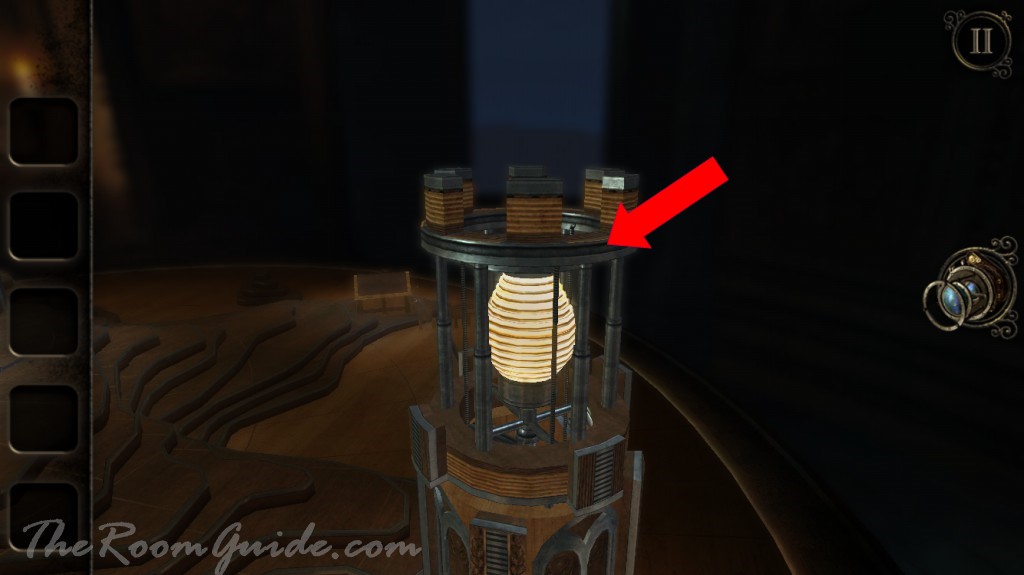
Place the glowing gemstone in the model lighthouse. Pick up the illuminated lamp.
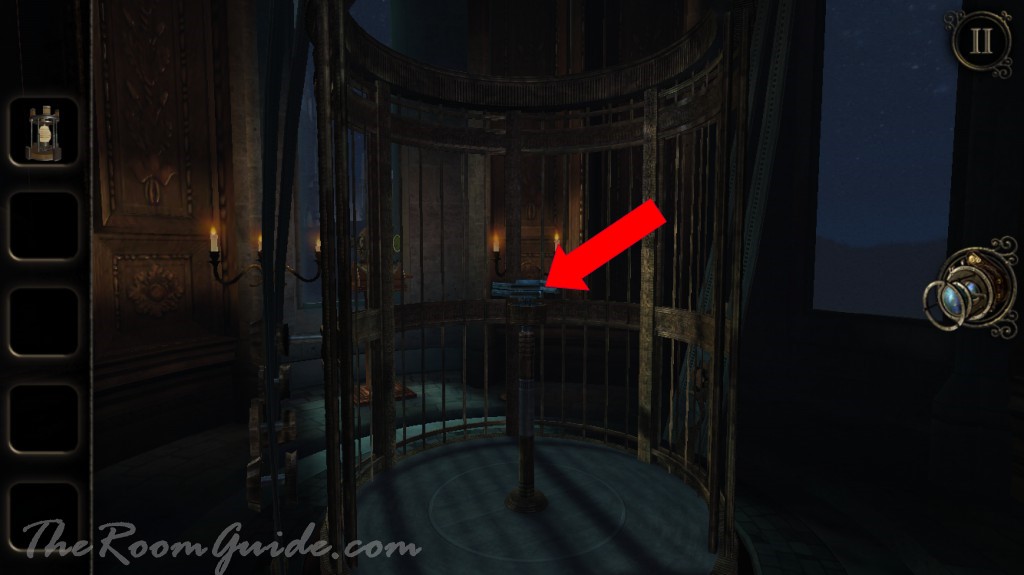
An elevator will descend. Turn the wheel in the center of elevator. The elevator will go up to the lantern room.
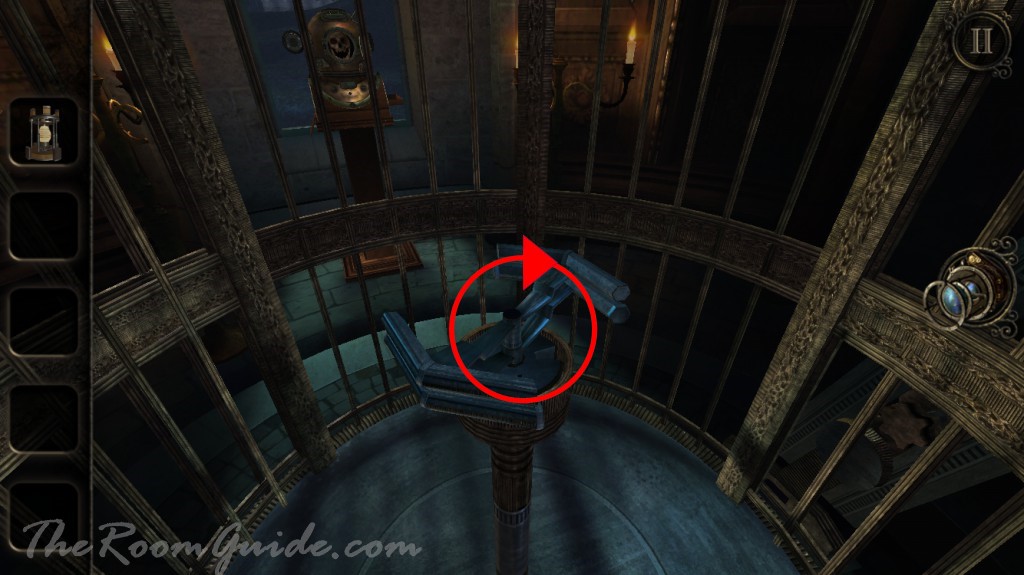
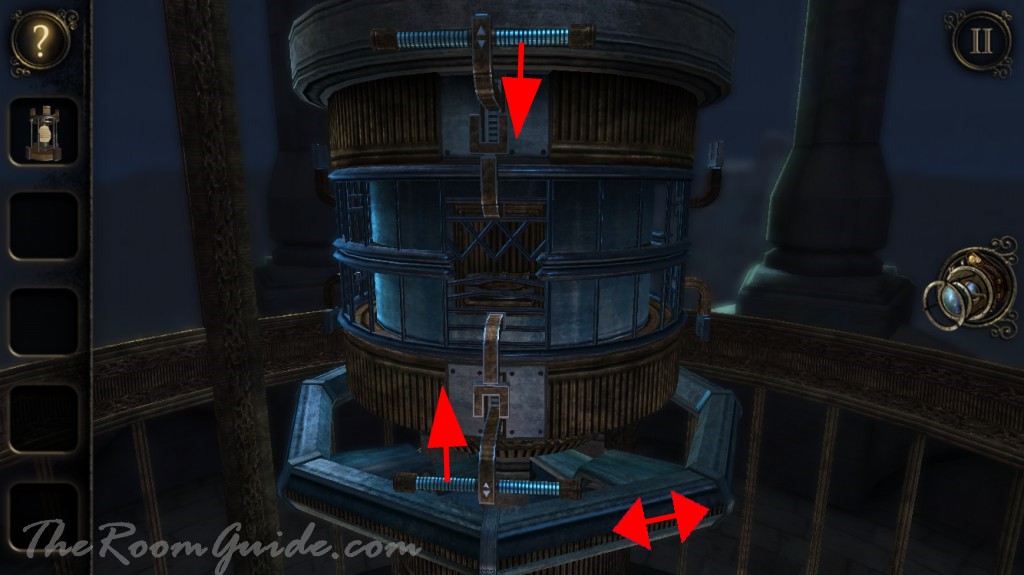
The bottom wheel allows you to rotate the cage. Use the latches to control which part of the cage to rotate. Rotate the cage to move the empty spot over top of the alcove.
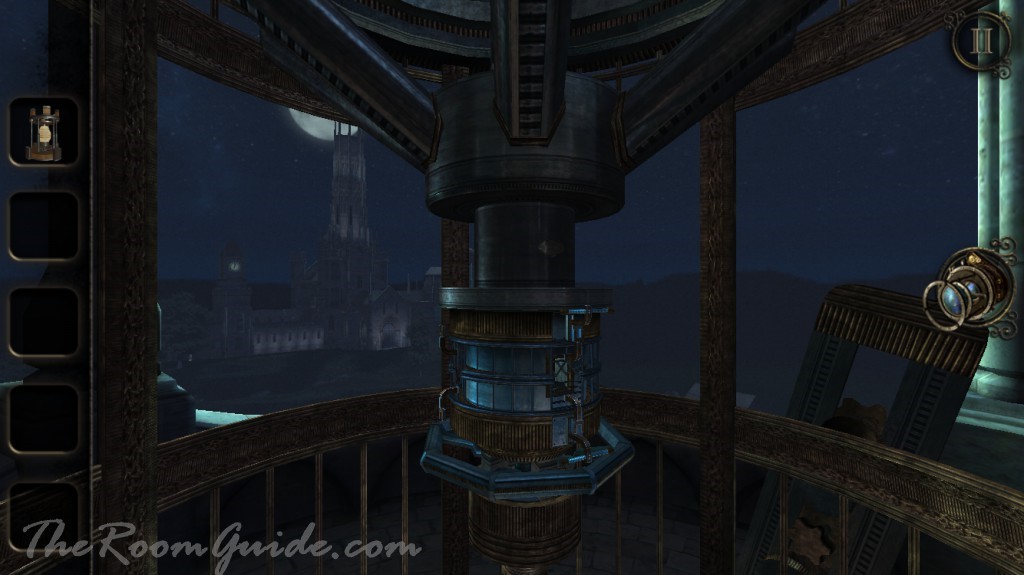
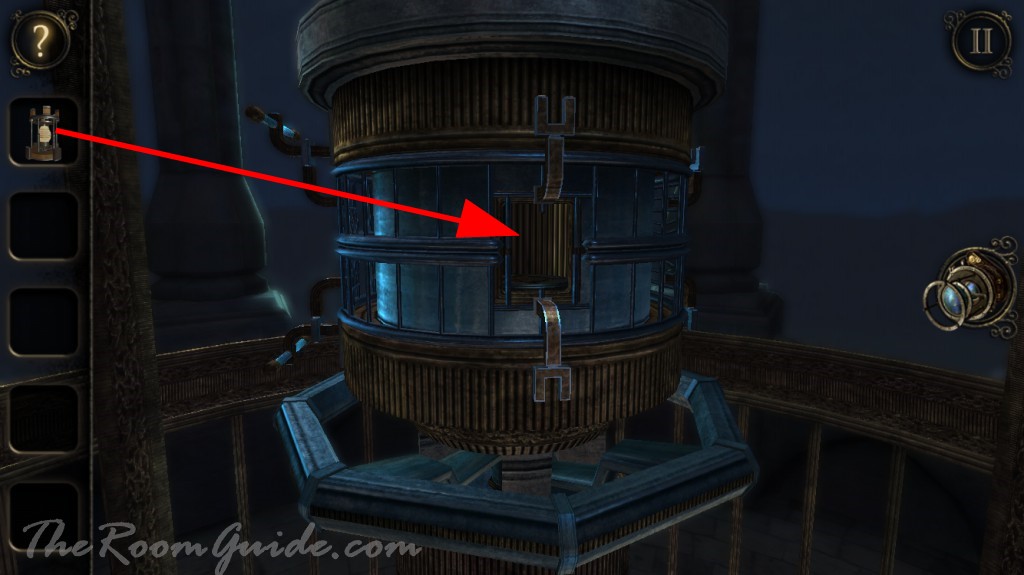
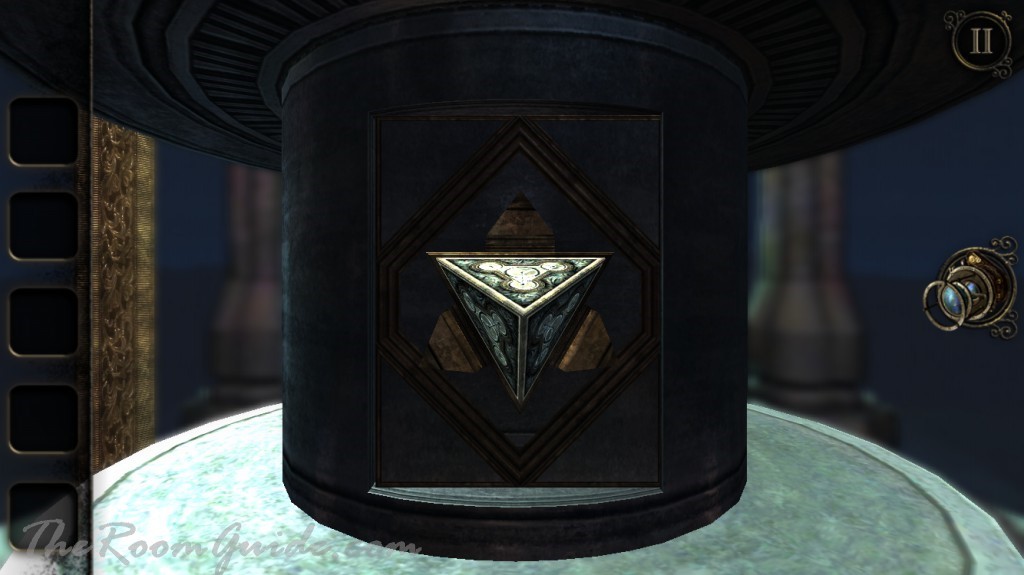
Place the illuminated lamp inside the lantern. Obtain an engraved pyramid. You have complete Chapter 2.
Using an iPad 1 we die after the helmet. We have the pyramid but we are at the original desk. Can anyone help us?
Several years late but did you try placing the pyramid on the table in the center of the room?
When did you do the lighthouse puzzle?