Section 2
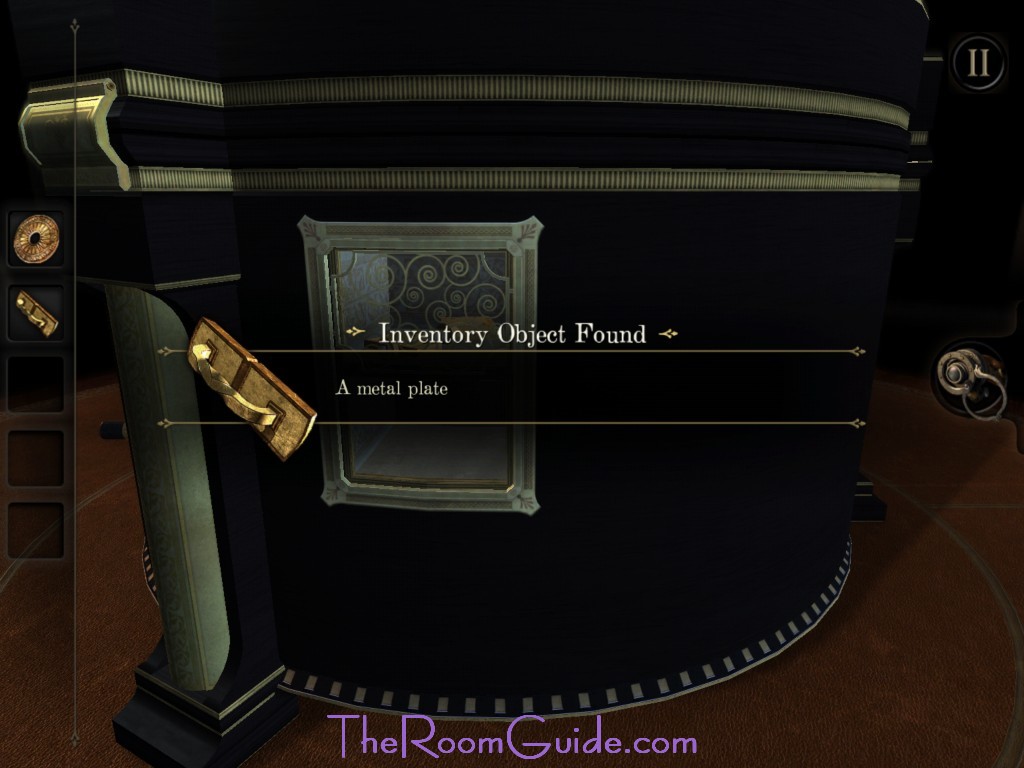
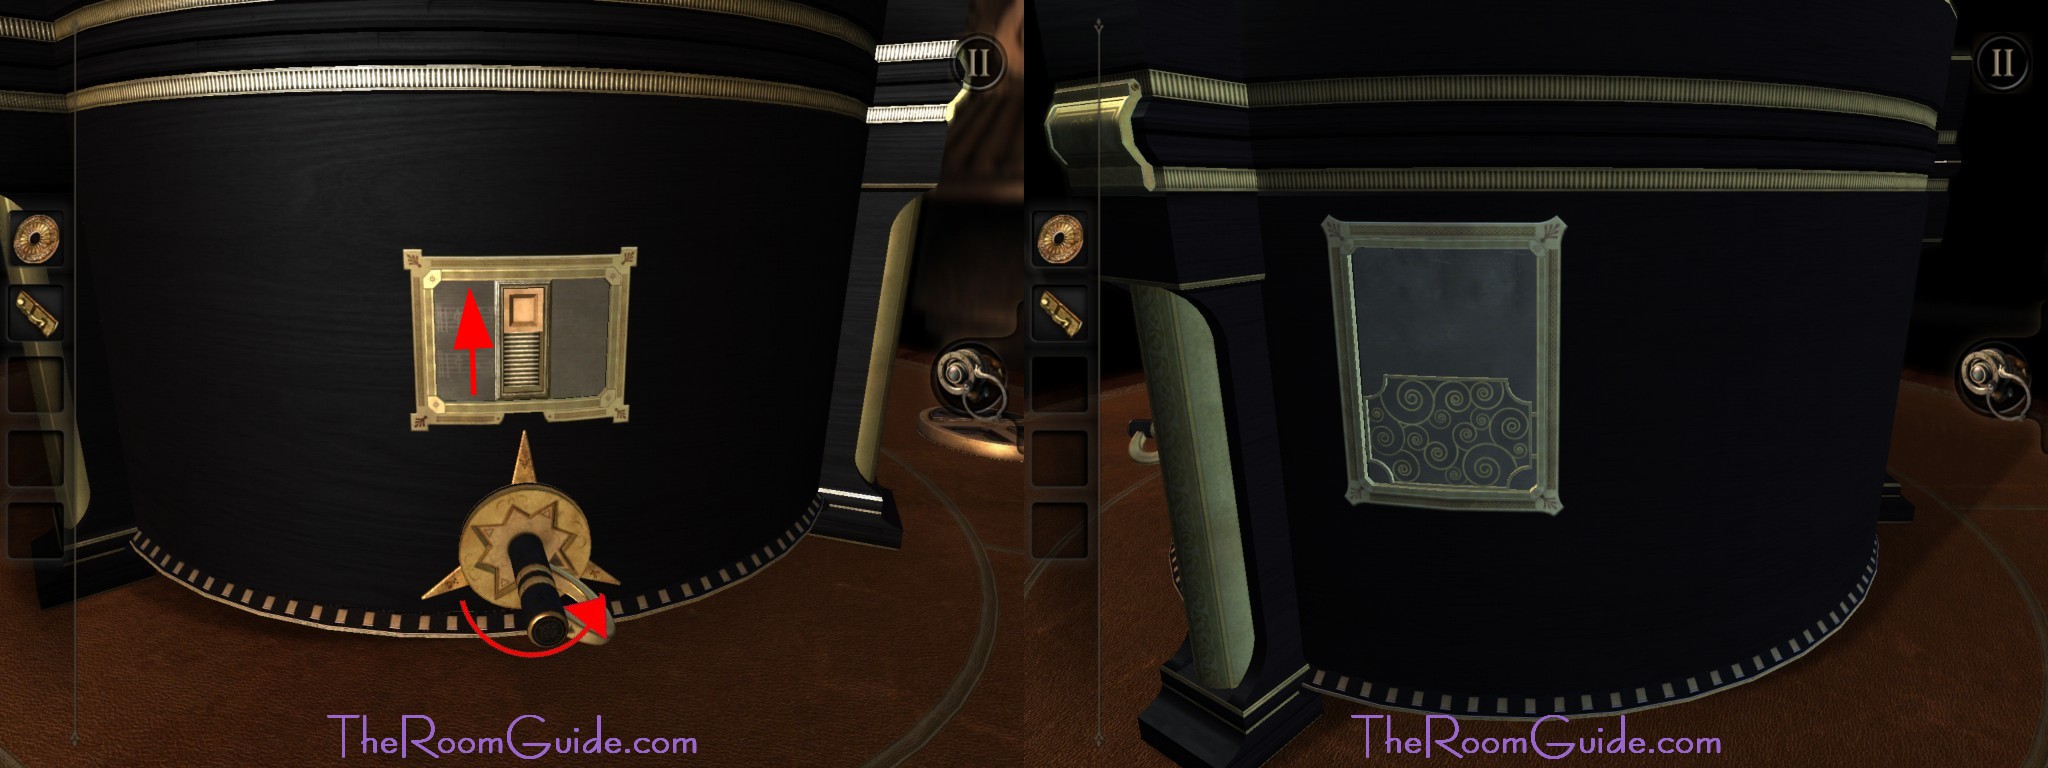
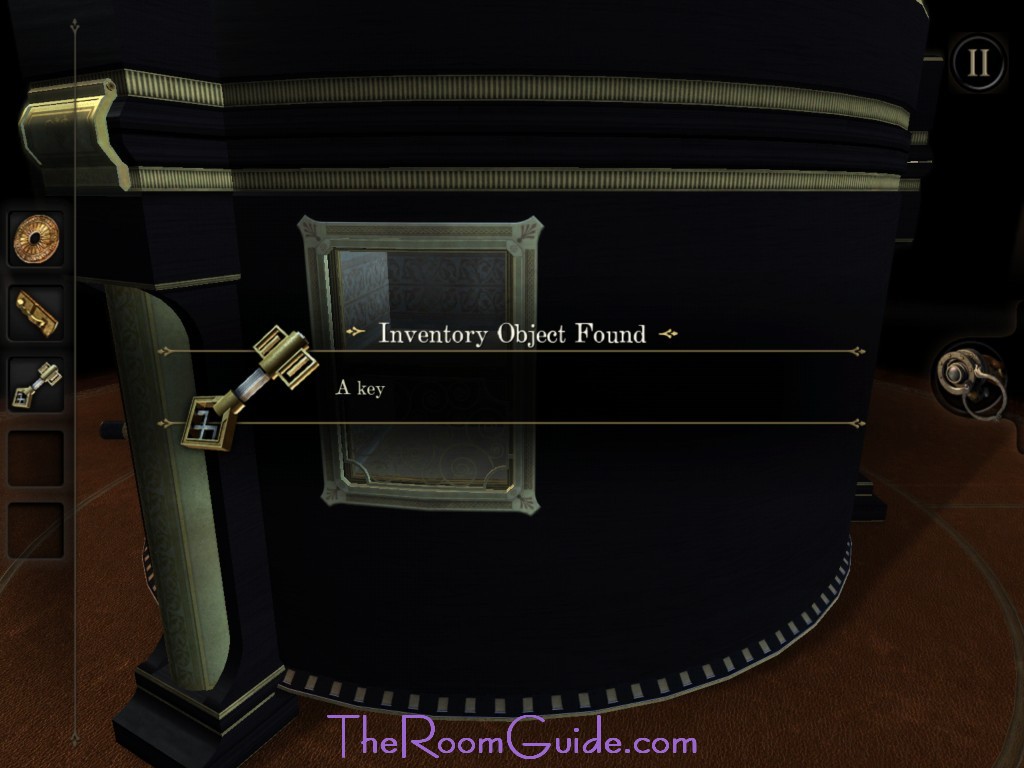
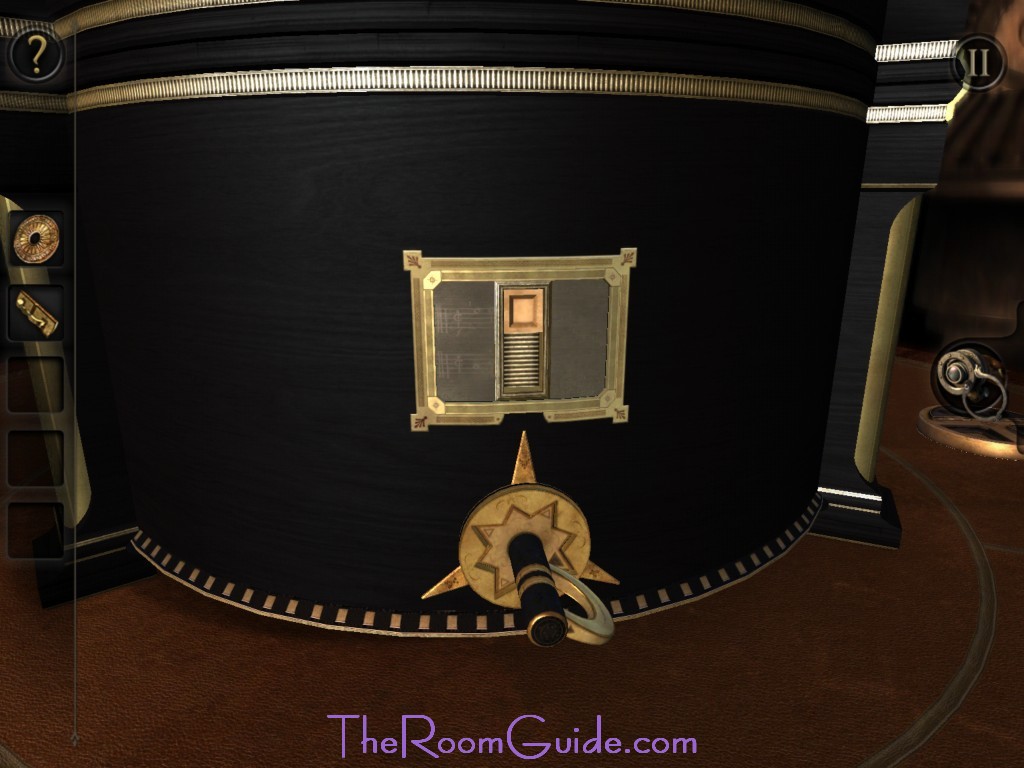
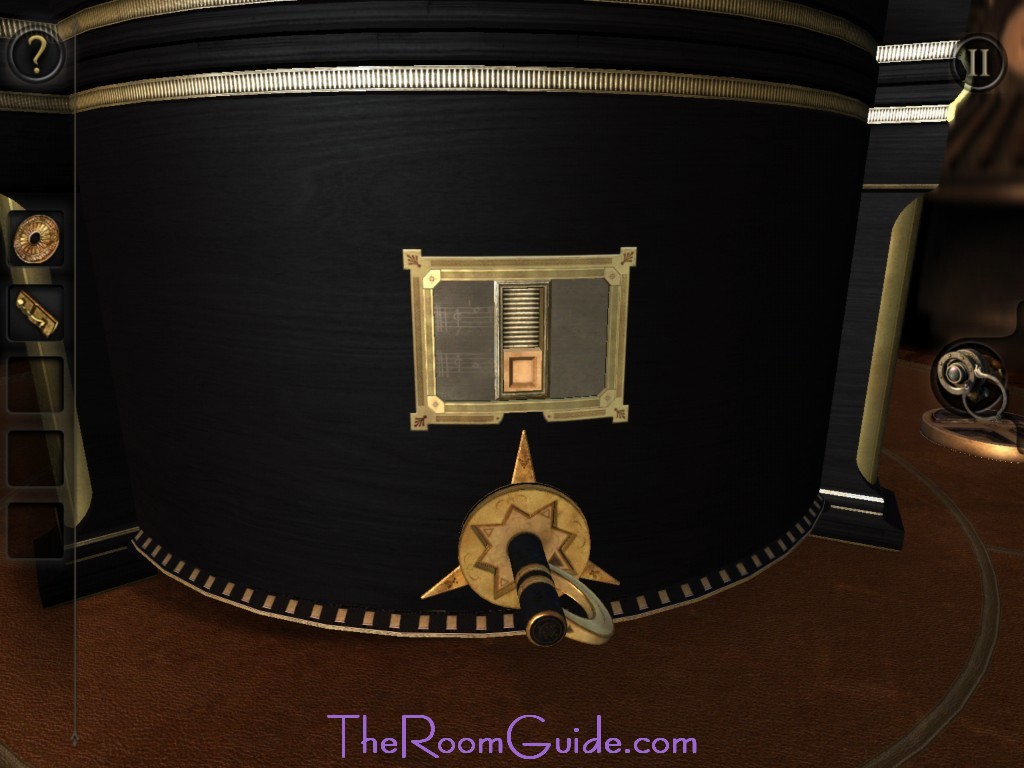
7. Strangely Shaped Key: Locate the keyhole on the black box on the table. Insert and turn the key. A switch will appear on the display above. Flip the switch. The mechanism will activate showing a second display. Go back to the Strangely Shaped Key and turn the key counterclockwise (8 o’clock). A secret compartment will reveal behind the second display. Get the Key from compartment. Go back to the Strangely Shaped Key. Turn the key counterclockwise again (4 o’clock). Flip the switch that appears on top. Turn the key clockwise once (8 o’clock). Go back to the second display. Get the Metal Plate from compartment.
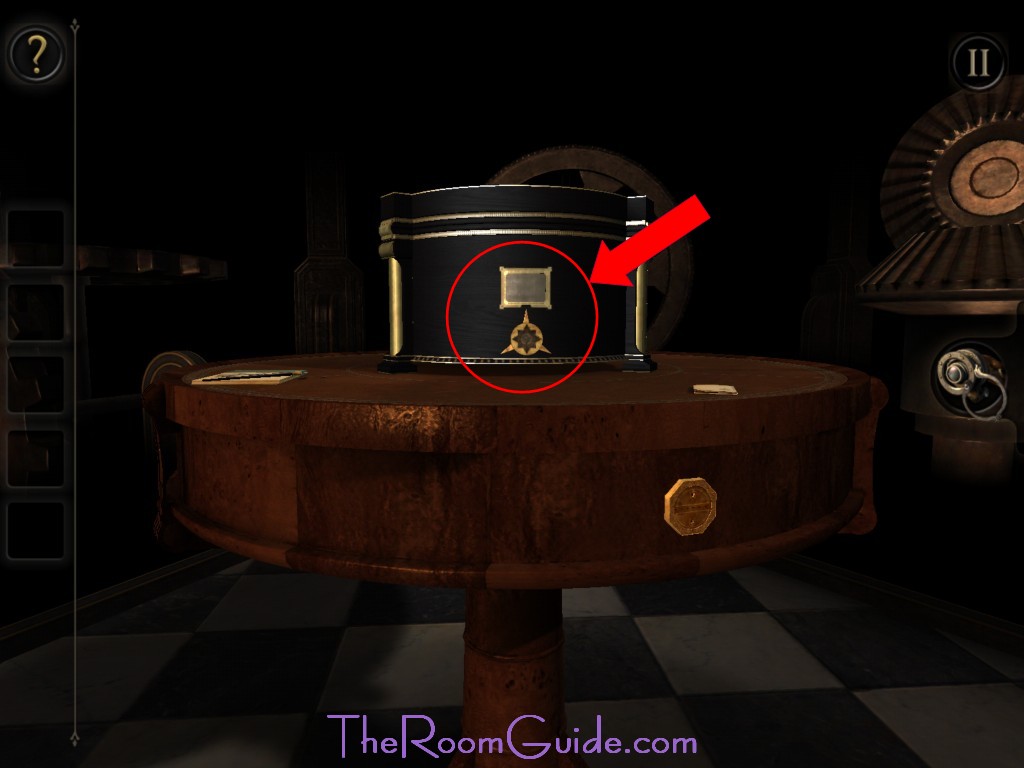
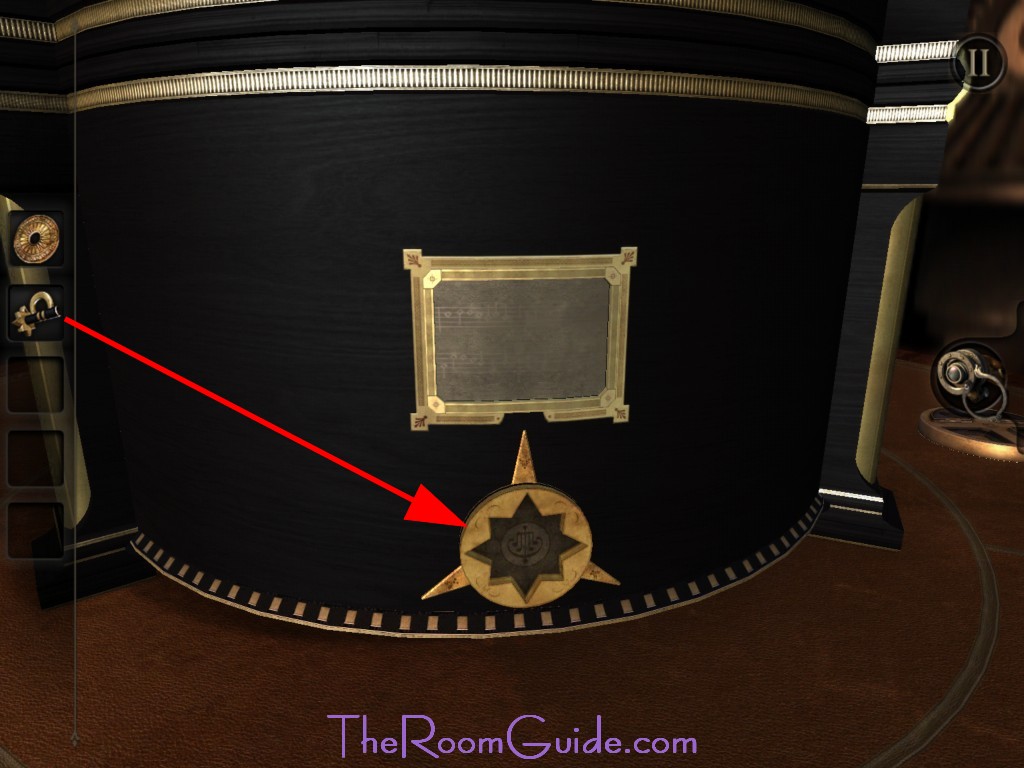
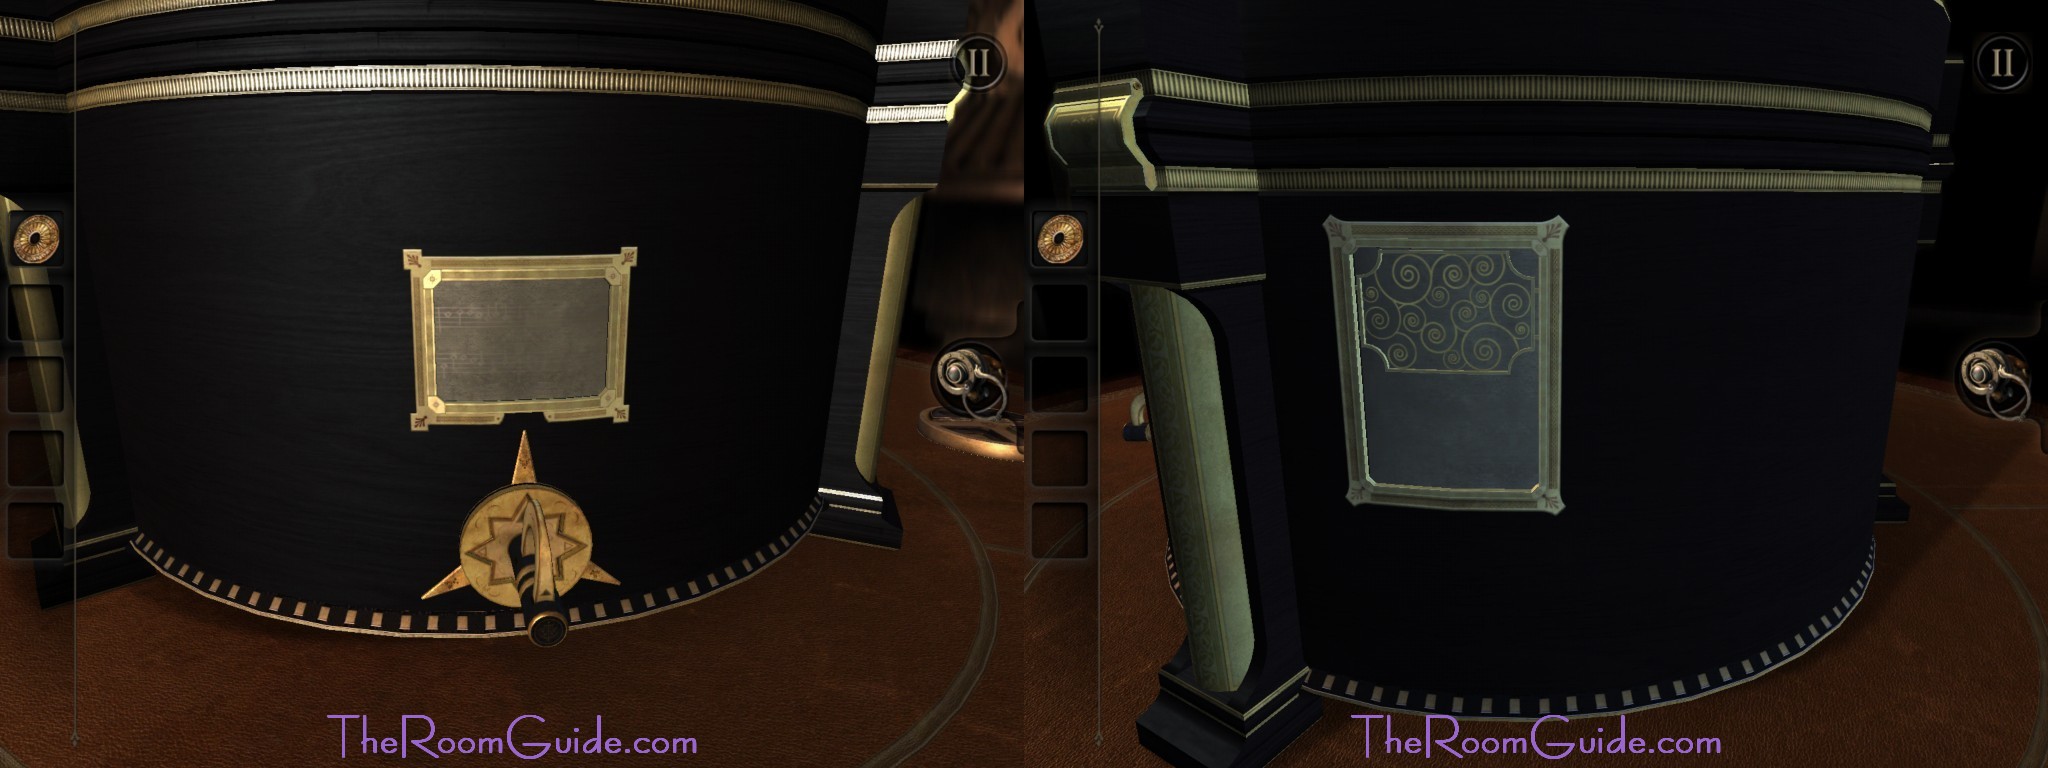


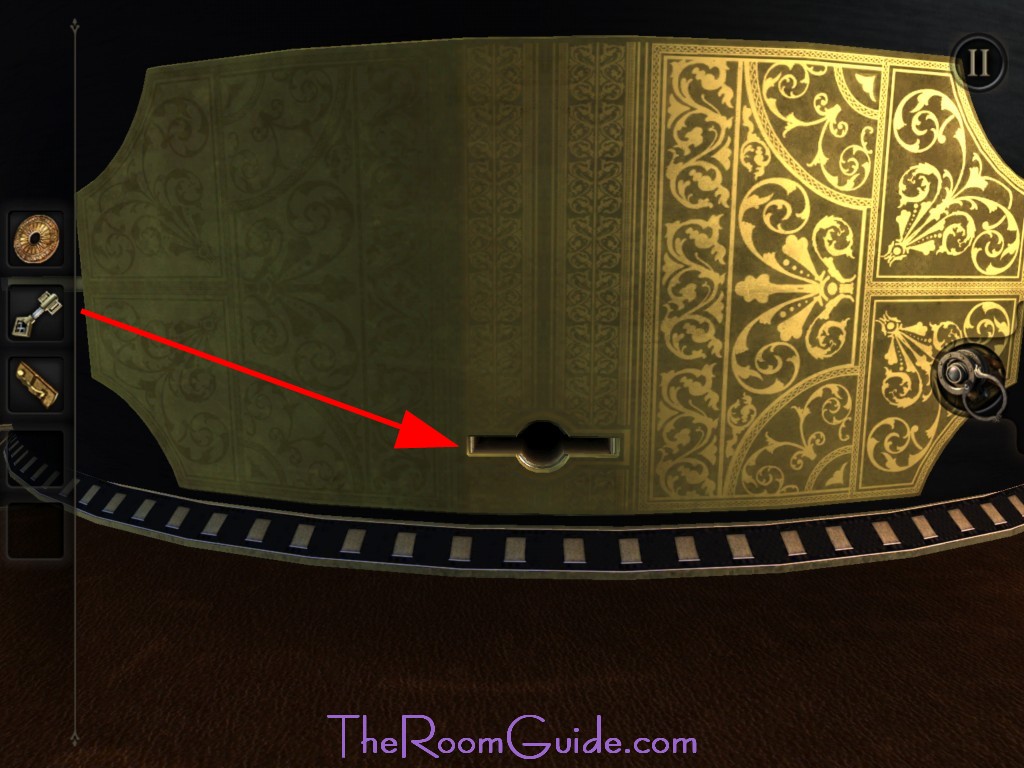
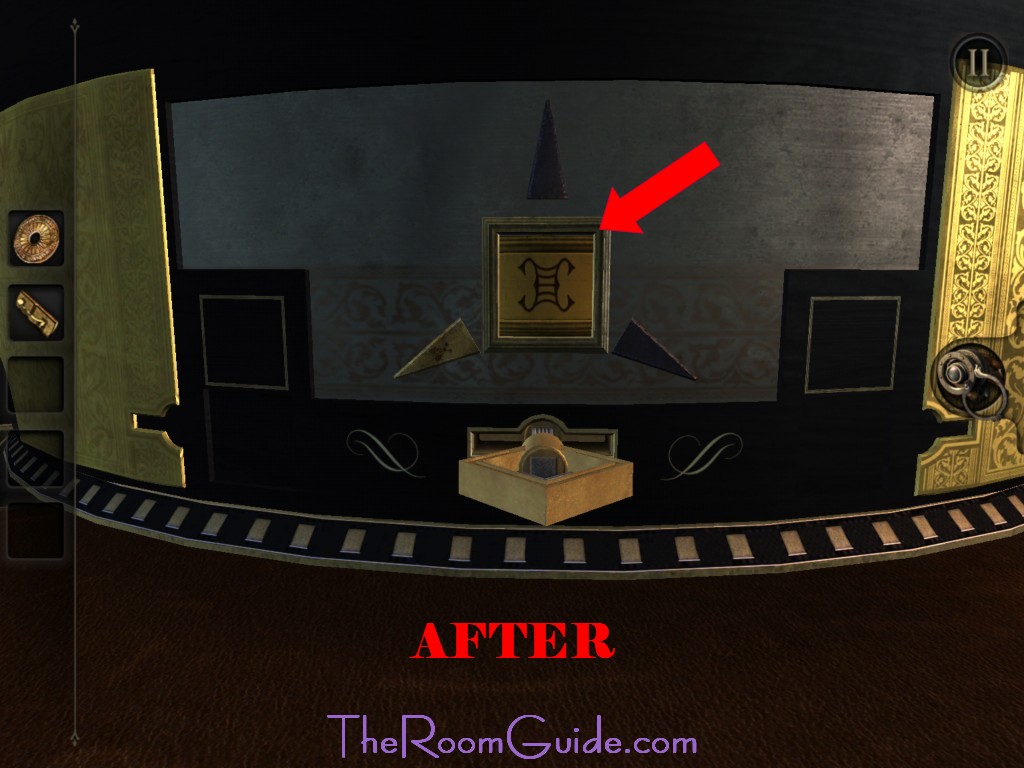
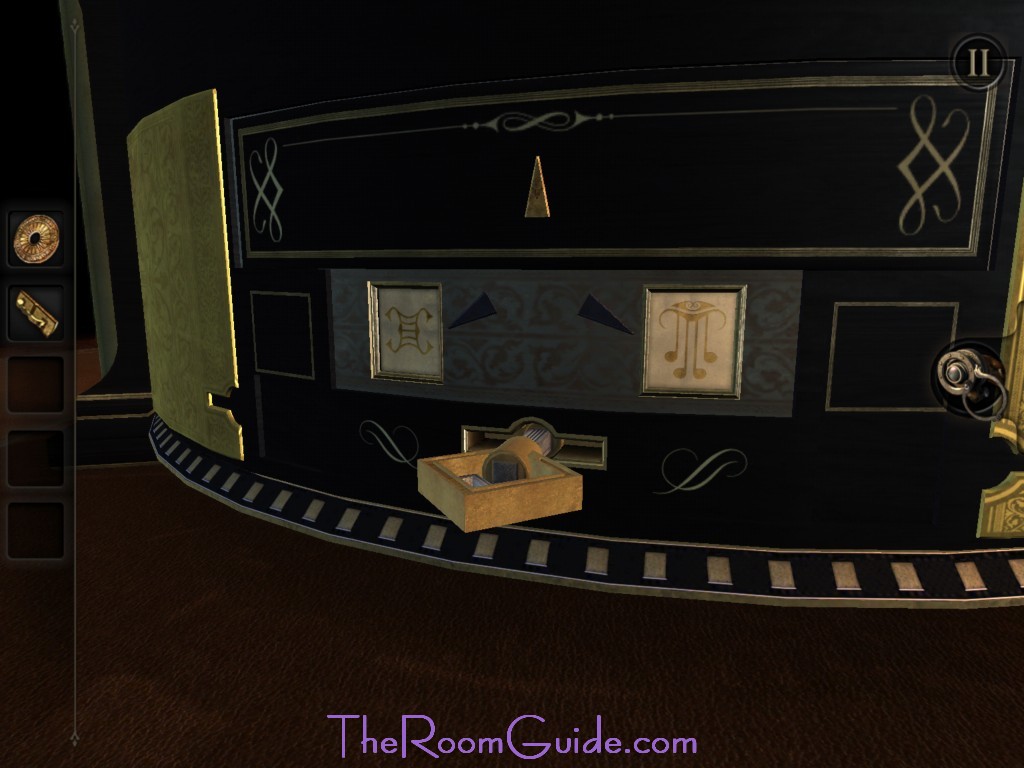
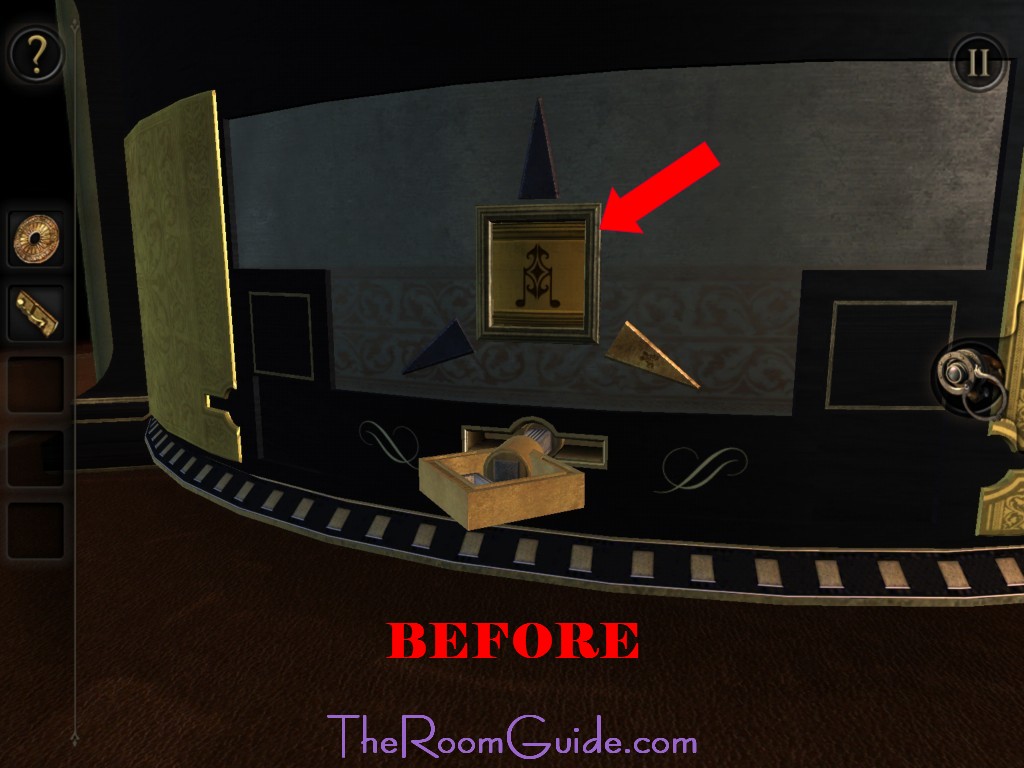
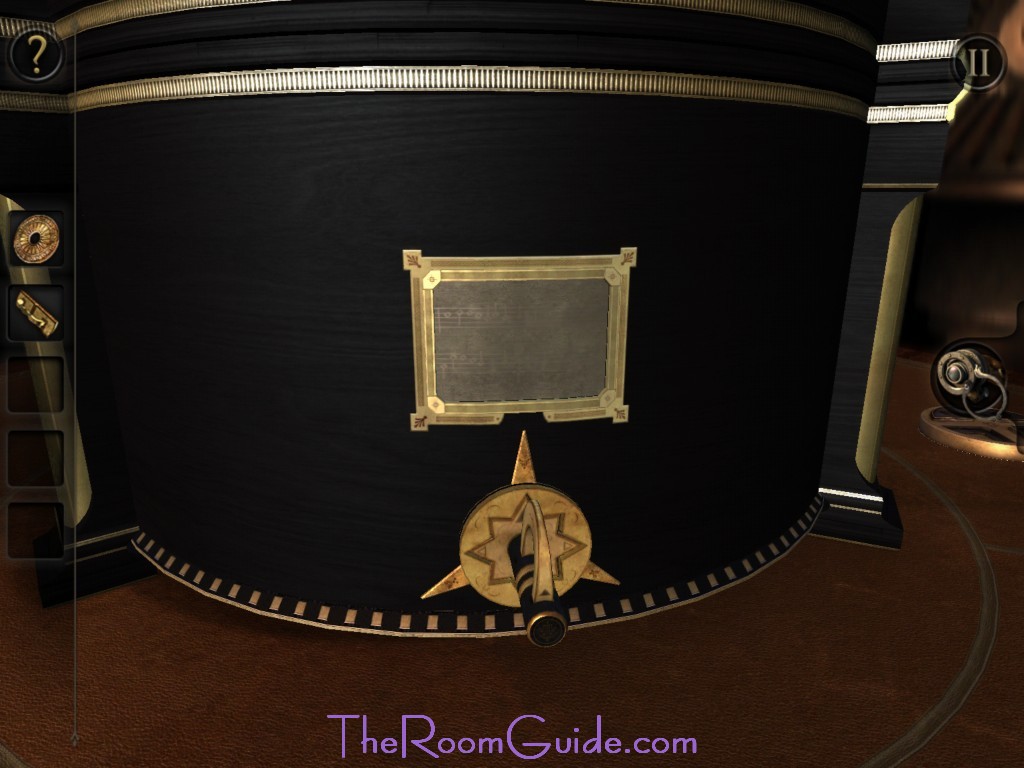
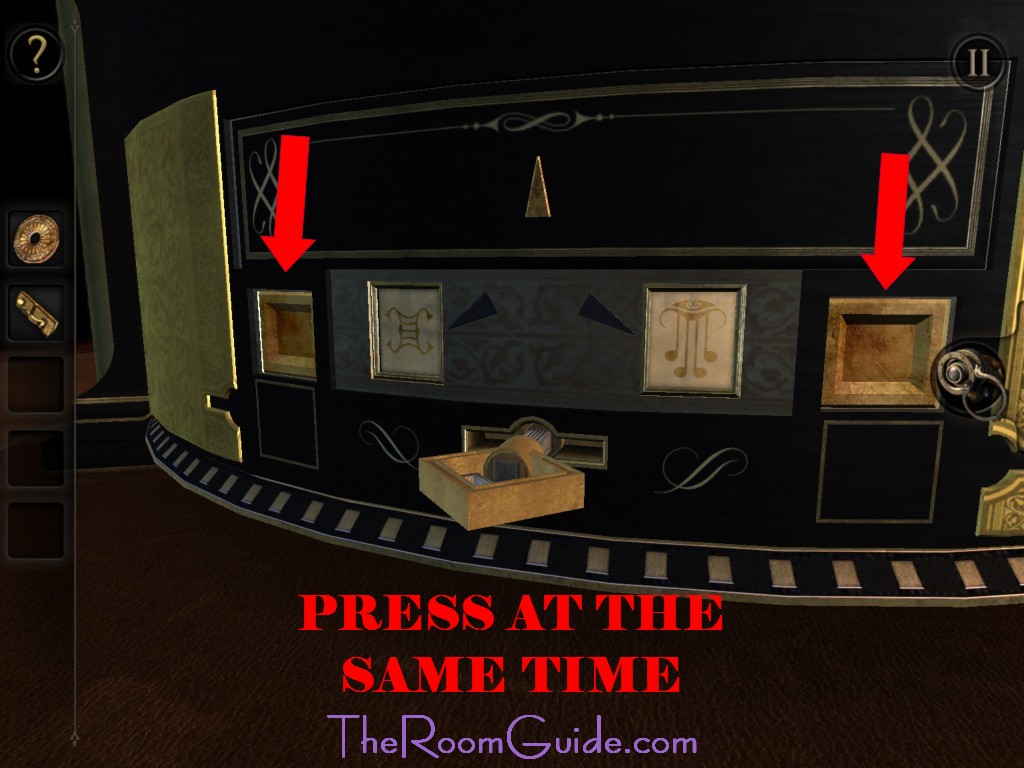
8. Brass Plate: Locate brass plate on the black box. Insert the key. The plate will part and reveal a square with a music note image on the center and three triangles. Tap on the square until the image become the image of a scroll. Go back to the Strangely Shaped Key, turn the key clockwise (4 o’clock), and go back to the brass plate. Tap on the square until the image become the image of a music note. Go back to the Strangely Shaped Key, flip the switch, turn the key counterclockwise (12 o’clock), and go back to the brass plate. Two buttons will appear at either side of the image. Press the buttons at the same time. A number lock and a panel of four prisms will appear.


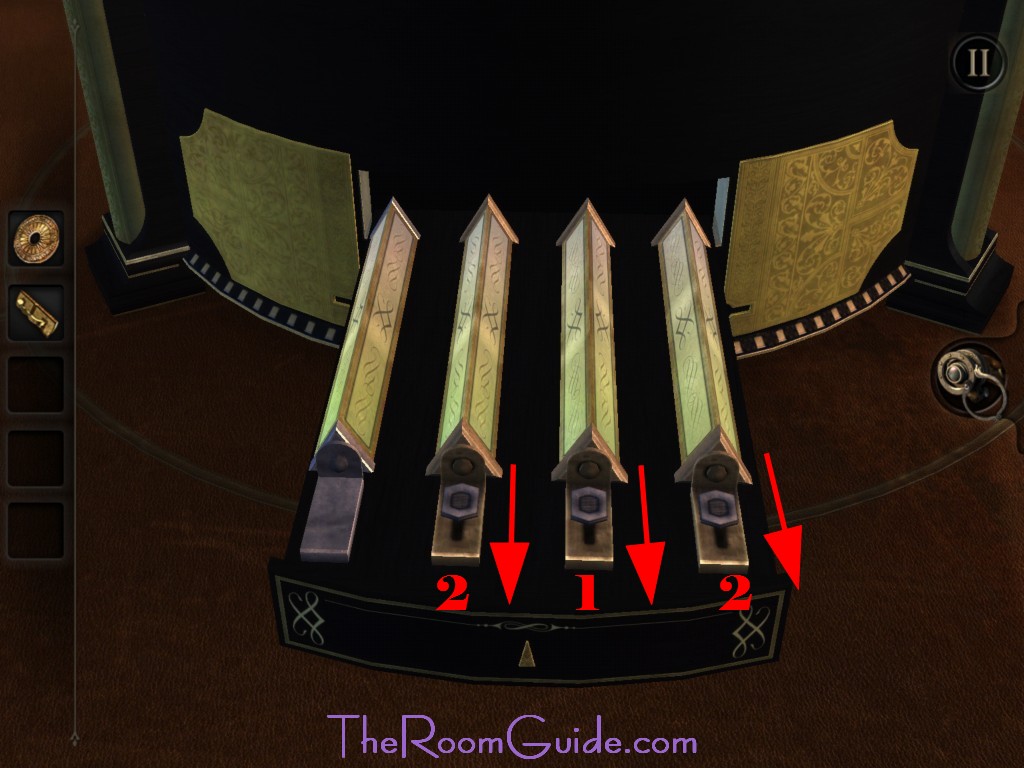
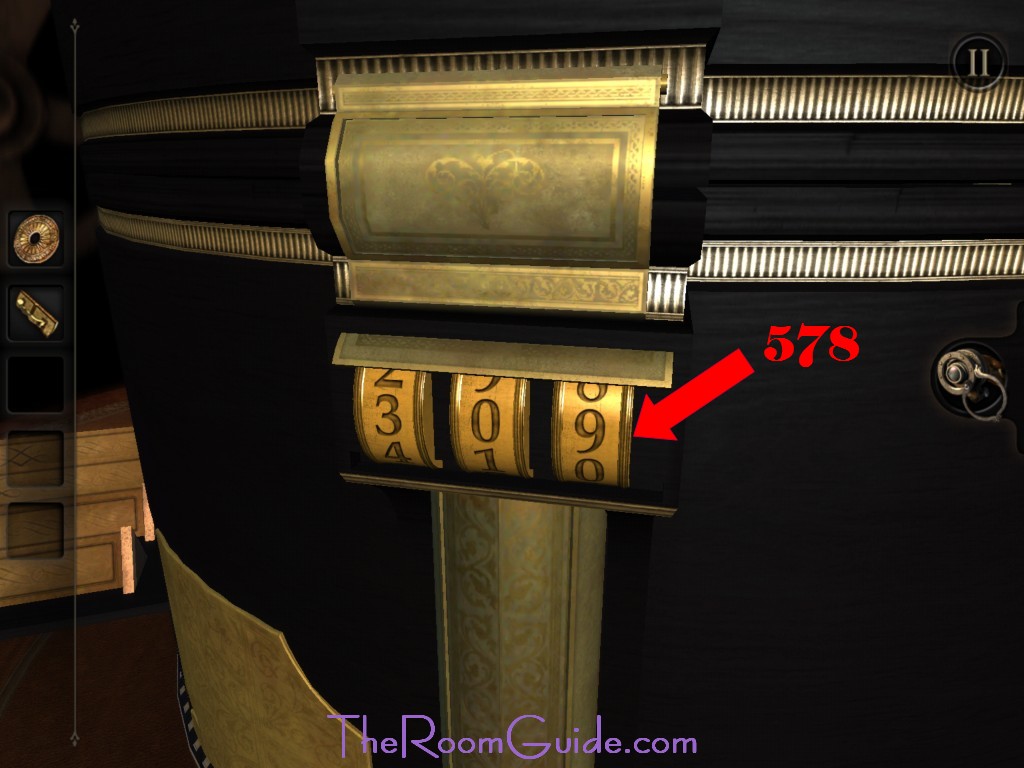
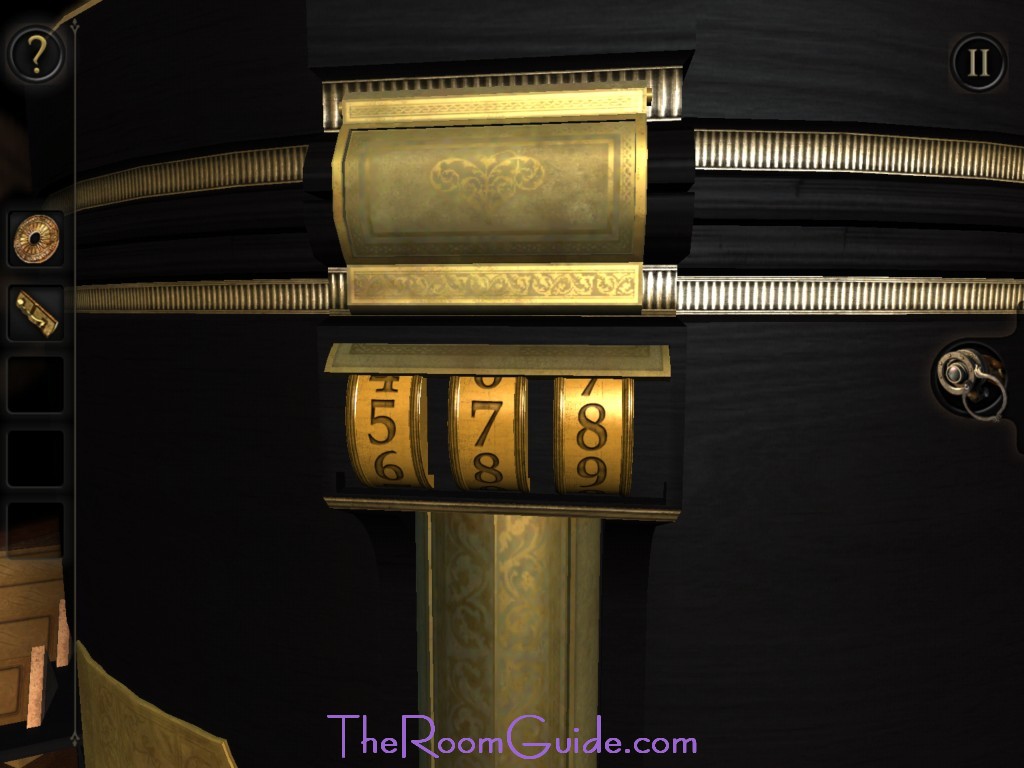
9. Prisms: Prism can be rotated by press on the switches located at the end of each prism. Press the first one twice, second one once, and third one twice. Put on the eyepiece. Rotate your view. You will see a passcode: 573.
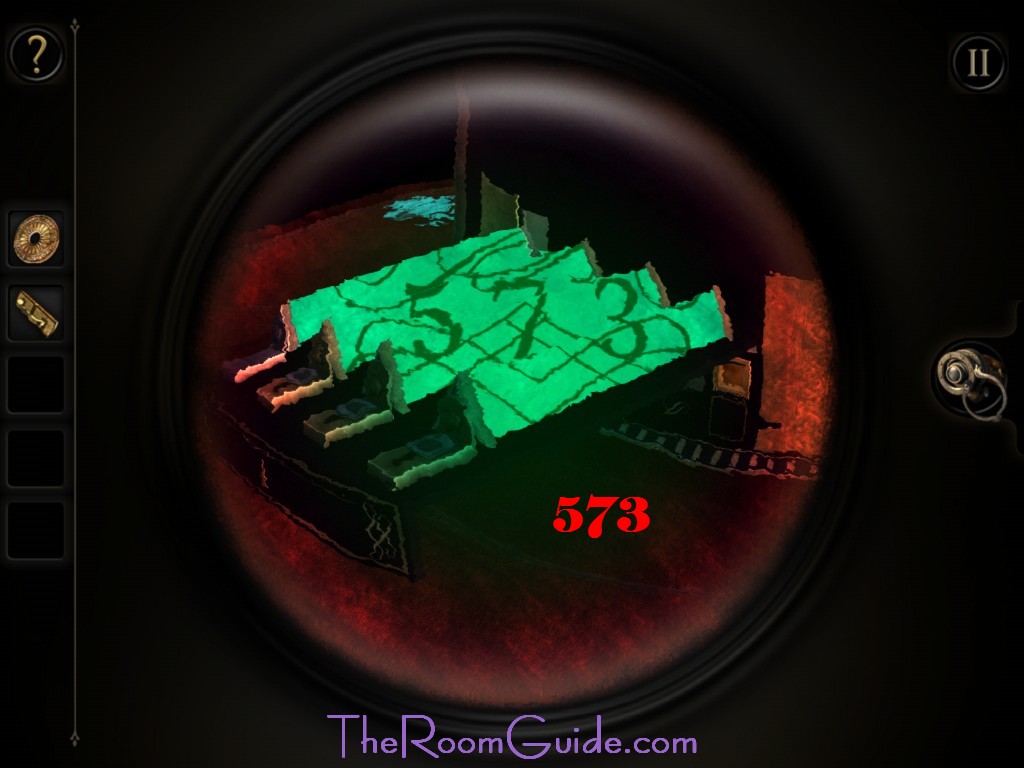
10. Number Lock: Enter the passcode: 573. The mechanism will activate. A board with two cross-mark holes will appear.
I’m wodering, how should I know the square images are a scroll and a music note? I didn’t find any clues for this.
You don’t have to.I passed that part without opening the letter. It’s not necessary!
I tried the first one with the symbols but it didn’t work can some one please help me?
When I tried the symbol thing it didn’t work and I did the right symbols please help me!
I’m pressing the buttons at the same time and. Kthjng is happening!
Stuck on brass plate & strange shaped key
When I first out if in it skips opening just the doors & goes to first turn them it wont open the dubble buttons
What I’m missing? I’ve started the chapter over 2x
The numbers 573 have appeared but game will not continue
I am stuck at the prism code–I have made it clearly visible, zoomed in and out– but cannot get the combo wheels to appear. Have tried every angle possible but it does not highlight them like other eyepiece puuzzles.
Has anyone else gotten stuck here, too?
Yes, I was just there. Enter in the code on the three dial on the hinge of the lid.
Don’t see how I would ever have worked that out without the walkthrough.
Don’t see how I would ever have worked that out without the walkthrough.