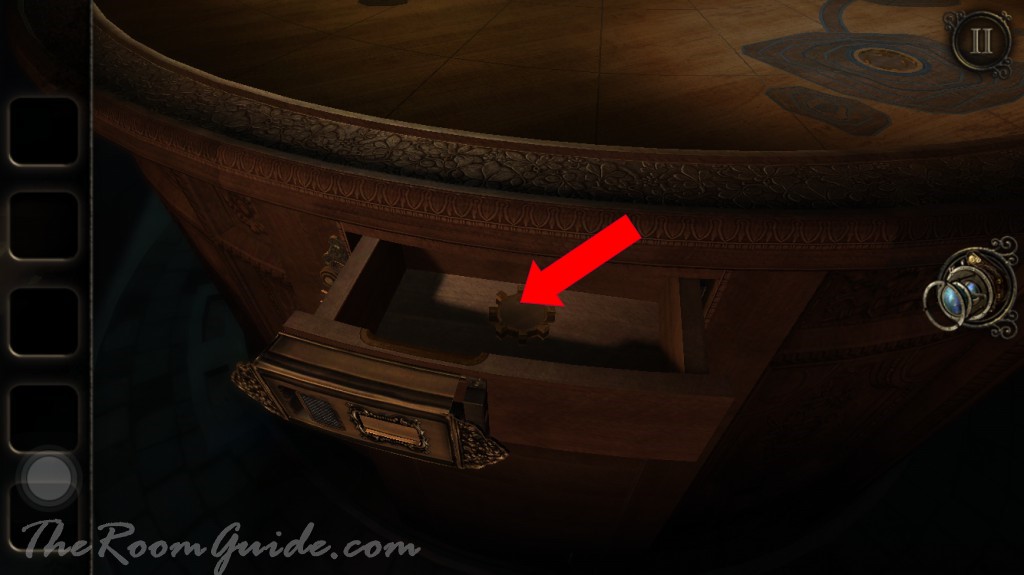
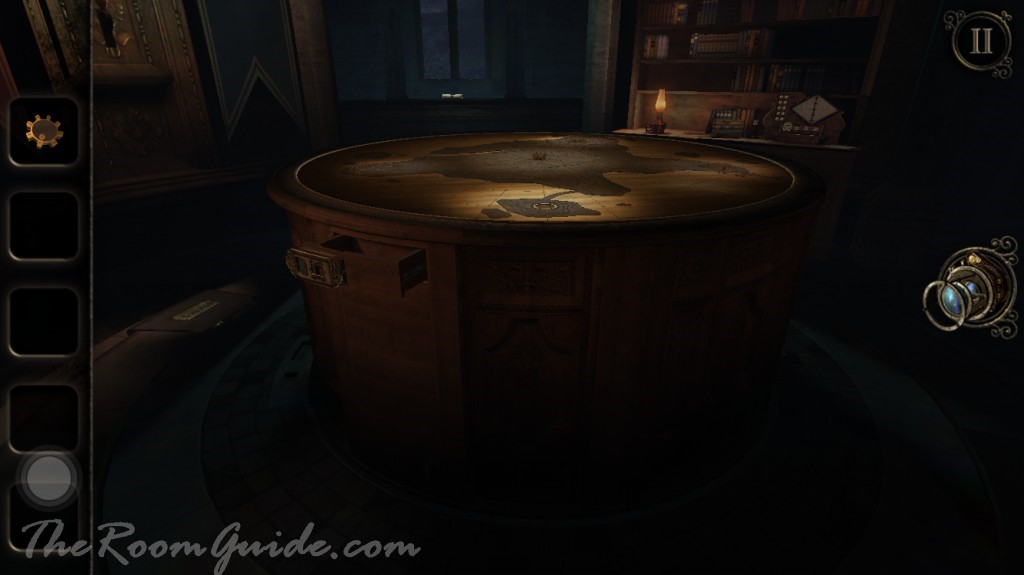
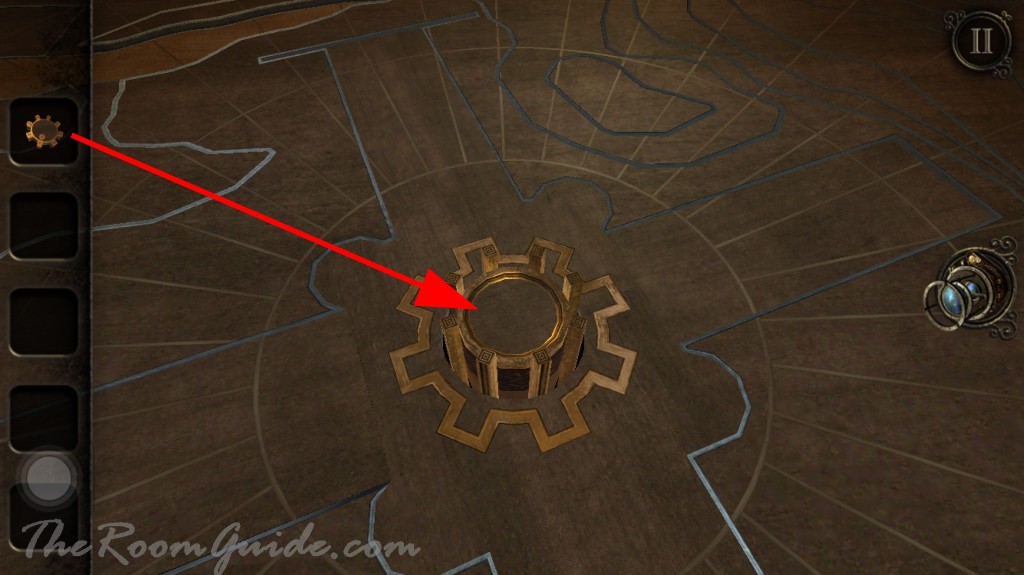
The doorway from the atrium leads you to the lighthouse. A round table is in the middle of the room. Locate a drawer at the side of the table. Flip the switch to open the drawer. Get a wooden gear.

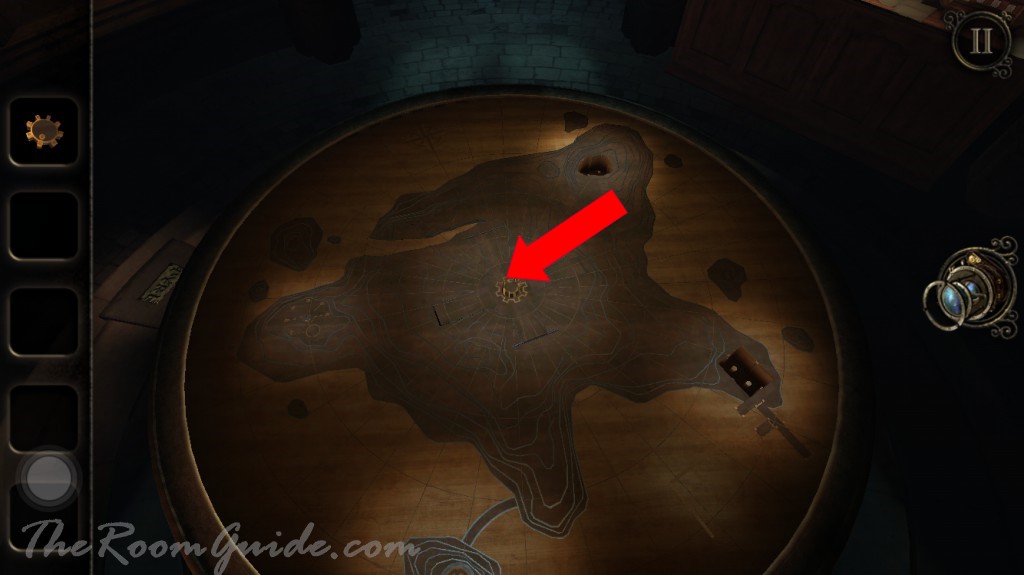
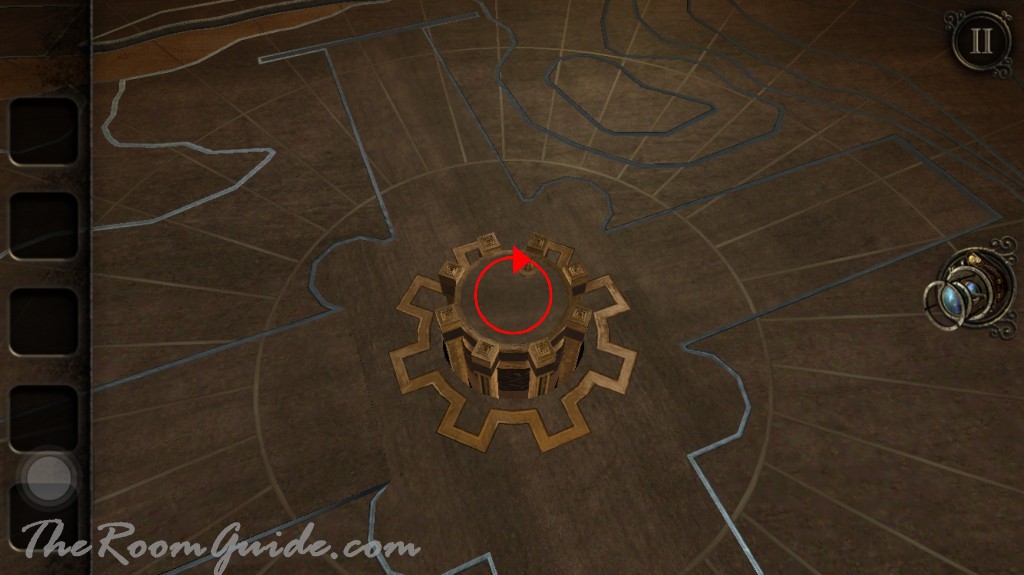
Place the gear at the center of the table. Spin the gear until miniature scale models appear.
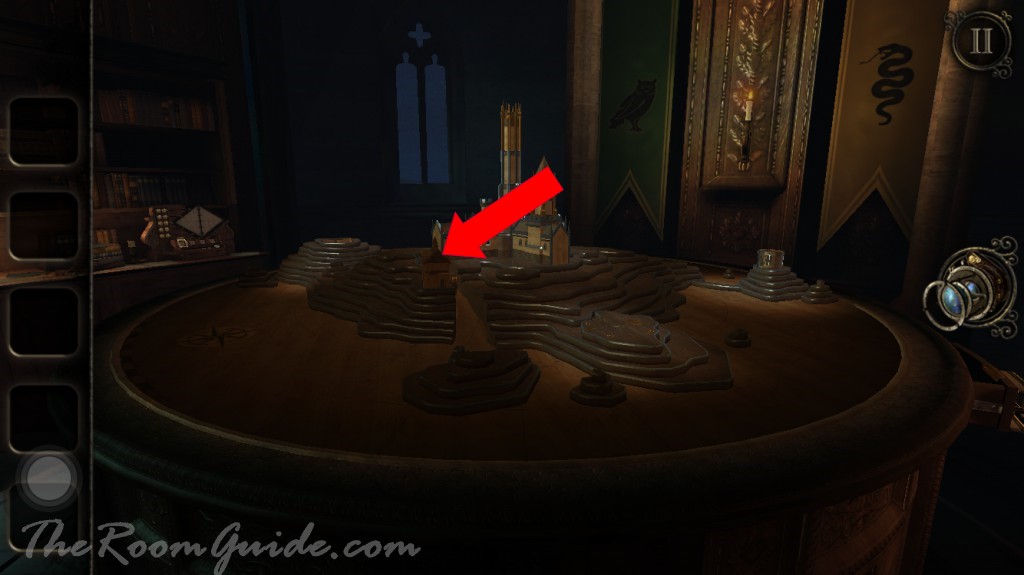
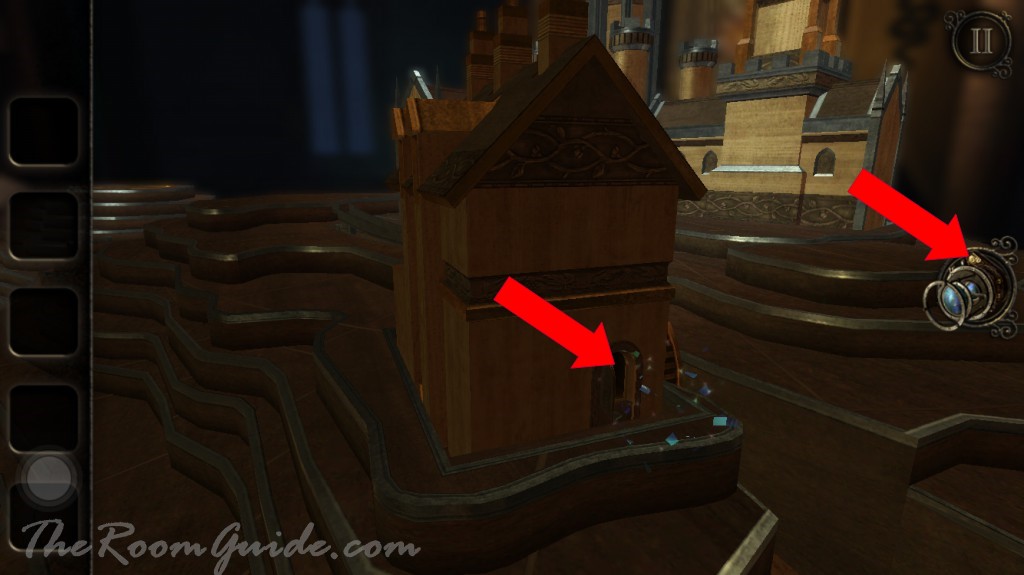
Locate a Water Mill. Turn the water wheel to open the door. Notice sparkling floating diamonds. Wear the eyepiece and enter the water mill.
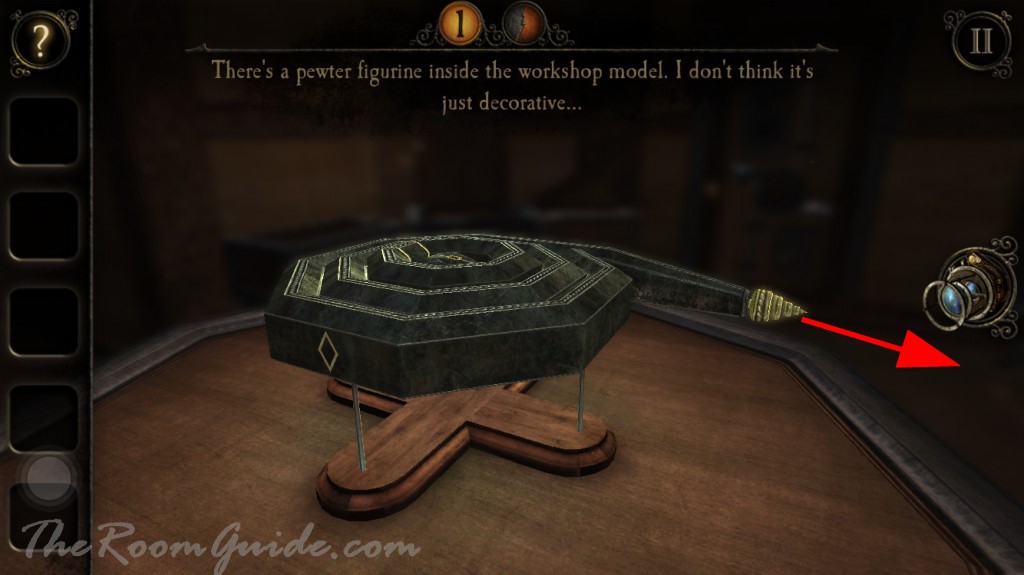
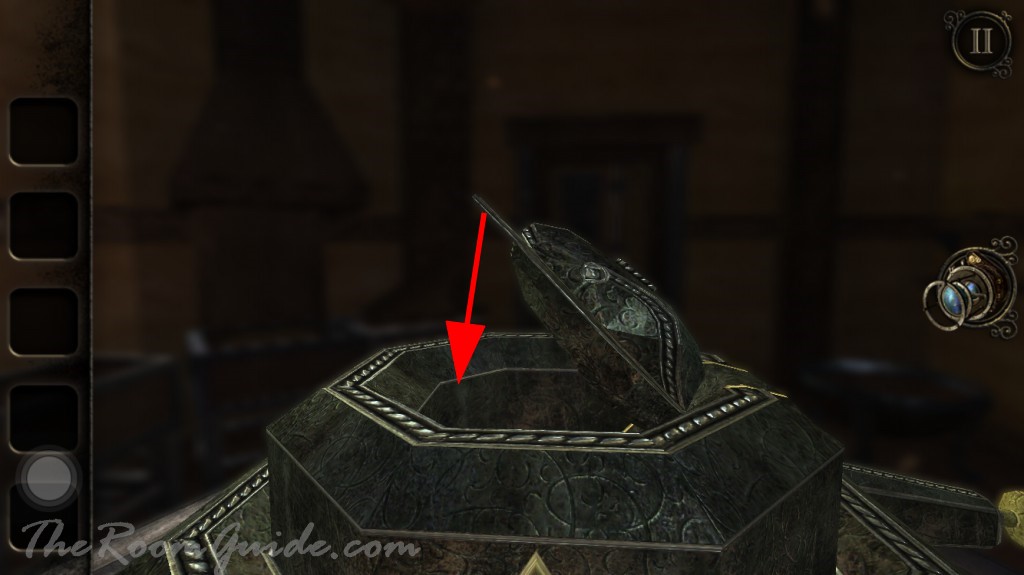
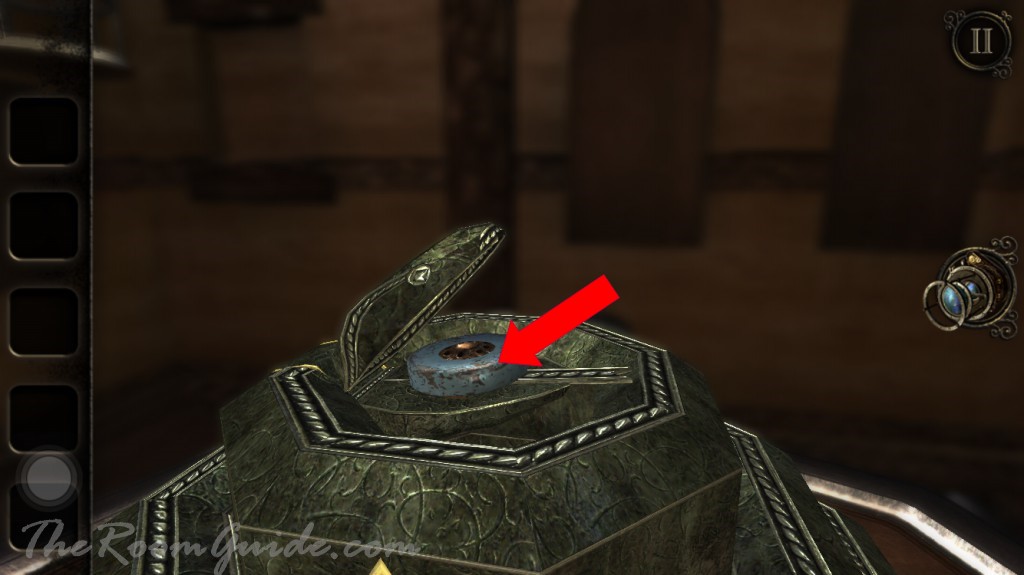
In the model is a snake pewter figurine on a table. Pull the tip on the tail-end. Three layers are dispensed. Each layer has a solid diamond and a empty diamond. Align the two sets of diamond shapes on the snake. Then pull the tongue down to open its mouth. Grab the magnet.

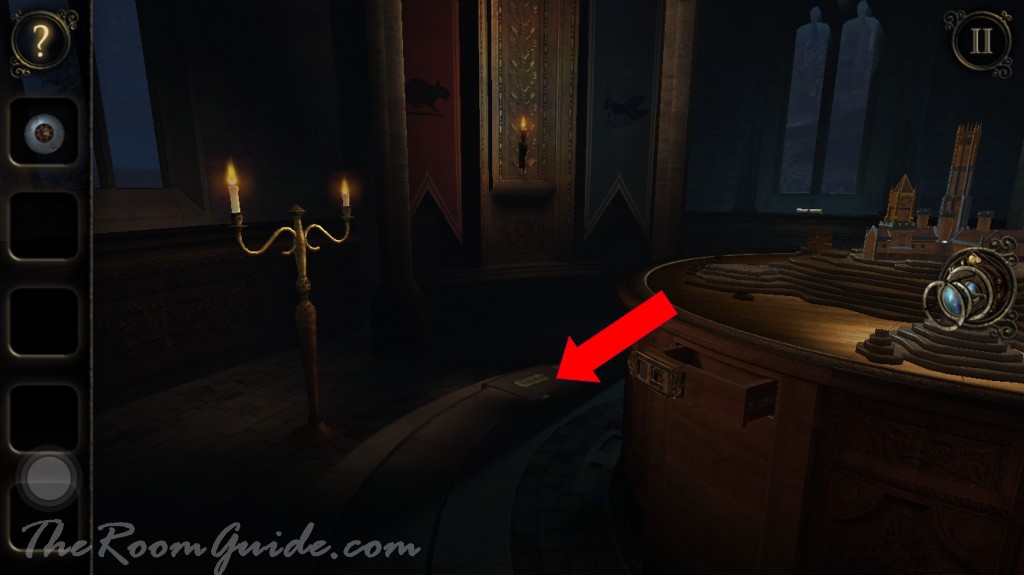
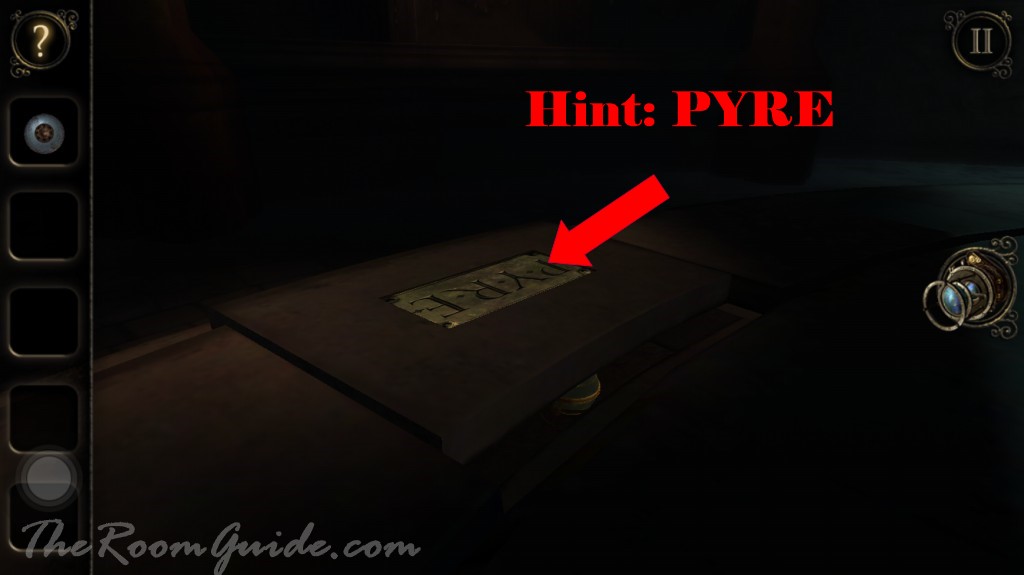
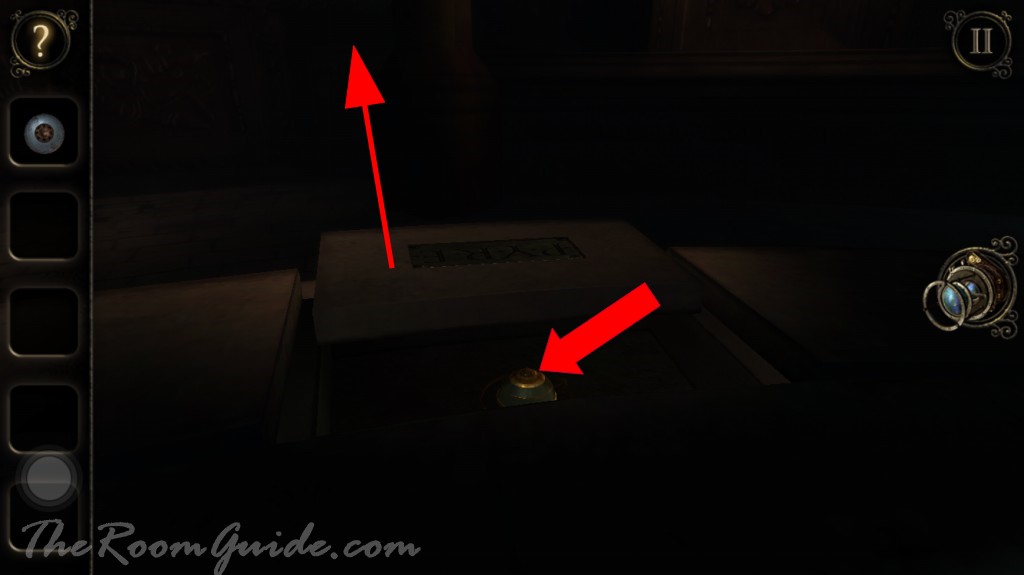
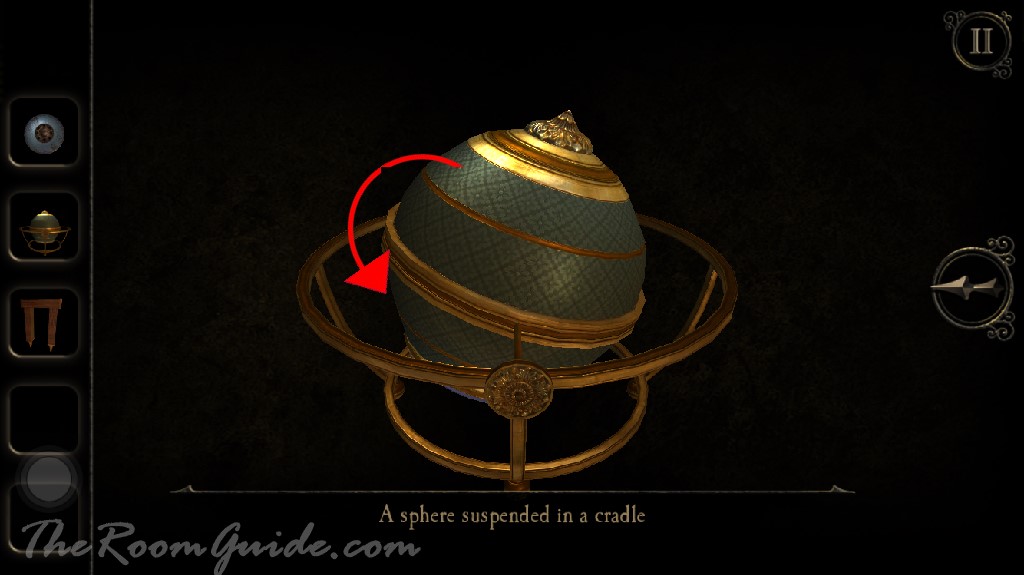
Exit the water mill. Check the tiles on the floor. Notice a metal plaque with the word PYRE. Slide the tile and get a sphere suspended in a cradle. Look at the sphere closely. Flip the sphere upside down. Turn the sphere until the bottom open. Get a magnet.

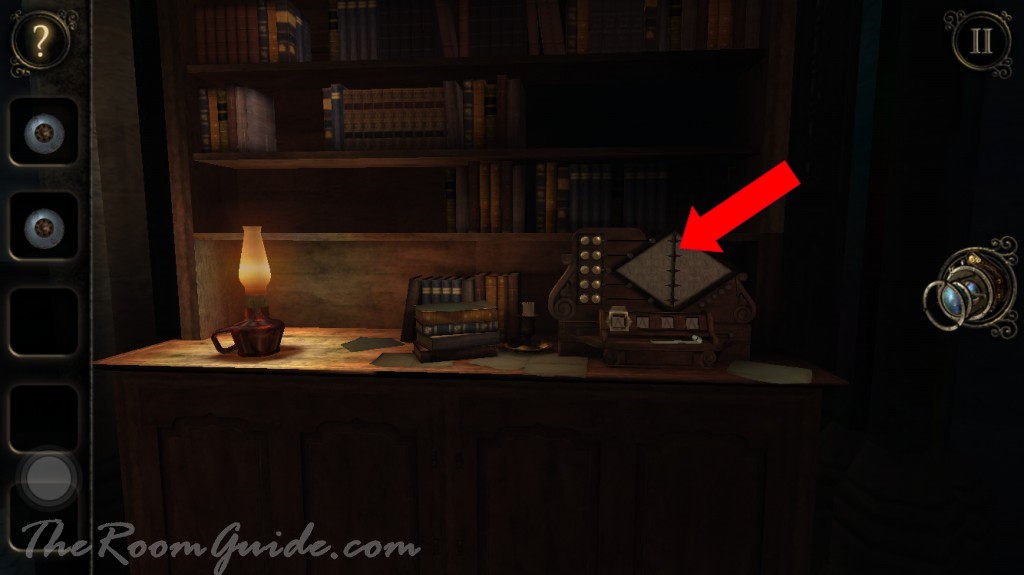
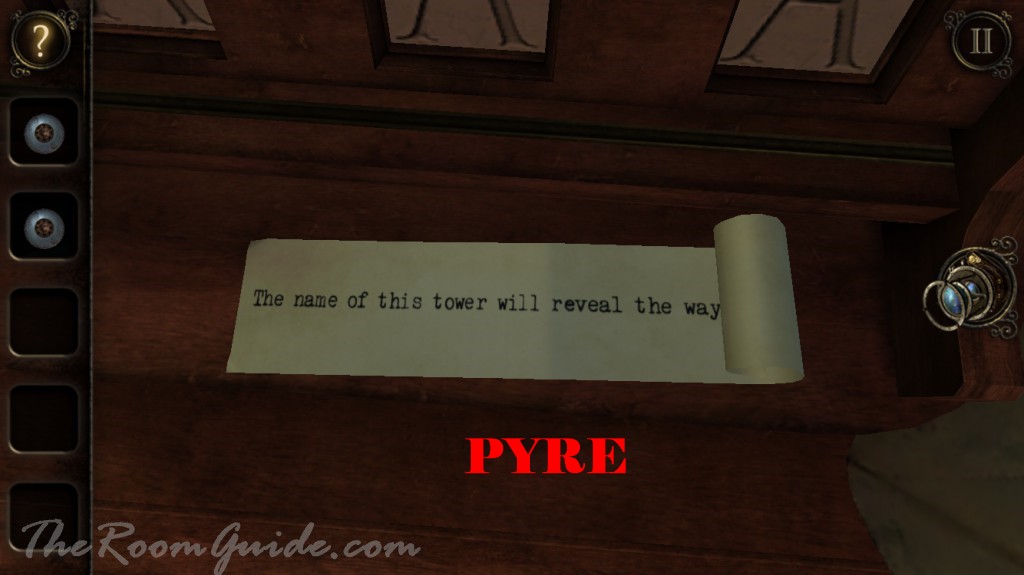
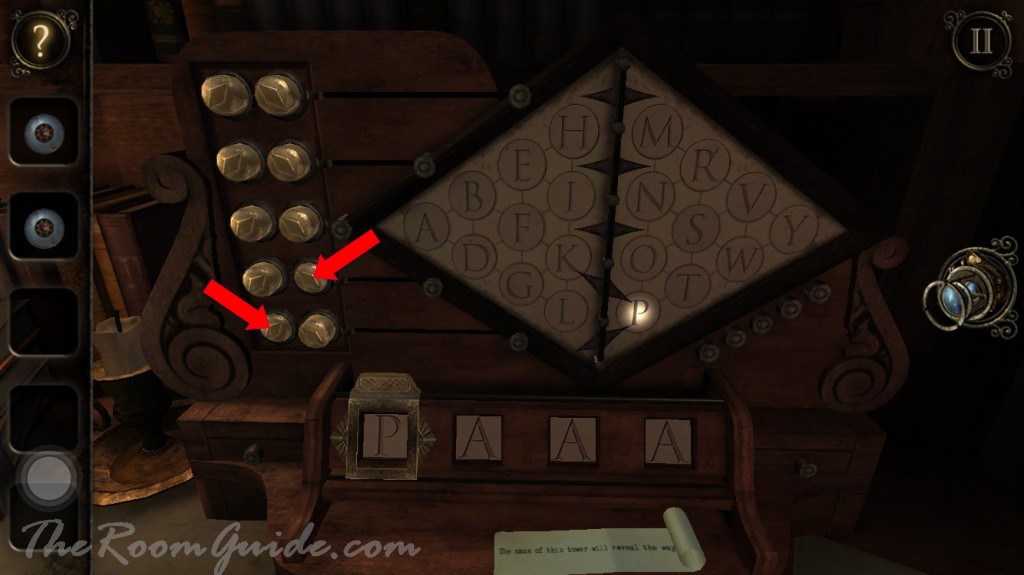
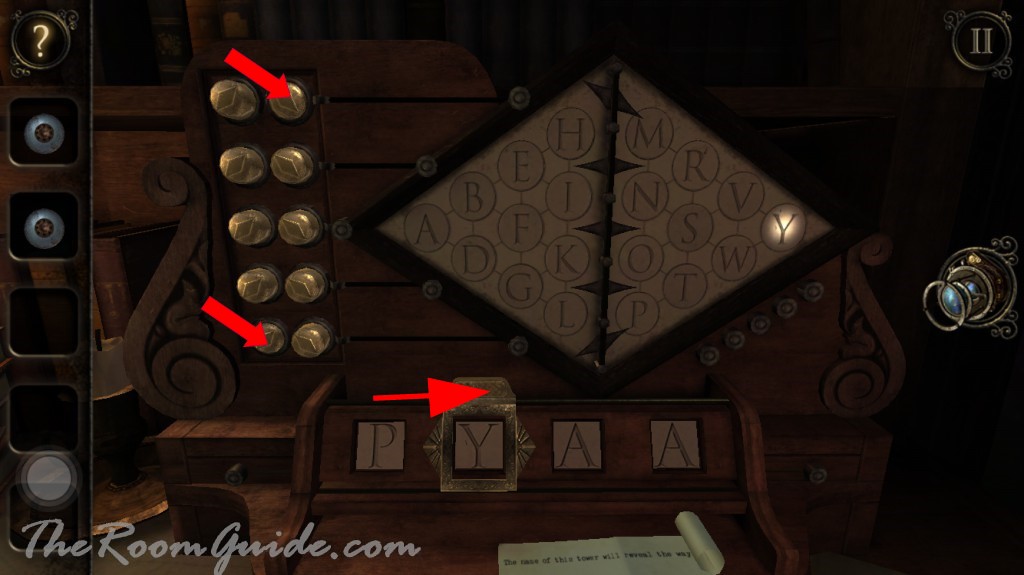
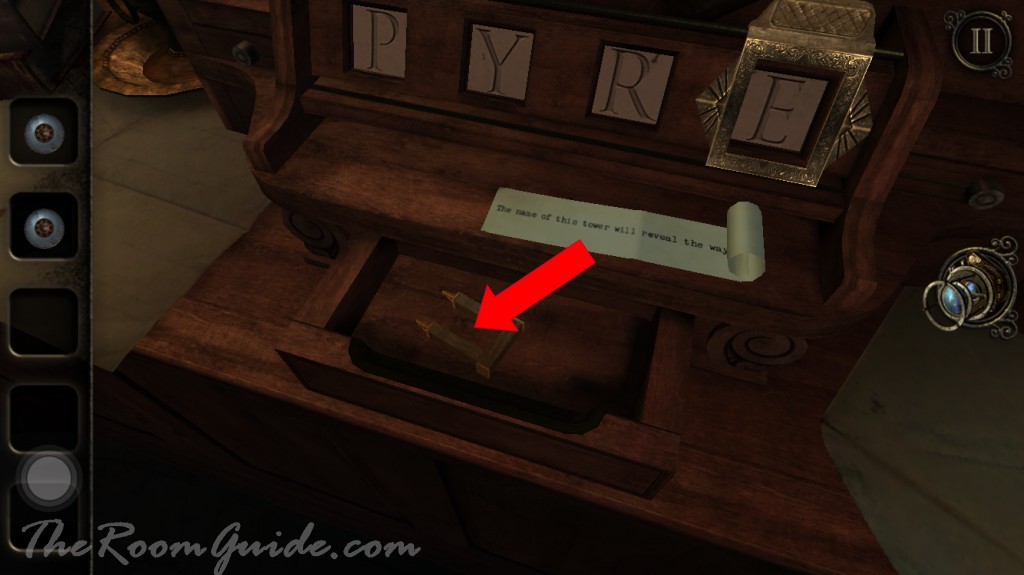
Find the typewriter on the cabinet against the wall. The hint is written on a piece of paper: The name of this tower will reveal the way. Recall the hint: PYRE. The dials on the left control the arrows on the center of the letter keys. Your goal is to spell the word: PYRE on the four squares below. Enter the solution as shown in the images below. Get a piece of miniature wooden arch from the drawer.