Welcome to the best walkthrough guide of The Room 2. Because Chapter 2 is so long, we have divided the complete walkthrough into easy to read parts featuring the different main locations that you have to solve. Because certain items require several visits, we have divided them accordingly where appropriate. Please let us know if you are still stuck with any of the puzzles or if we are not clear with our best walkthrough guides.
We have divided The Room 2 Chapter 2 into the following major sections.
Part 1: Model Ship First Visit
Part 2: The Treasure Box and Model Ship Second Visit
Part 3: The Weighing Station
Part 4: Clock Mechanism
After obtaining the strange key from the first part, you are now brought over to solve the puzzles with the treasure box.
Before you start solving all the puzzles from the treasure box. Grab these two important items first, although you do not need them right away, you will need to use them later.
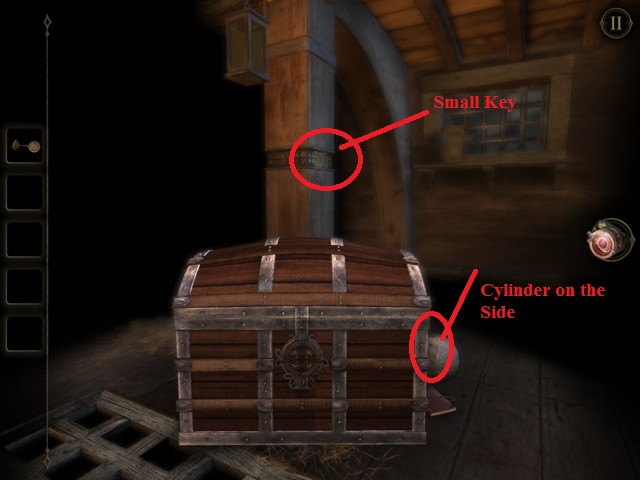
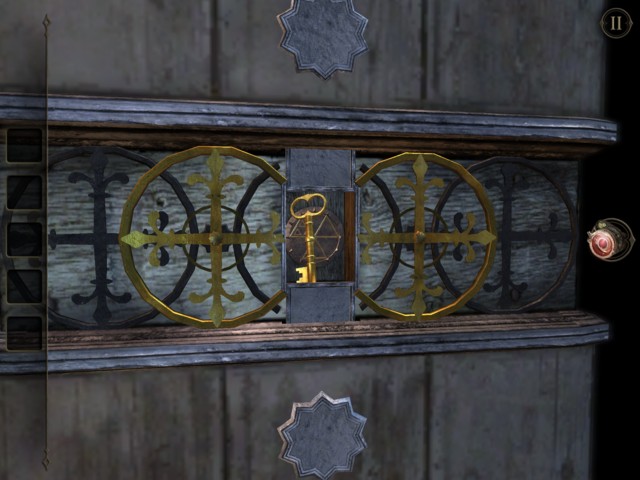
First grab the small key by checking the pillar to the back. Turn the half circles to release the key.

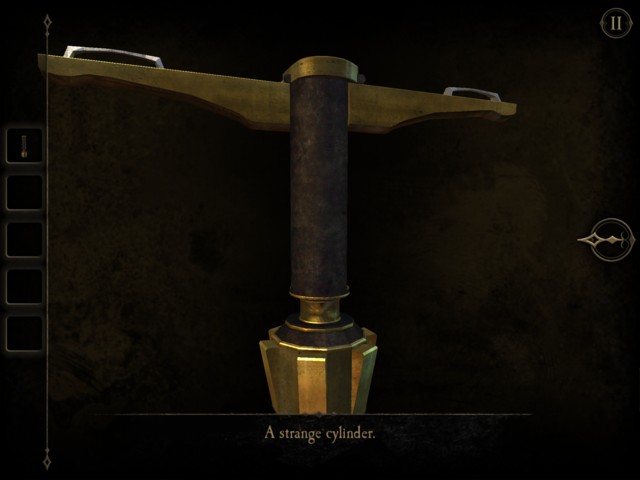
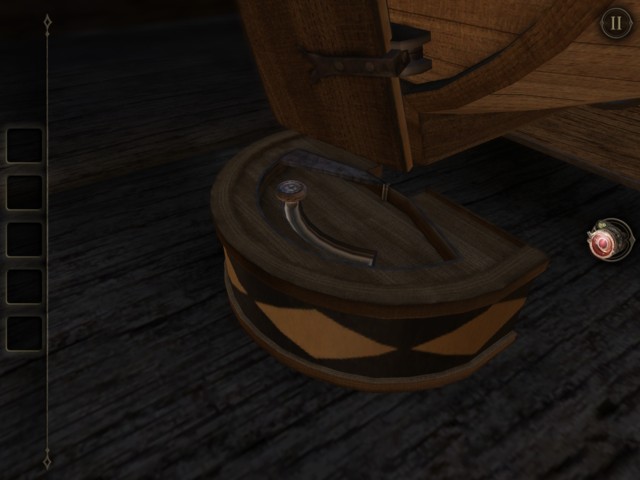
Second grab the strange cylinder off the side of the treasure chest.
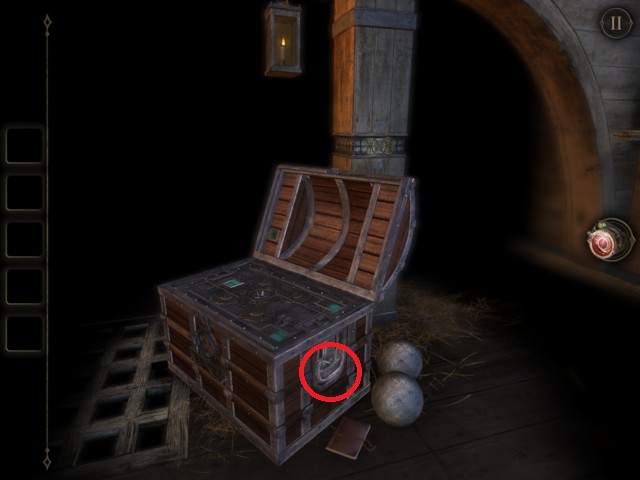

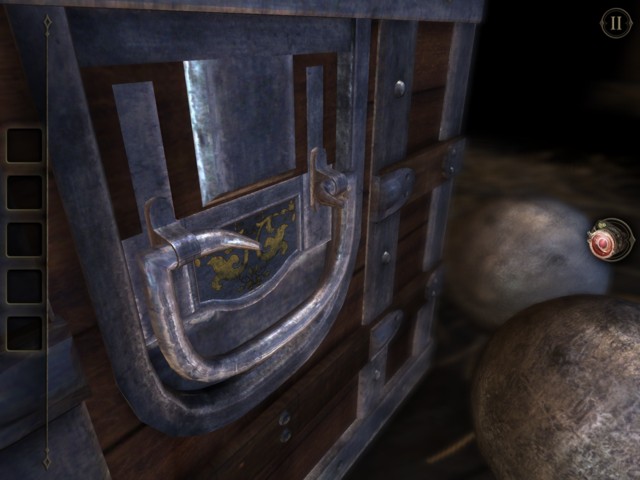
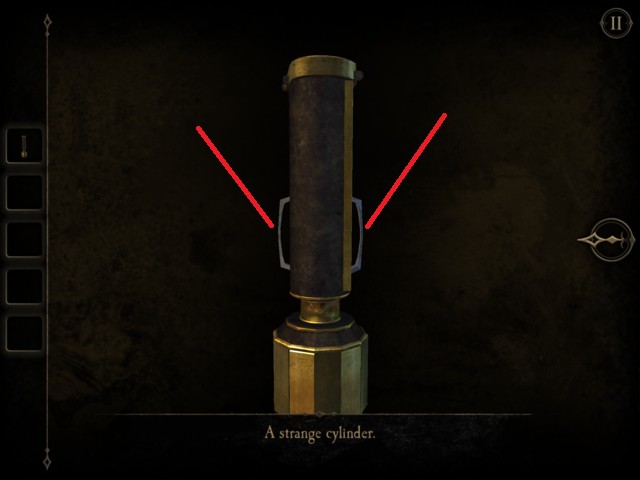
Lift the cylinder’s arm for later uses.
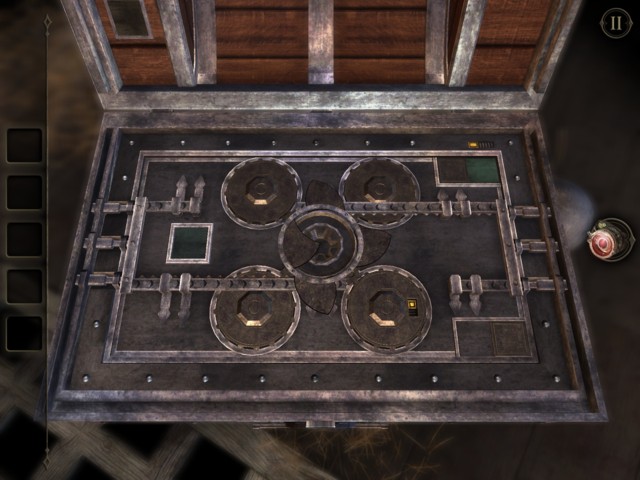
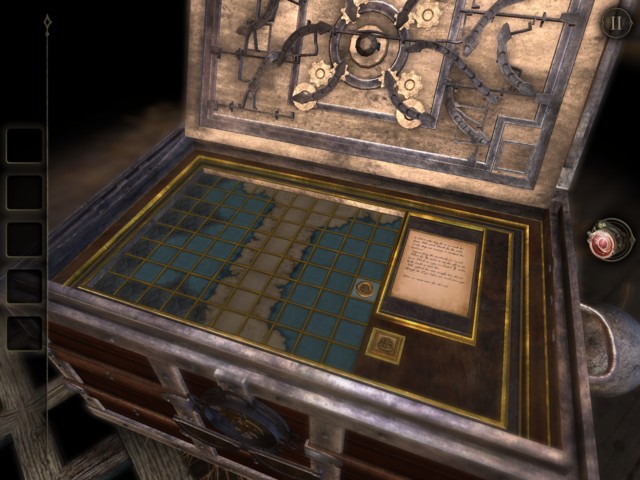
Now let’s check out the treasure box and the hidden secret inside. Open it by turning the side pieces so that the strange key can be inserted.
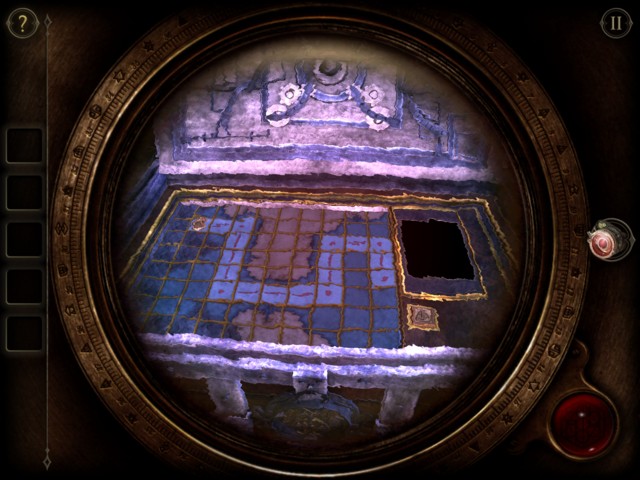
Once the treasure box is opened, you will see a couple of water pool locations. Below are the steps to take for you to release all the outer treasure box locks.

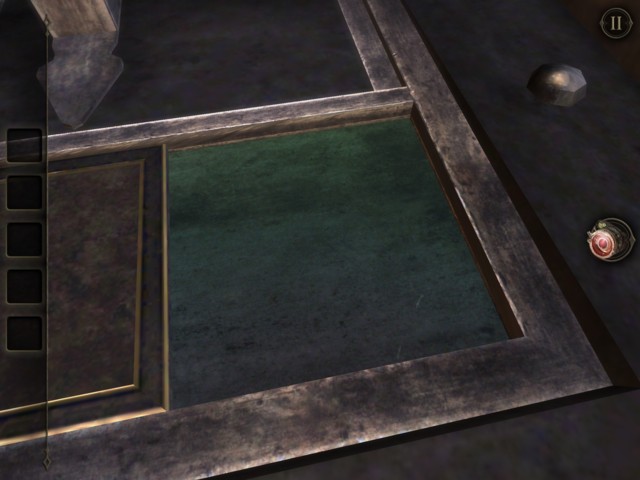
Use the eyepiece on the first pool of water. Move the side pins to unlock it.

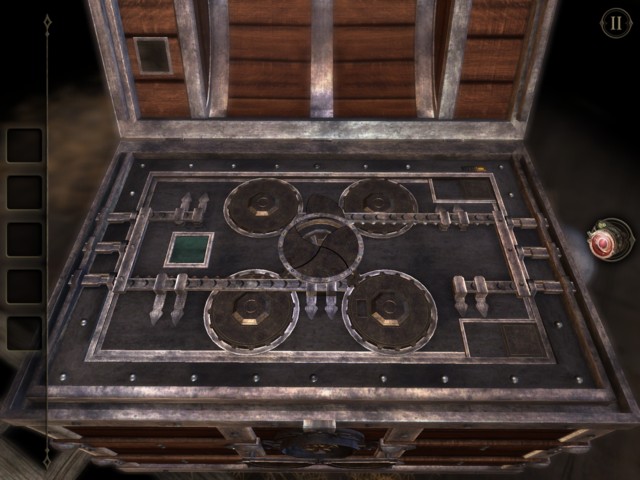
Use the eyepiece on the second pool of water. Move the side pins to unlock it.

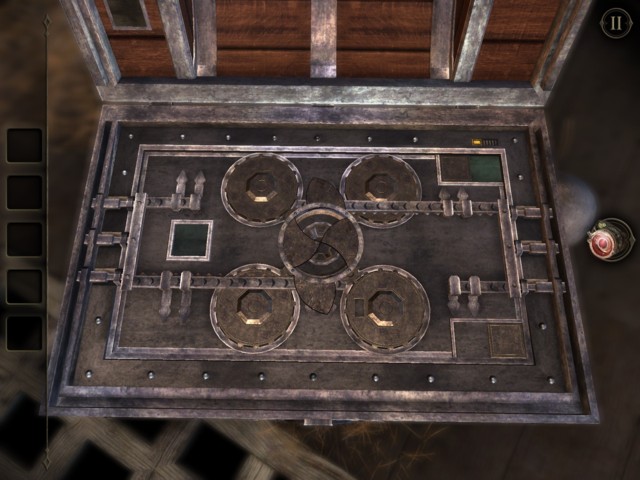
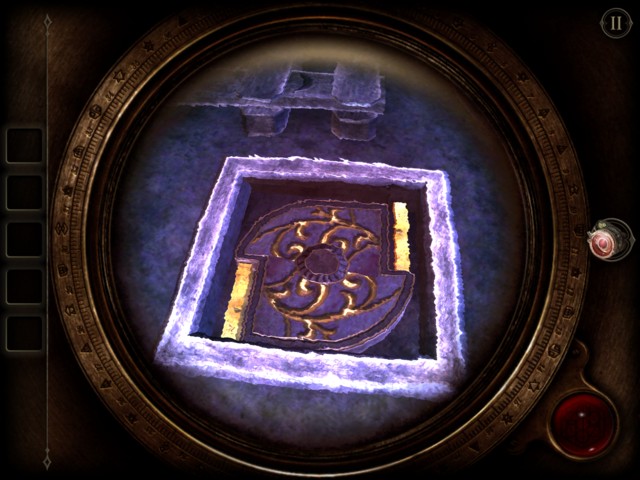
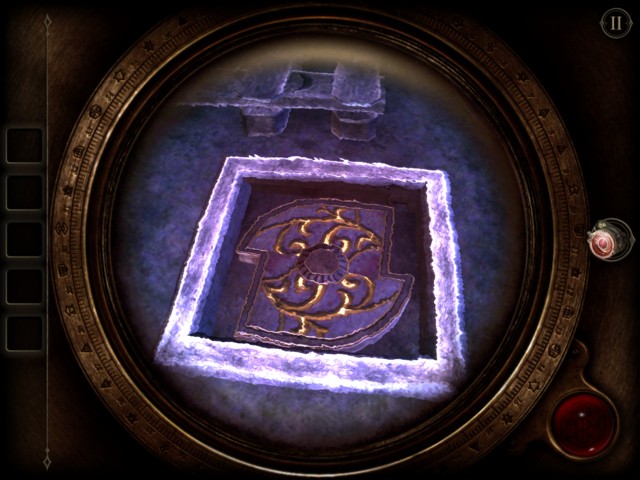
Use the eyepiece on the third pool of water and solve it.

Now a sliding button appears where the fourth pool is. Slide the button to reveal the pool. Again you will need the eyepiece to look beyond the water.


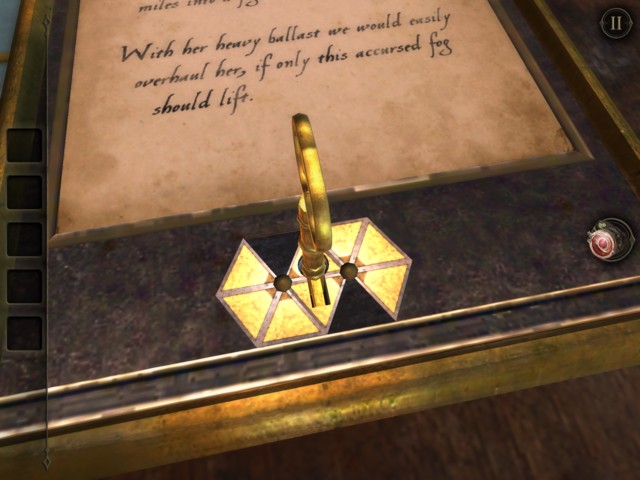
Place the cylinder that you have prepared earlier inside the center hole. Remember to lift its arms for it to fit and work.

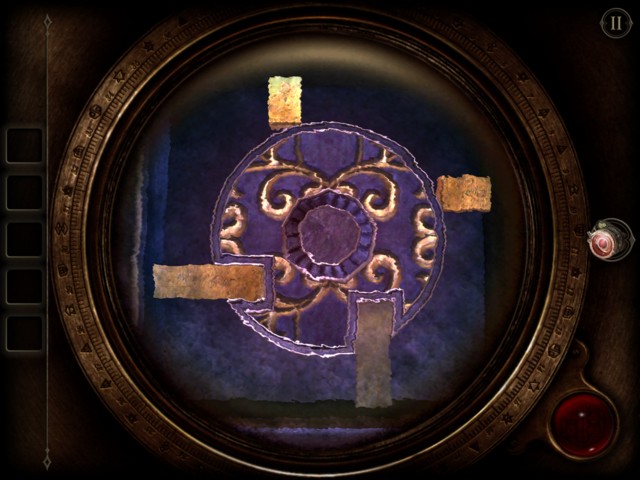
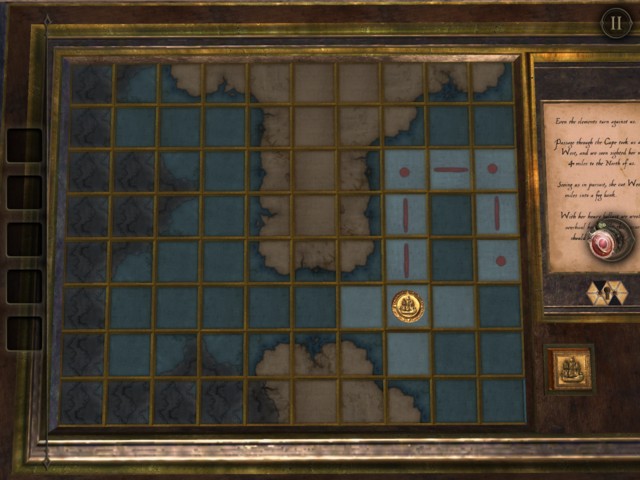
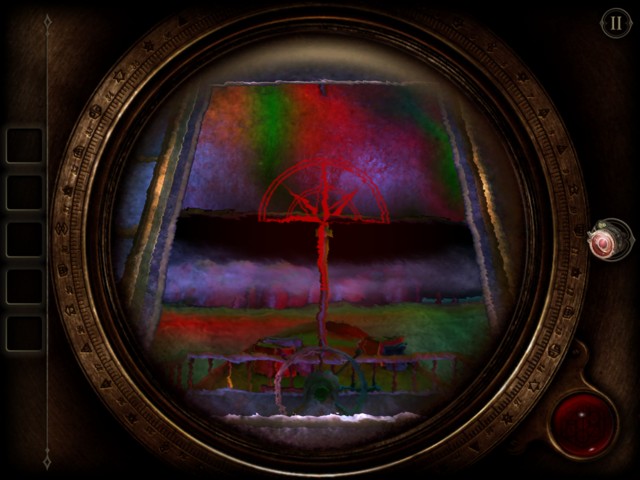
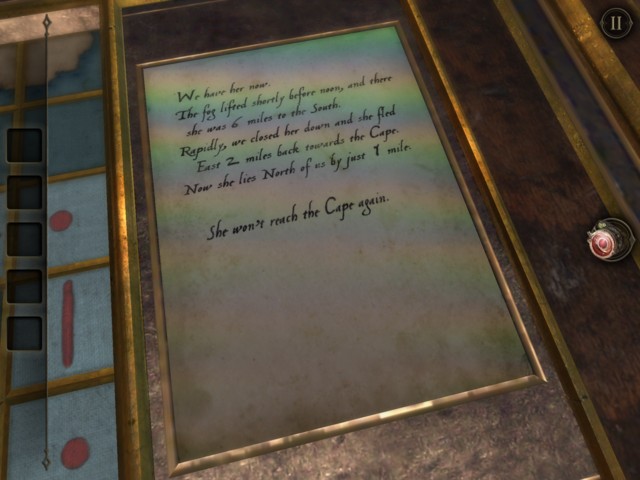
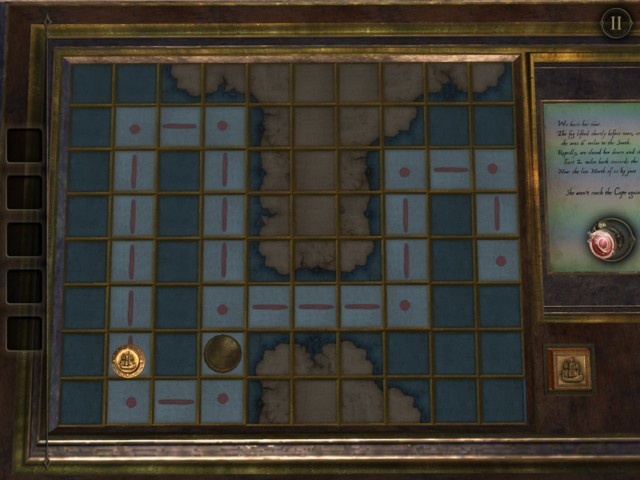
With the cylinder in place and turned, you will not commence a sailing game based on the clues. Read the clue and set sail for the ship with the path shown here.


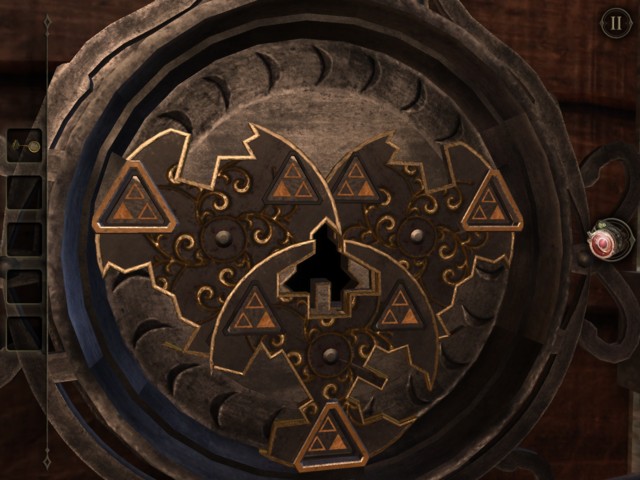
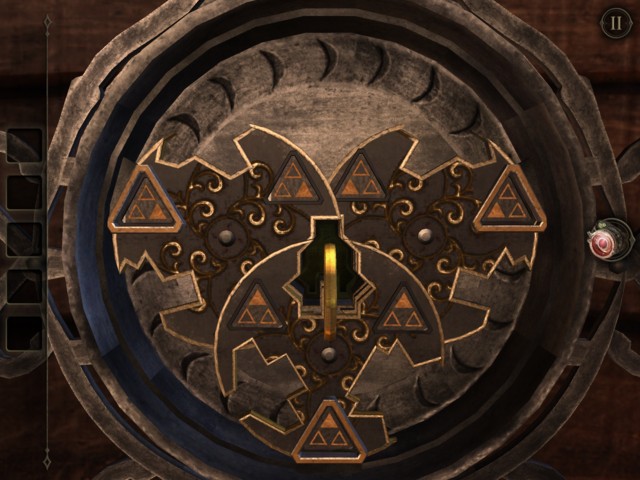
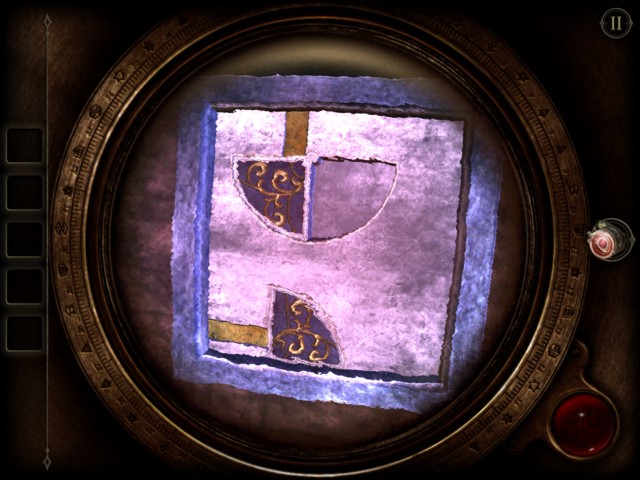
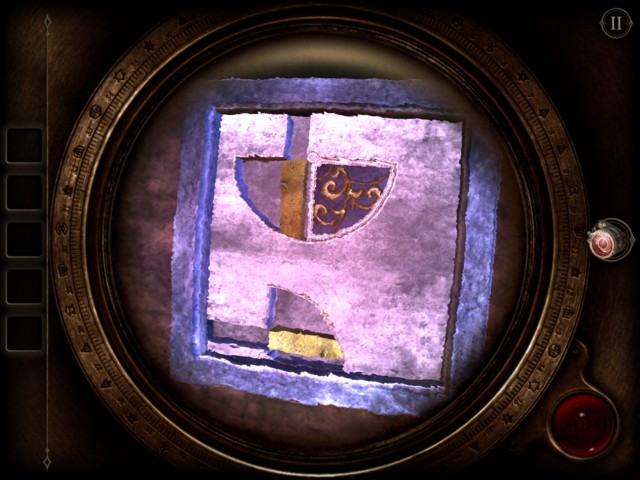
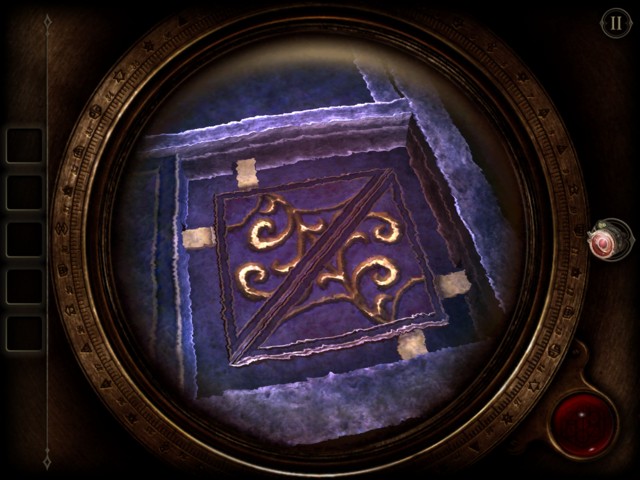
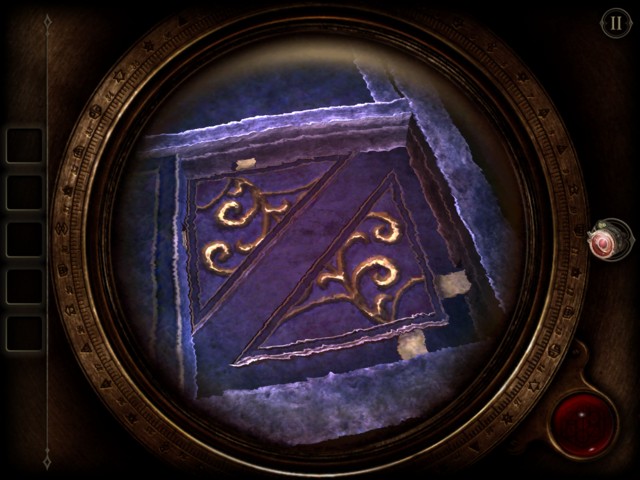
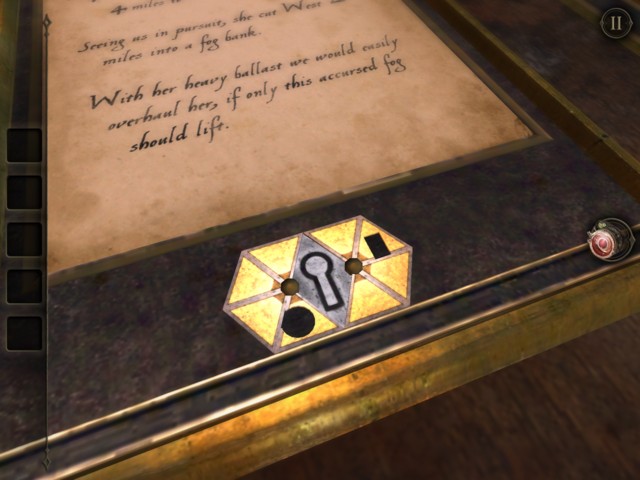
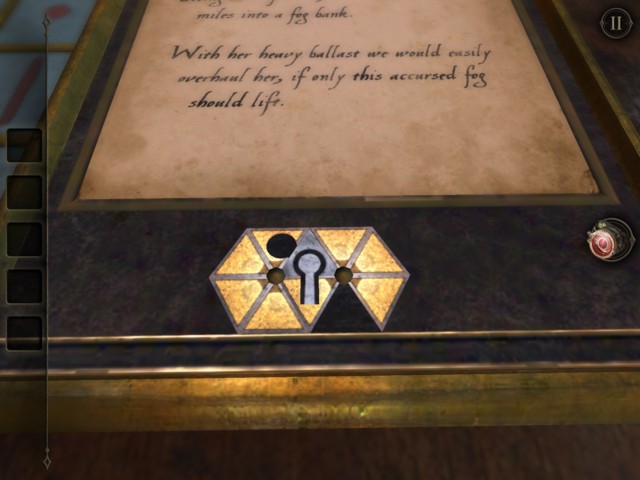
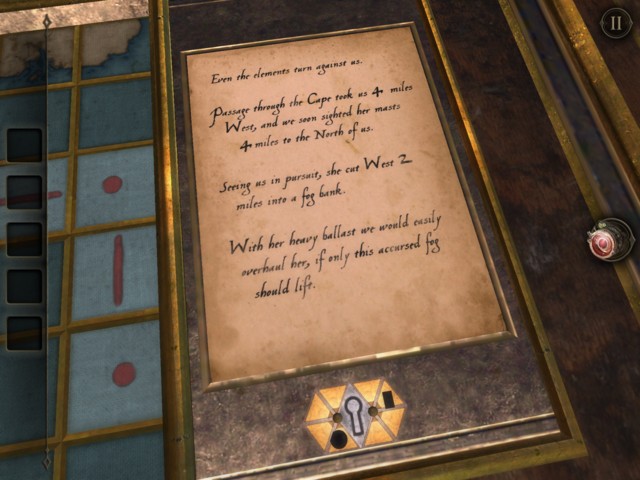
After the first sail, the second clue shows with a keyhole. Your goal is to turn the little triangle pieces to reveal the key hole. And use the small key that you have obtained at the beginning of this section on the pillar.

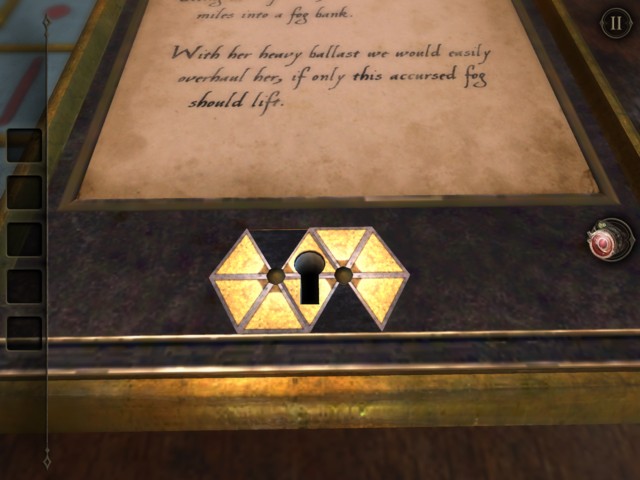
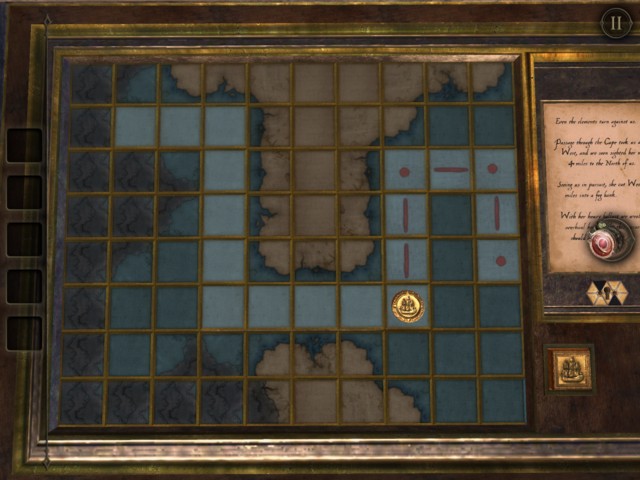
After inserting the small key, you can start sailing for your second path. Read the clue to know which path to take.
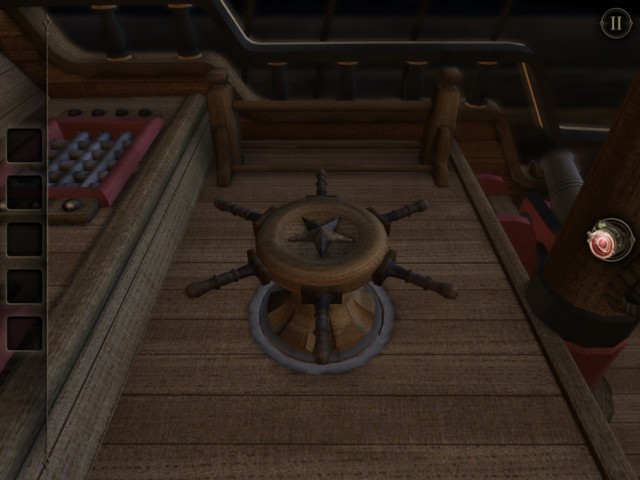
To unlock the path for the third sale, you will have to use the eyepiece at the rainbow looking side. Rotate the steering wheel to match the red star.
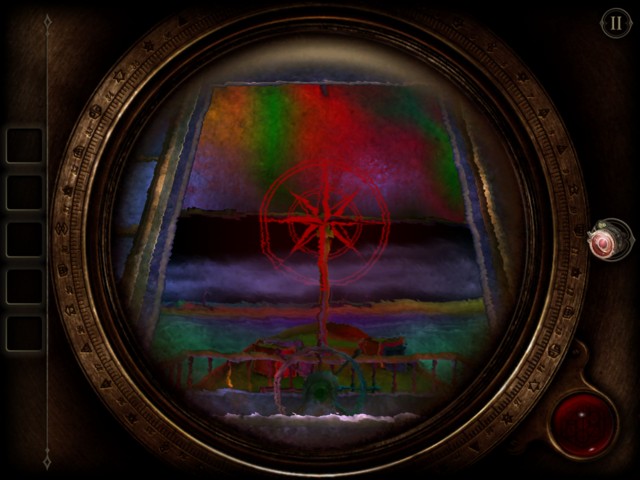
With the red star matched, you can do your final sail.

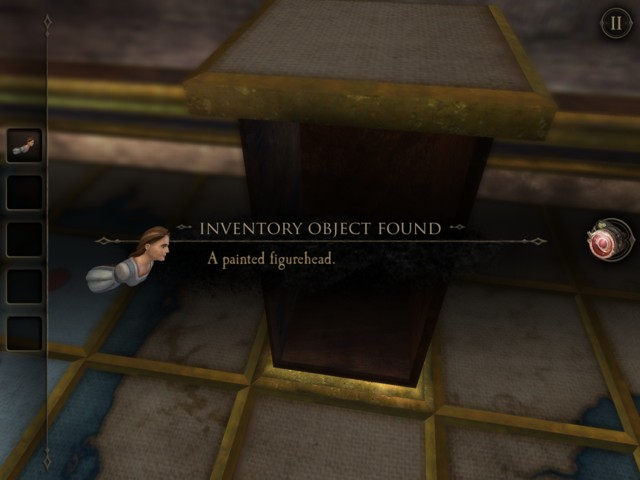
Sail for the last time and grab the goal of this section – the figurehead.

After grabbing the figurehead, head over to the model ship, you will have more work to do at the model ship. Below is a list of all the places and secret compartment that are triggered by sequence at the model ship’s second visit.
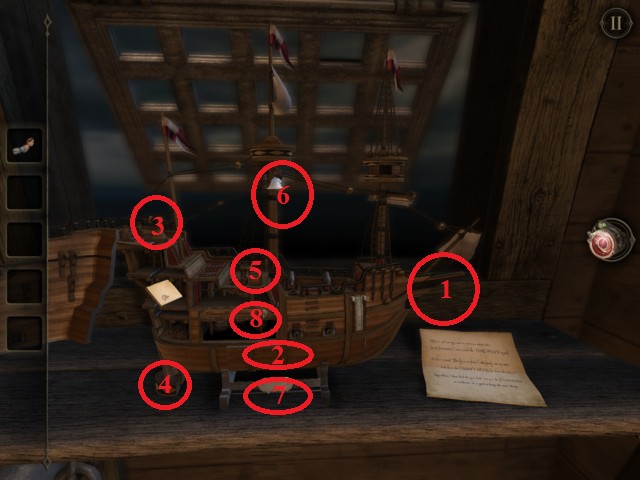
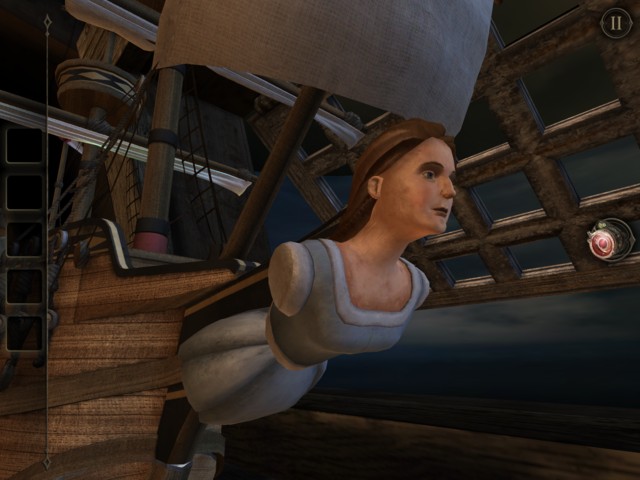
1. Place the figurehead in the front of the ship.
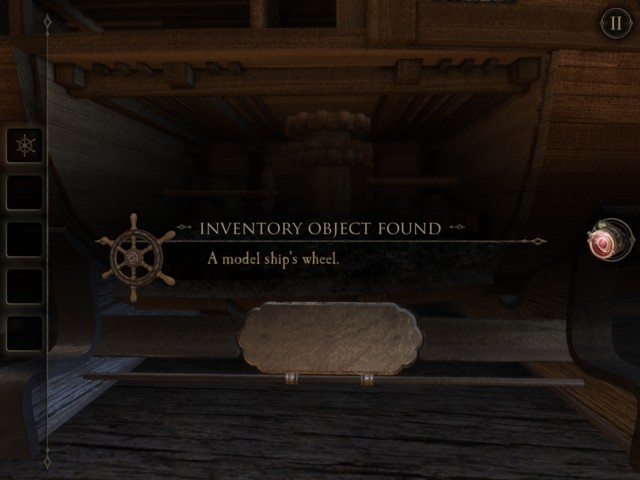
2. Grab the steering wheel from the secret compartment.

3. Place the steering wheel at the back of the ship.

4. Slide the button that appears.
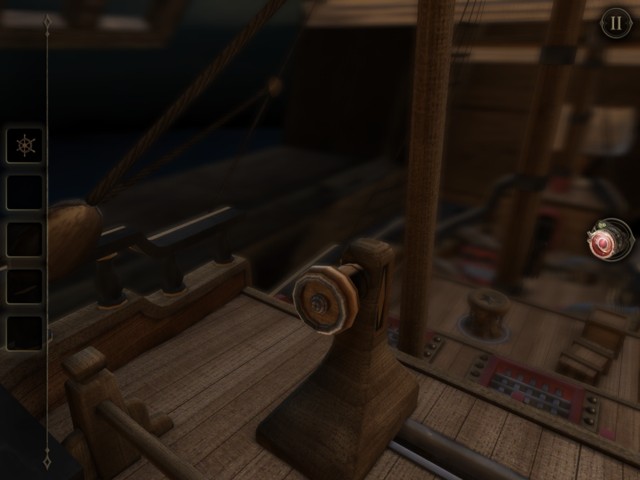
5. Turn the middle wheel to drop down the sail.
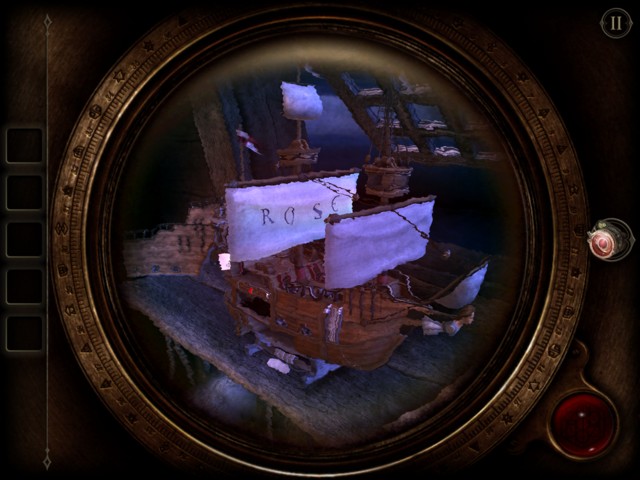
6. Observe the sail under Eyepiece mode to note the secret code: ROSE
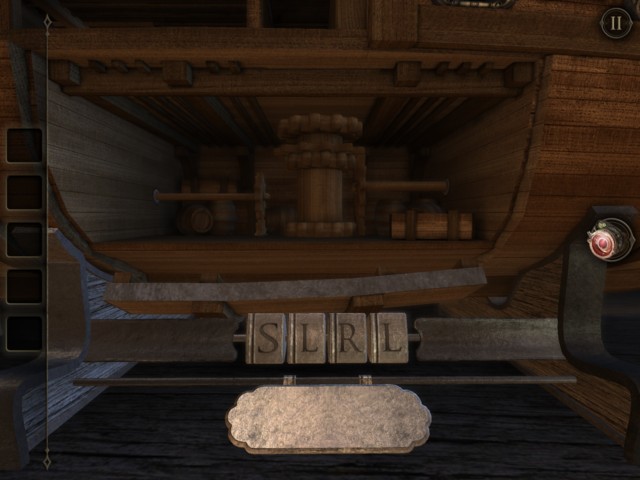
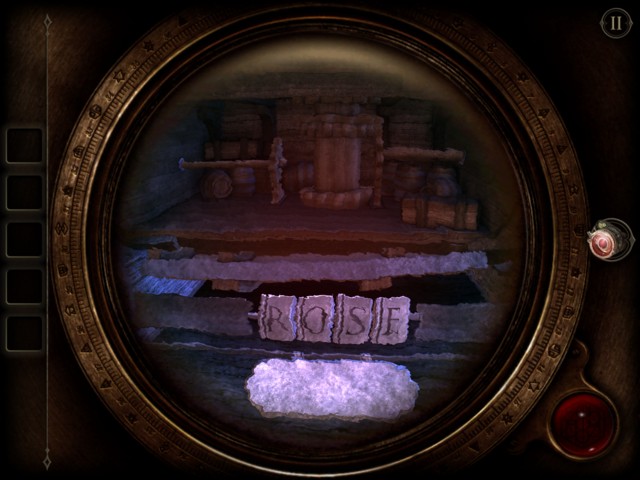
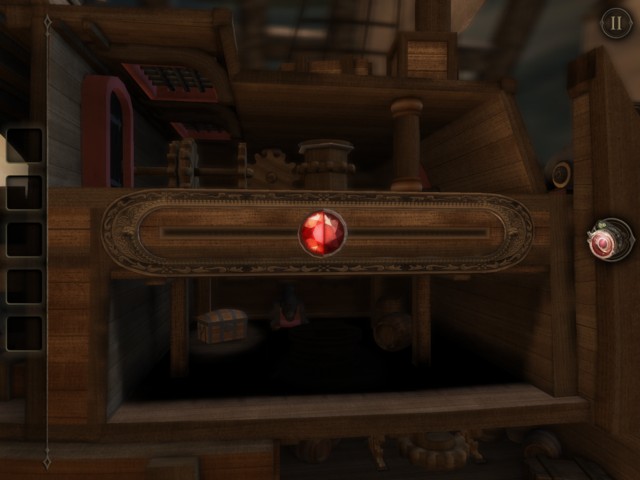
7. Check the bottom plate to change the password to ROSE. Grab the red jewel that appears from the top.
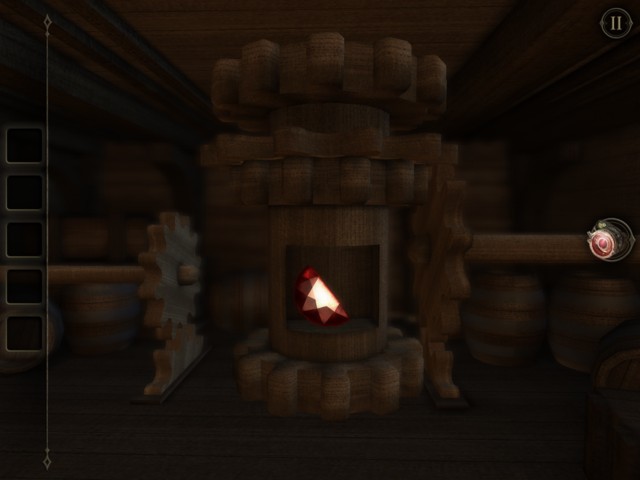
8. Place the red jewel into the slider and slide.

great game.
Great game
Great game, really tricky at times trying to work out the next move. The hint was really useful without it don’t think I could have worked out what to do next. Infectious couldn’t put it down.
Can’t get past the button on the right to move on the map. The eyepiece is in the way, and I keep engaging the eyepiece.