Welcome to the third part of our complete The Room 2 Chapter 2 Walkthrough. In this section, we will go over all the different puzzles for the weighting station. Please let us know if you are still stuck after reading our guides by leaving a comment.
Part 1: Model Ship First Visit
Part 2: The Treasure Box and Model Ship Second Visit
Part 3: The Weighing Station
Part 4: Clock Mechanism
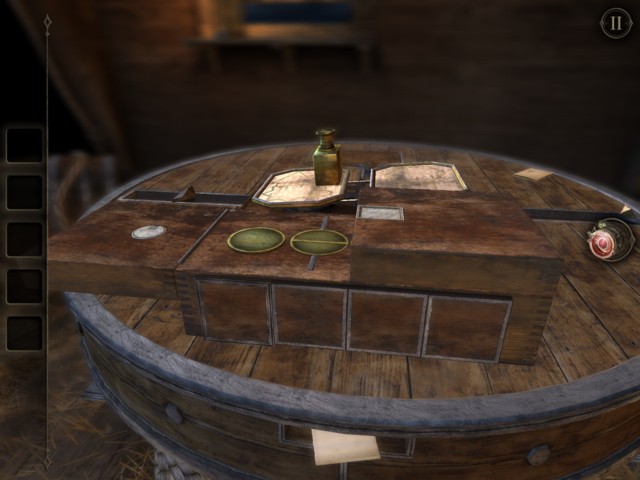
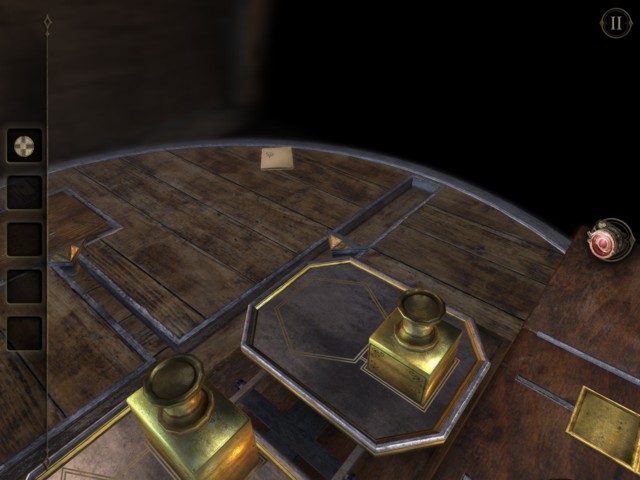
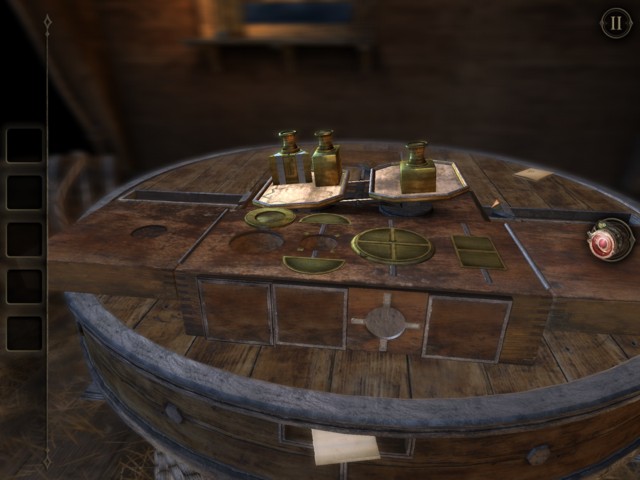
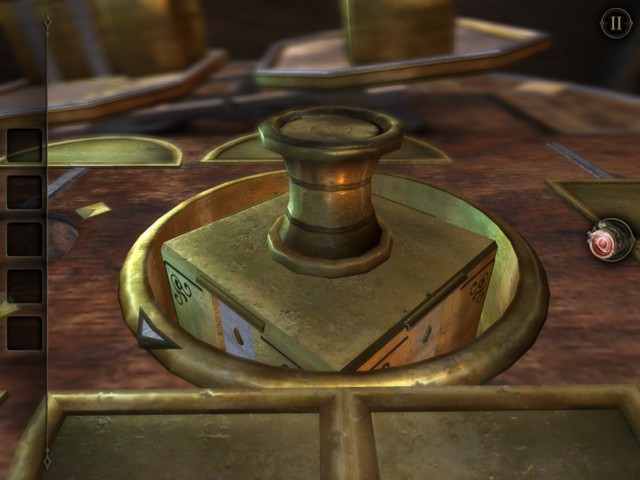
After sliding the jewel with your second visit to the model ship, you now will have to play with some weights to crack open the weighting box.
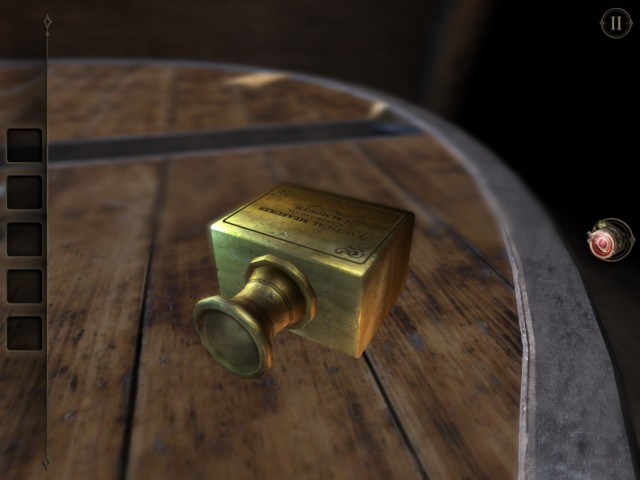
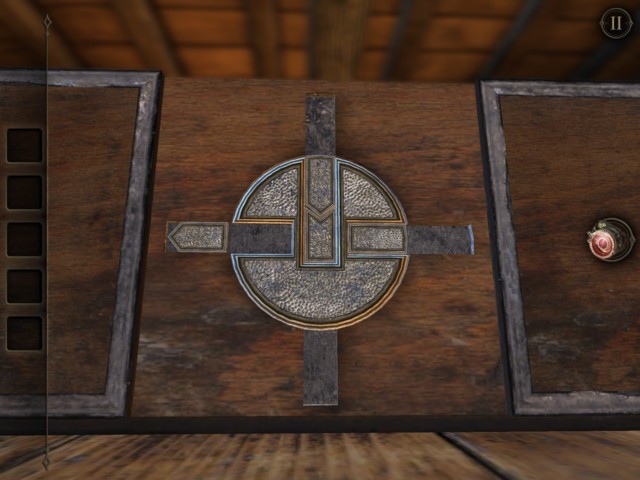
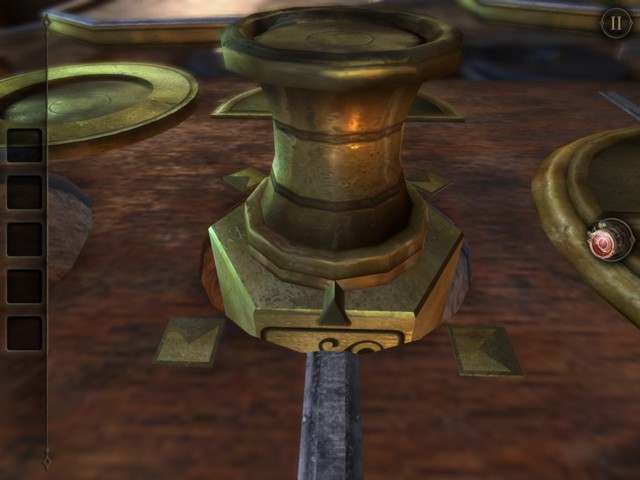
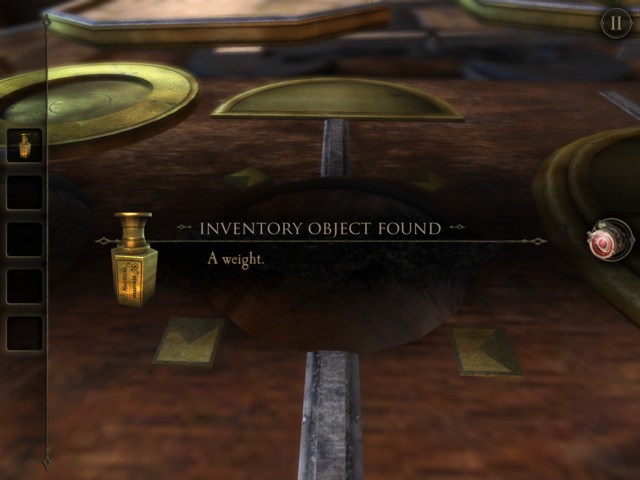
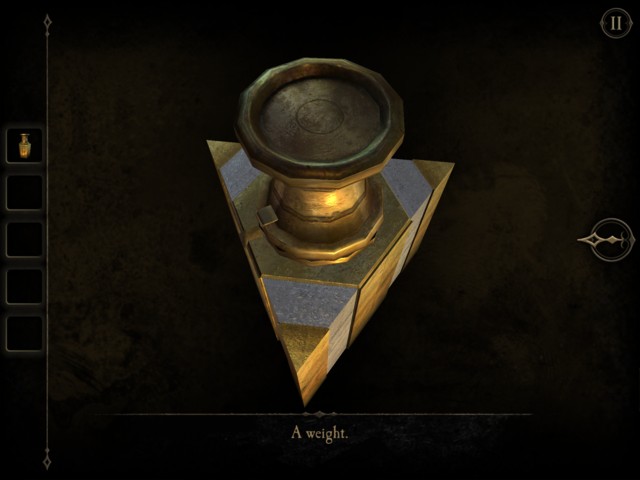
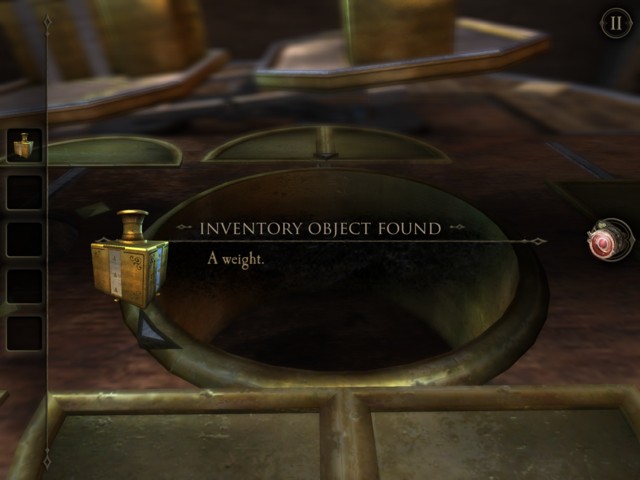
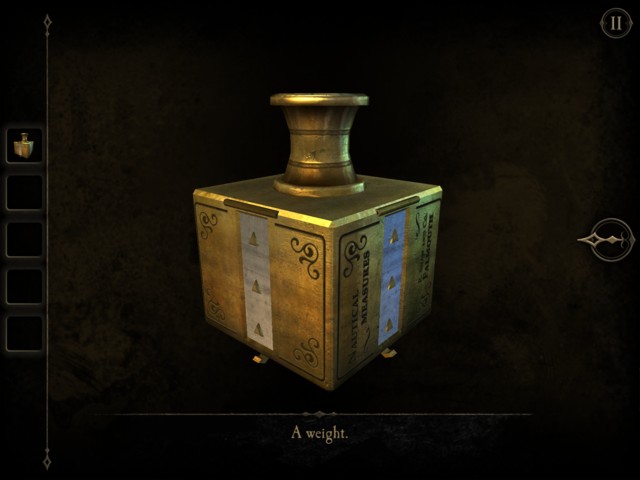
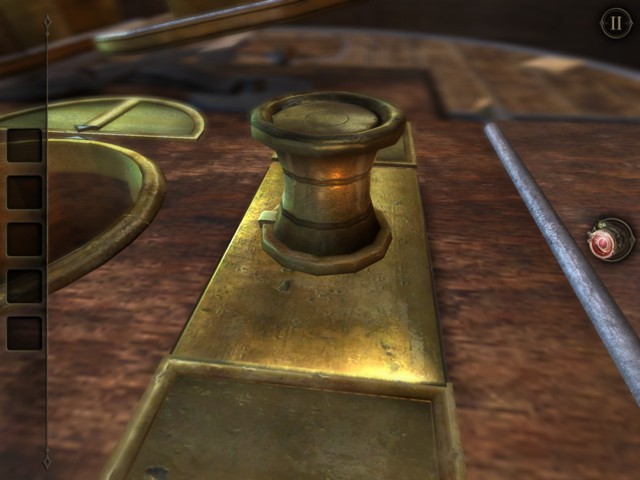
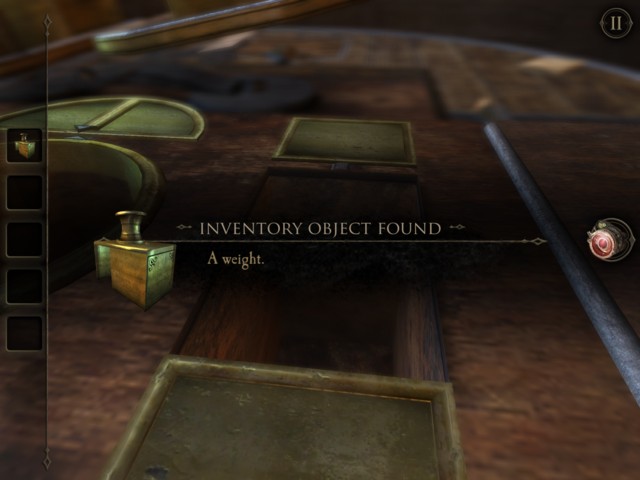
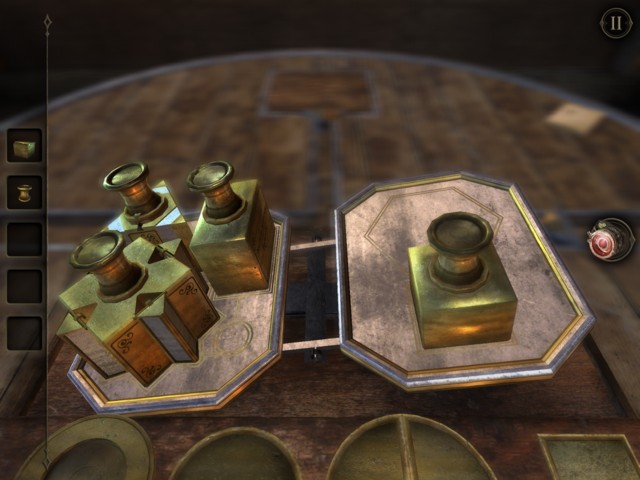
First grab the weight off the table. The shape of the weights determine where they go. The first weight is placed on the rectangle box on the left side.

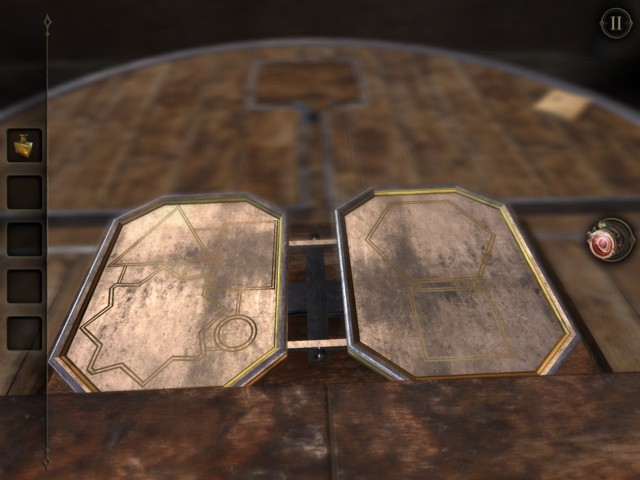

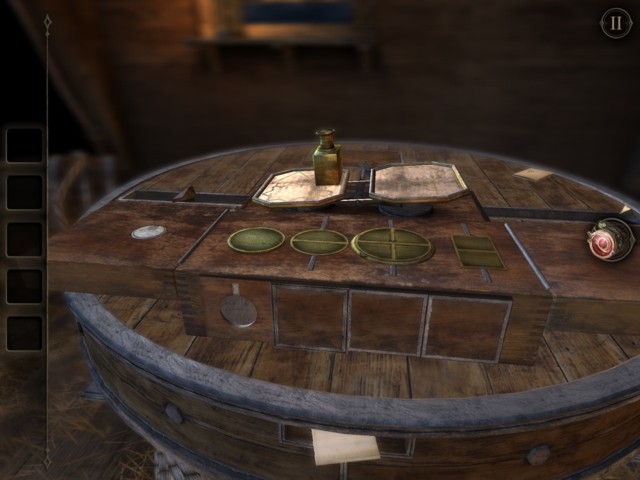
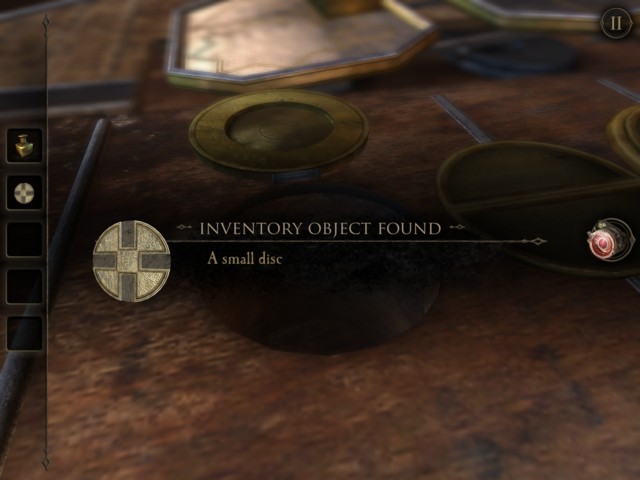
After placing the weight, slide open the sliding lock on the box and open the box. Grab the metal disc on the left wing of the opened box.

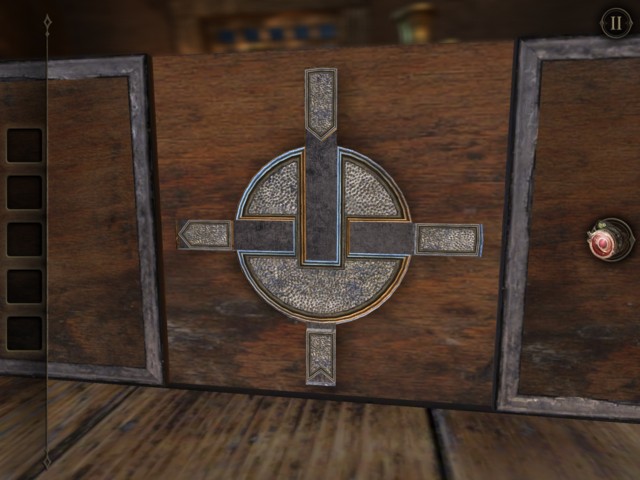
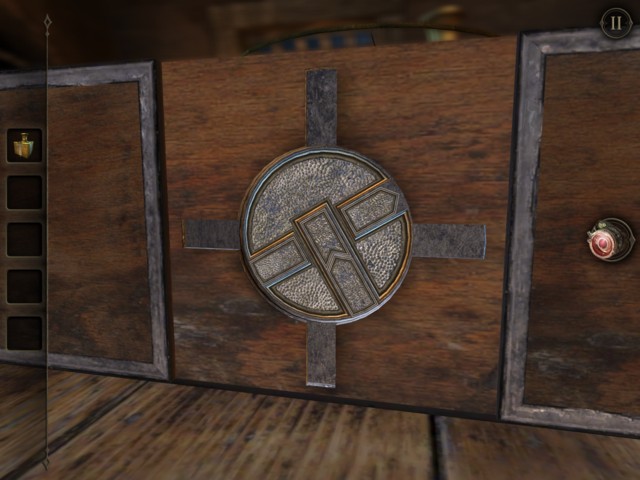
Slide the metal bar into the gap inside the disk.
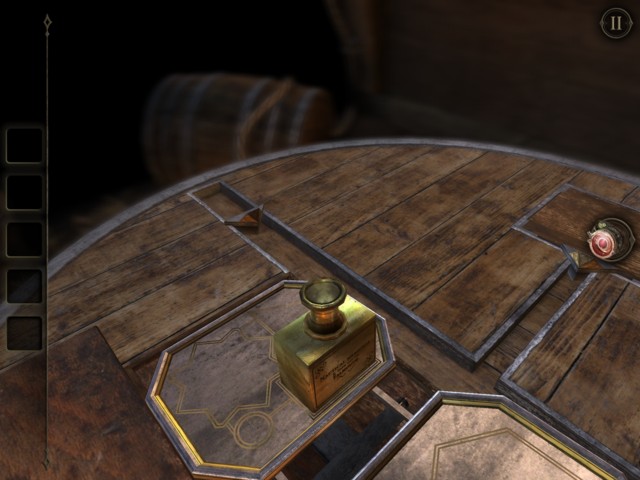
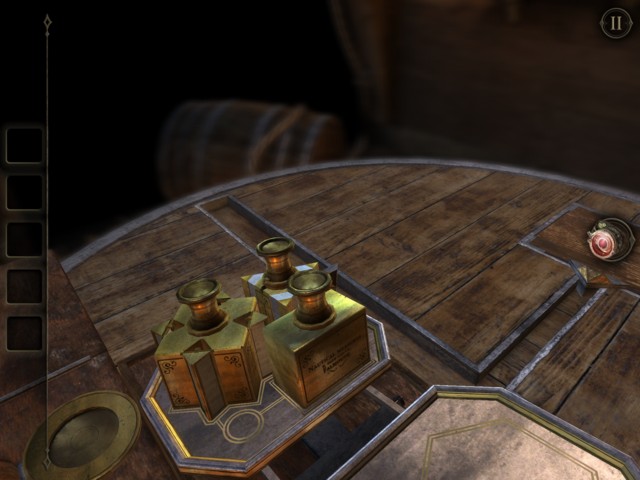
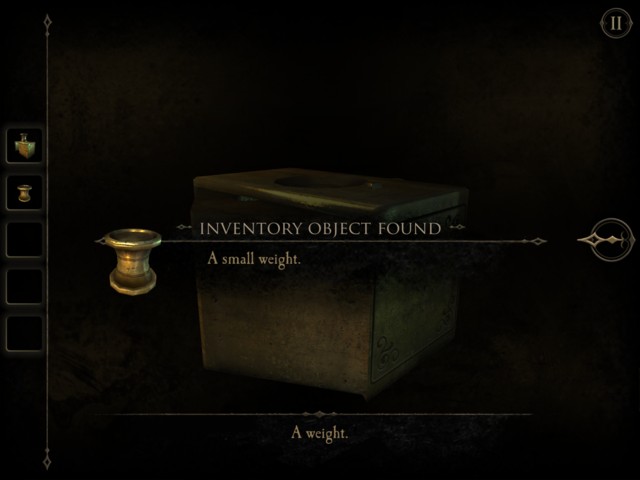
Grab the second weight and place it onto the weighing board.


Grab the second metal disc. And place it into the next open slot. You will have to rotate the metal disc a couple of times to insert all the metal pins.

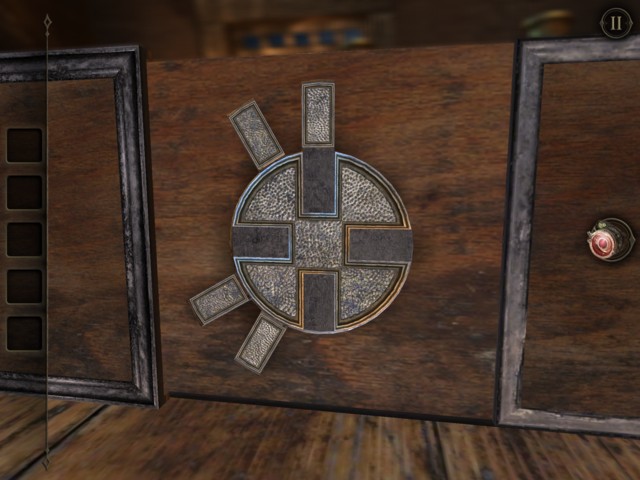
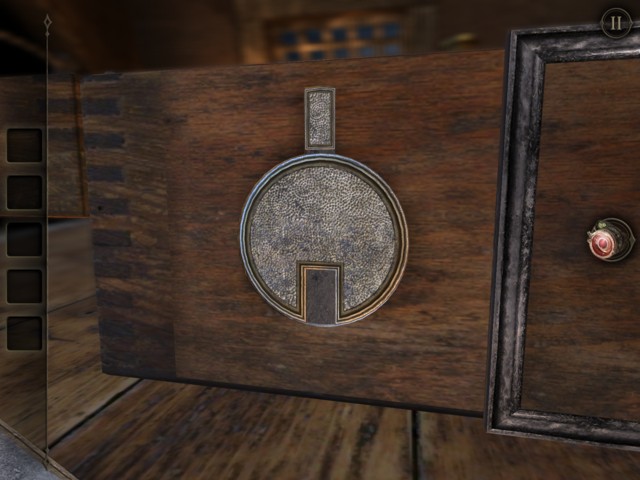
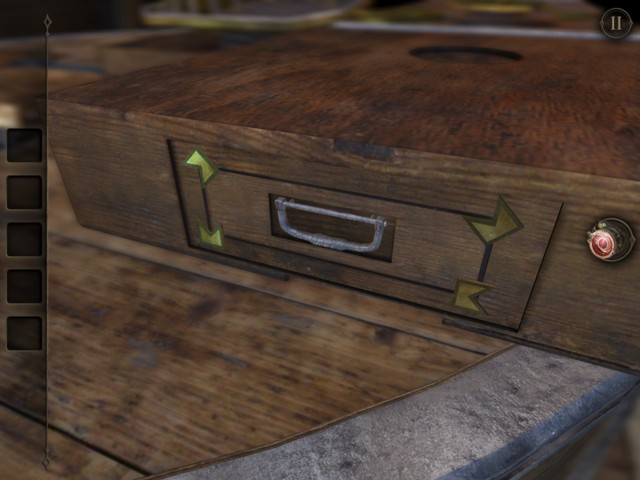
Now you will need to find the third metal disc. It is located on the side of the box where you obtained the first metal disc. Open the drawer to grab it.
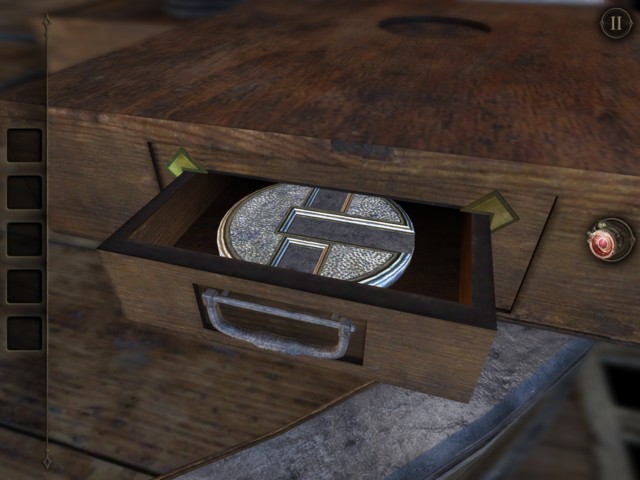
Place the metal piece into the next open slot. The key to solve this is to match the triangle indents so that they can fit inside the circular disc.
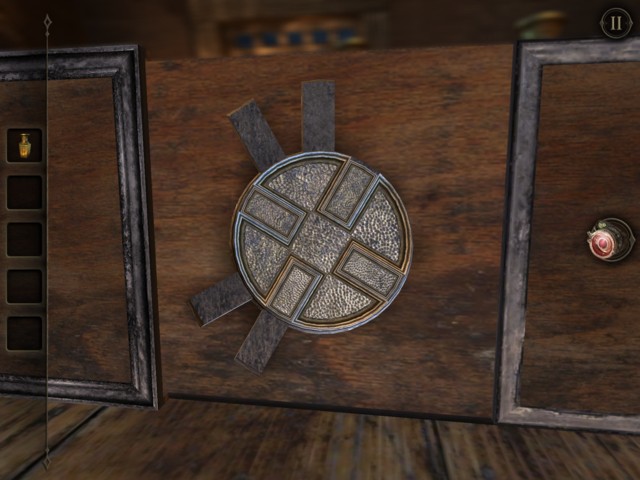
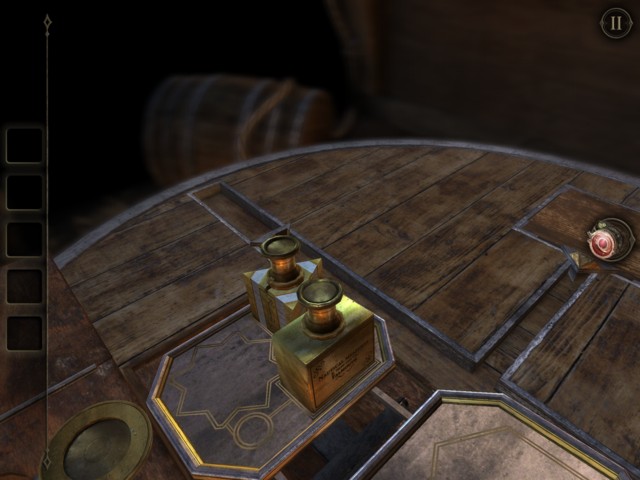
Grab the next weight, slide it to break it up.

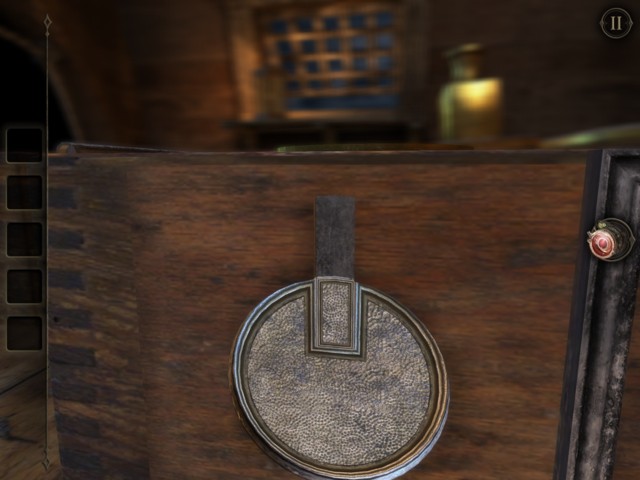
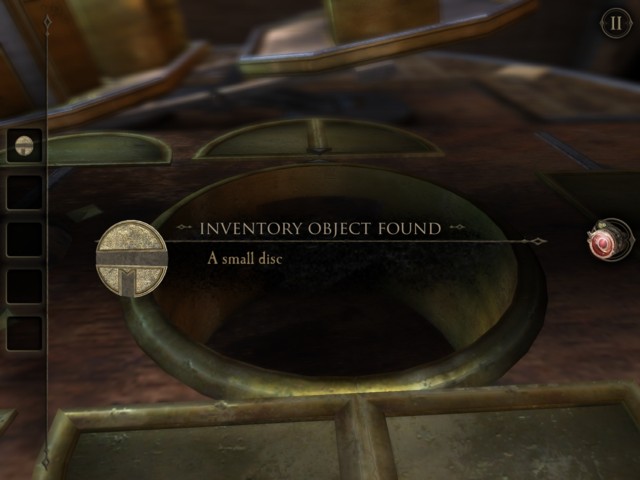
To get the fourth metal piece, you will have to rotate the gold ring inside the hole where you obtained the weight.
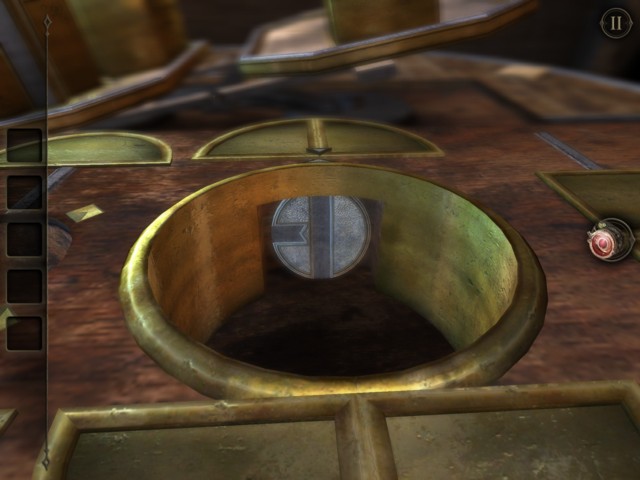

The key to solving the fourth metal piece puzzle is to let the small small slide through the circular disc.


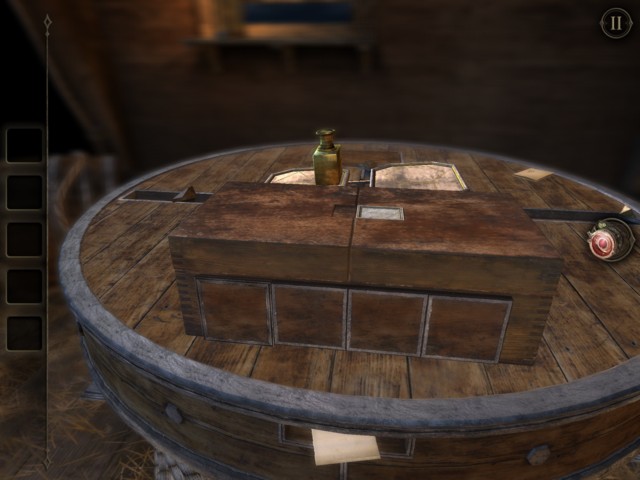
Place the fourth weight onto the weighting table.

With the fifth weight that you have found, break it into two pieces.
After placing the last weight. The entire table disappears and you will be left with the final part to this chapter!
Cant get six sided weight on scale?…help
Got it!
How?
That fourth disc keeps killing me. I’ve slotted the pieces, I’ve unslotted them. I’ve had the pointy one in the correct way, and tried putting the other two in both ways, and not having them in at all. It won’t release anything. What am I missing?
How do you rotate those square tiles. I have tried so many rotations.
I can’t move the corners to get the drawer open
Got it