Welcome to the best walkthrough website for The Room 2. If you are stuck with any of the puzzles and cannot pass, you have come to the right place. We have the most detailed and organized free guide for you to pass the levels easily. Please share this website with your friends if we helped you.
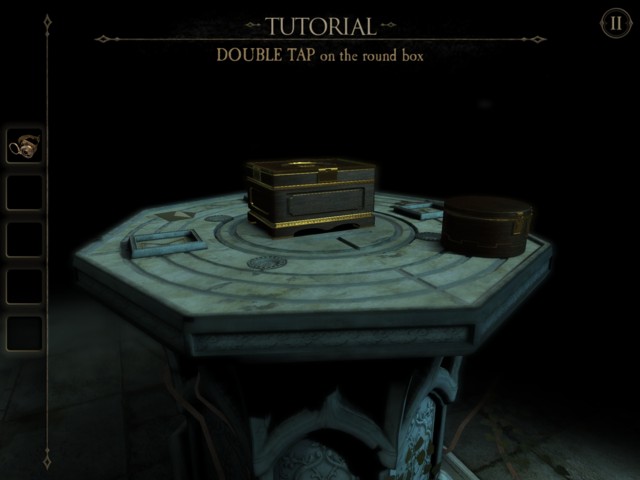
Like the previous game The Room, you have received a mysterious letter asking you for your help.

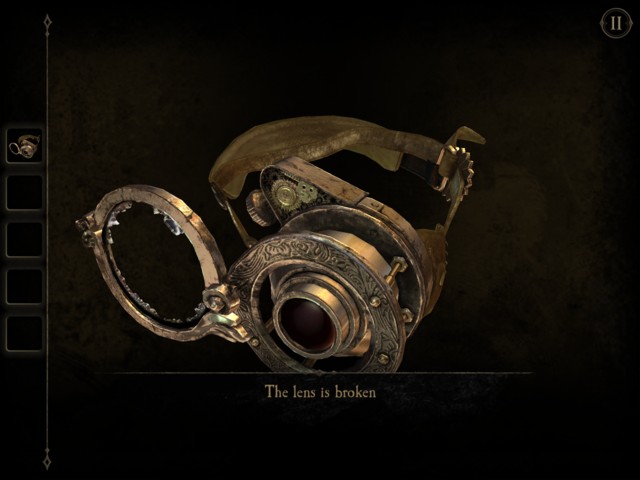
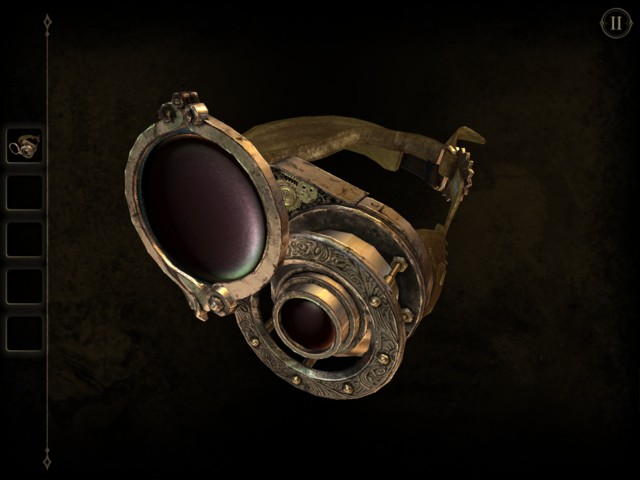
You quickly find that you have a broken tool to help you find secrets that are not possible with normal view. Your first course of action is to repair the much needed eye piece.
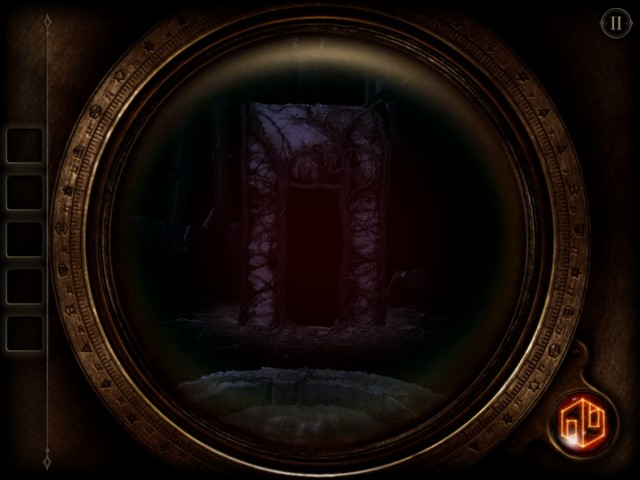
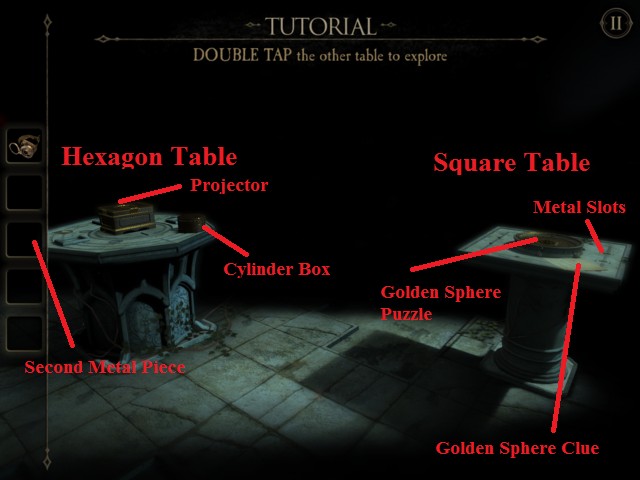
Now you have a chance to take a good look at the room. Below is a quick overview on where the important items are inside the Chapter 1 for The Room 2.
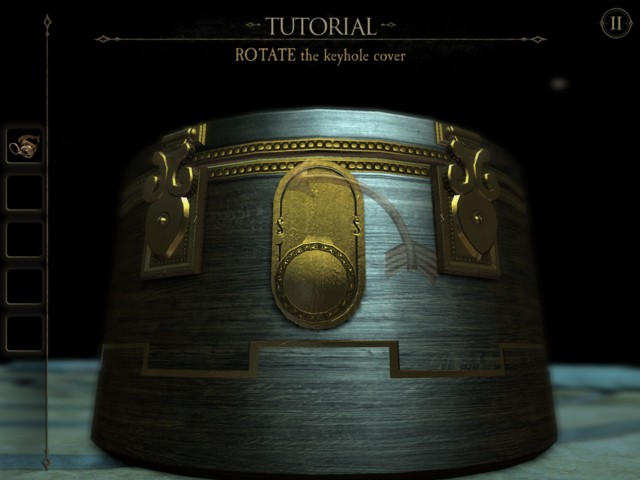
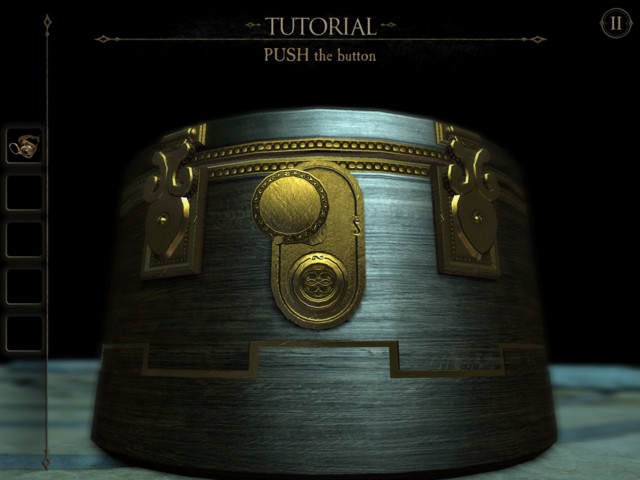
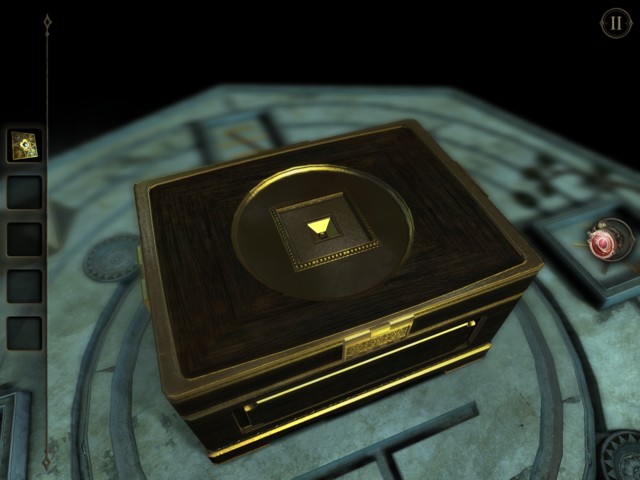
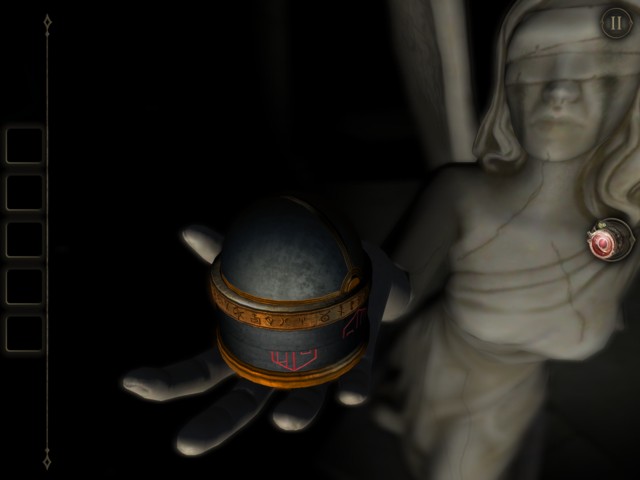
Rotate the lock as shown in the screen to unlock the cylinder box. And then push the button so you can release the lock mechanism.
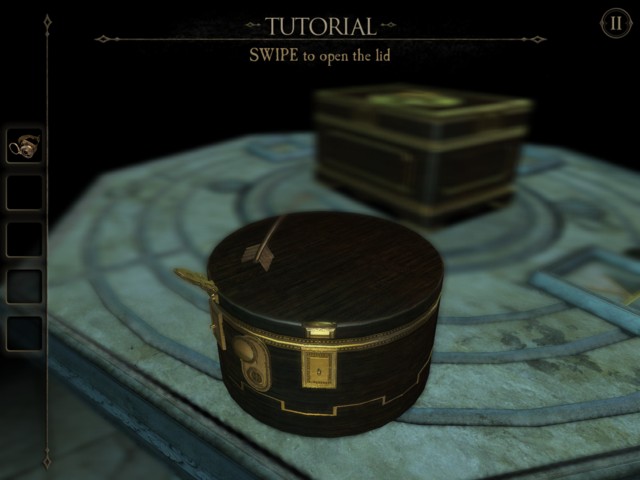
Open up the Cylinder Box to find a puzzle.
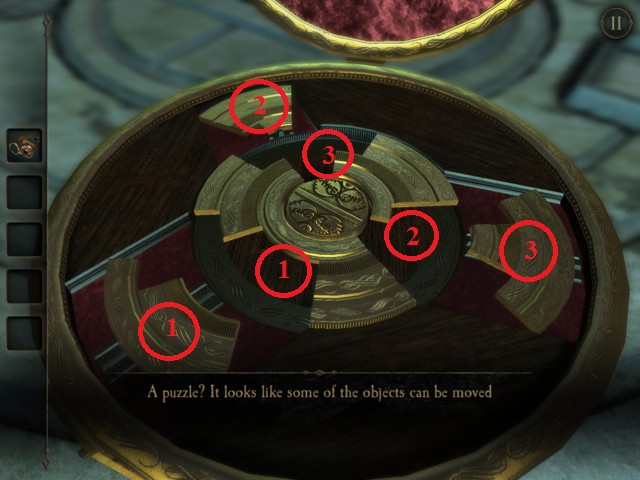
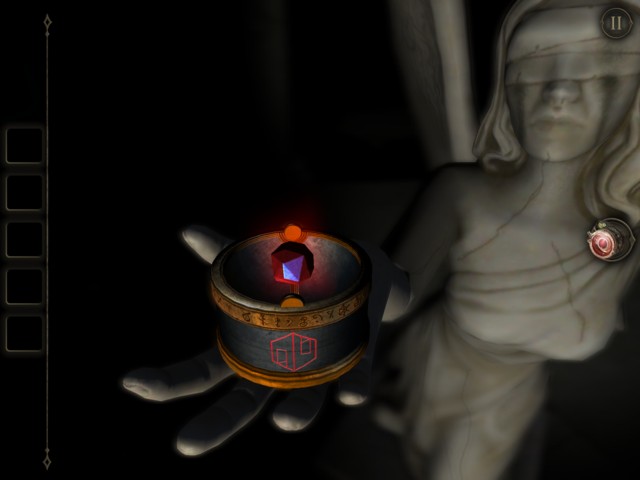
For this puzzle, you will have to rotate the center circle, so that each of the pieces can be moved into the gaps. The location of the pieces are shown.
After solving the puzzle, the side drawer is unlocked. Grab the extra eye piece lense inside.


With the extra eye lense, you will be able to fix your eye piece automatically.
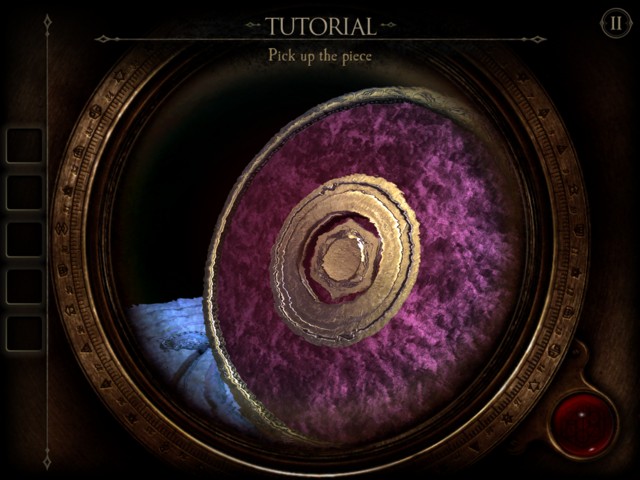
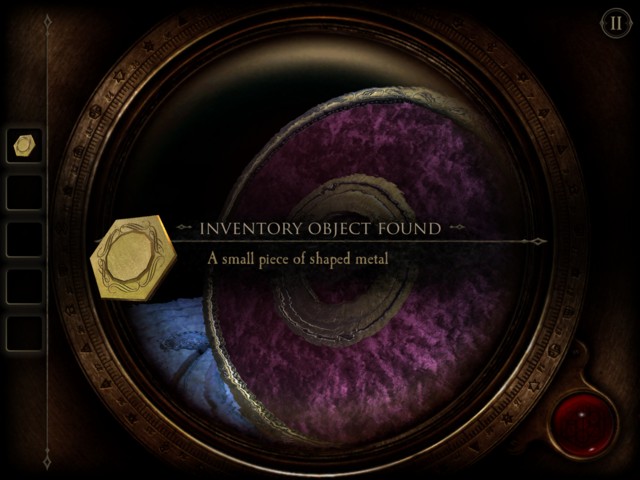
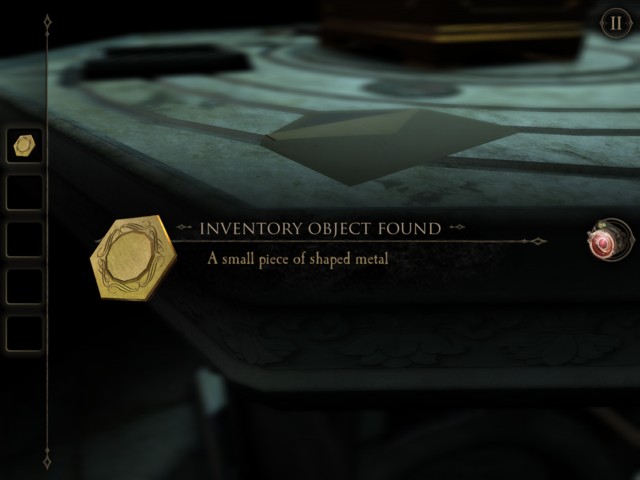
Switch the view to eye piece and use your finger to unlock the mini safe. Obtain the first metal piece from the mini safe.


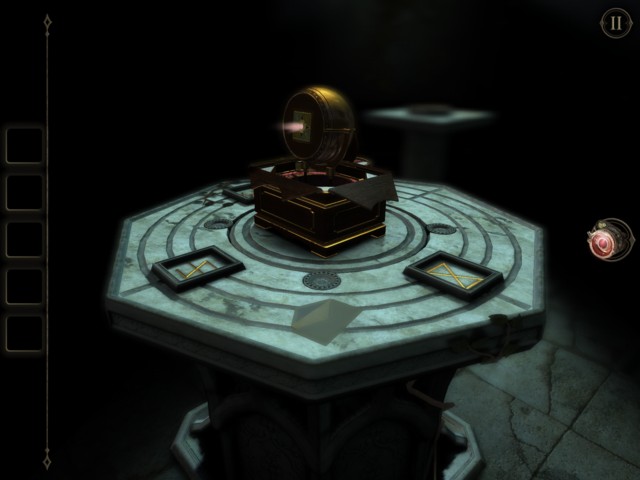
Now you can get a good view of the square table by jumping to it.

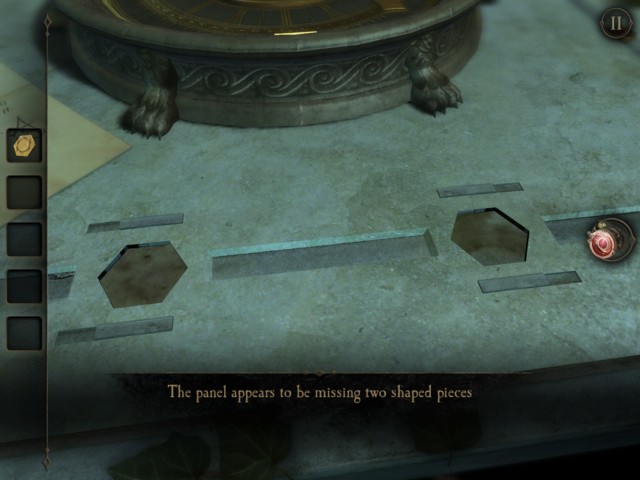
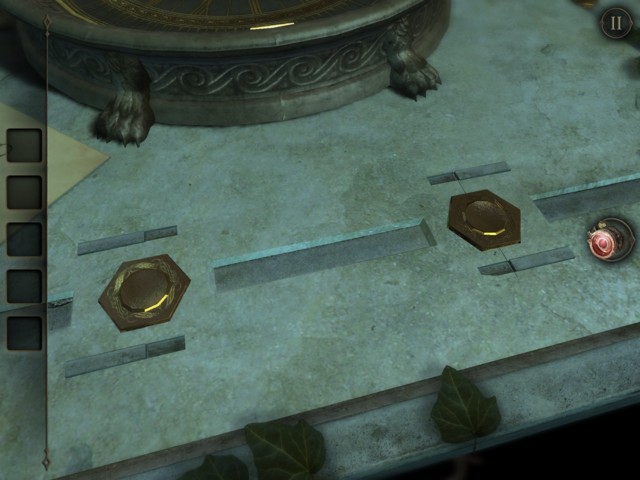
Place the first metal piece into the hexagon slot by dragging the item to it. You will now see a clue asking you to find the second metal piece.
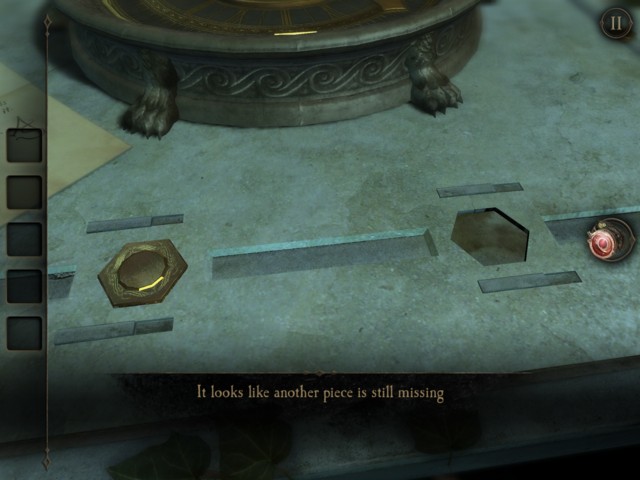
The second metal piece is located on the side of the hexagon table next to the letter.


With the second metal piece in hand, jump to the square table and place the second piece into the slot.
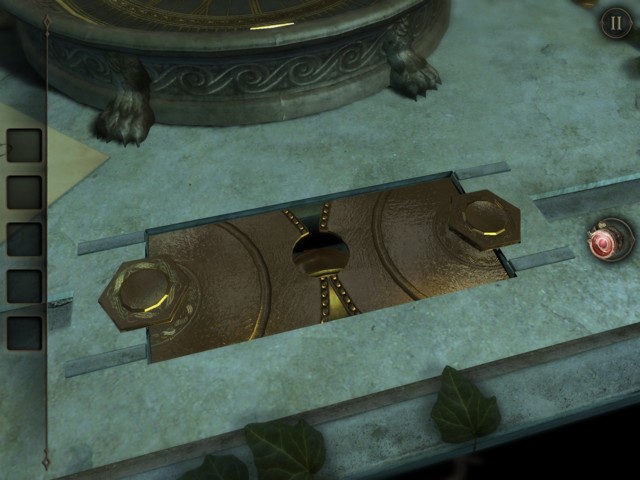
Turn the sides to obtain a golden sphere ball.
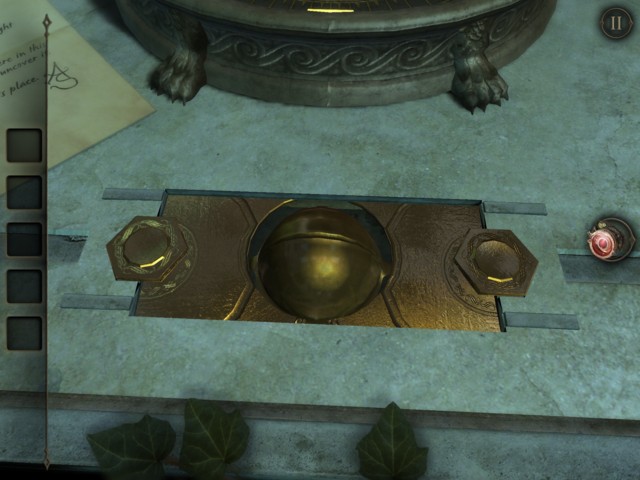

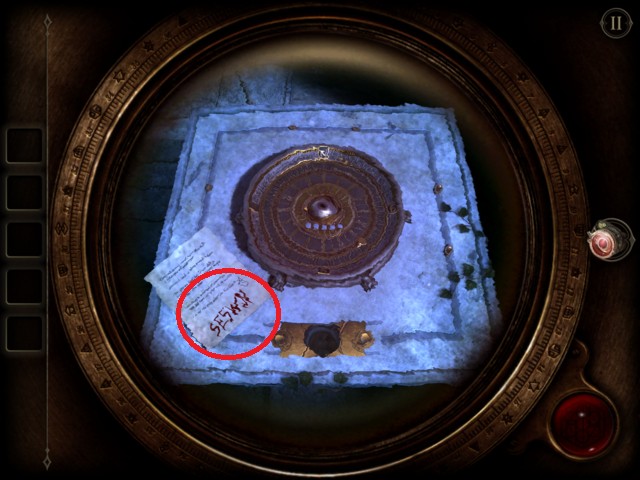
By placing the golden ball into the center box of the square table, you will start a new puzzle. This time you need a secret code. Check the letter on the table and switch to eyepiece view. The code is SESWN


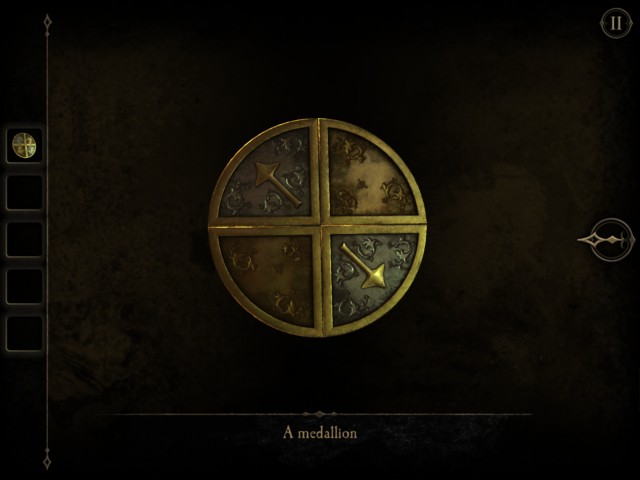
After completing the golden sphere puzzle, you will obtain a golden shield. Manipulate the golden shield so that it forms a square.

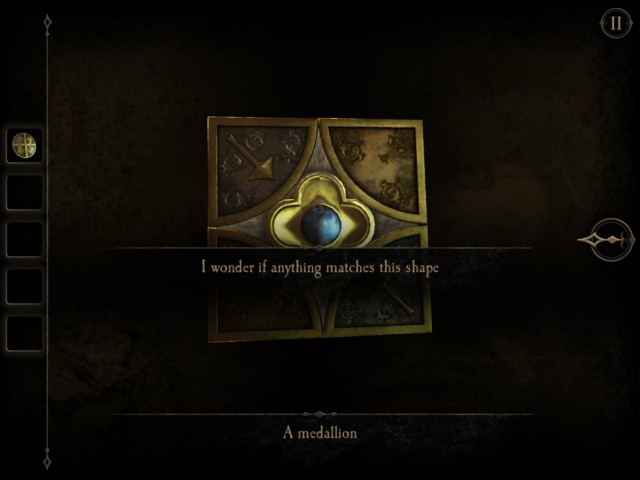
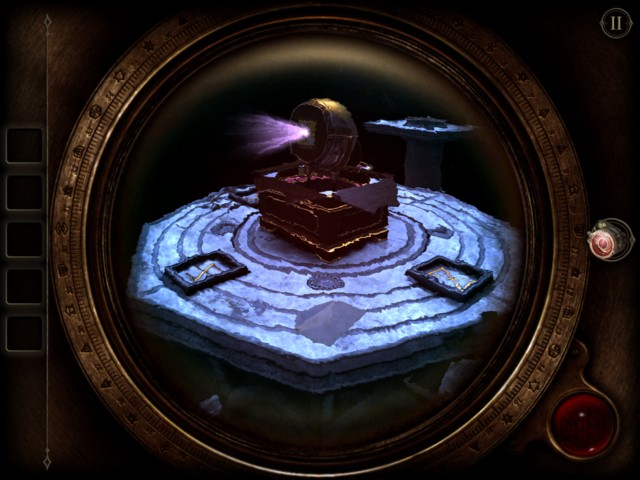
Head to the Hexagon Table and place the golden shield into the center square box.
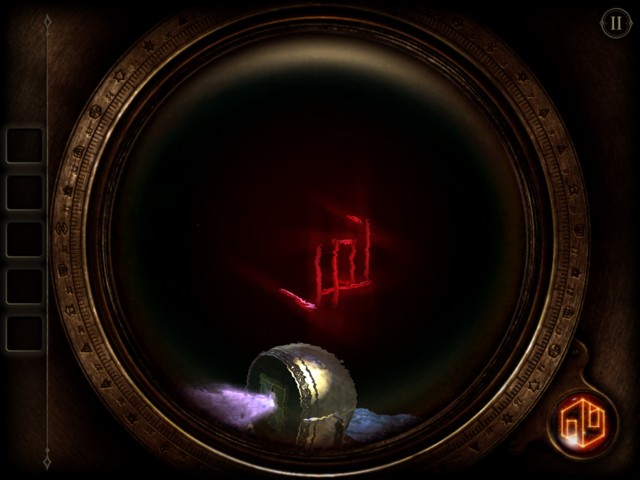
Switch to the eyepiece view while observing the projector. You will then move the screen around to find 3 hidden red symbols in the dark.
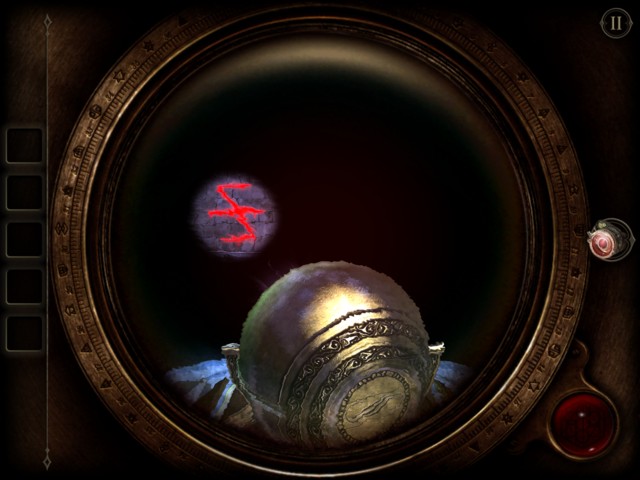


Crack open the treasure egg box to find a blood jewel.
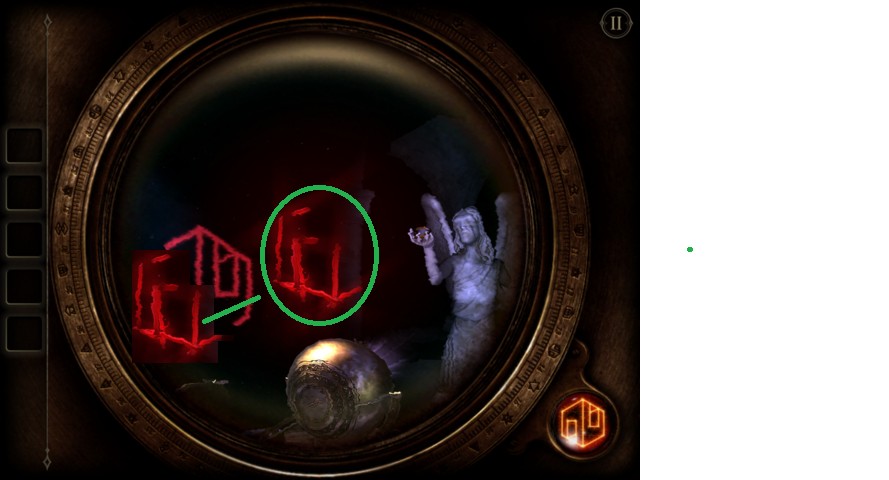
You now have some weird red lines in space, rotate your view around so that the lines match up with the red symbols next to the Goddess.
Congratulations you have now escaped from the room and cracked open all the puzzles in Chapter 1 of The Room 2.