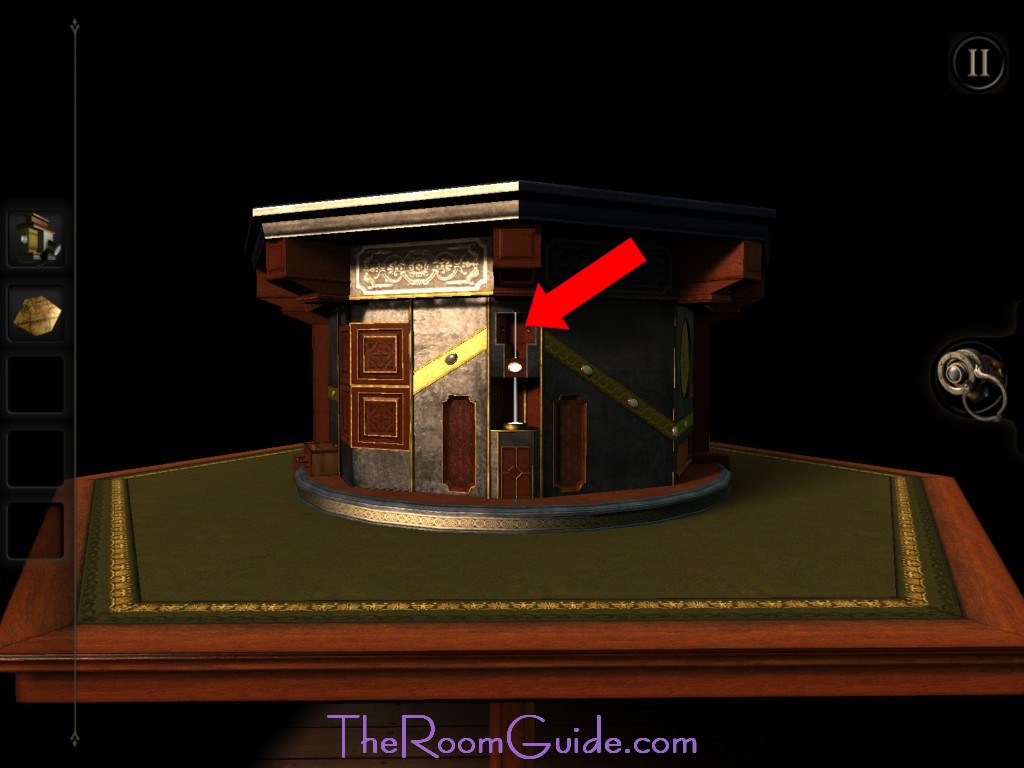
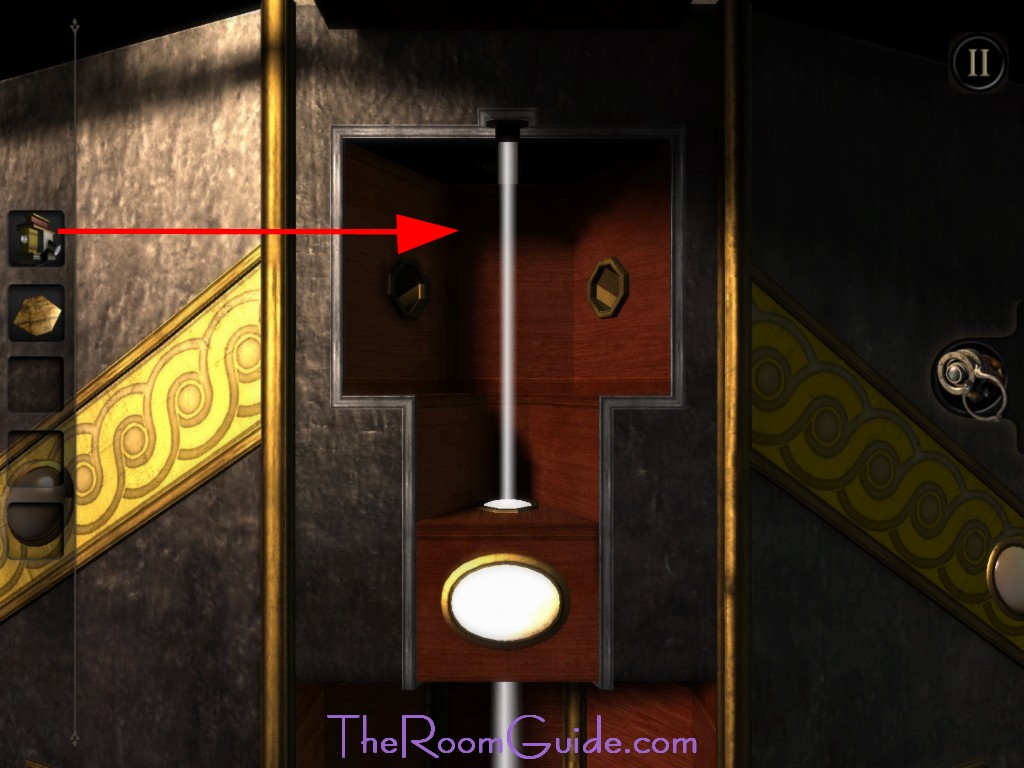
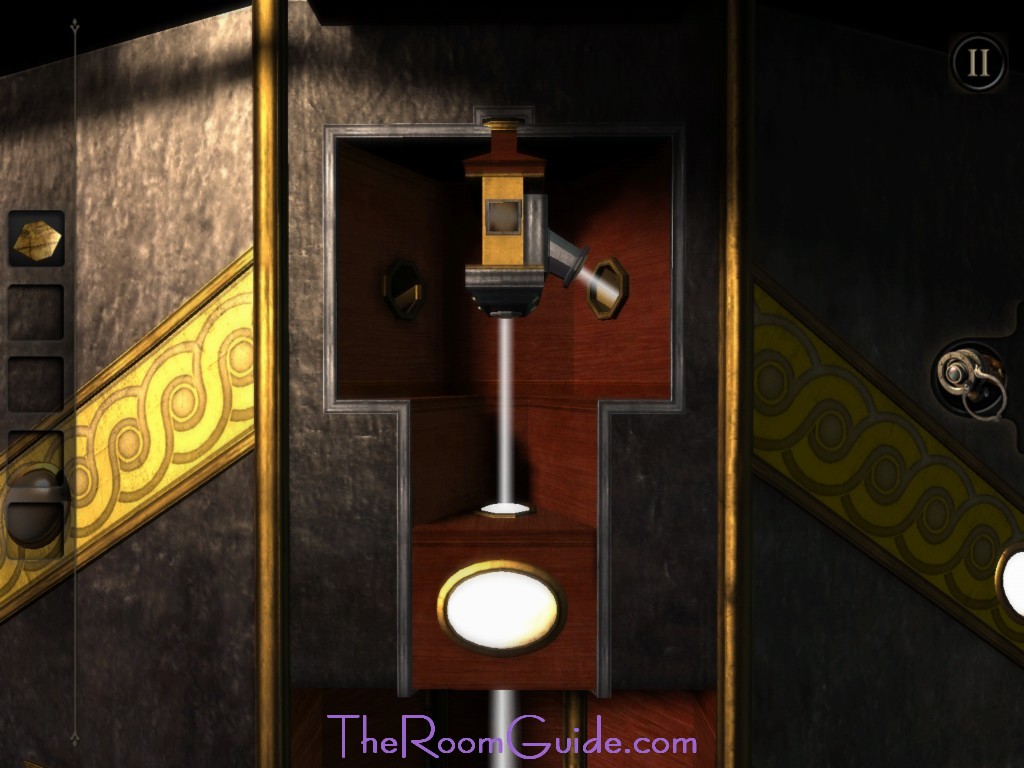
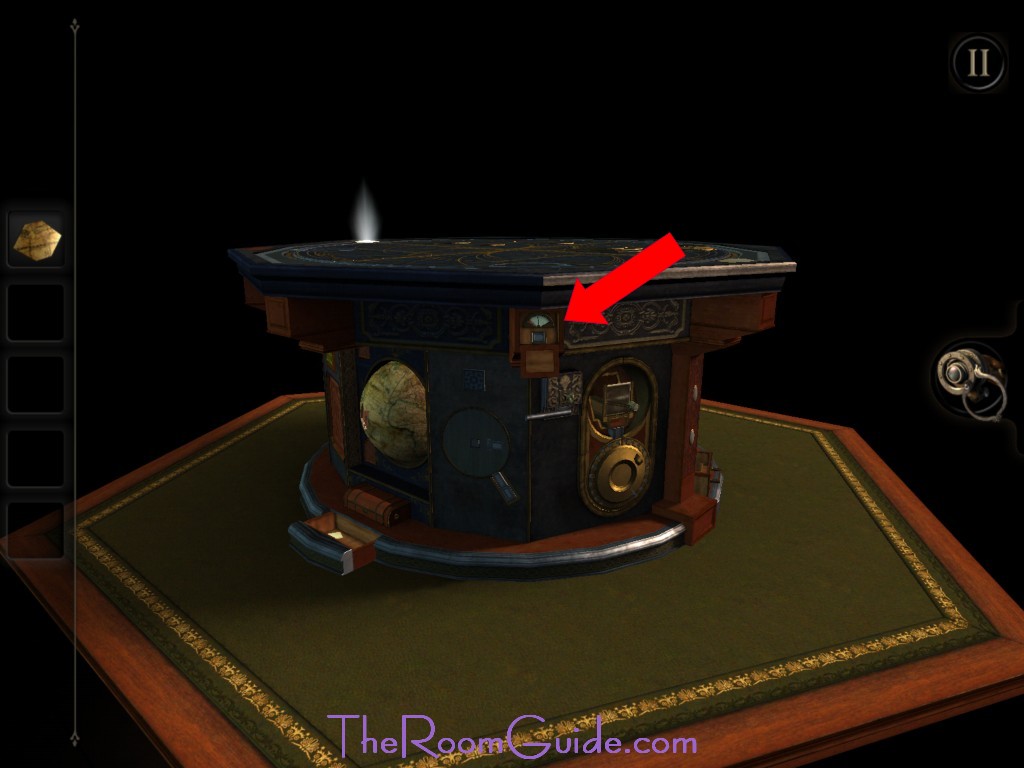
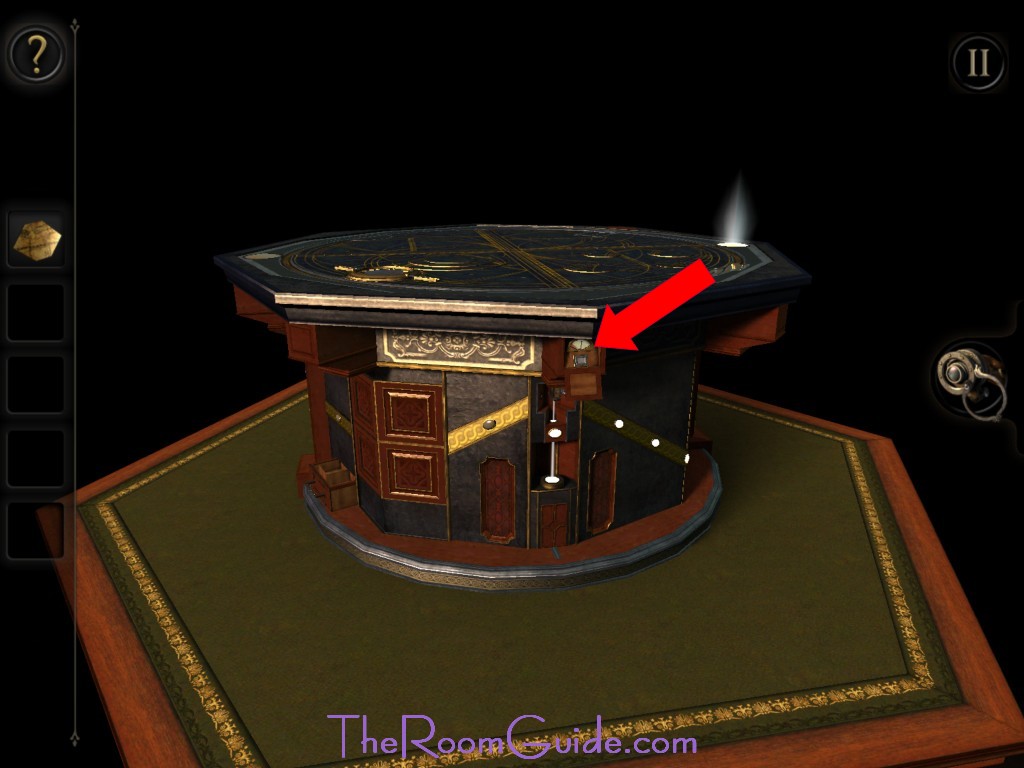
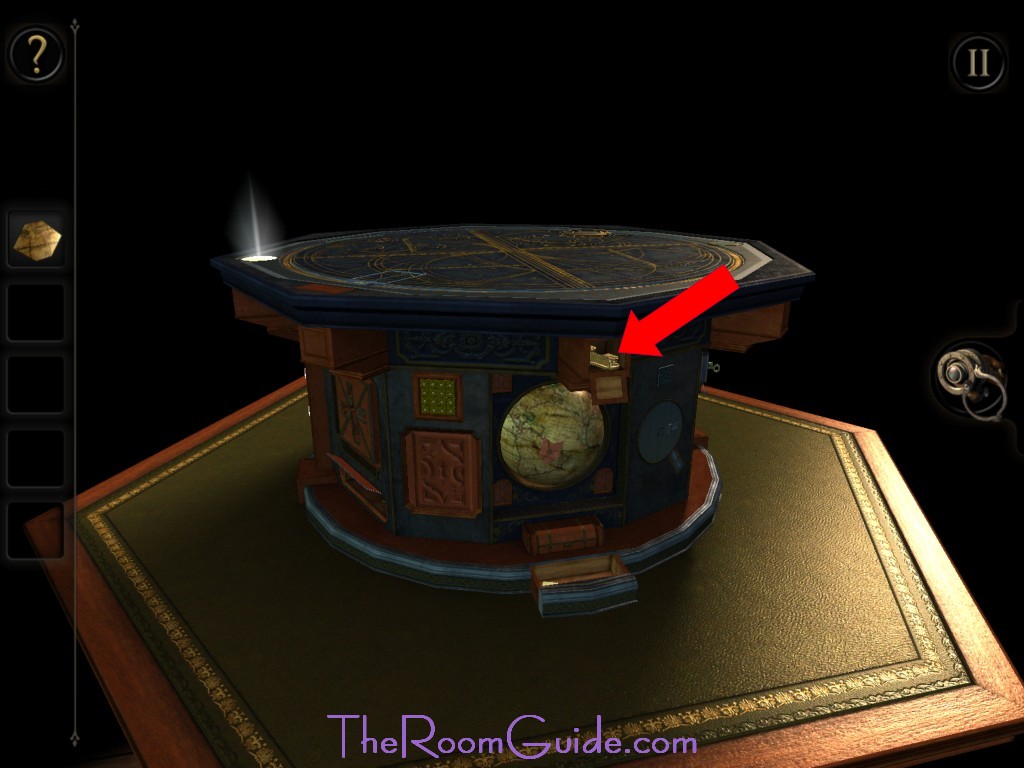
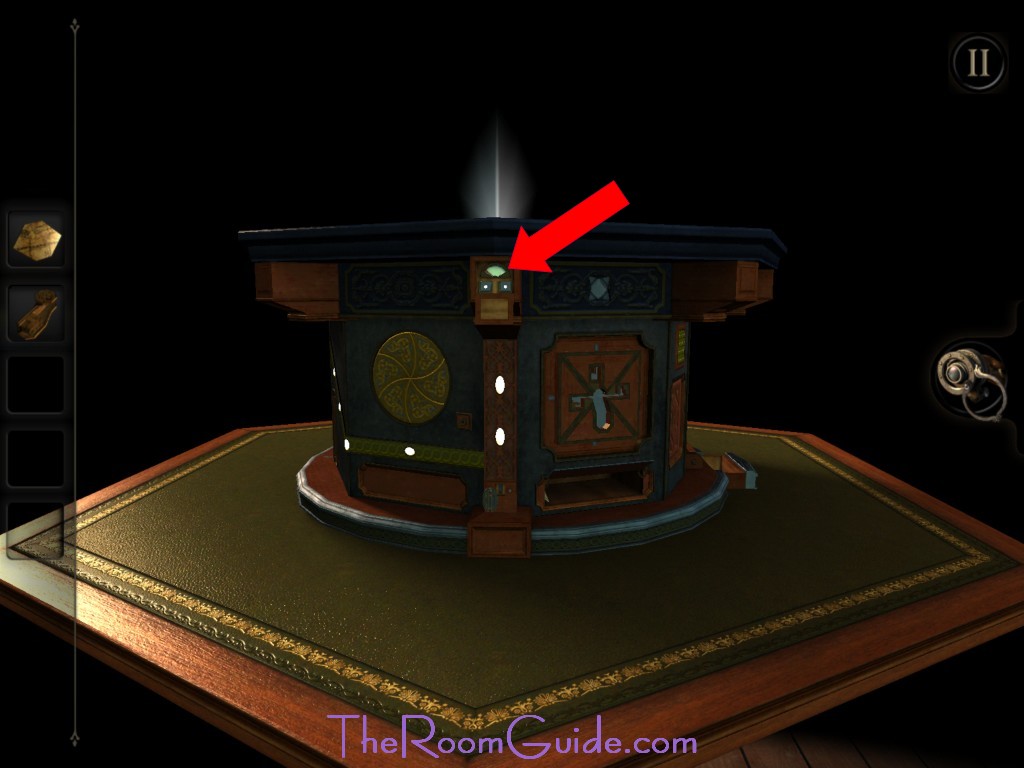
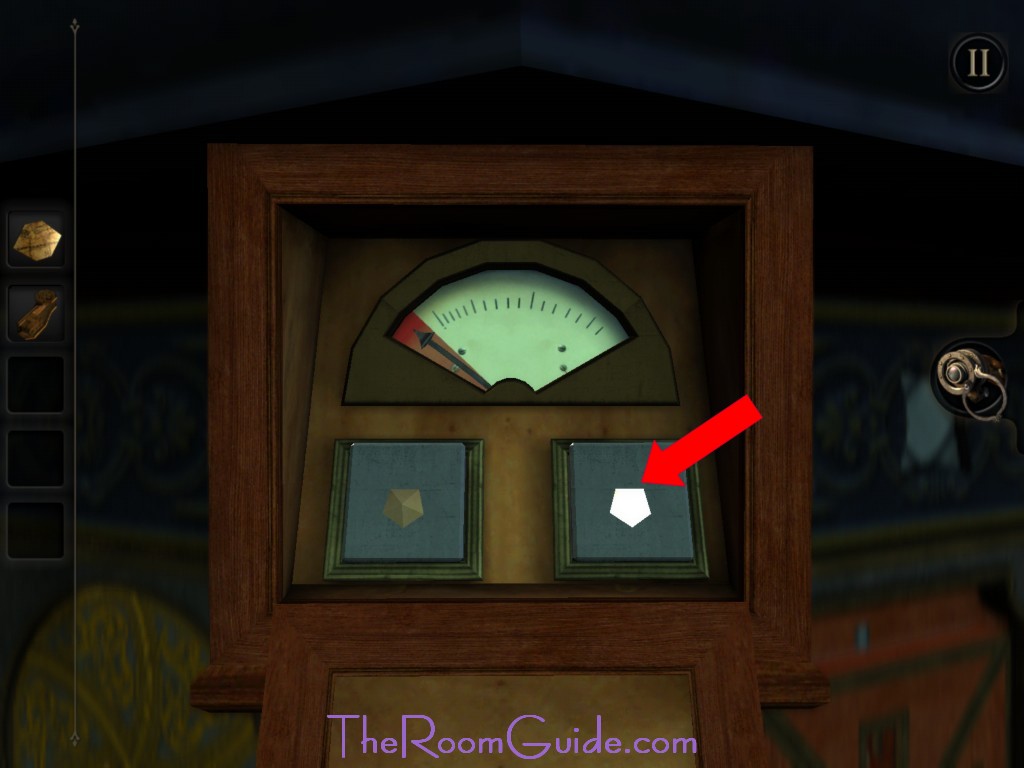
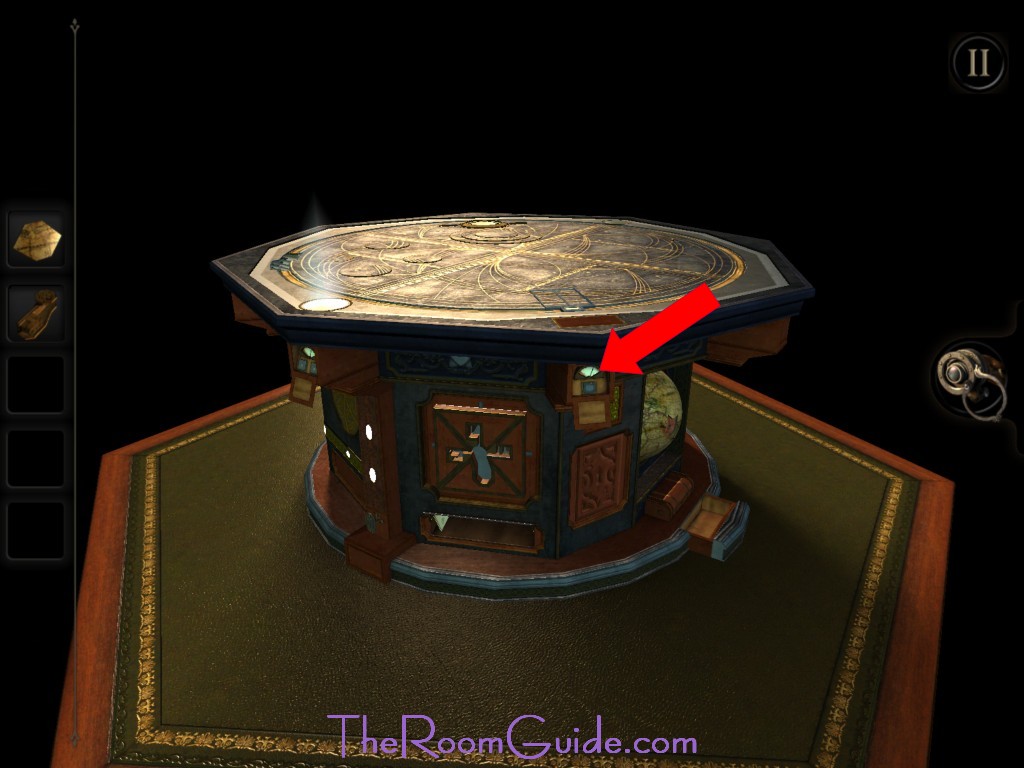
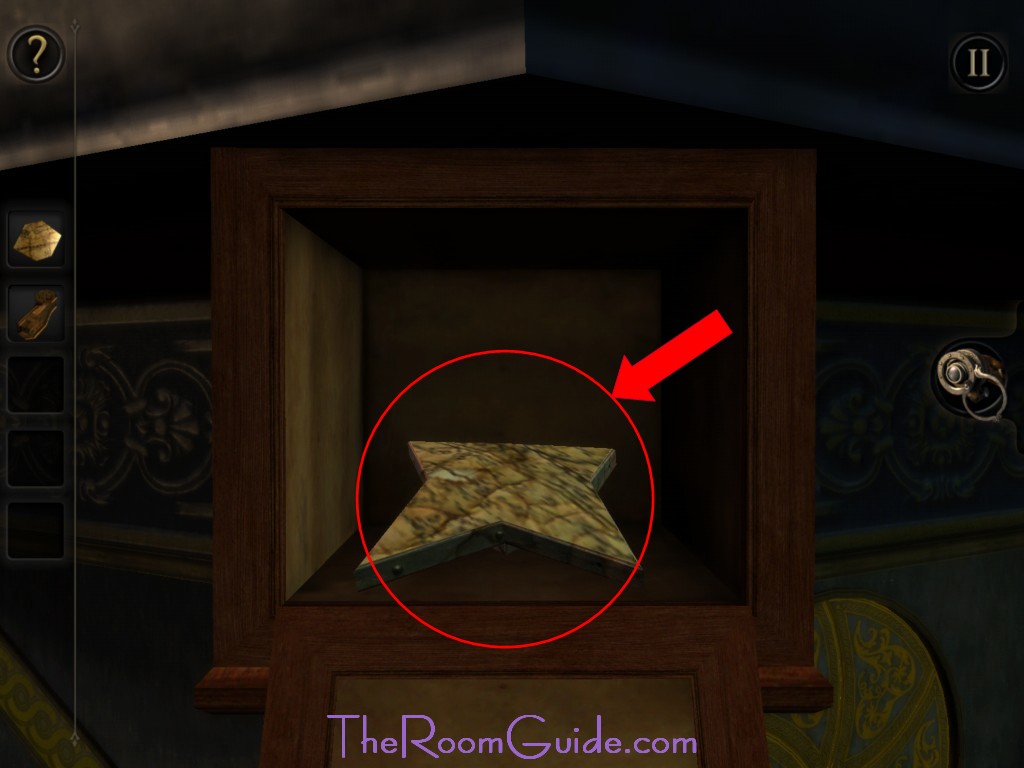
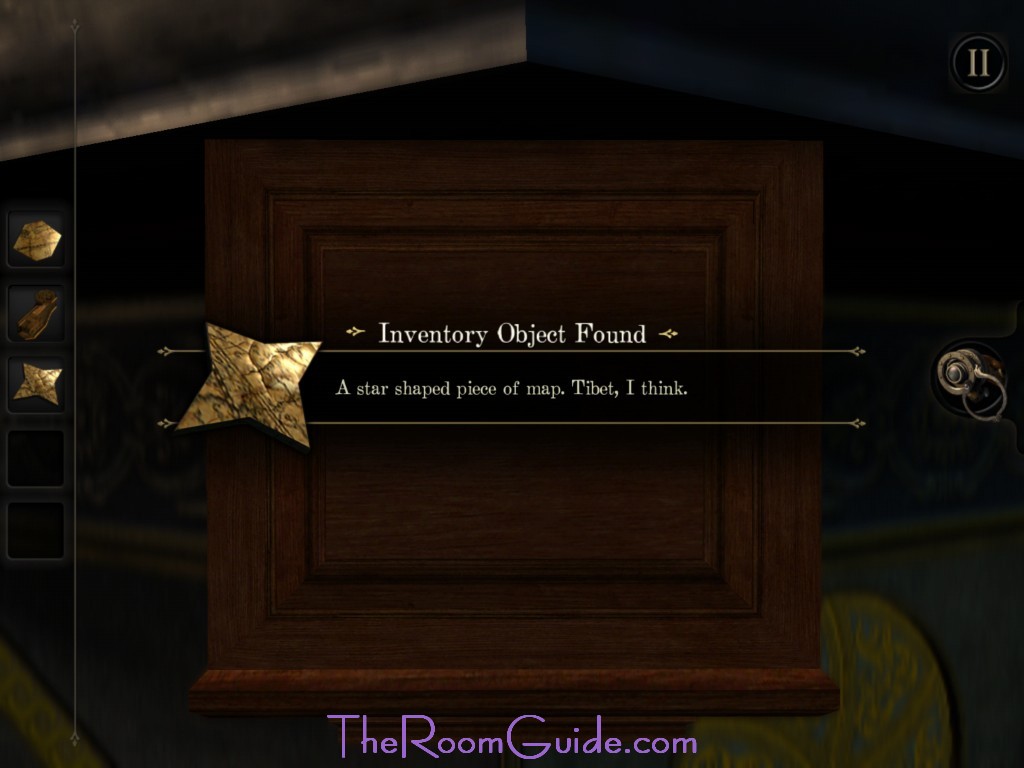
6. Timer: Go back to the light path. Insert Some Sort of Device for Reflecting Light. The light path will diverge and illuminate along the edge of the box. A cover will open revealing a timer. The timer will open compartment door for short period of time. Press the left button on the main timer. Go around the box. Press the button on second timer. Go around the box. Press the button on third timer. Go around the box. Find the open compartment. Get the Brass Key with Multiple Folding Parts. Go back to the main timer. Press the right button on the main timer. Go around the box. Press the button on second timer. Go around the box. Press the button on third timer. Go around the box. Find the open compartment. Get the Star Shaped Piece of Map (Tibet).

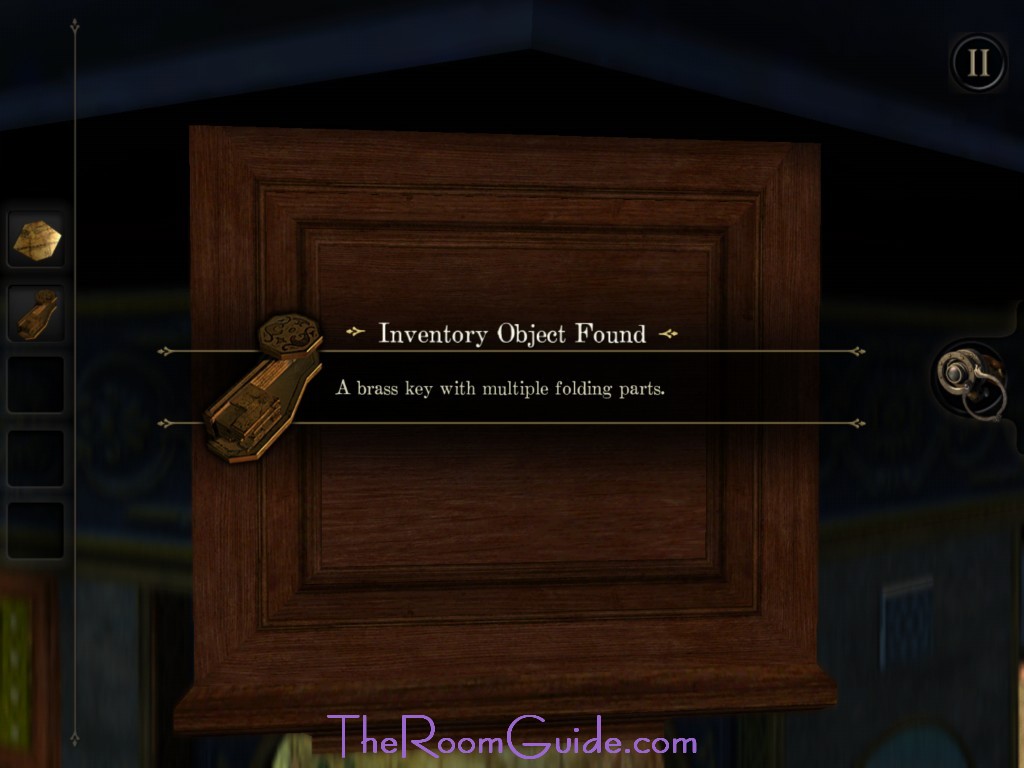


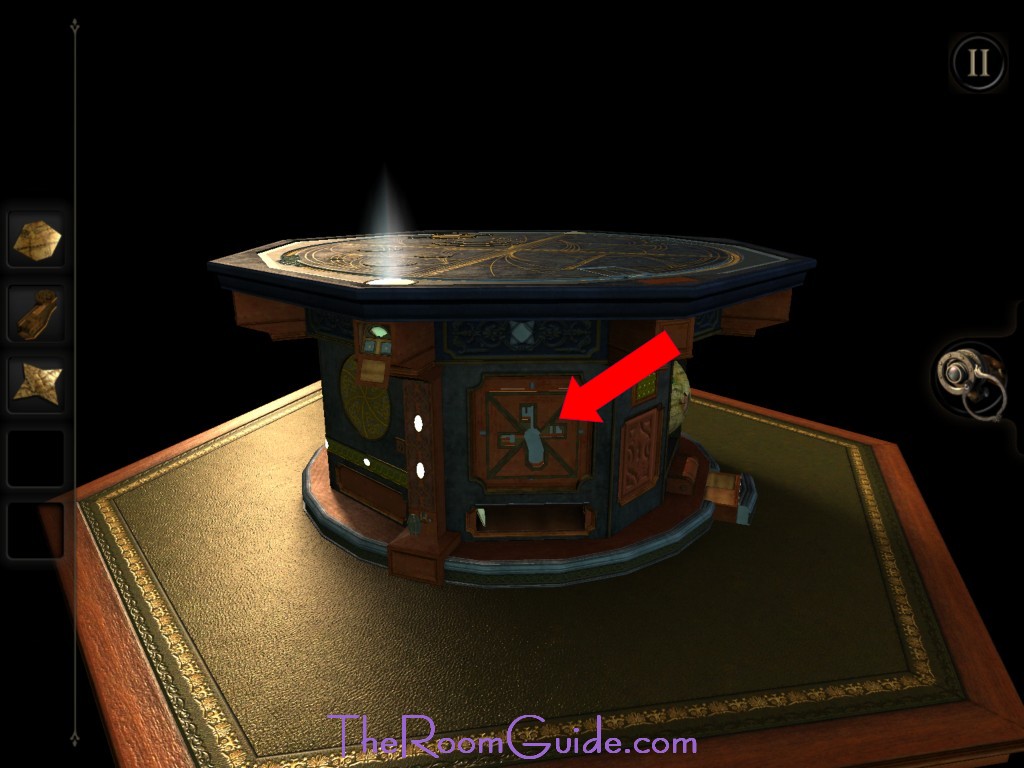
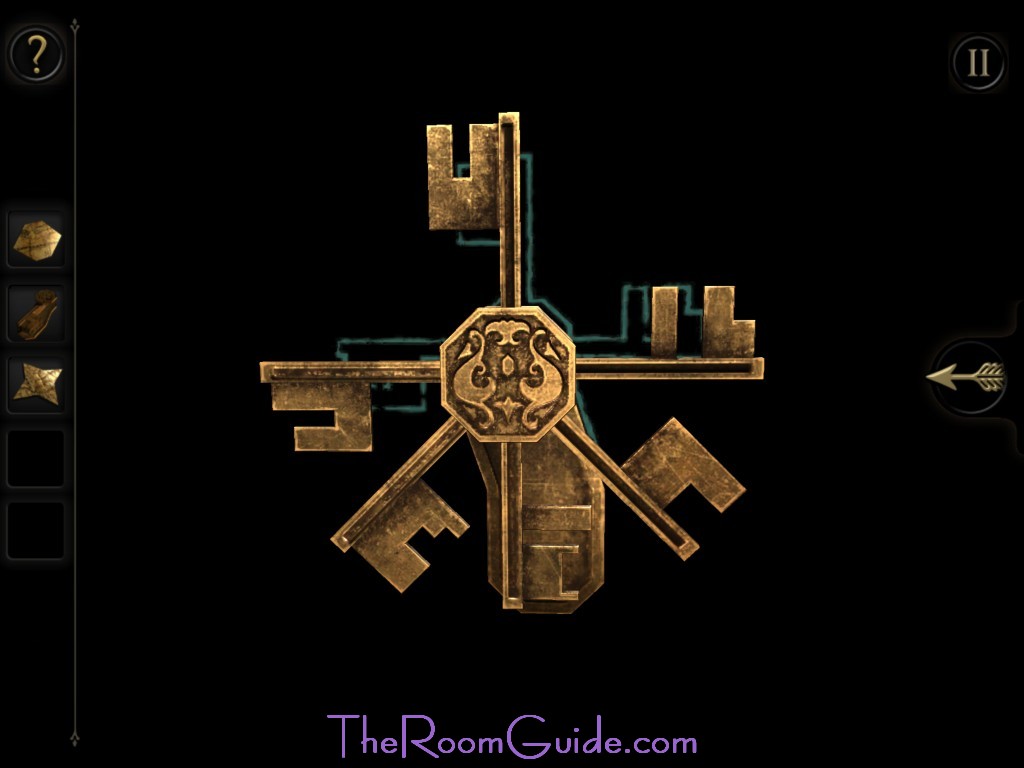
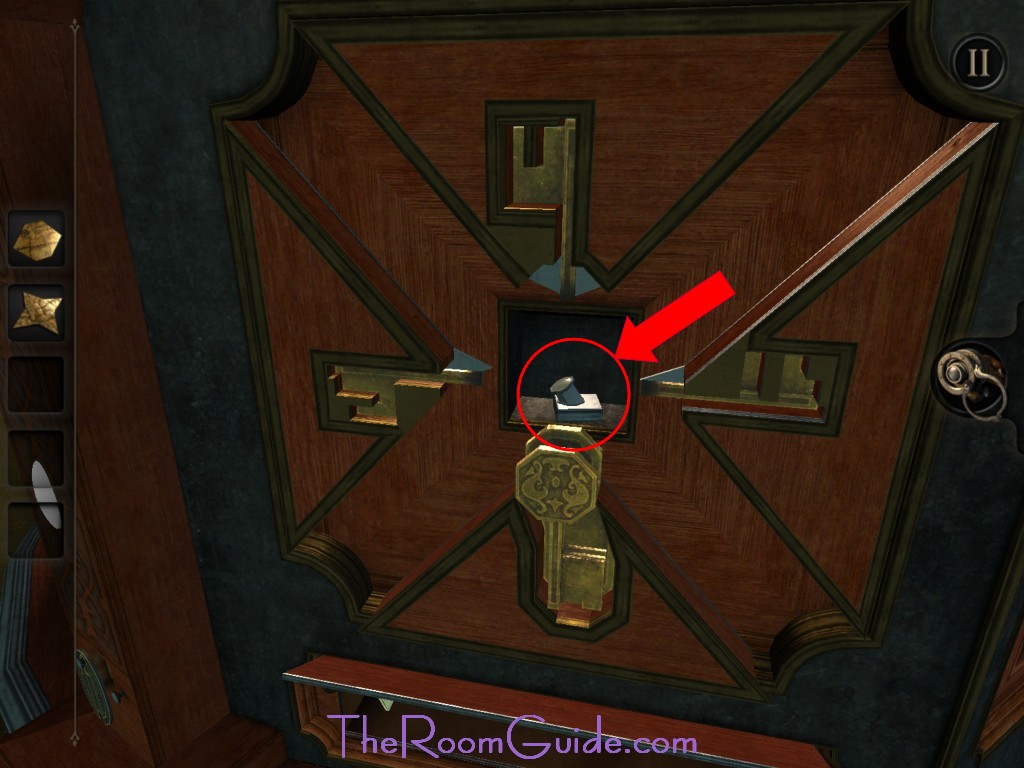
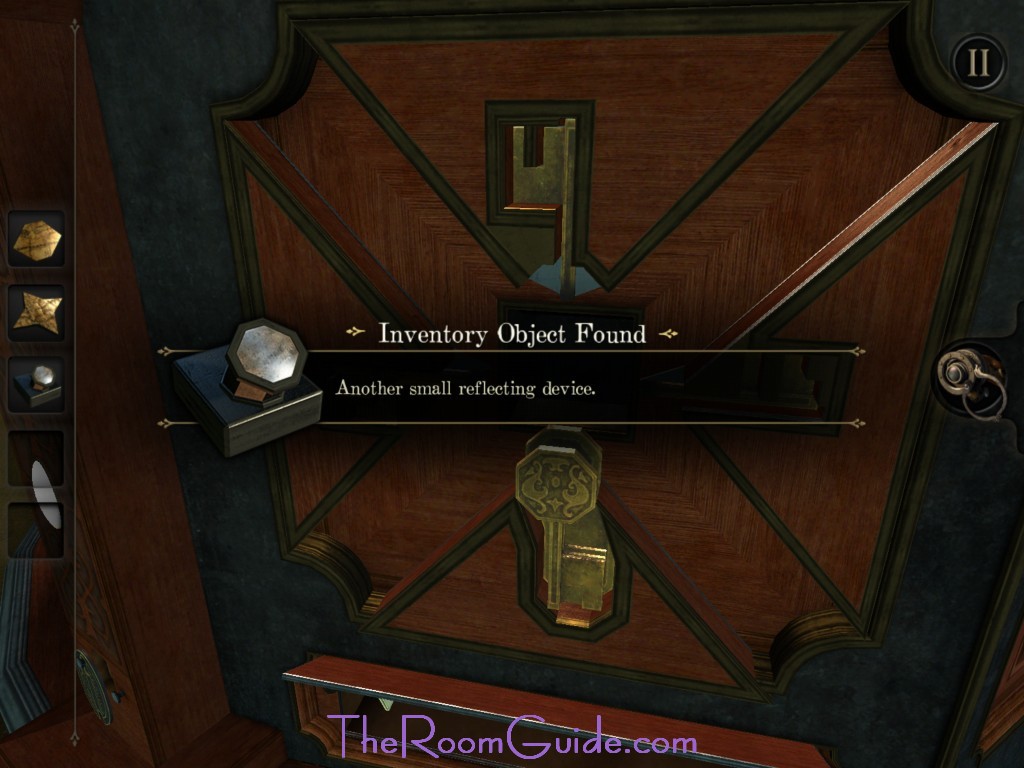
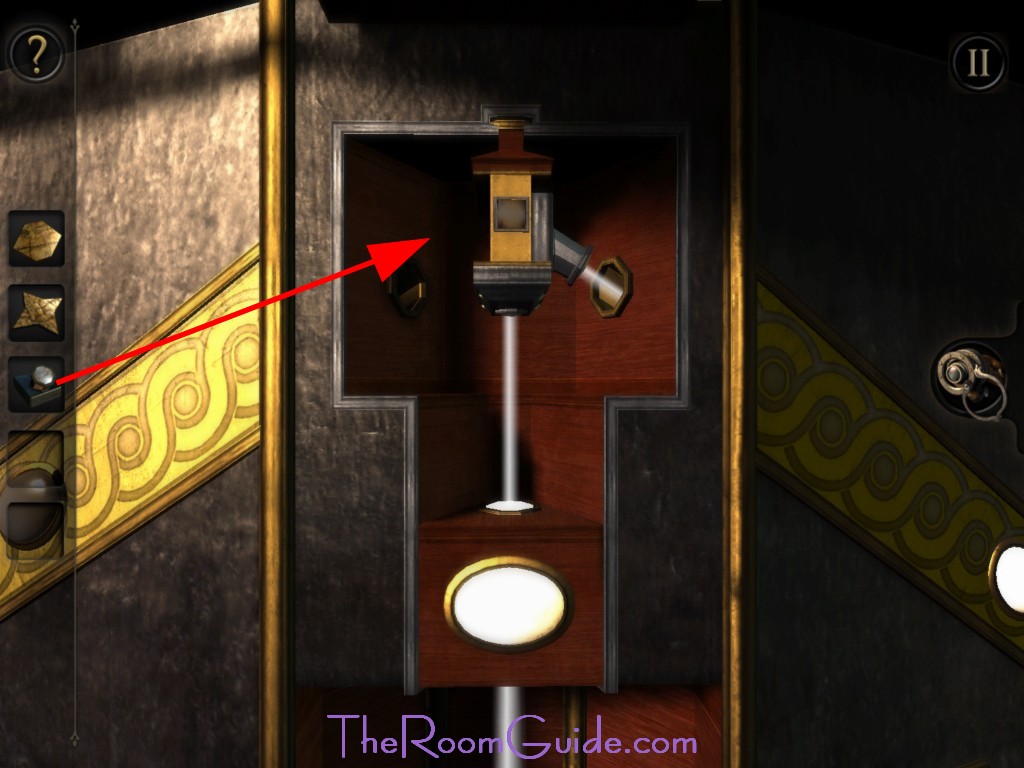
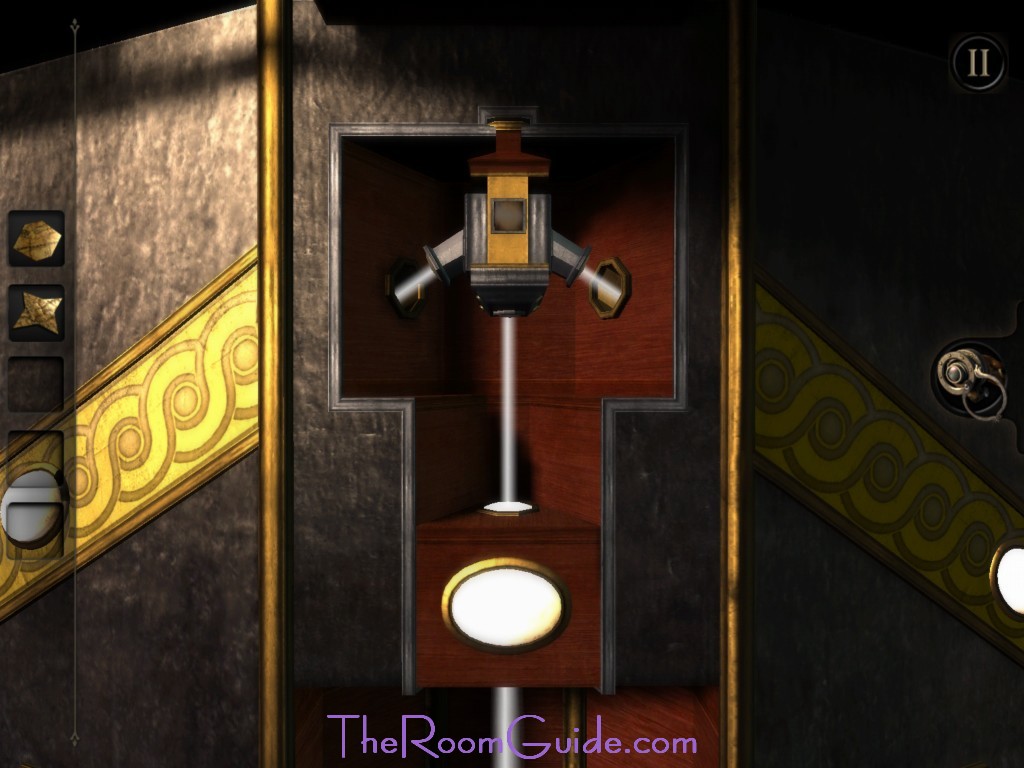
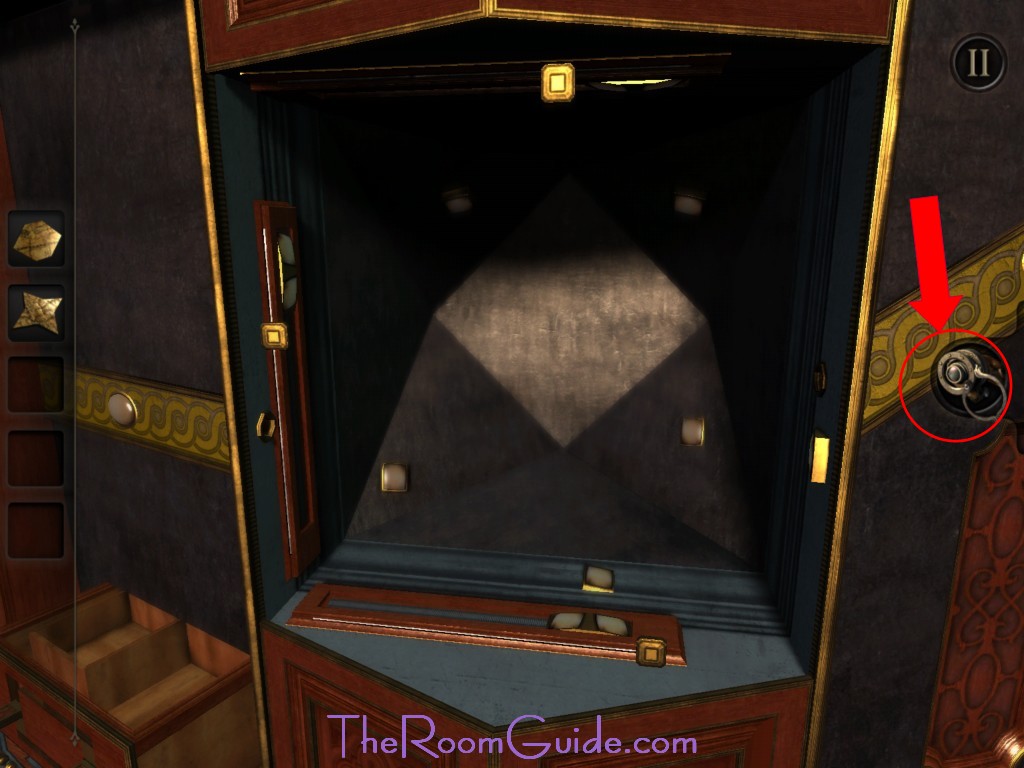
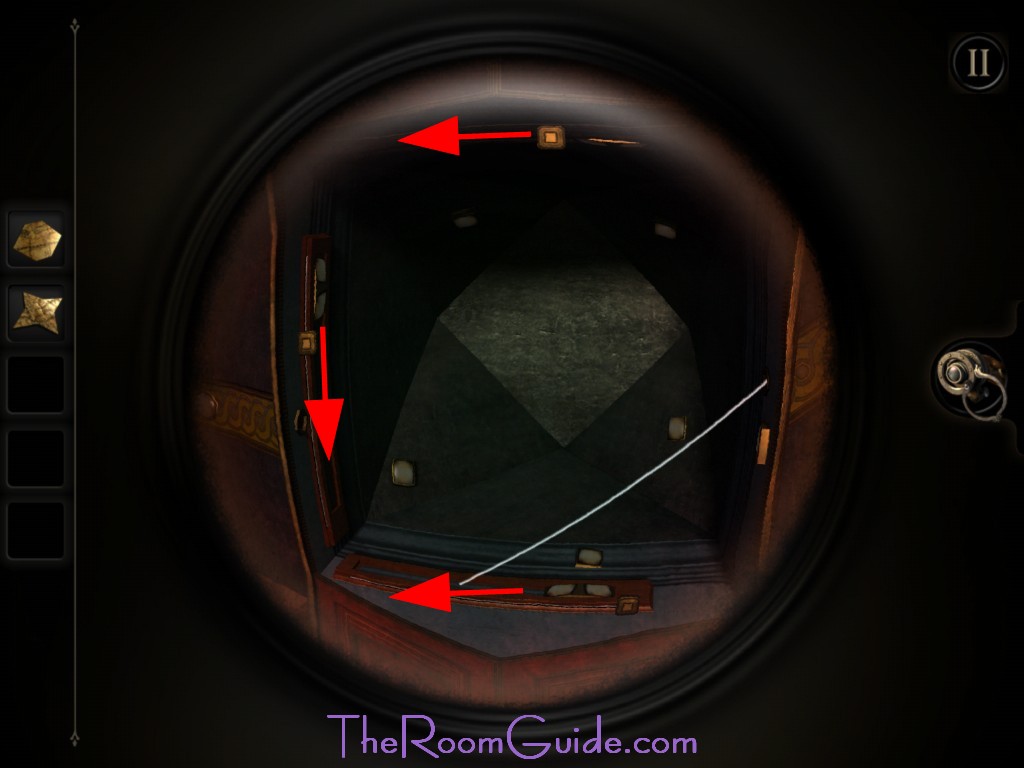
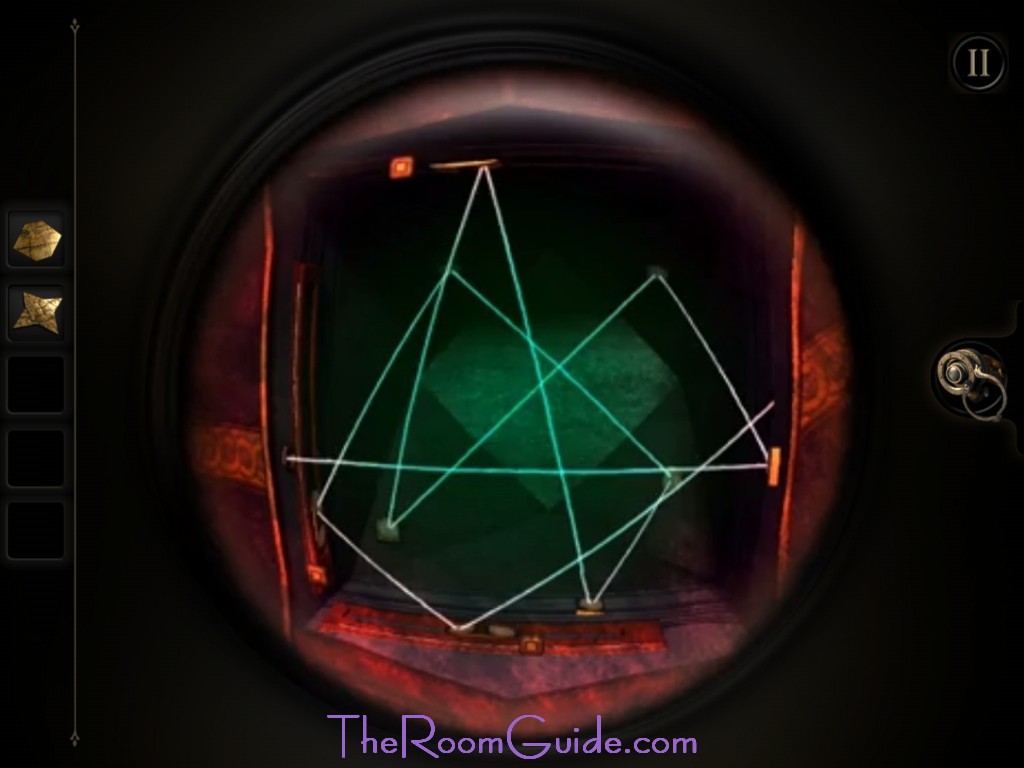
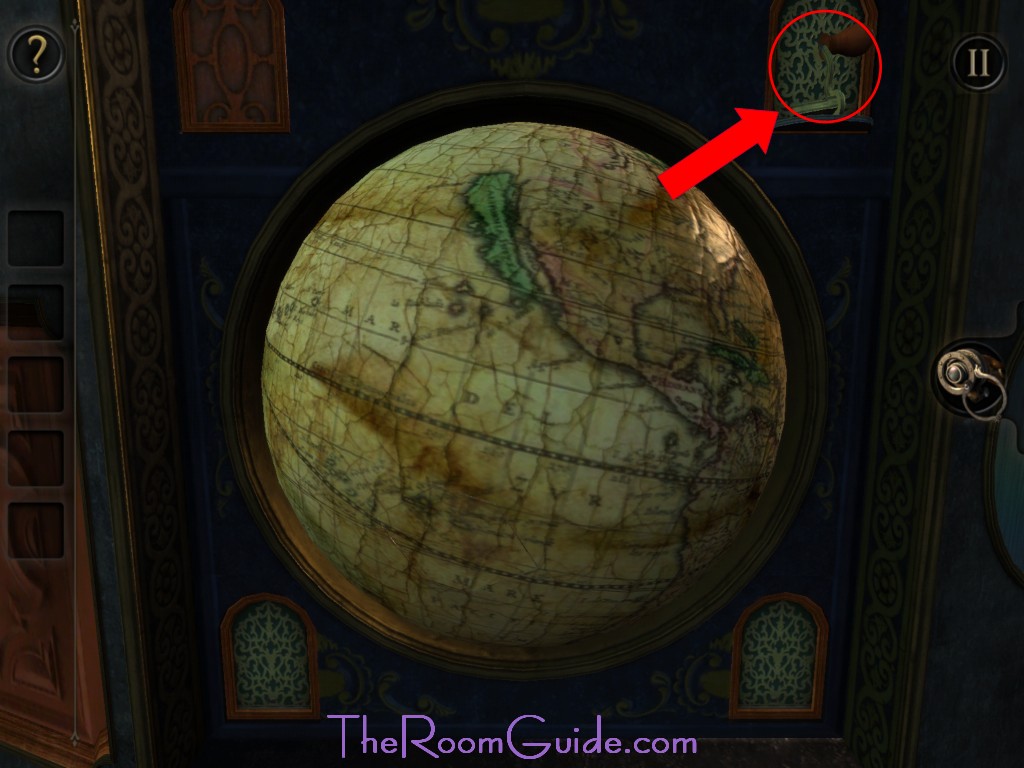
7. Second Device: Try to insert the Brass Key with Multiple Folding Parts. Examine the key. Rearrange the key to match the keyhole. Then insert the key again. Collect Another Small Reflecting Device. Go back to the light path. Insert Another Small Reflecting Device. Follow the light path. A door will open. Put on the eyepiece and look inside. Adjust the reflectors at each side until the light paths resemble the shape in background. A mechanism will trigger. Collect the Oddly Shaped Piece of Map (Part of South America). Go to the globe. Place the three map pieces you have in the inventory. Grab the handle.


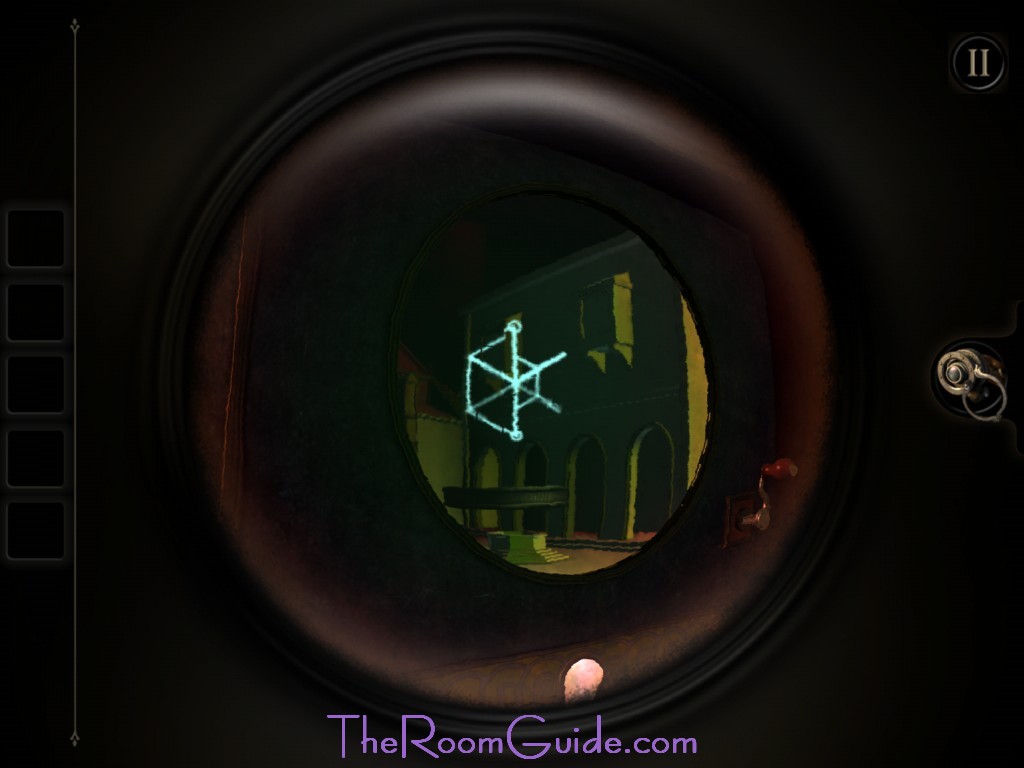
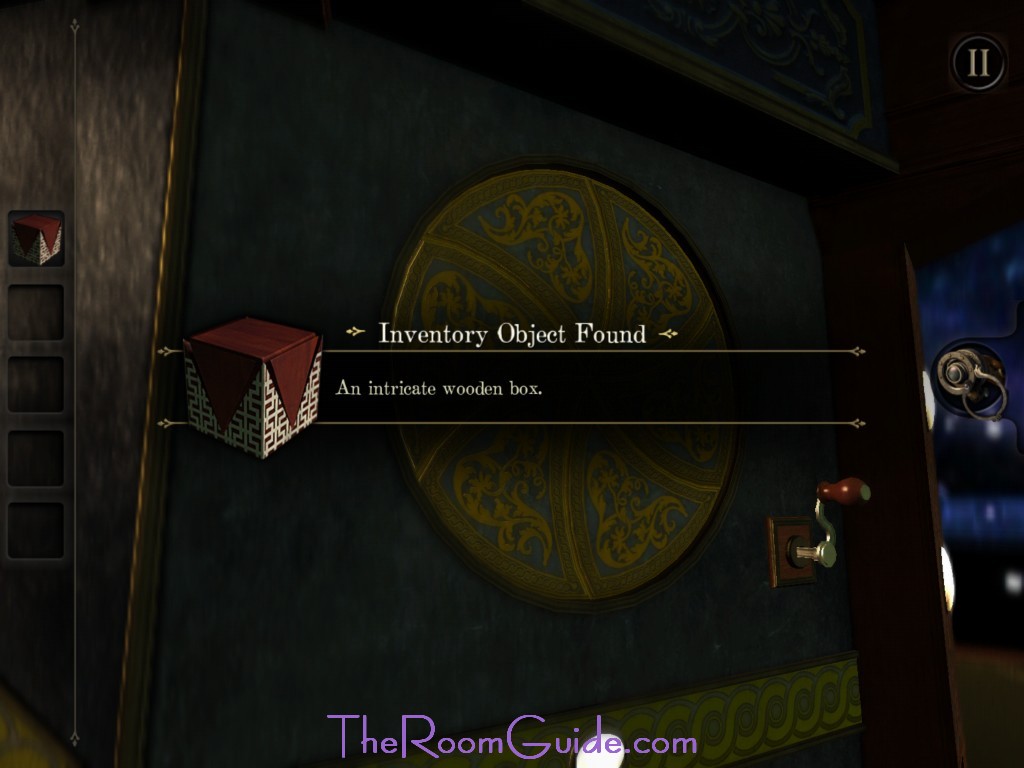
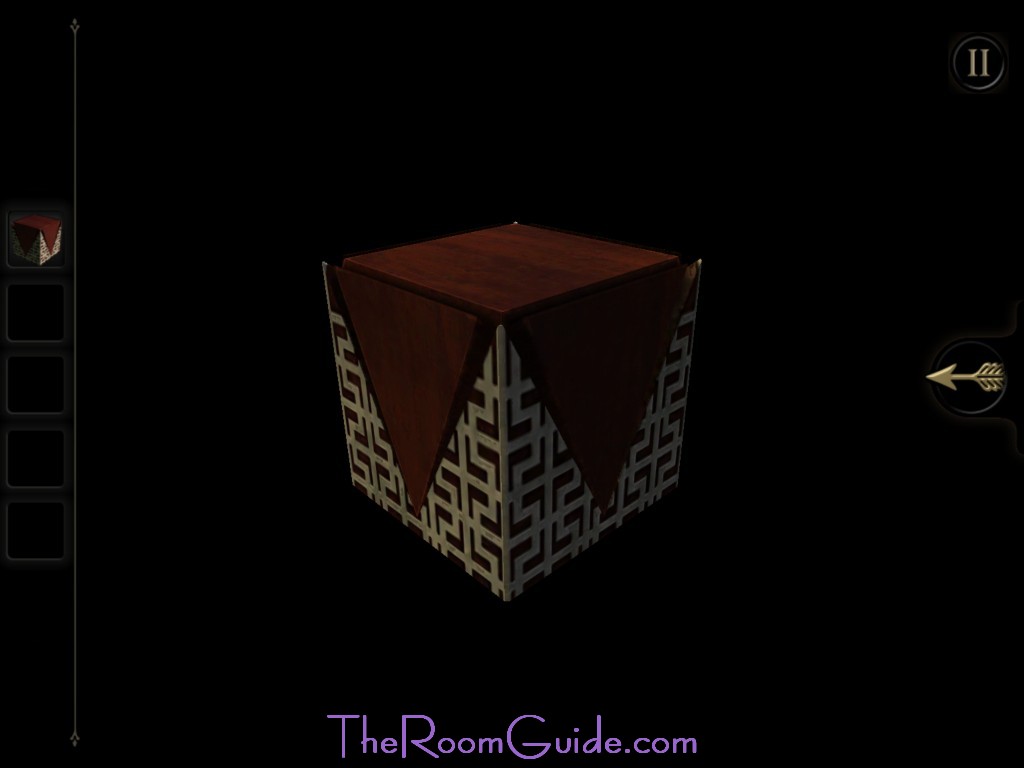
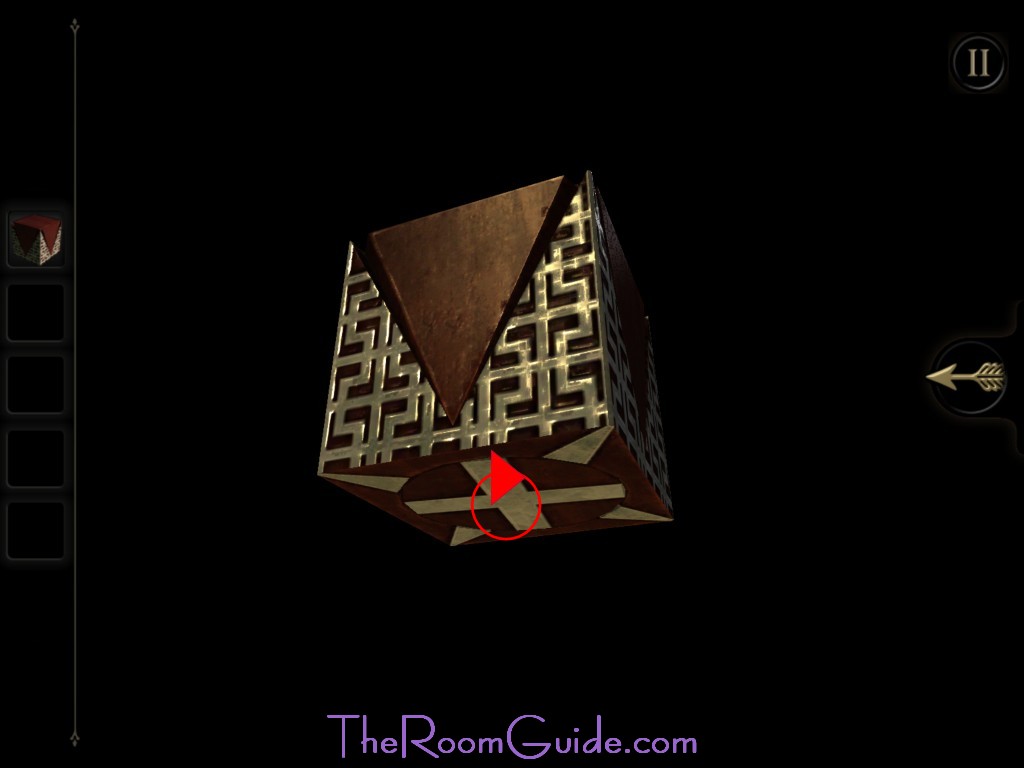
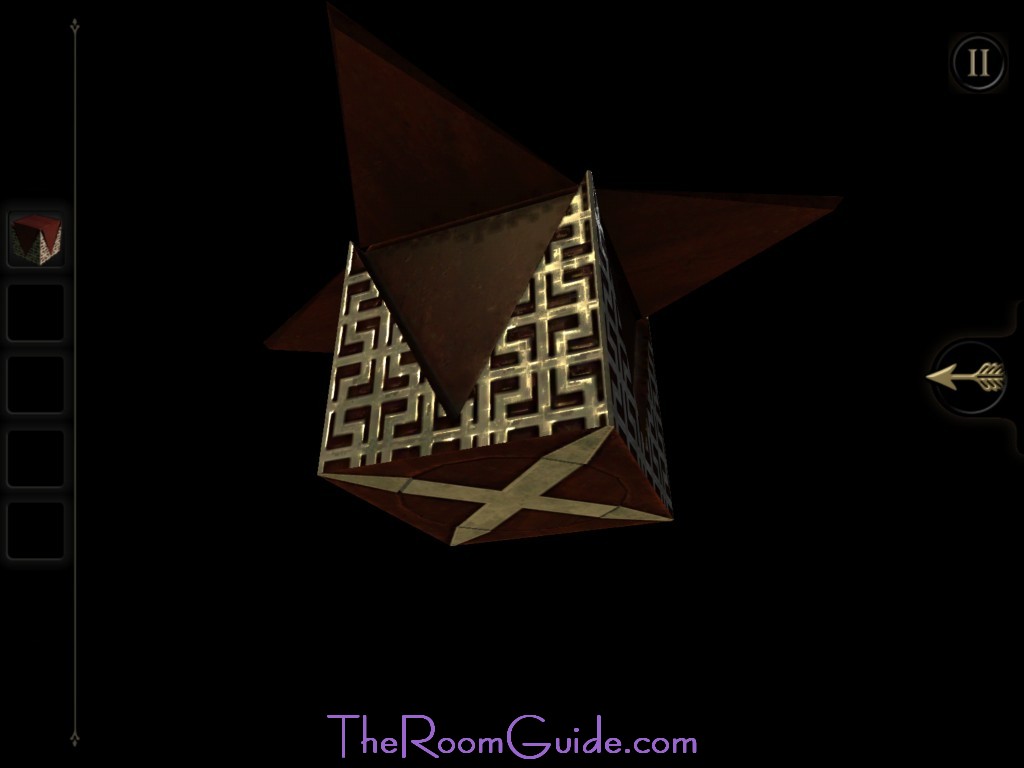
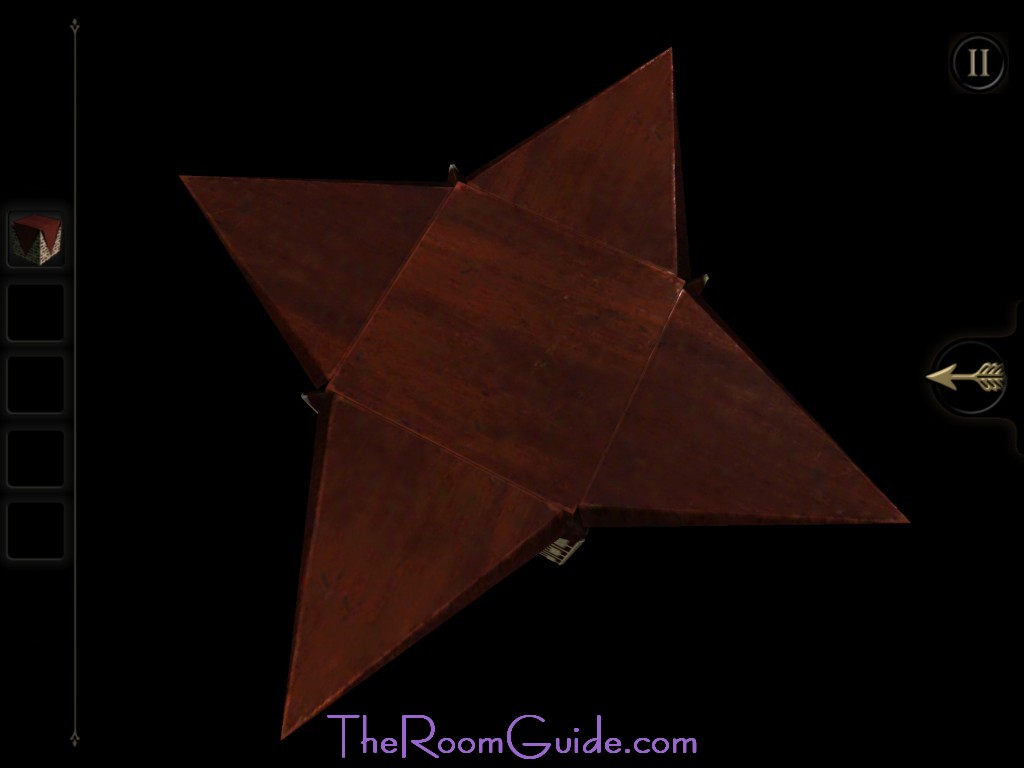
8. Null: Place and turn the handle. Put on the eyepiece. Adjust the shape using the dial beneath and rotate your view until the image emerges. Collect an Intricate Wooden Box. Examine the box. The bottom part can be rotated, and box will turn into a key.
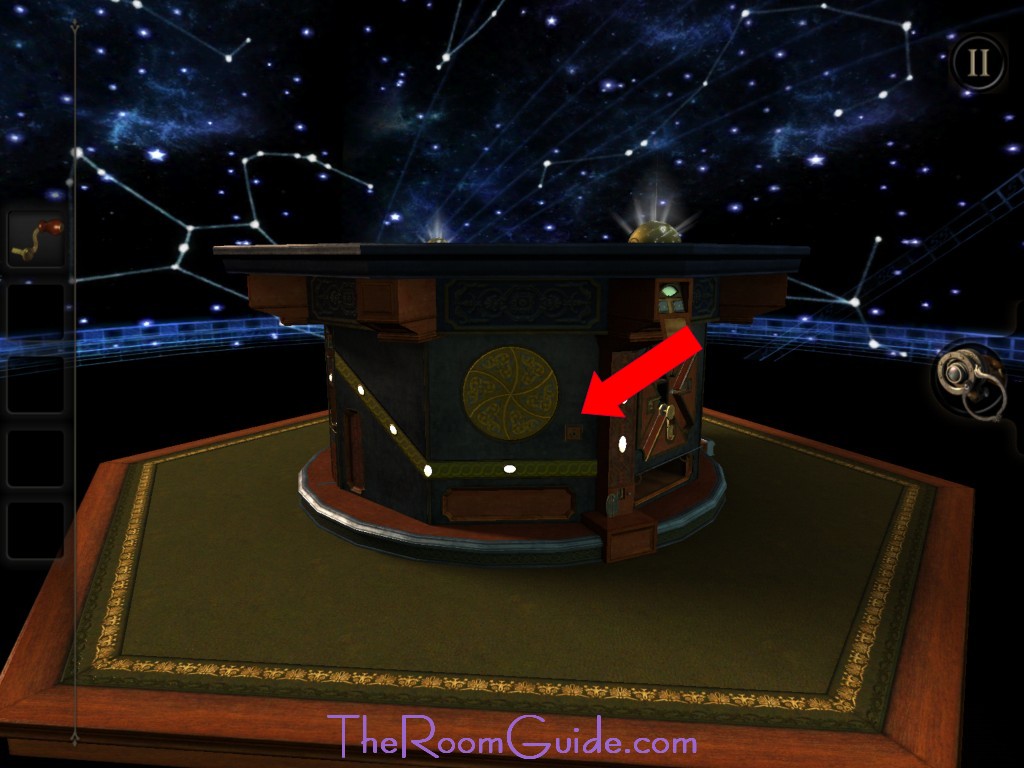
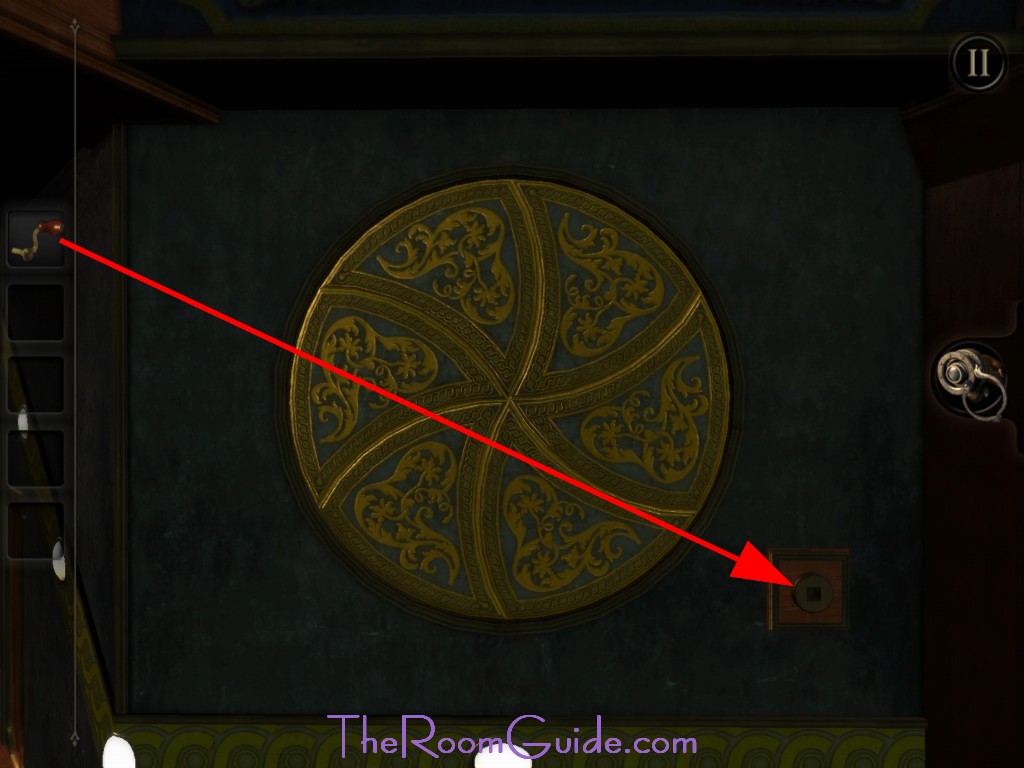
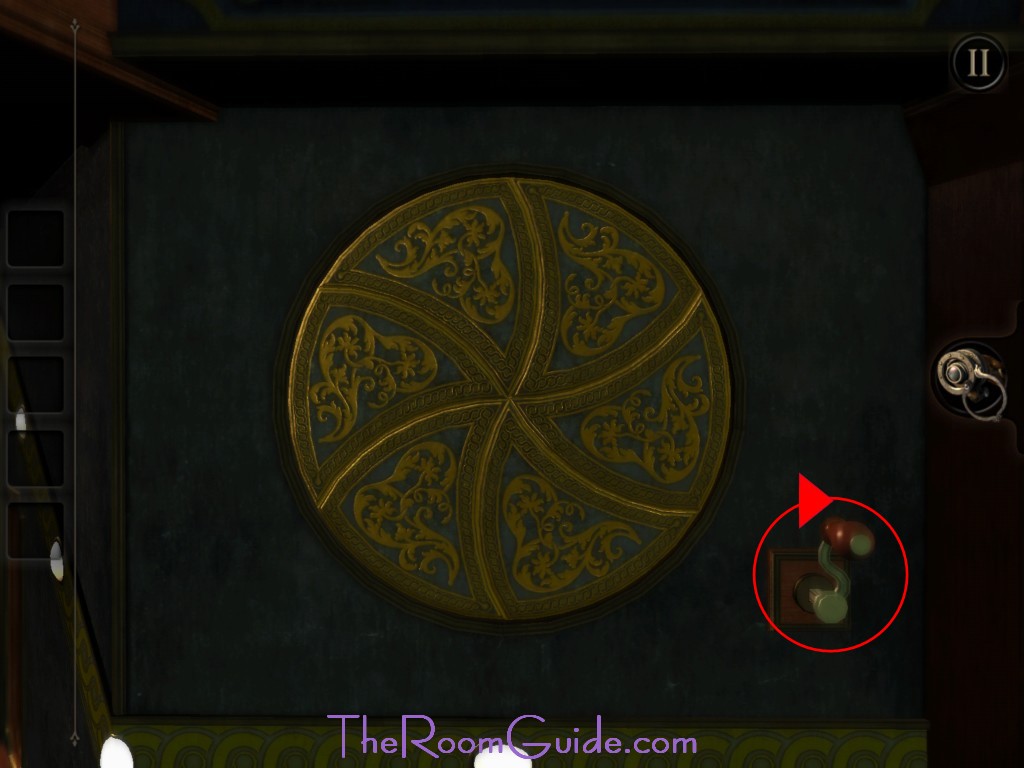
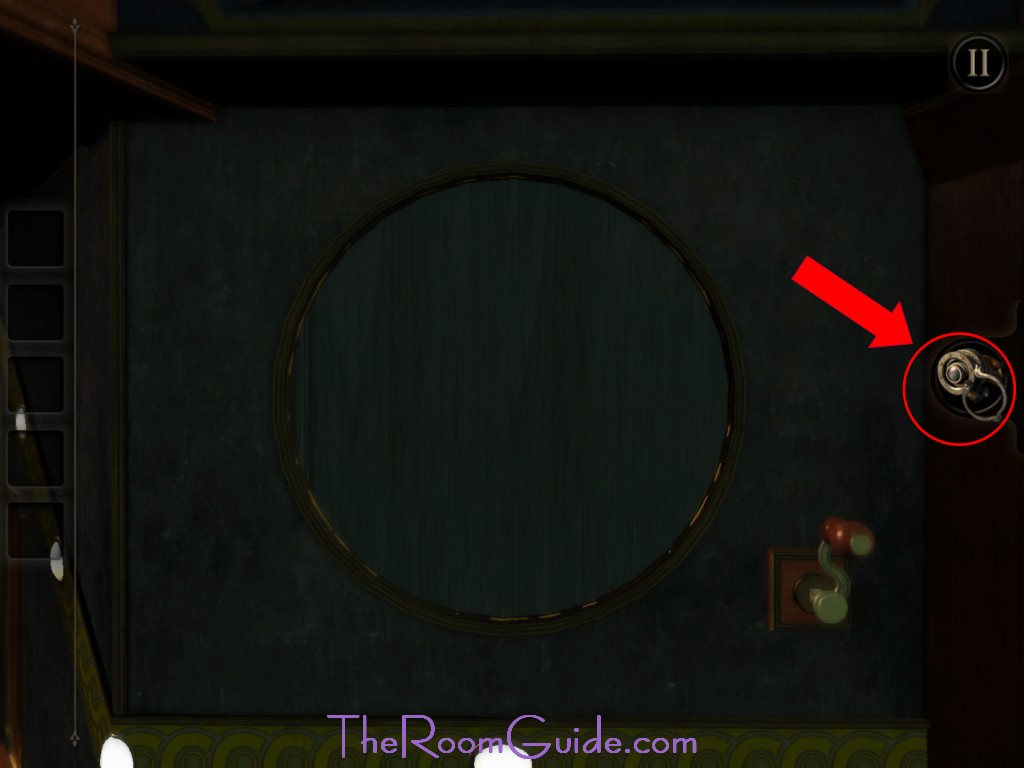
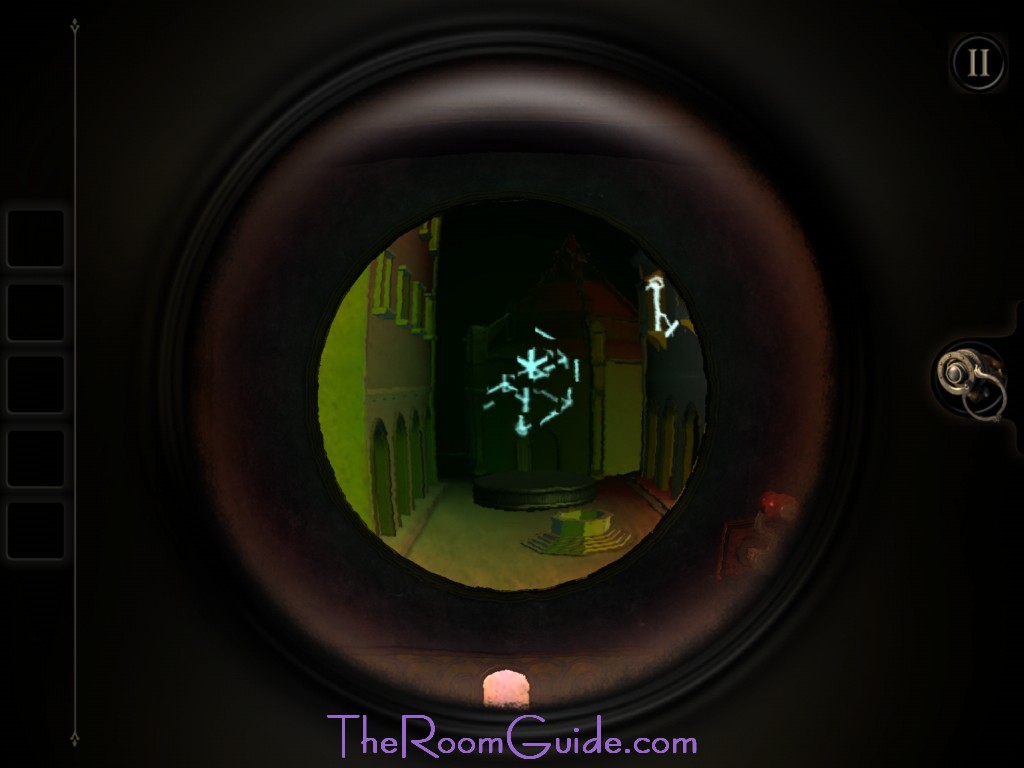

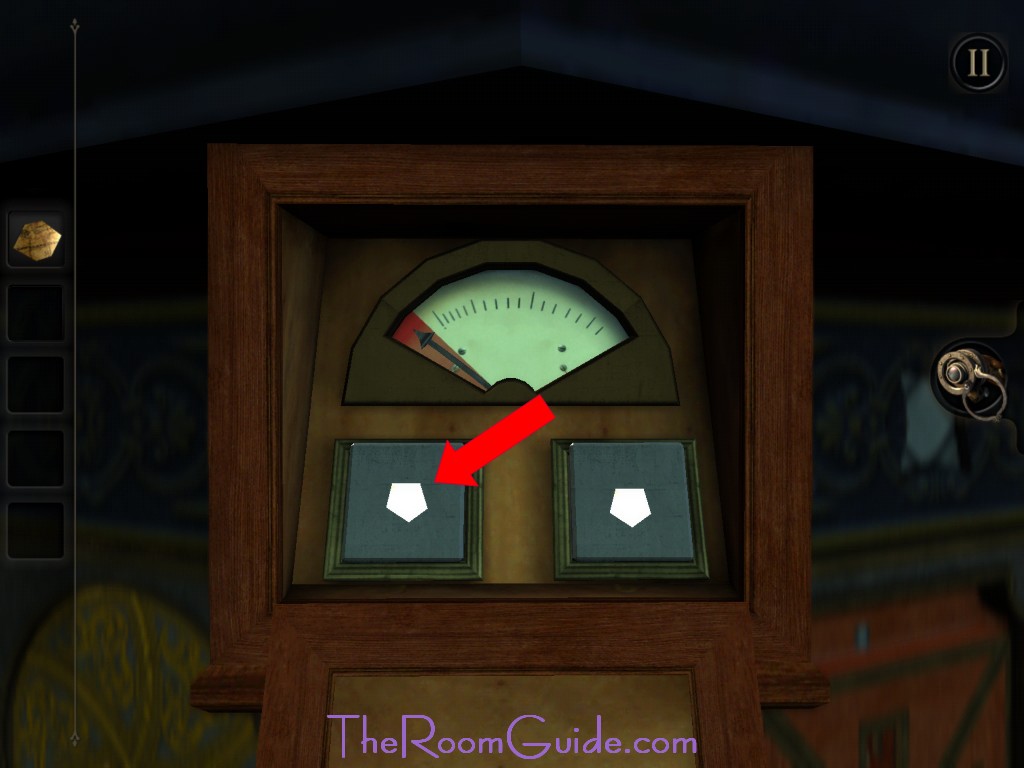
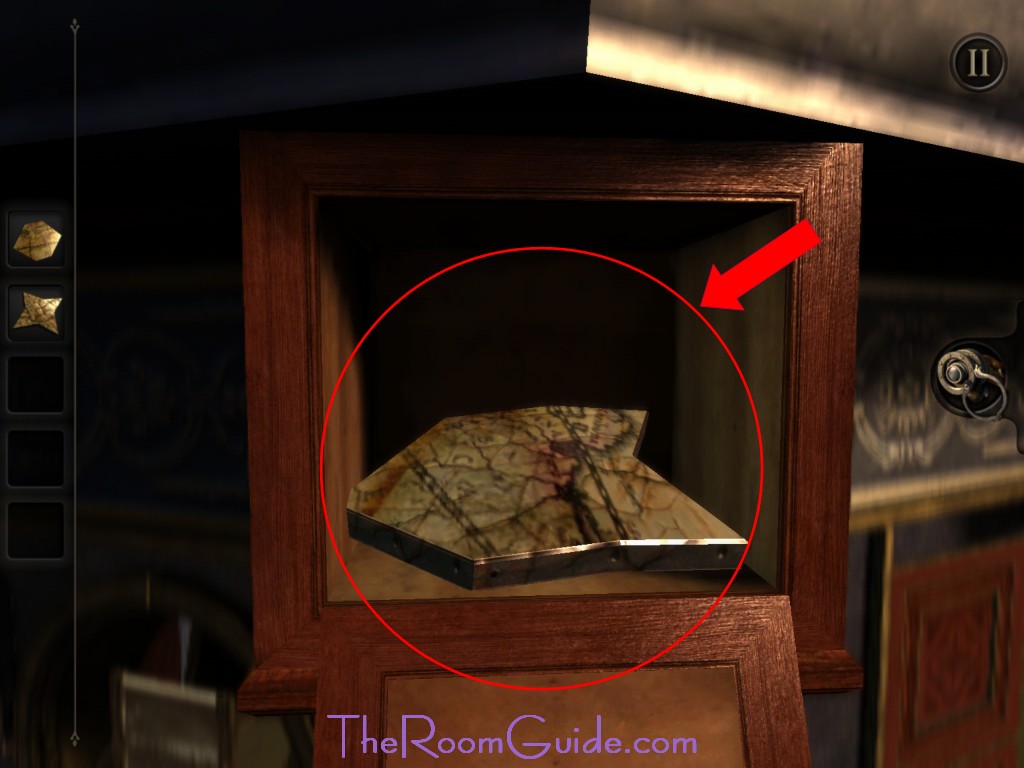
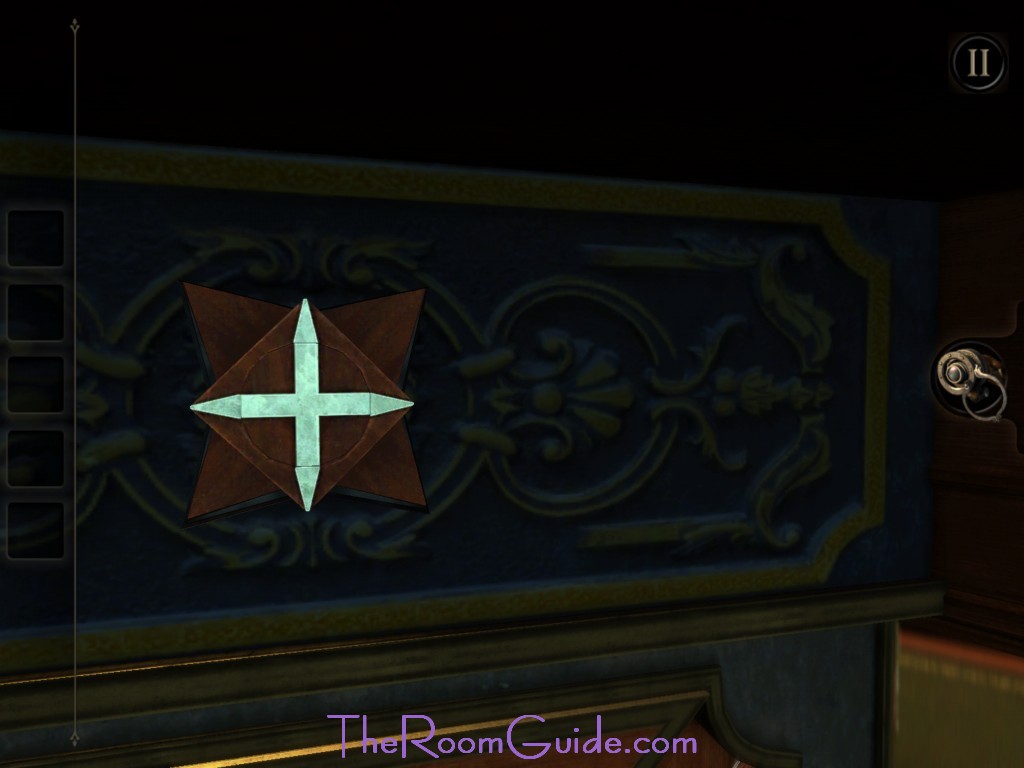
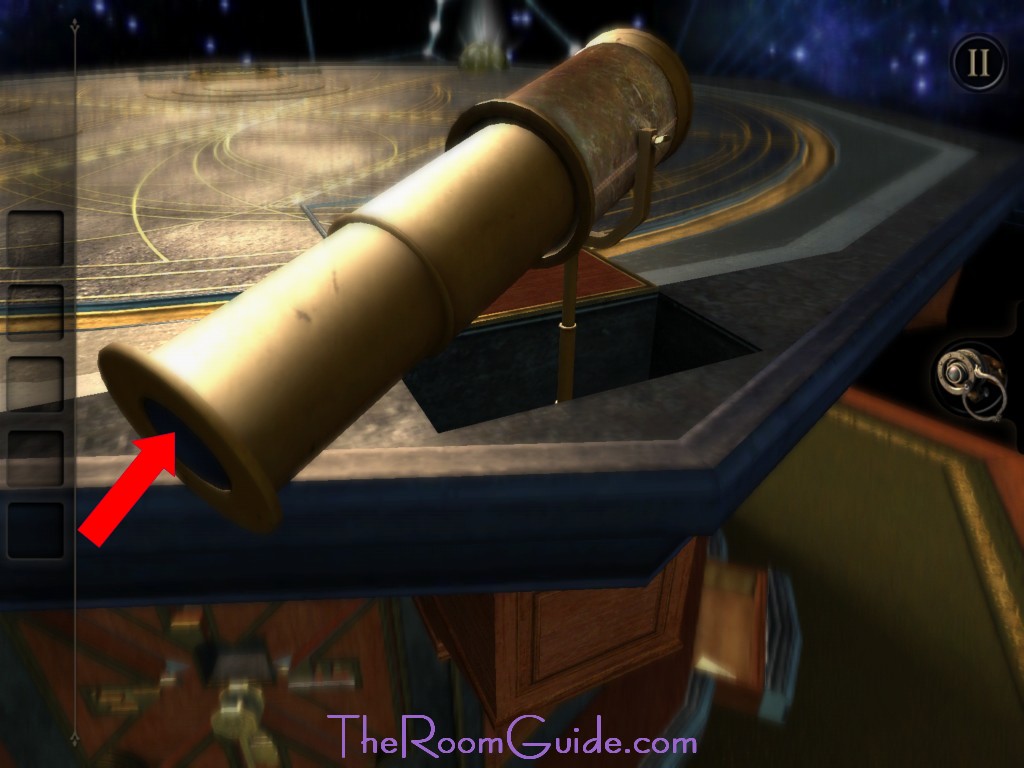
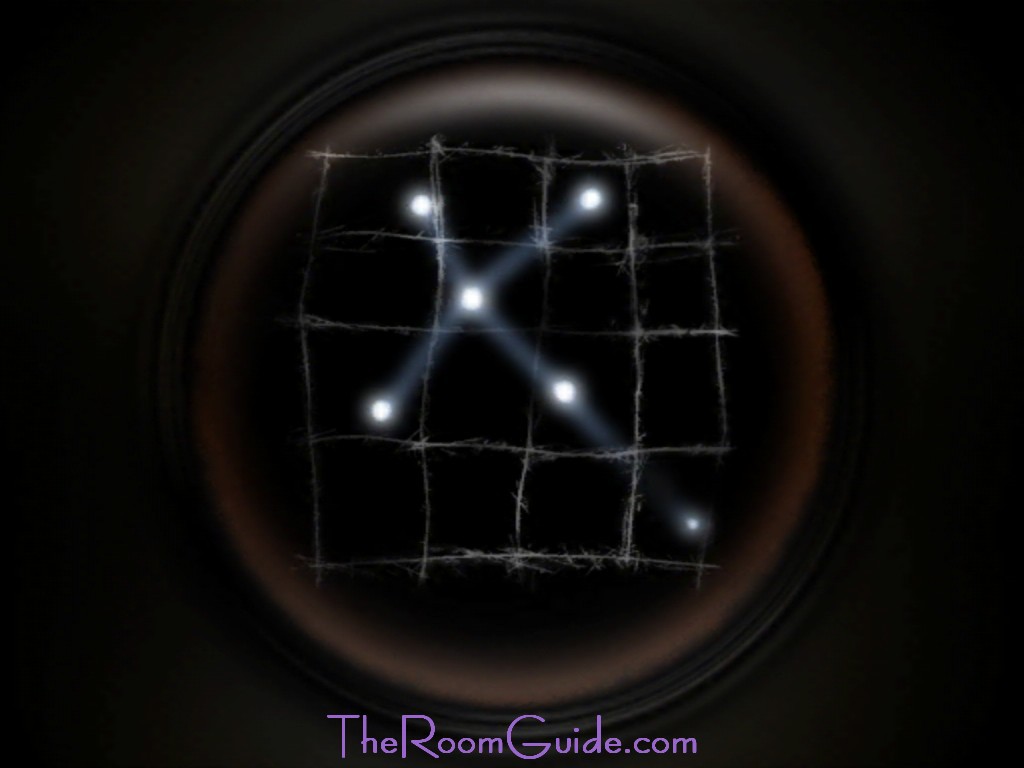
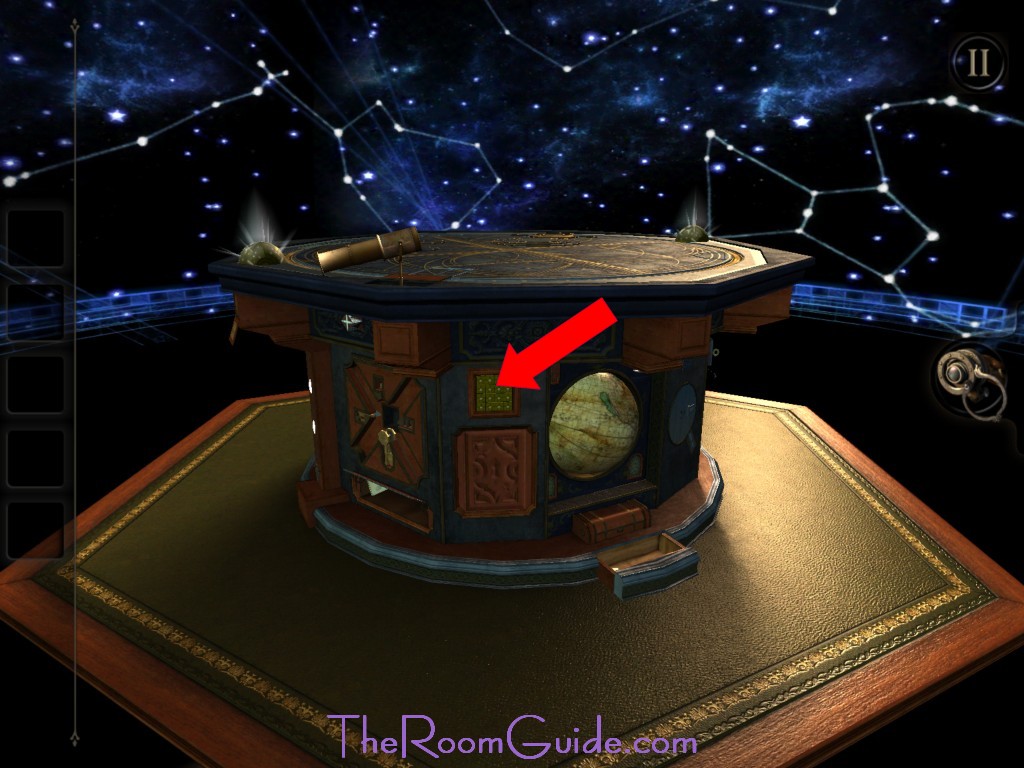
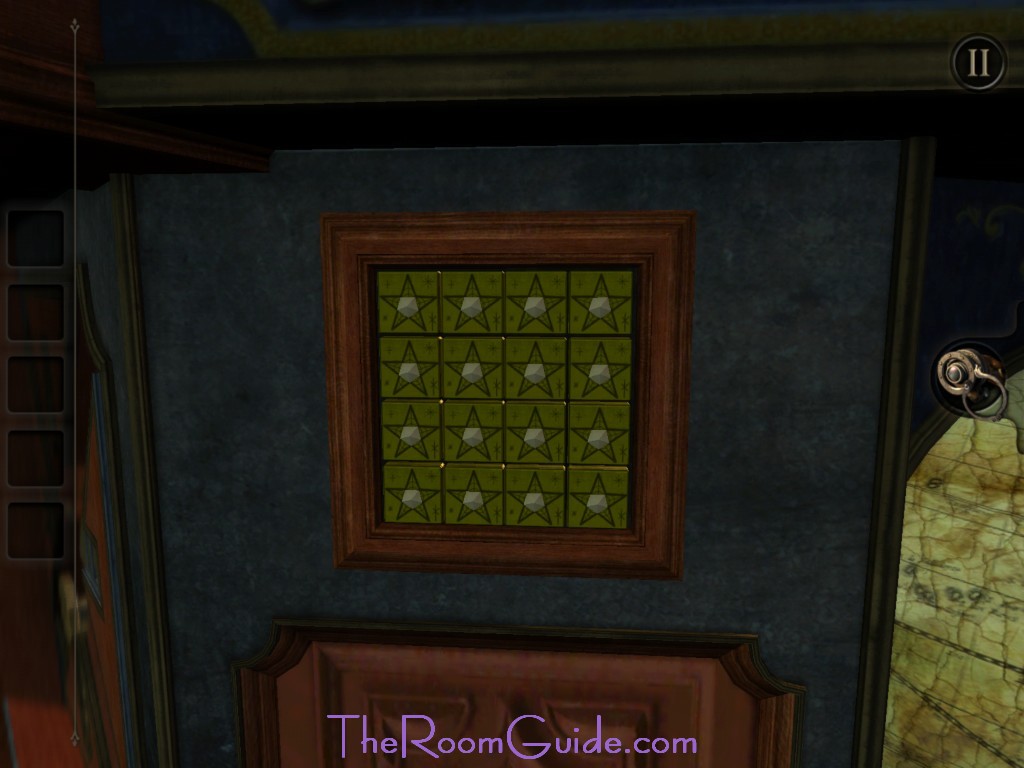
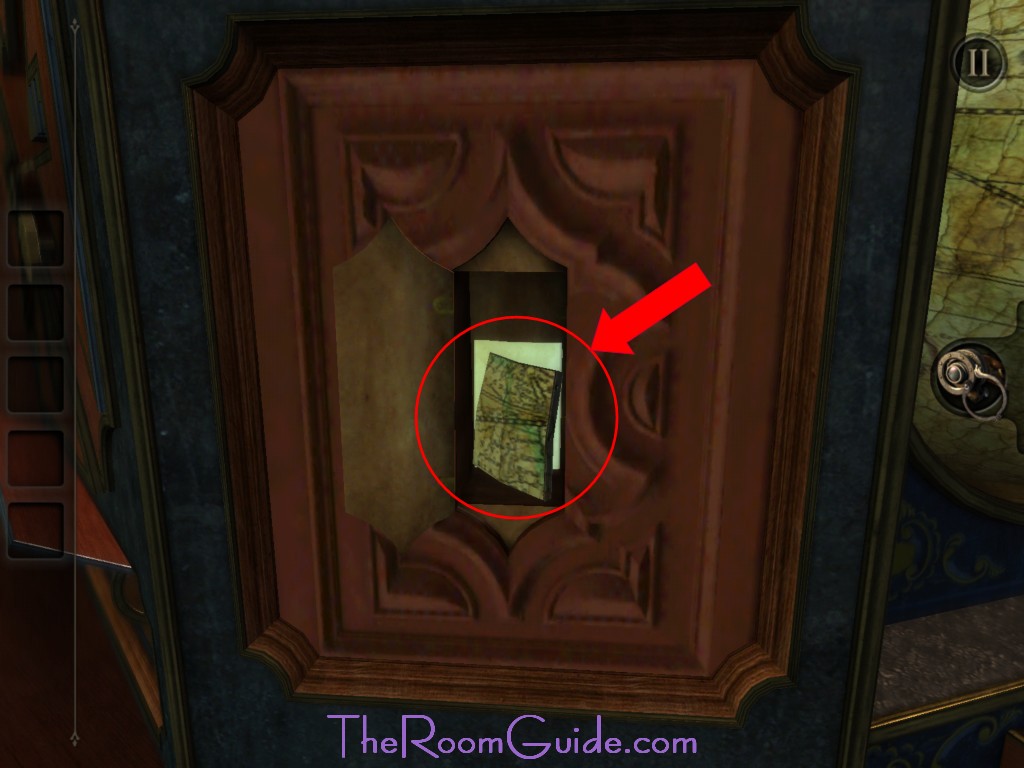
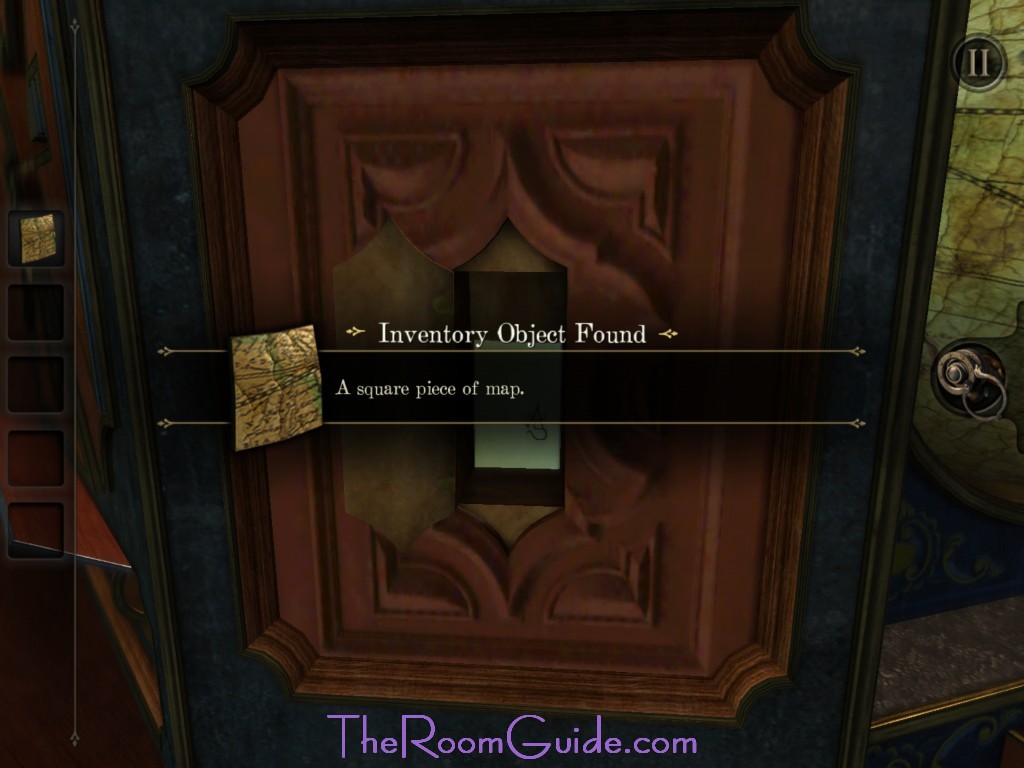
9. Telescope: Go over to the keyhole. Insert the key. A mechanism will activate. A telescope will reveal. Look into the telescope. Note the star pattern. Go over to the side of the box with green squares with stars. Push the squares matching the star pattern. Collect A Square Piece of Map.


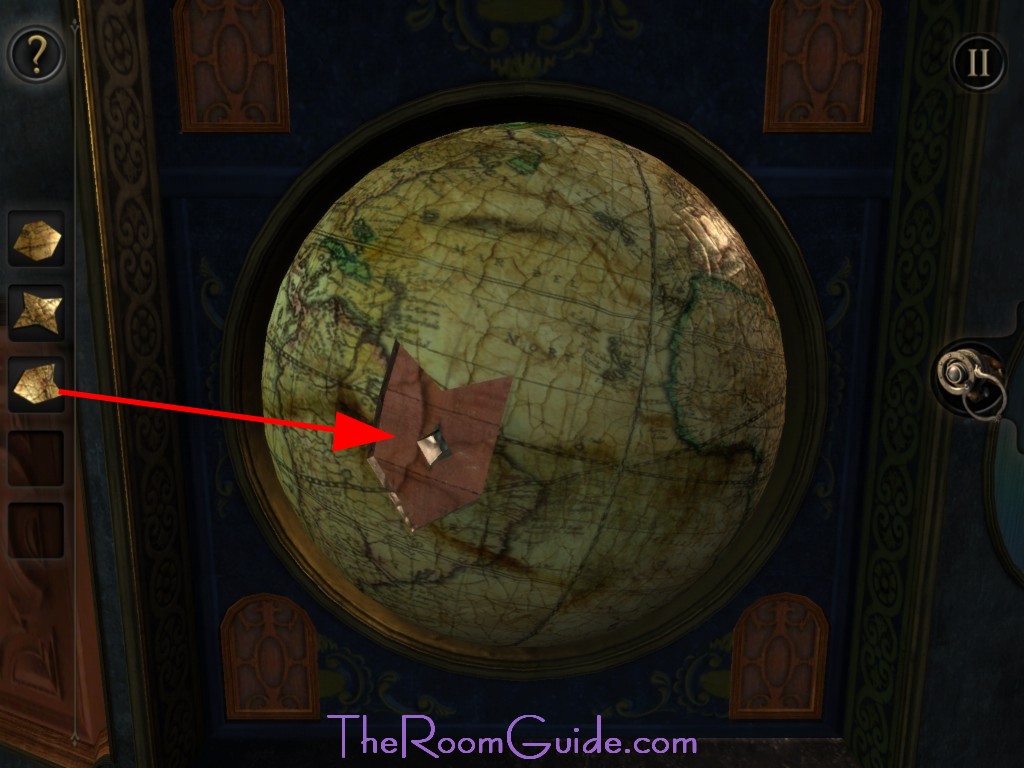
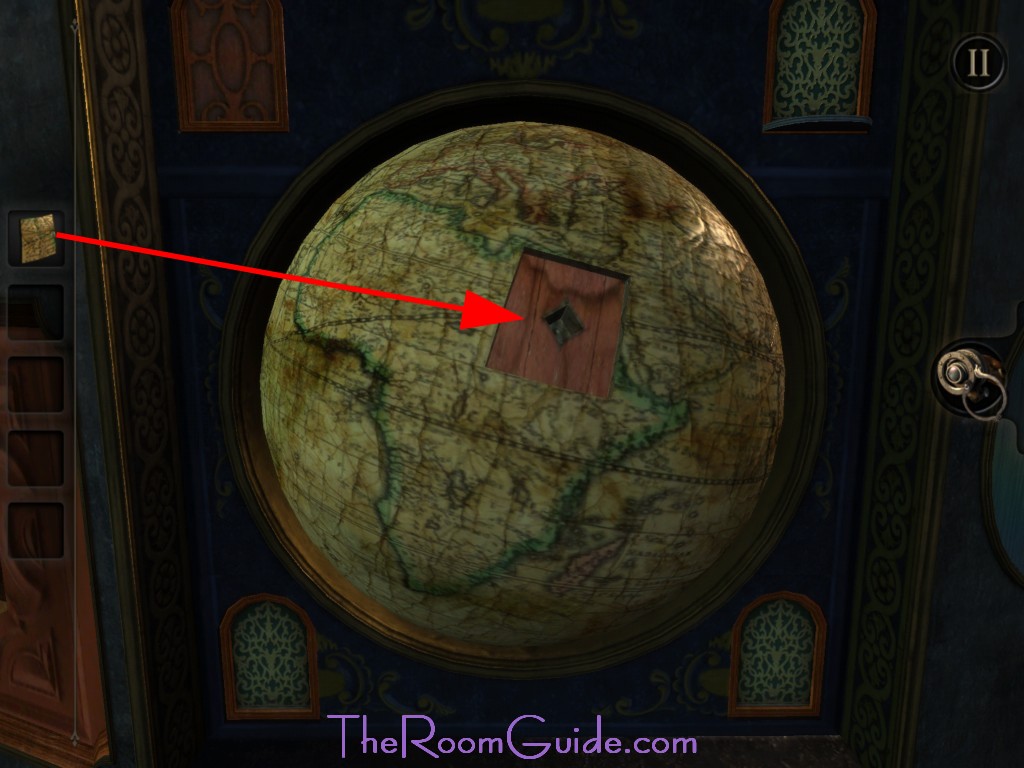
10. Globe: Go to the globe on the side of the box. Insert the last map piece. A compartment will open. Pull the handle. A mechanism will trigger and change the top of the box. You have complete Chapter 3 of The Room.


The crosskey doesn’t hold shape when I want to use it. I’m stuck!
Got it!
How did you do it? I’m stuck here as well
I already put the square in, I got it again and haven’t gotten the star, I’m stuck,how do I get the star to finish?
Hi Guys. I have gotten to placing the brass key into the lock. I configure the key to match the shapes on the lock; but, when I leave the configuration screen, the key returns to it original closed shape. How do I keep the order of the shape to match the lock? Help, please!