Welcome to the final part of The Room 2 Chapter 4 complete walkthrough guide. You will resume the stage from where we have left off from the previous part. After getting “HOPE” as the keyword from the last part, you will continue to solve the mysteries of The Room Two until you can get out of the room.
Part 1: Camera
Part 2: Typewriter and Tarot Cards
Part 3: Cabinet
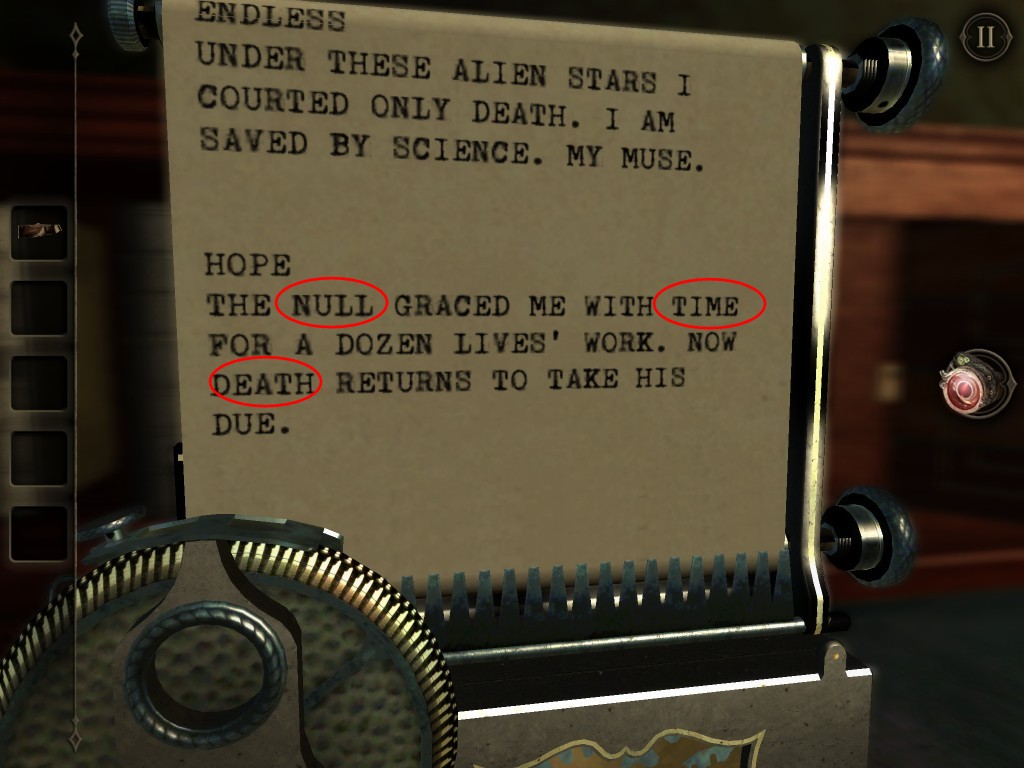
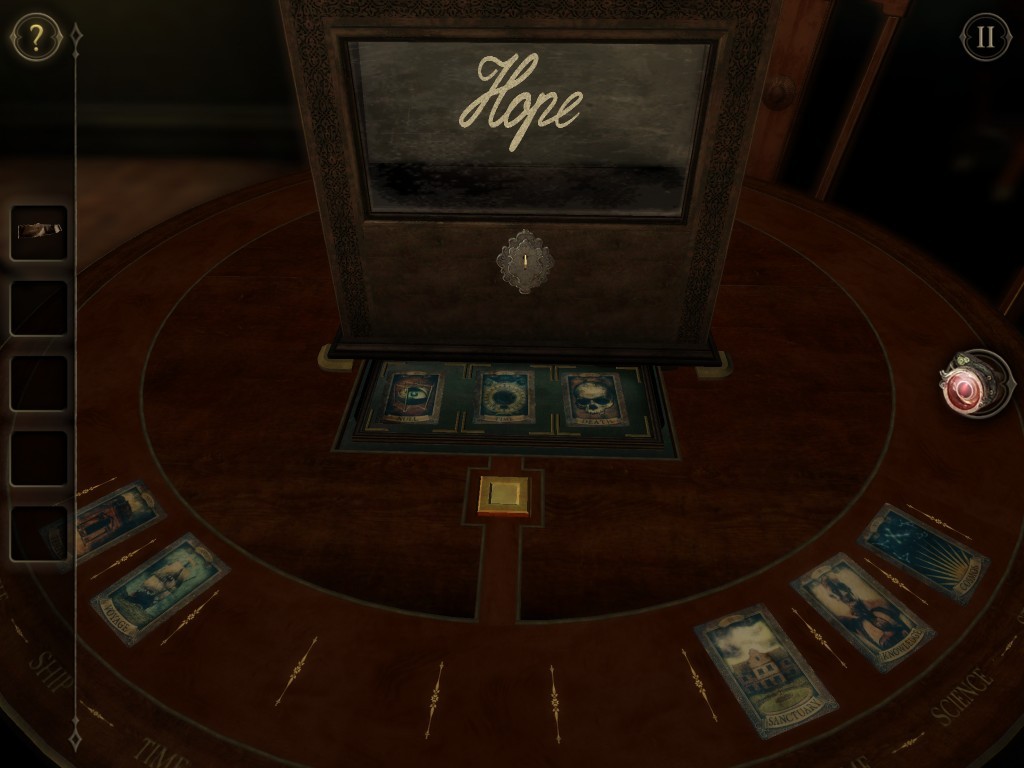
Enter the word: Hope in the typewriter. Press enter. Read the passage as follows: “The null graced me with time for a dozen lives’ work. Now death returns to take his due.”

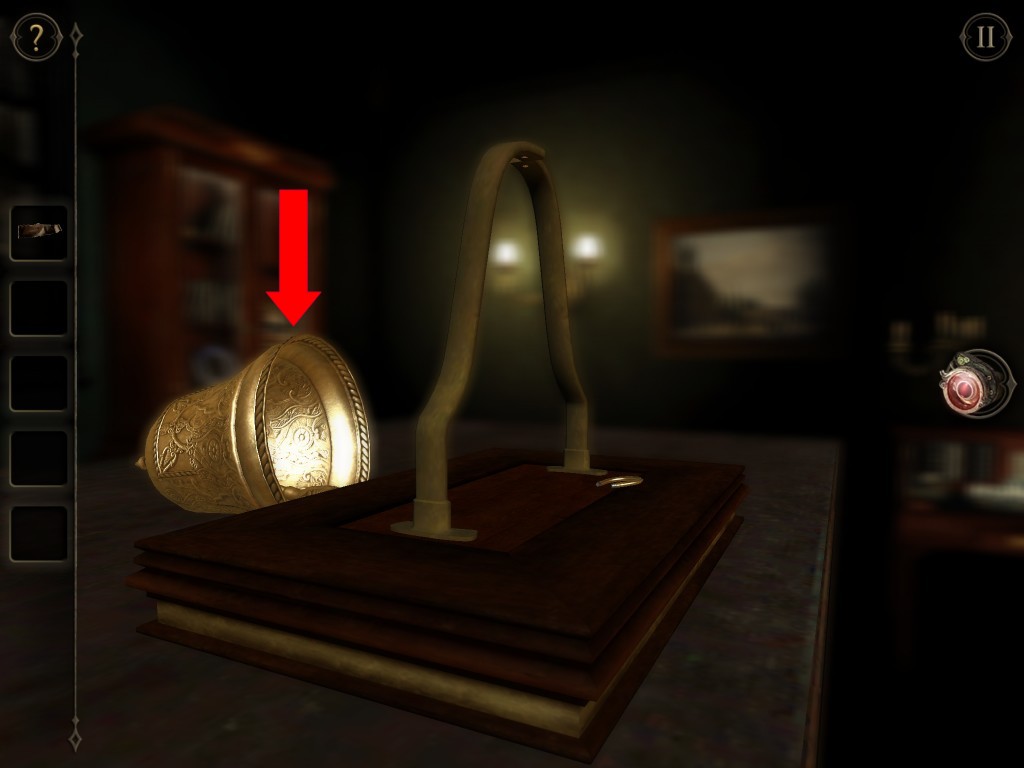
Go to the card table. Grab a Small Bell that fell from the top of the box.

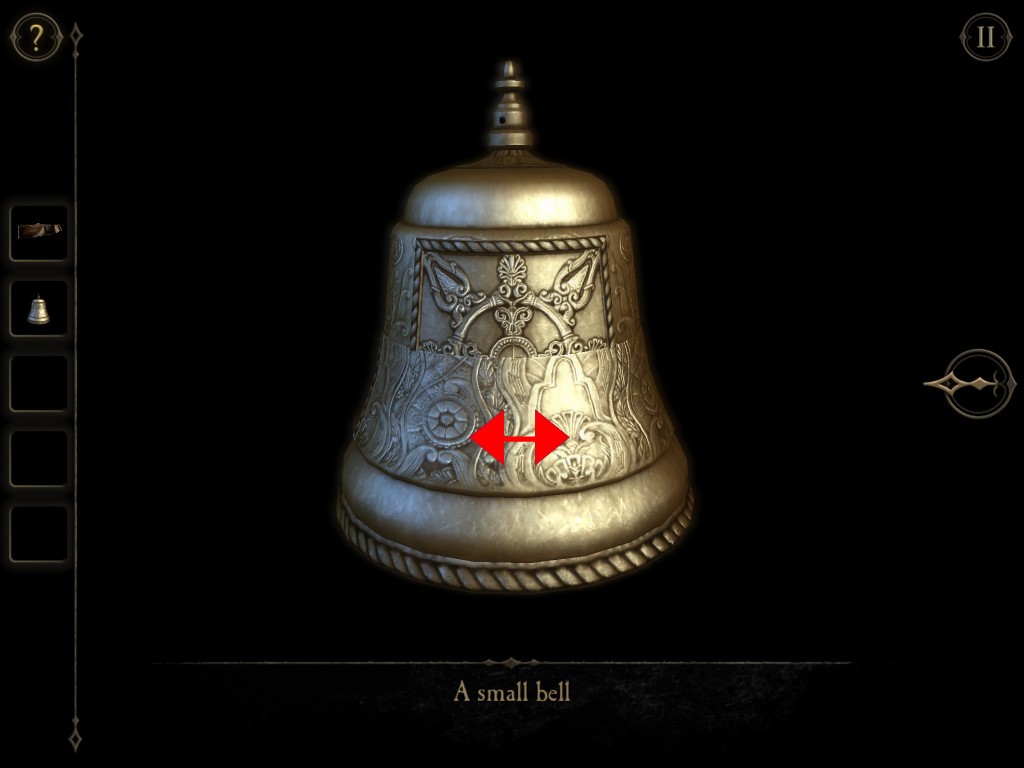
Examine the bell. Align the top and bottom part of the bell to release and obtain the Clapper.

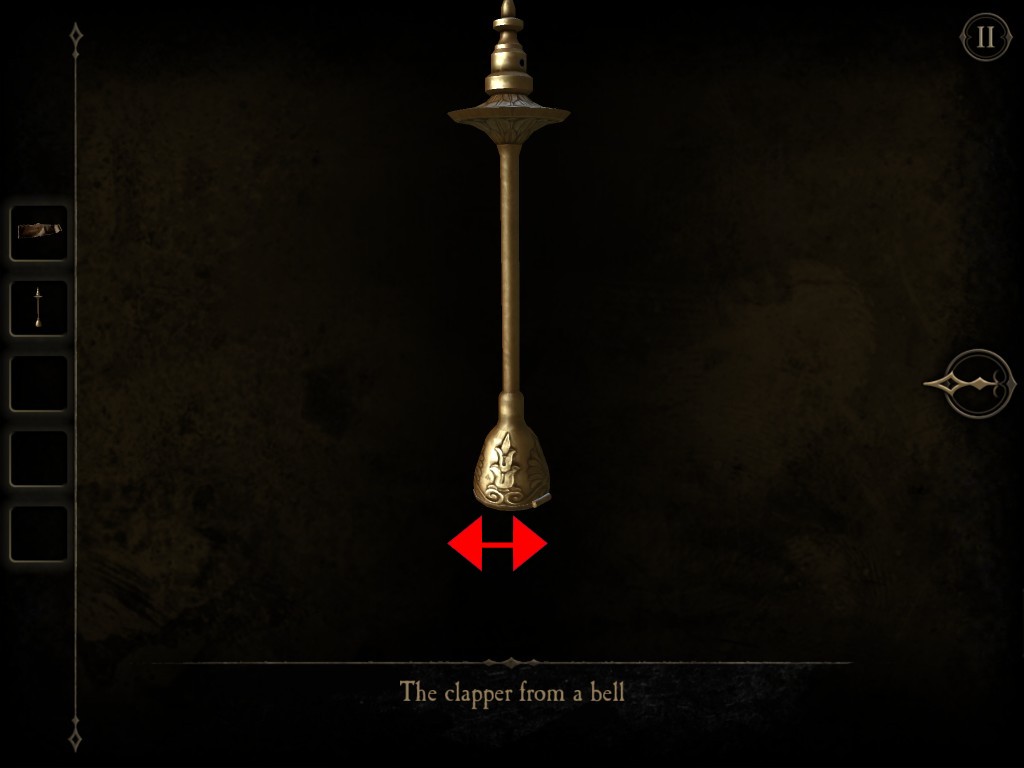
Observe the Clapper from the Bell. The tip of the clapper can be opened to form a key. You will need to use the clapper key to open the side of the Tarot card table box and the glass cabinet.

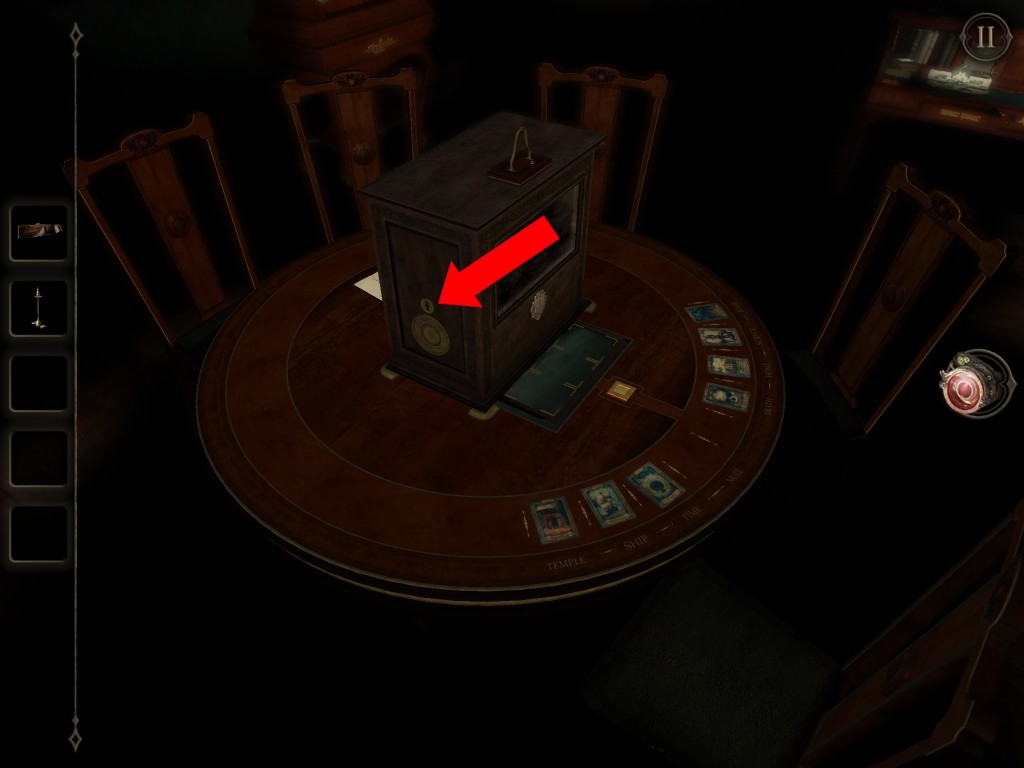
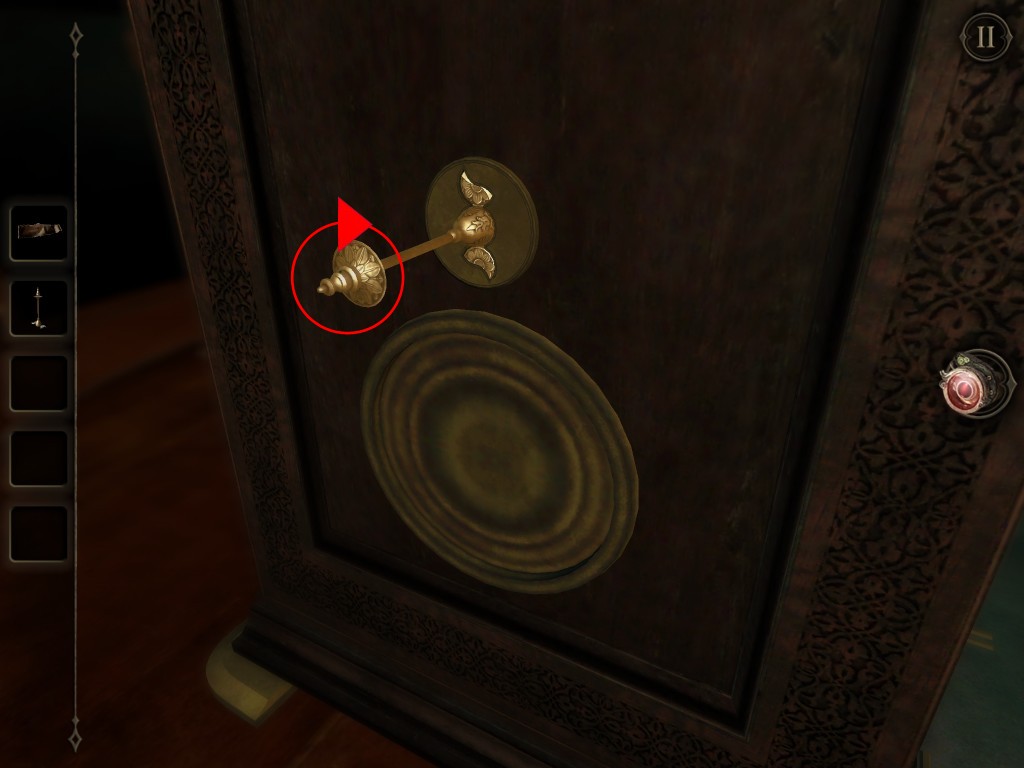
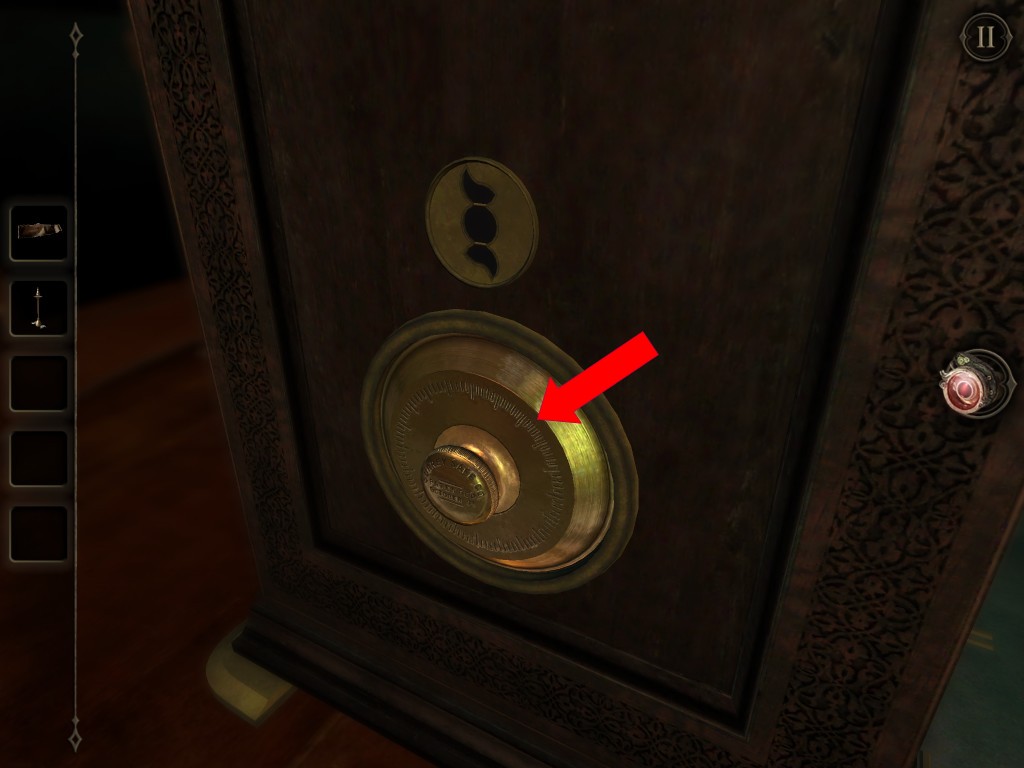
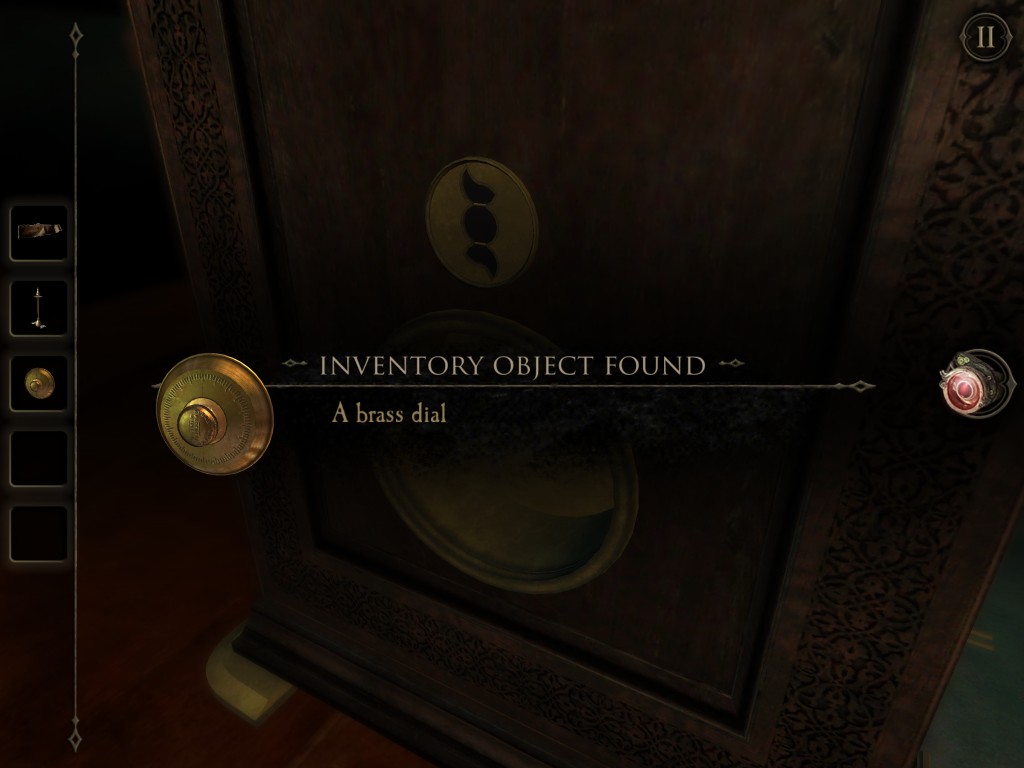
Insert the clapper key into the keyhole on the side of the box on the card table. Turn the clapper and unlock a Brass Dial below for you to collect.
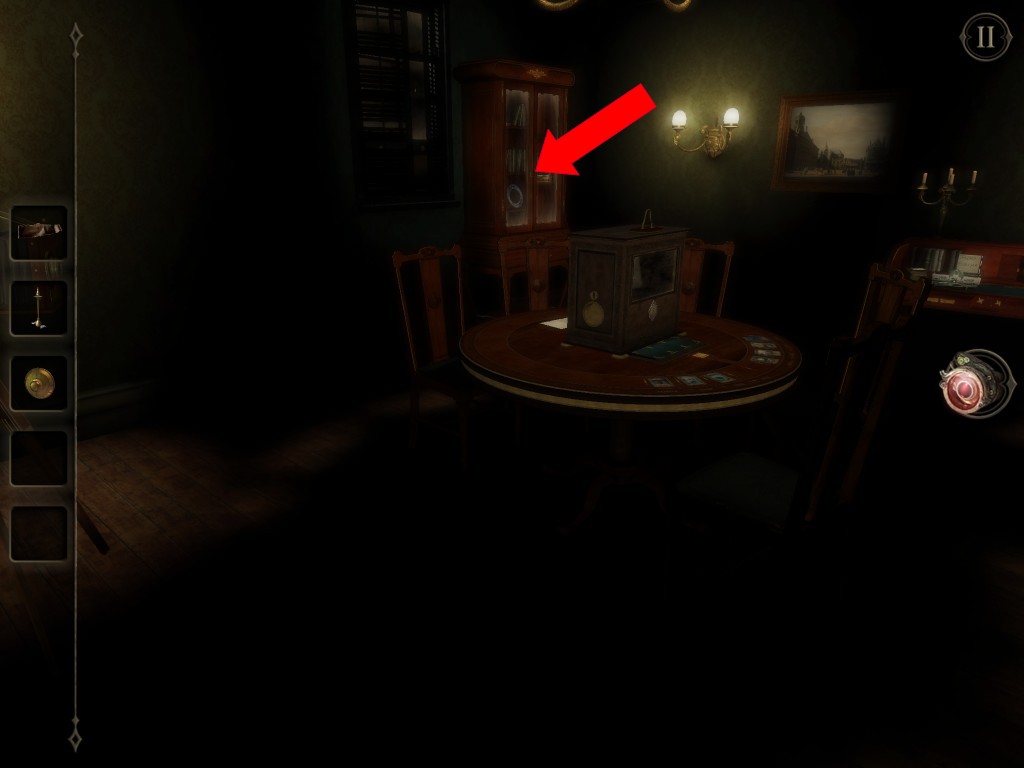
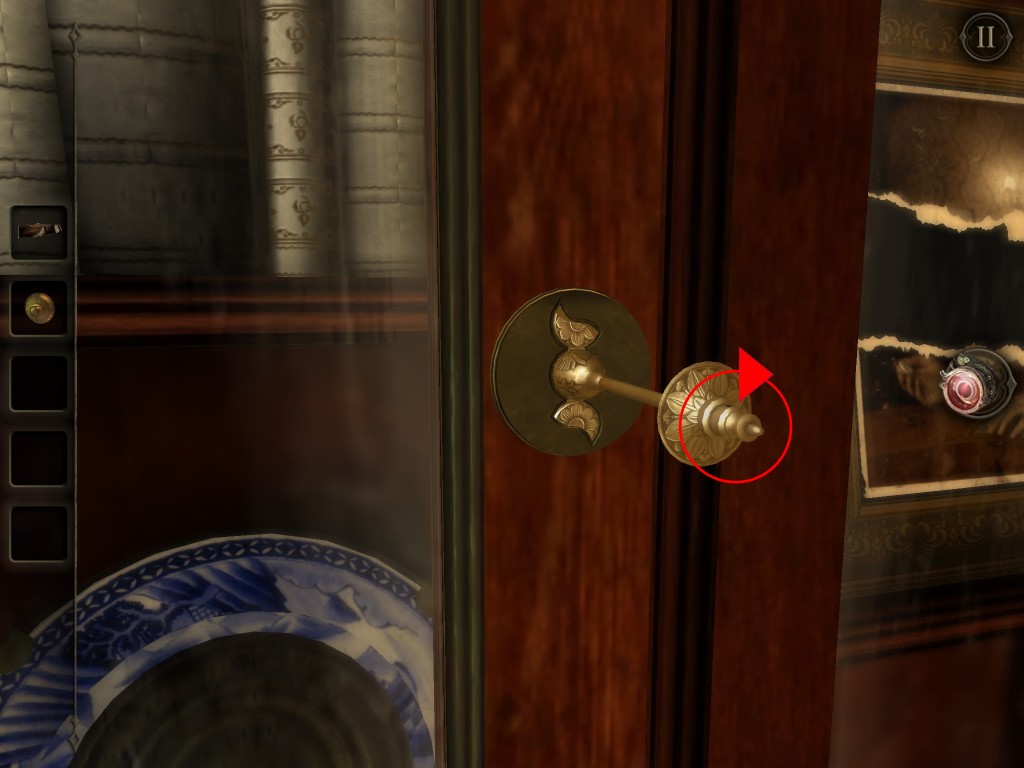
Go to the cabinet and insert Clapper into the keyhole for the second time and turn.
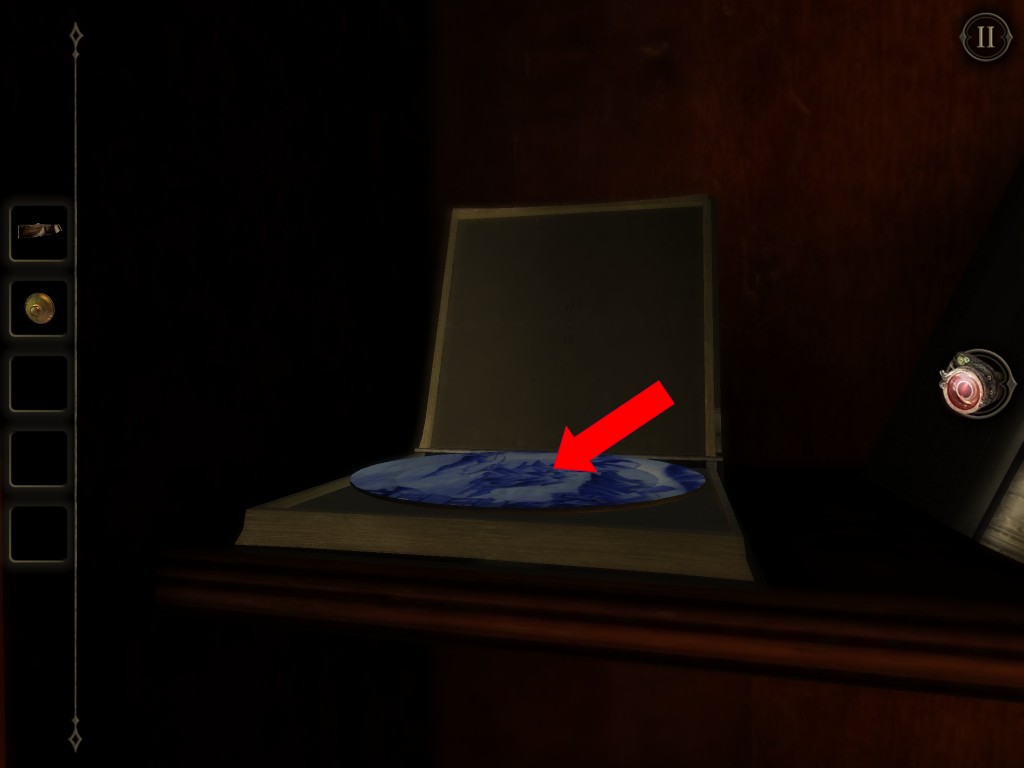
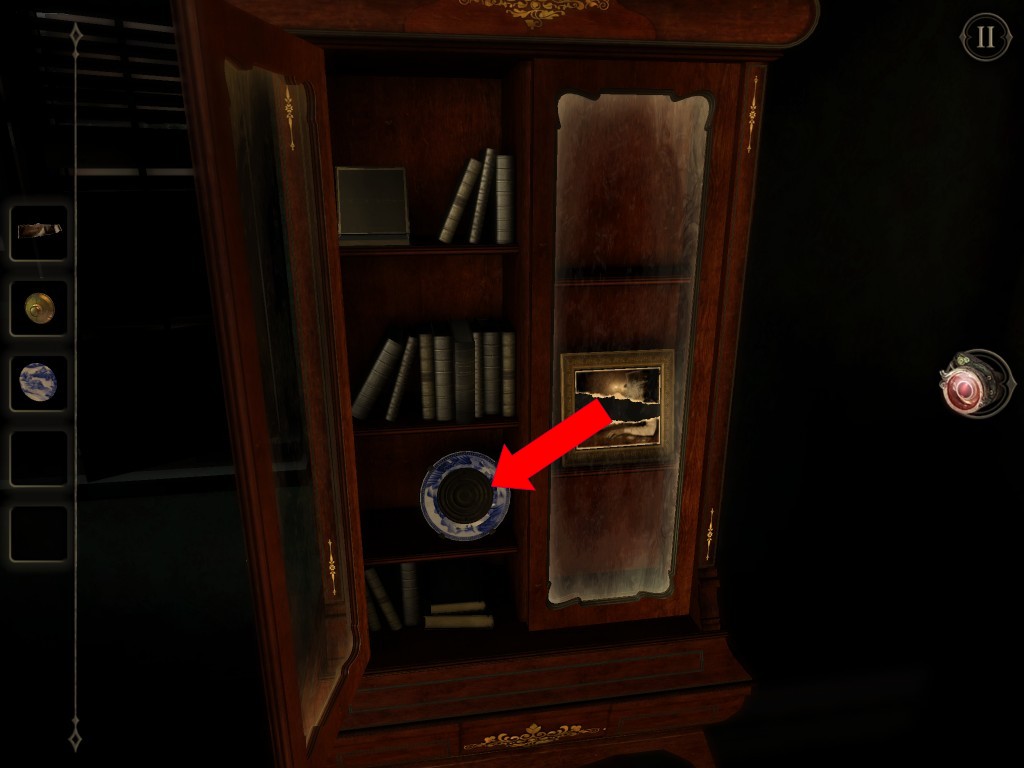
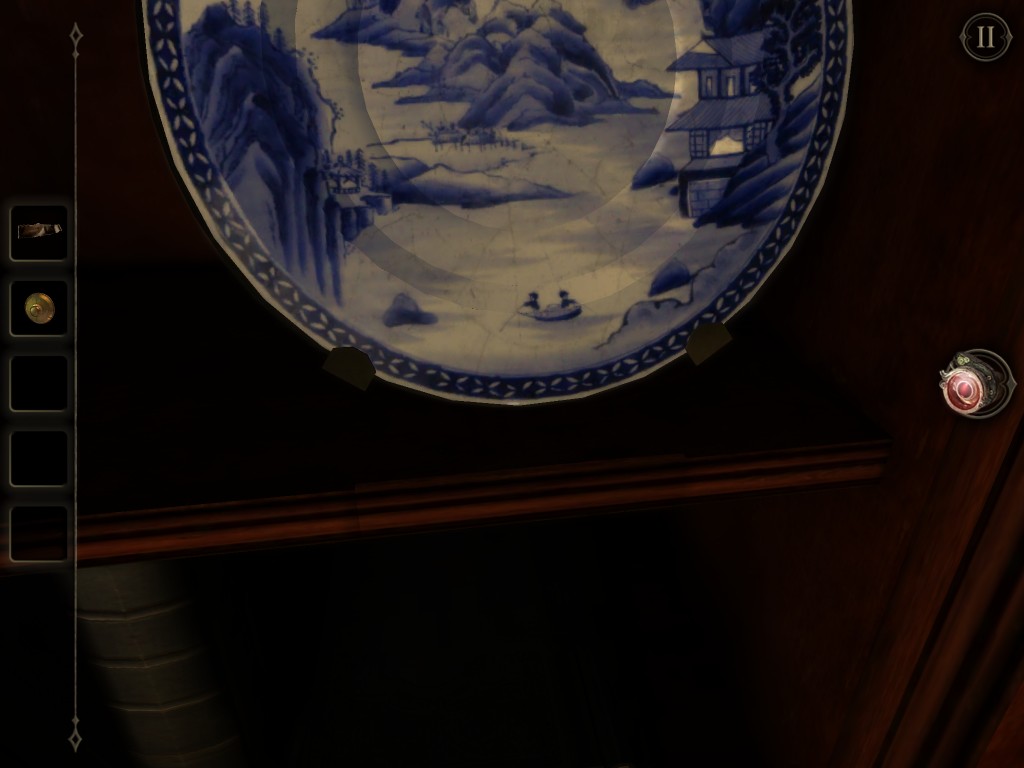
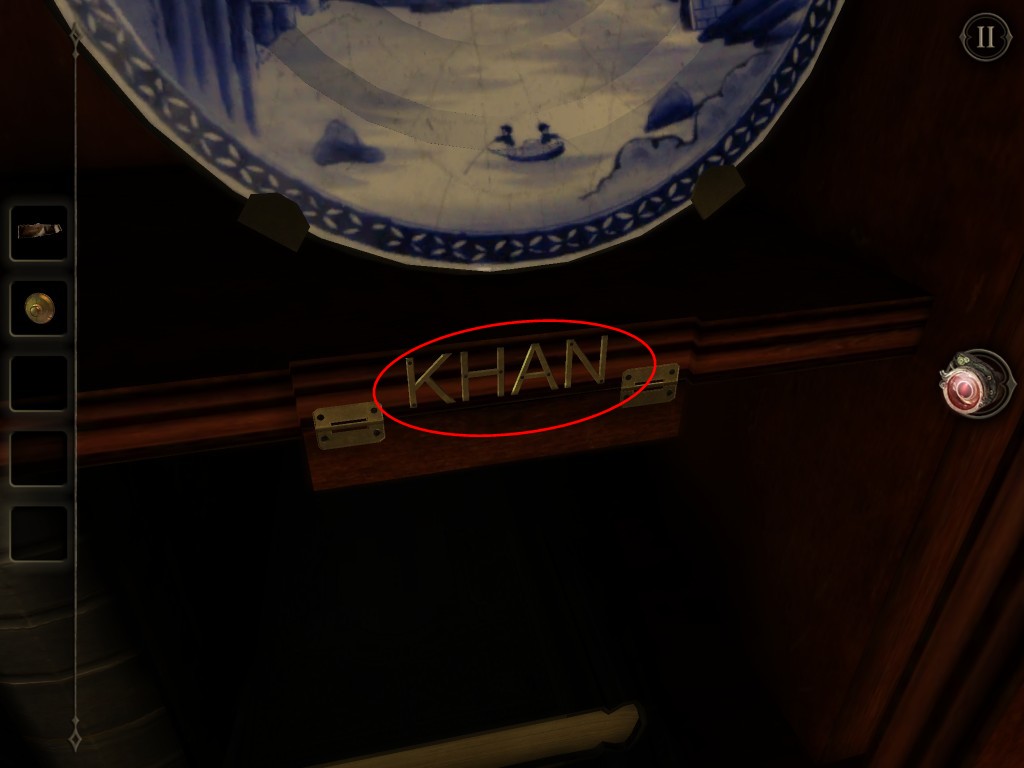
A case sits on top of the cabinet shelf. Open the case and get the Decorative Plate. Place the Decorative Plate into a larger plate at the bottom of the cabinet. Rotate and align the design on the plate. Obtain passcode: KHAN.
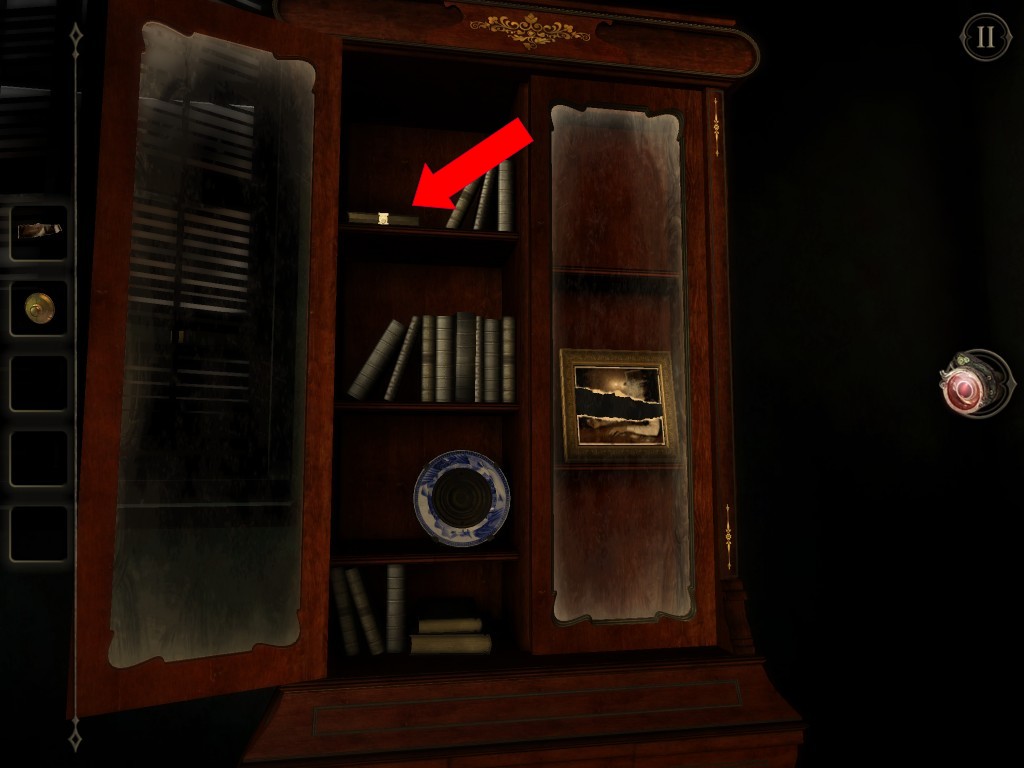
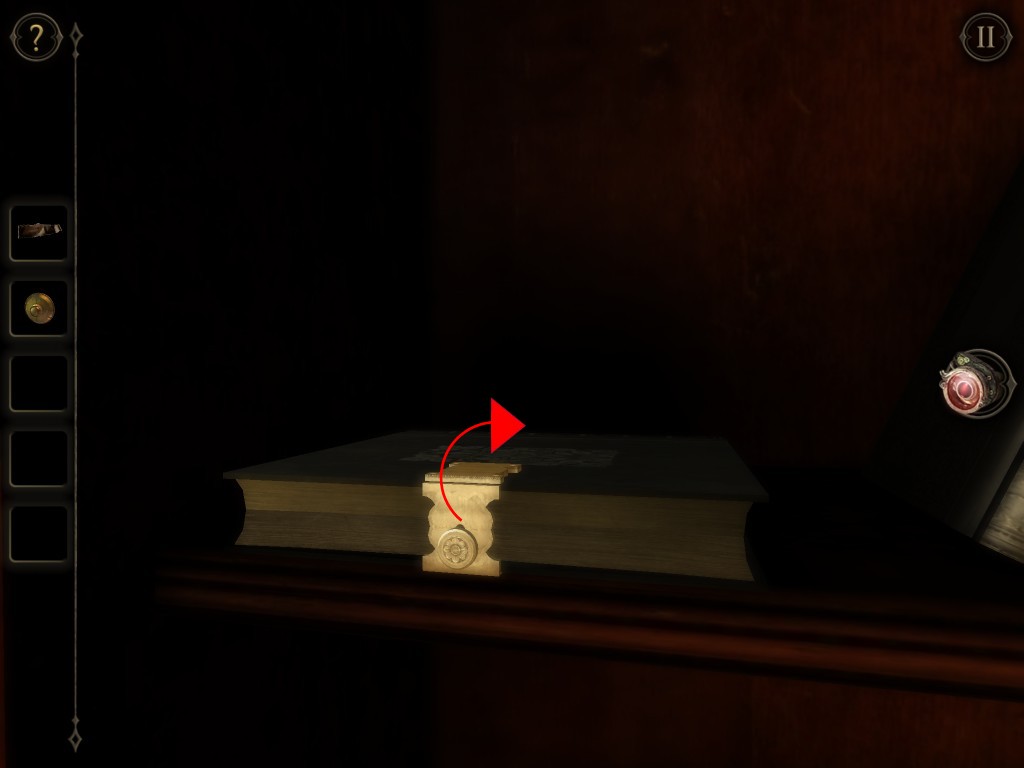


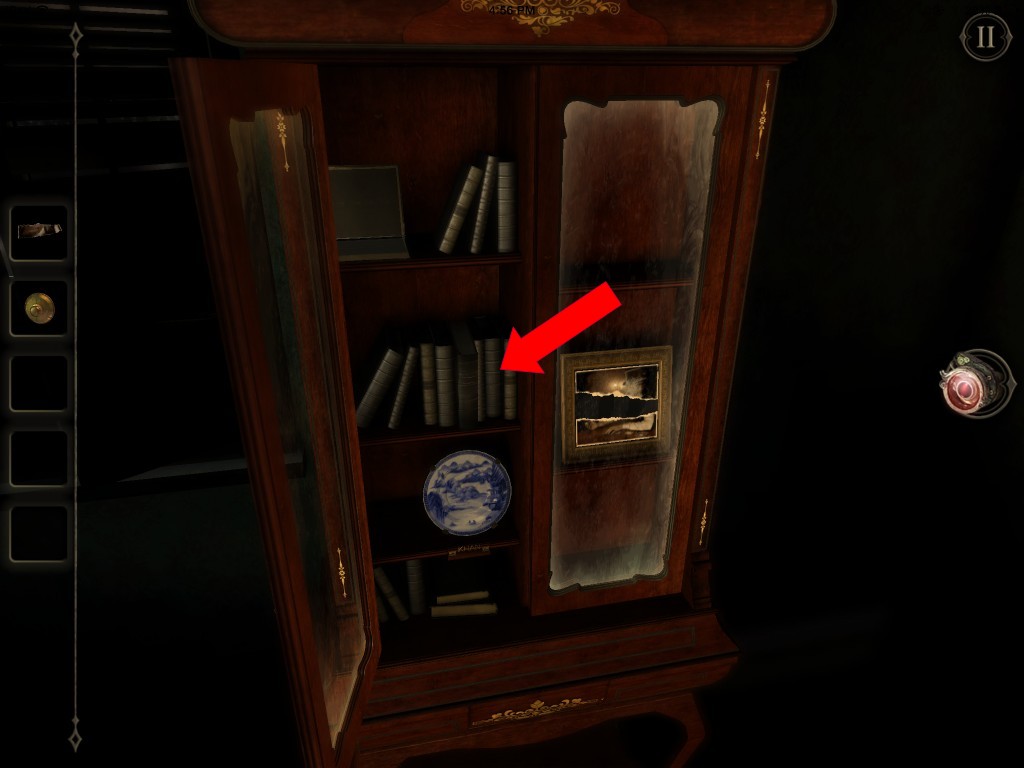
Examine the middle layer of the cabinet. Notice a book is sticking out. Pull on the book to activate a mechanism that reveals a safe to the left of the cabinet.

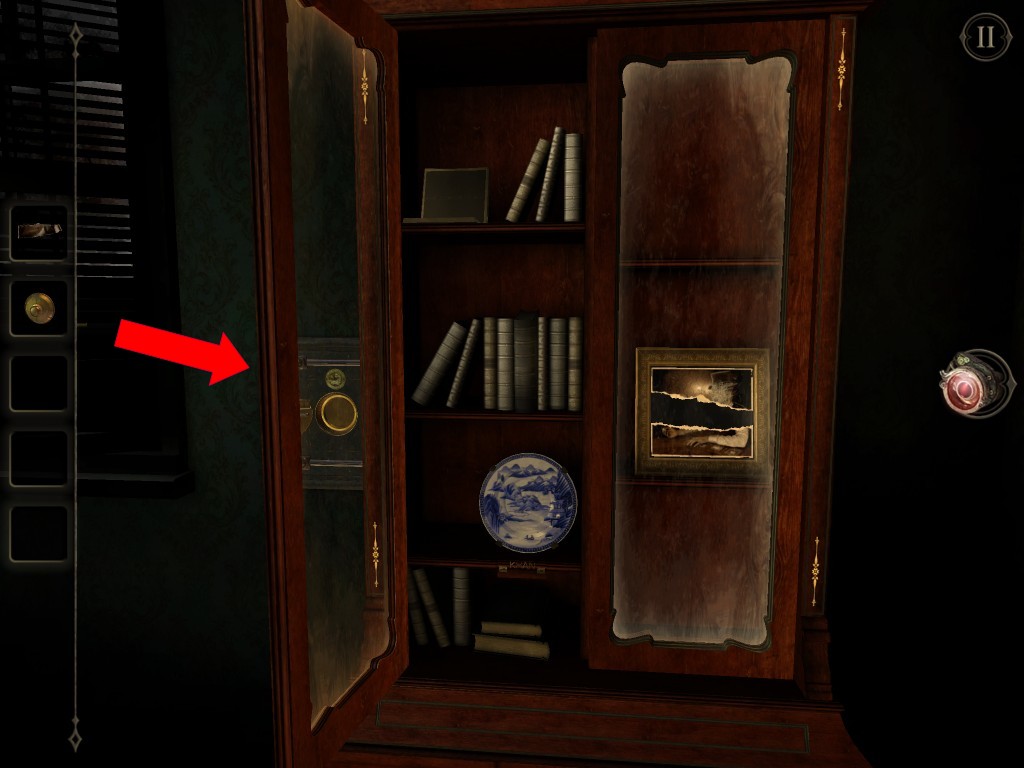
It’s time to open the safe with your new found password KHAN. First place the brass dial that you found from the Tarot cart table box.

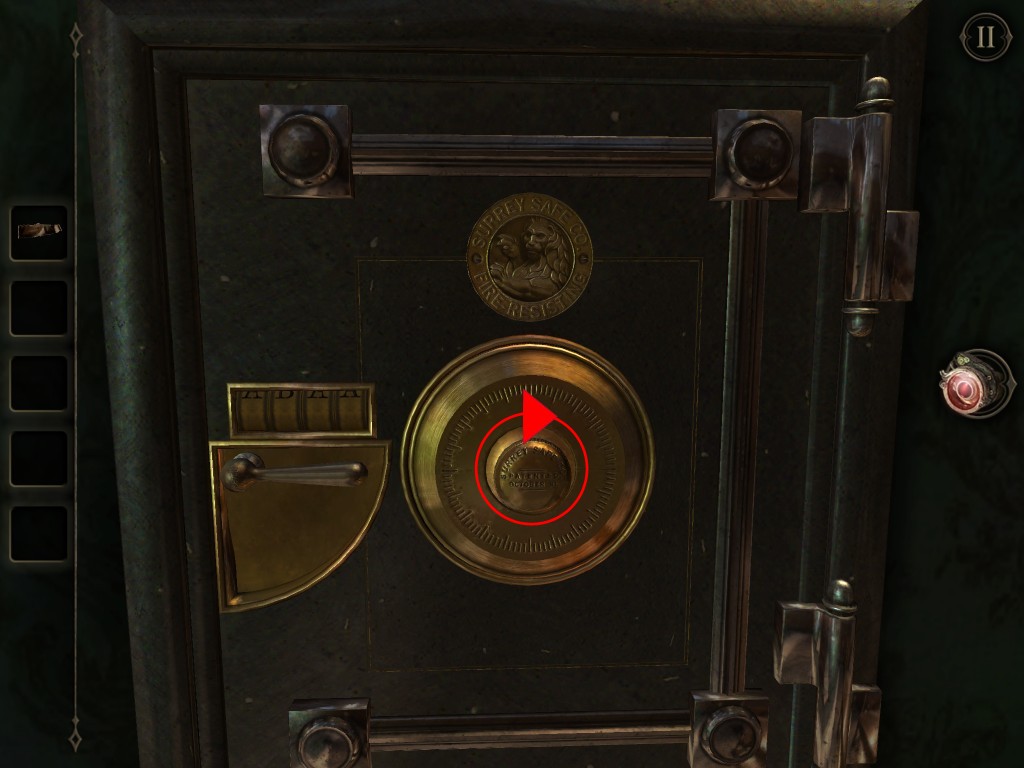
To open the safe with the pass code, twist the dial by going clockwise until it turns to “K”. Counter clockwise until H. Clock Wise until A, then finally counter clockwise for the final letter N.
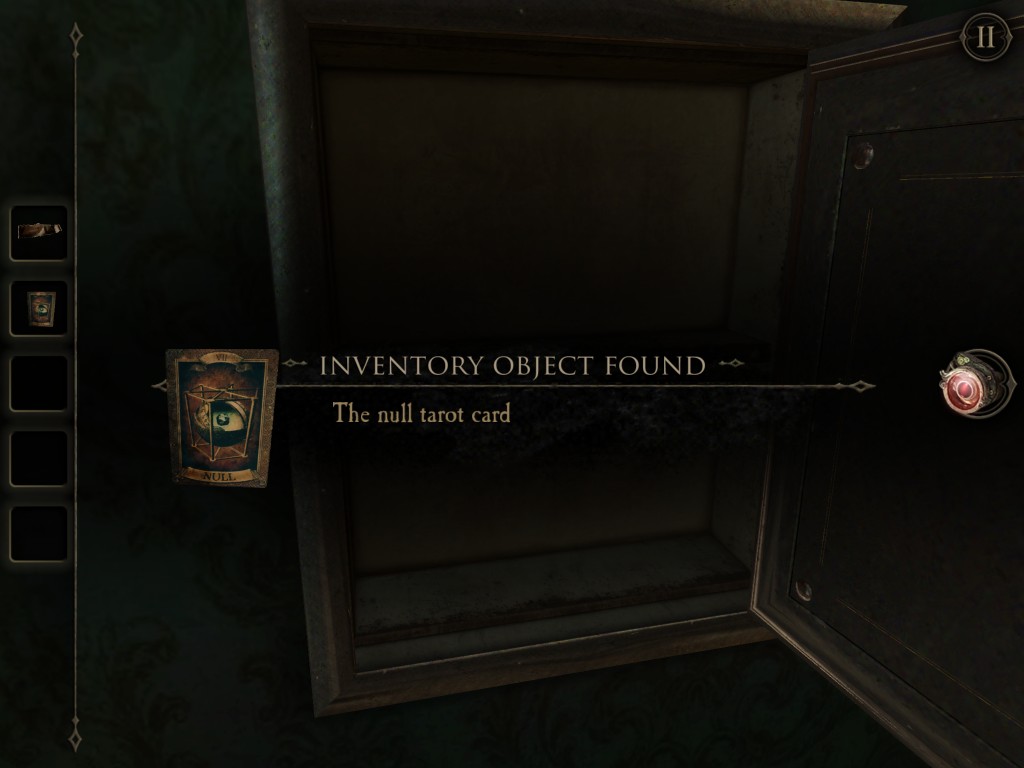
Open the safe and claim your Null Tarot Card.

Visit the tarot card table again. Grab and place the following tarot card in the center: NULL, TIME, DEATH. Then press the square button. The glass cabinet is now completely opened.

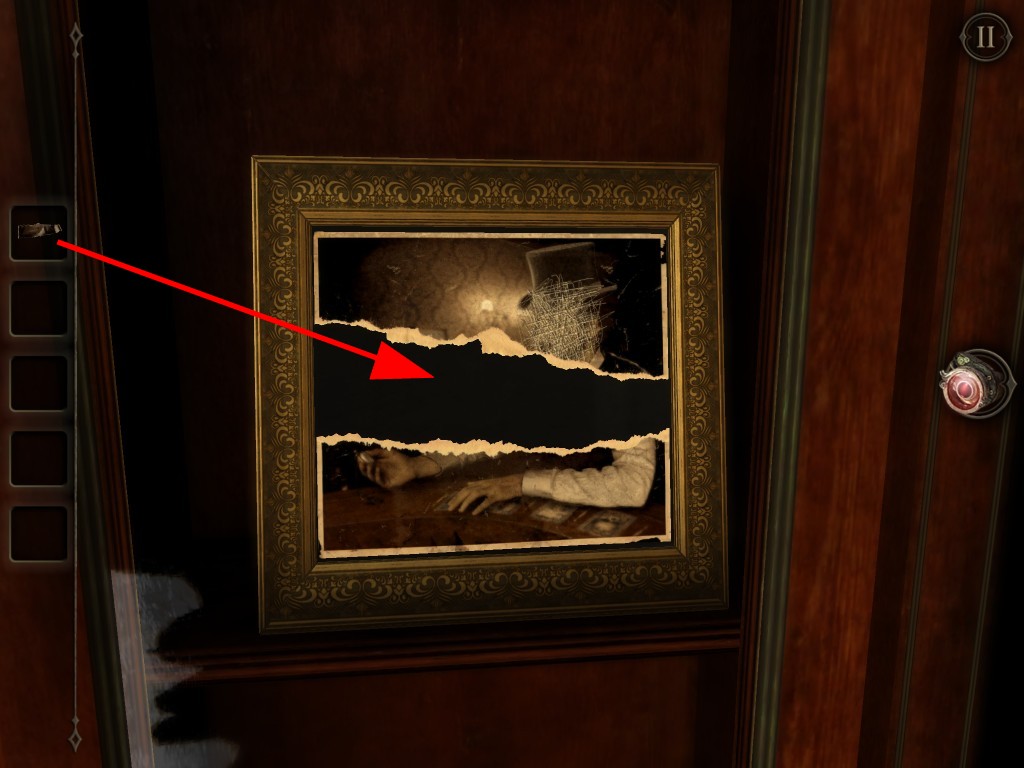
Head over to the now opened glass cabinet. Insert a torn piece of an old photograph to the photograph in the cabinet.

Then, look at the photograph under your eyepiece.

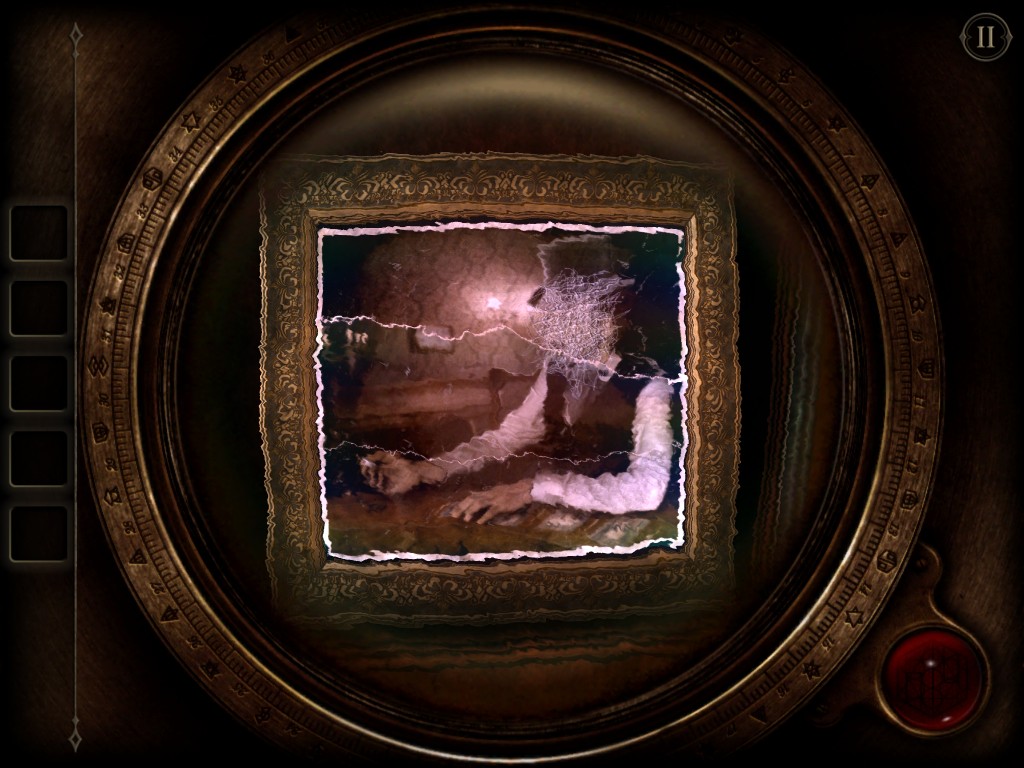
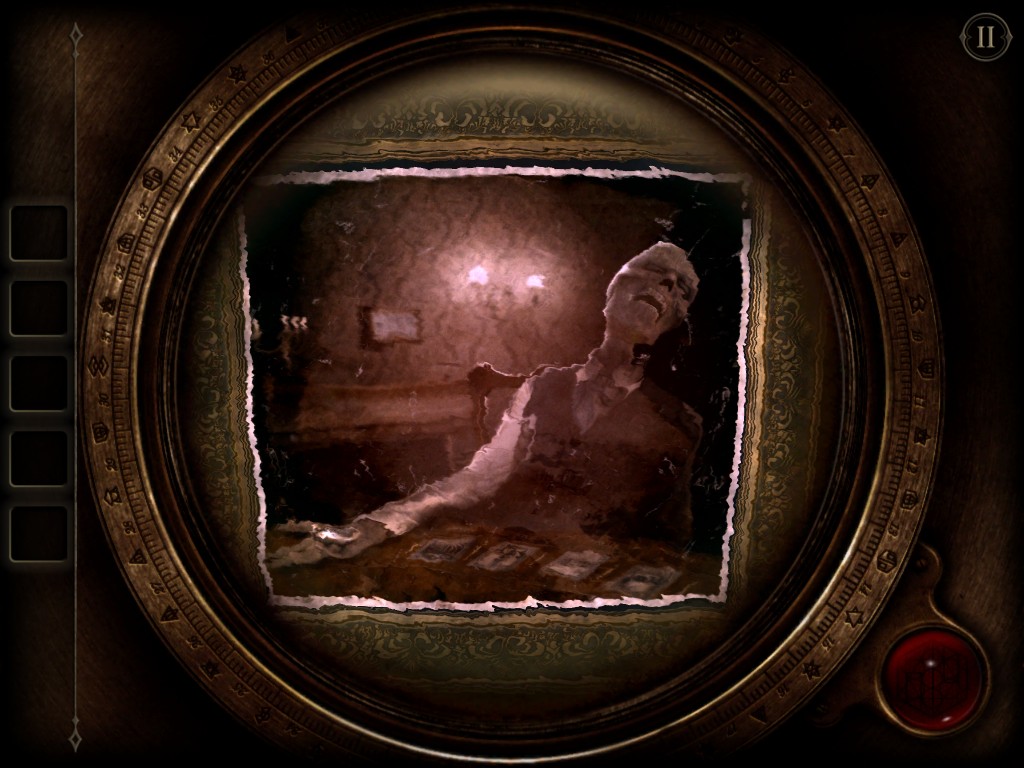
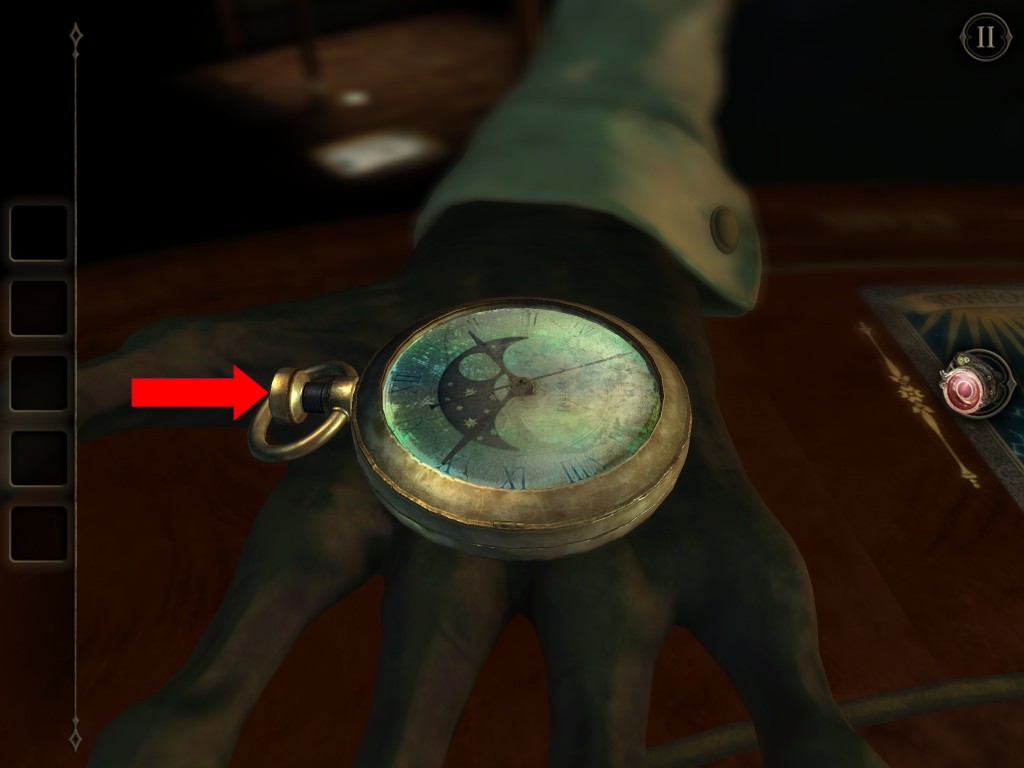
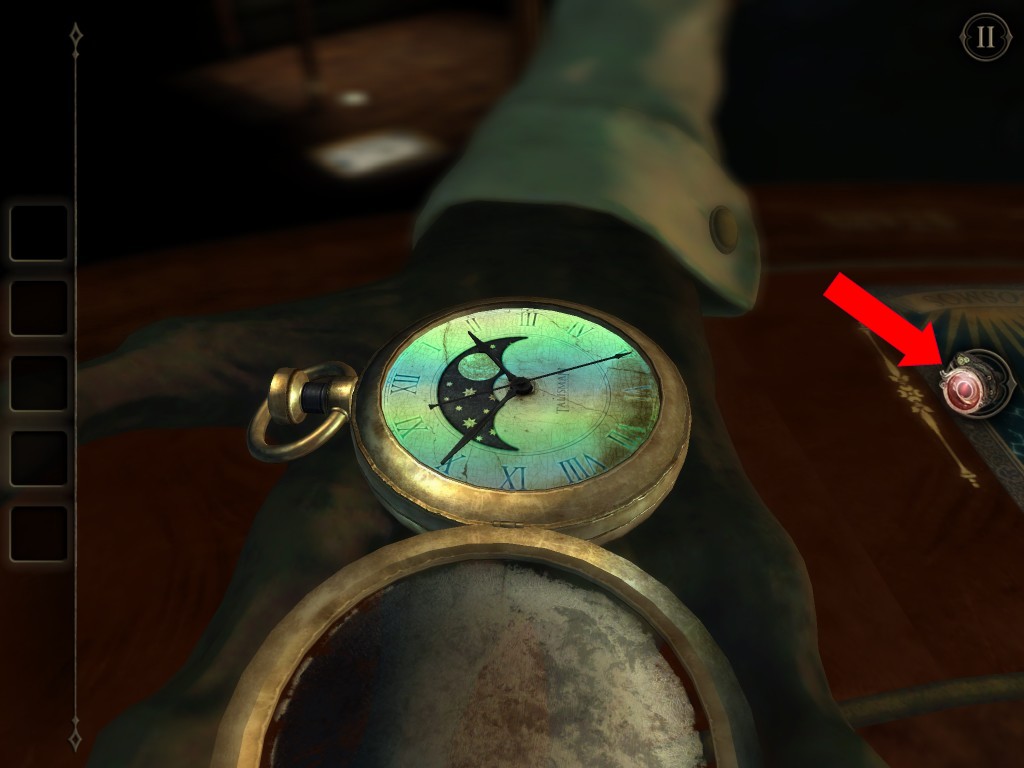
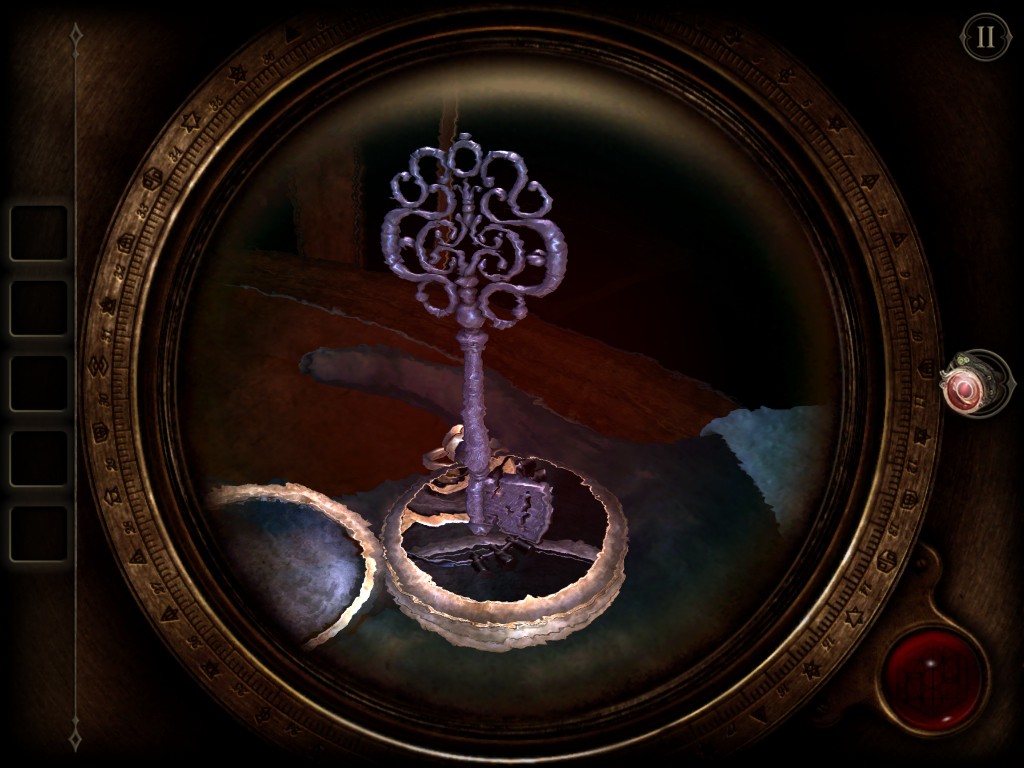
A dead man magically appears sitting at the Tarot card table. He is holding a watch. Press the button on the watch and look at the watch under your eyepiece. Grab the Ornate Key from the watch.

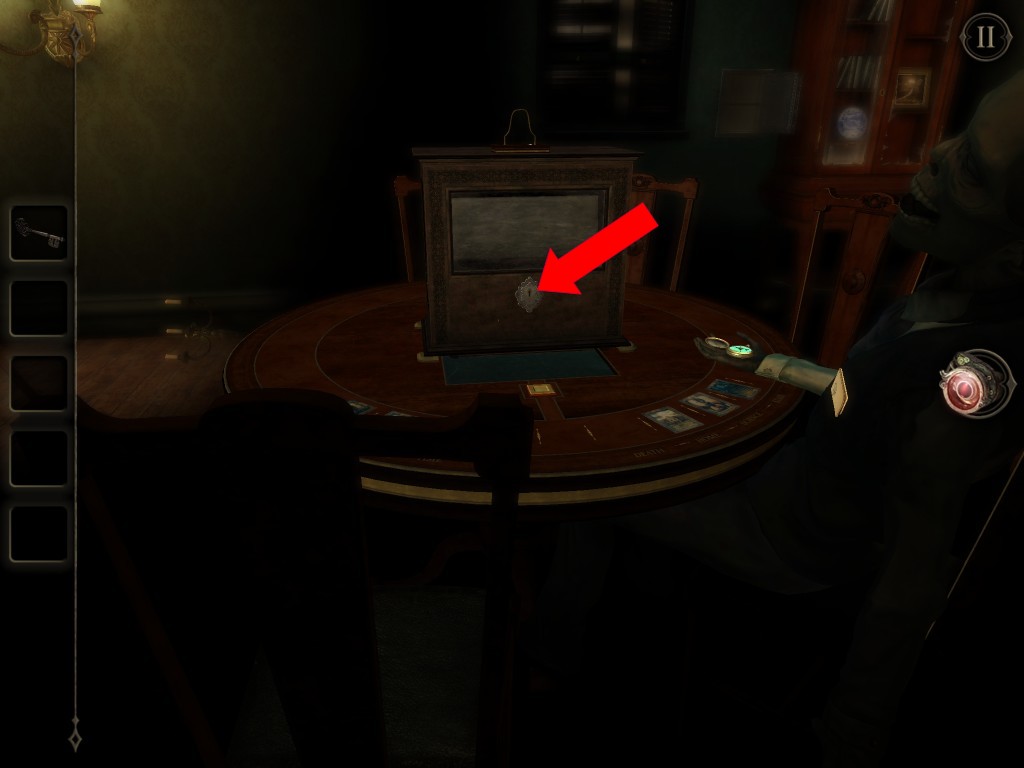
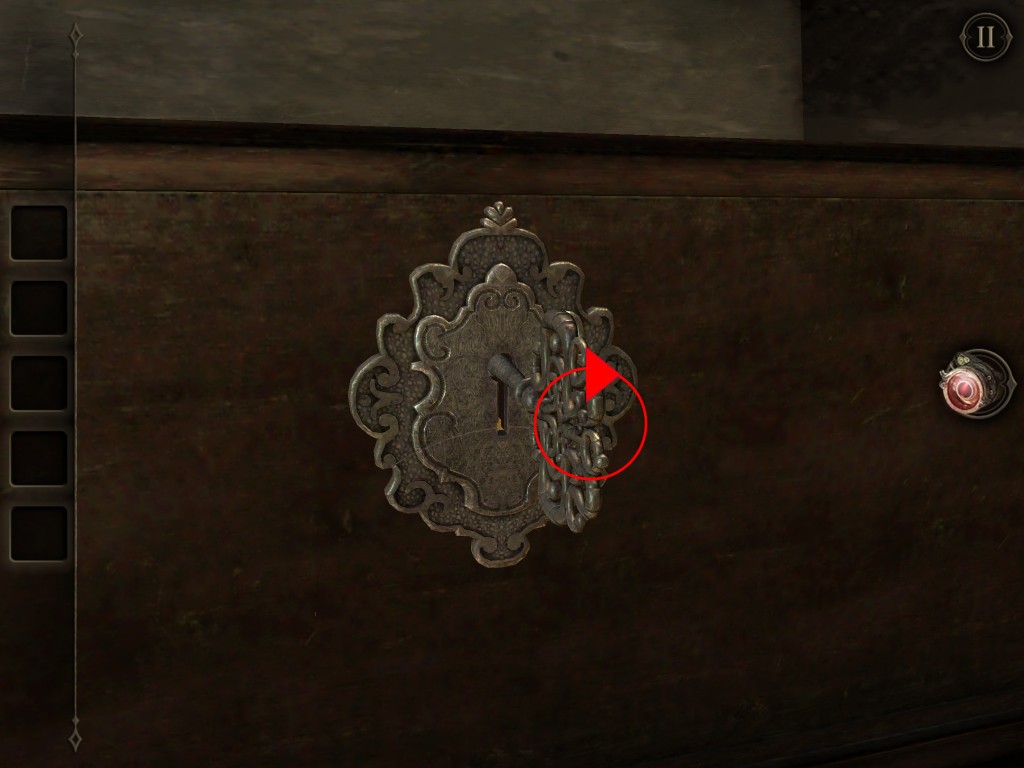
Insert the key into the box on the card table and turn. Tap on the black goo on the gold sphere that appeared.
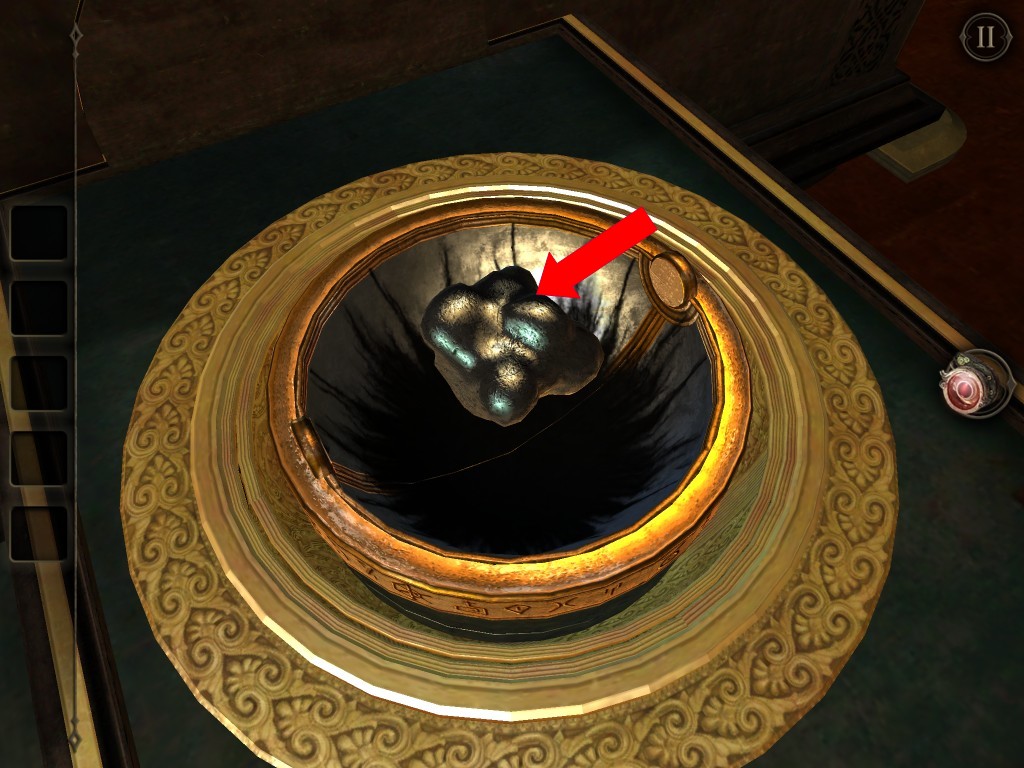
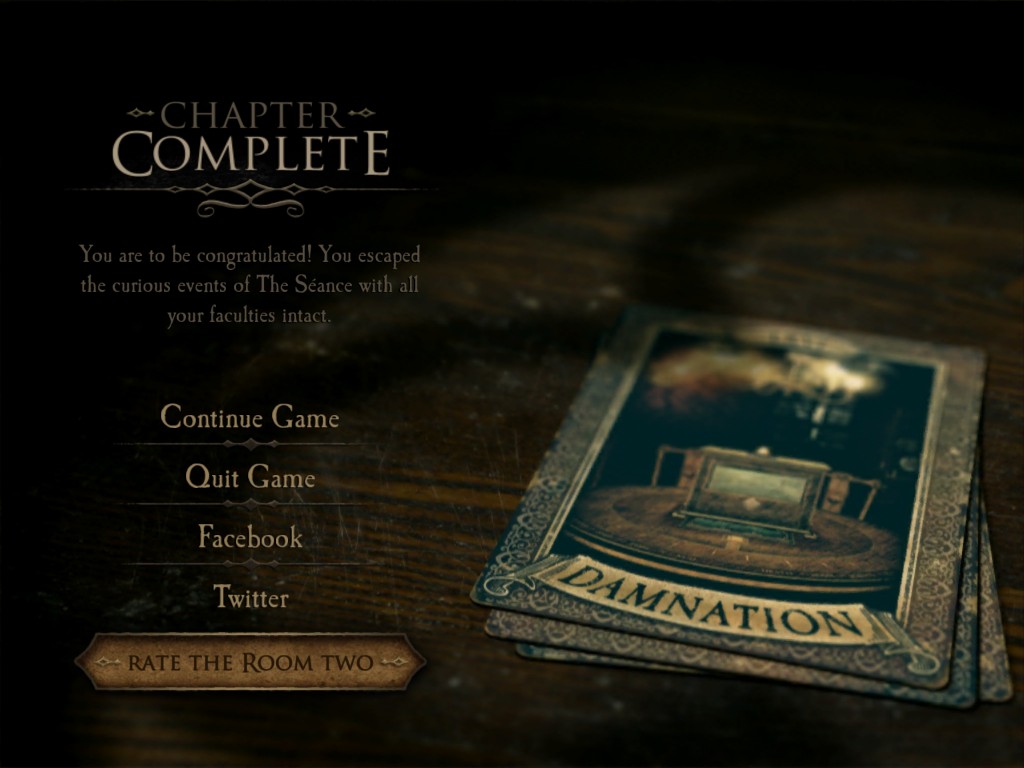
Congratulations, you have now completed The Room 2 Chapter 4!
I looked at the photograph under my eye piece and nothing happened