Welcome to the best walkthrough guide of The Room 2. Because Chapter 2 (The Ship) is so long, we have divided the complete walkthrough into easy to read parts featuring the different main locations that you have to solve. Because certain items require several visits, we have divided them accordingly where appropriate. Please let us know if you are still stuck with any of the puzzles or if we are not clear with our best walkthrough guides.
We have divided The Room 2 Chapter 2 into the following major sections. Please note that you will track back to the model ship at later parts.
Part 1: Model Ship First Visit
Part 2: The Treasure Box and Model Ship Second Visit
Part 3: The Weighing Station
Part 4: Clock Mechanism
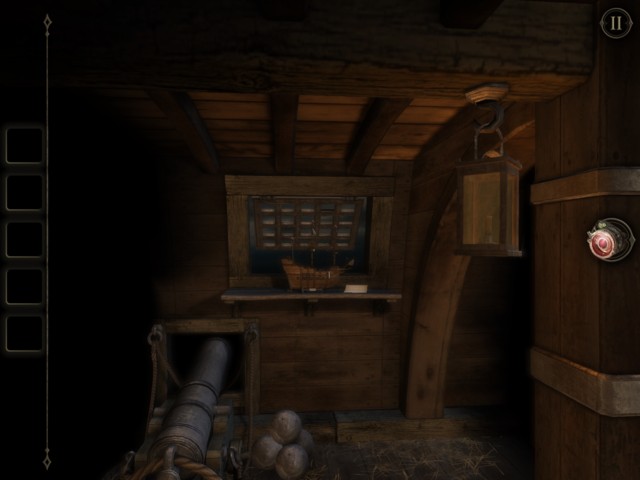
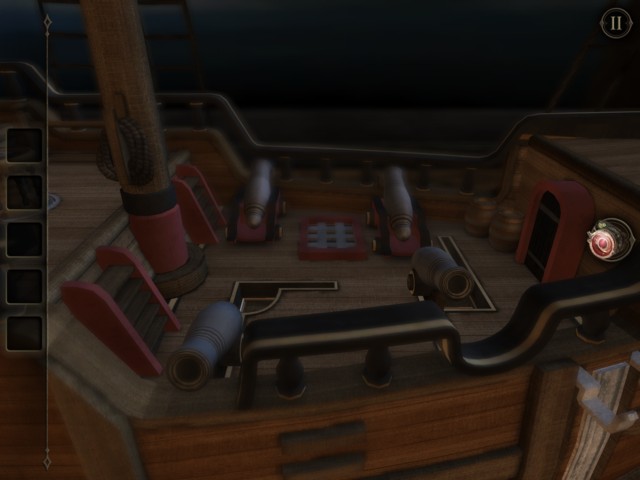
This section features the Model Ship First Visit. You start The Room 2 Chapter 2 by playing with the model ship.
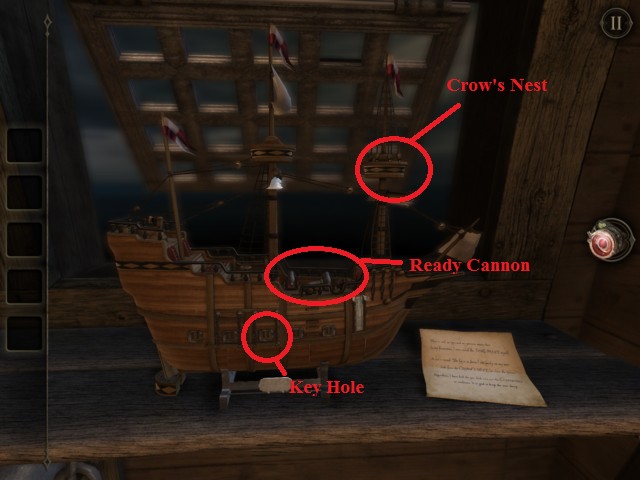
Observe the letter on the table to get some clues about cannon and the crow’s nest.

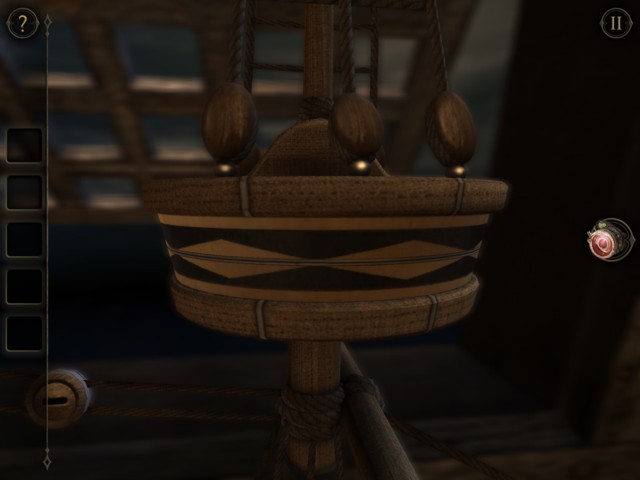
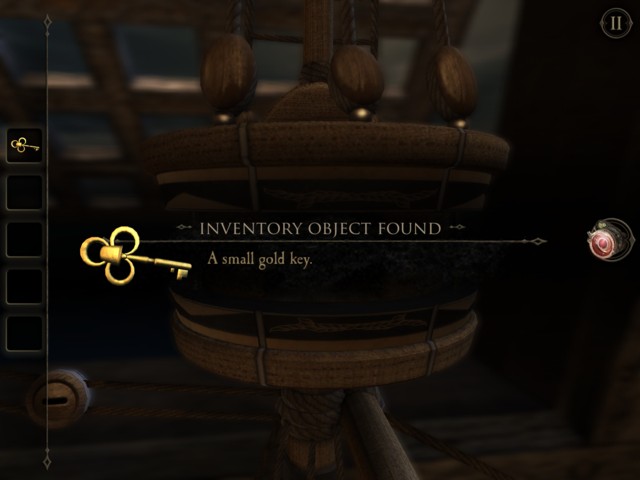
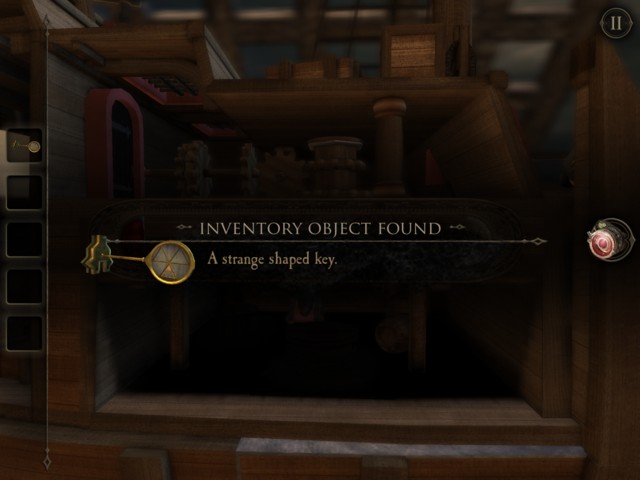
Check the Crow’s Nest to rotate the patterned decks. You will then reveal the first key for Chapter 2.

Now check the cannons on the ship’s deck. Slide them to the edge of the deck into “readied” positions.
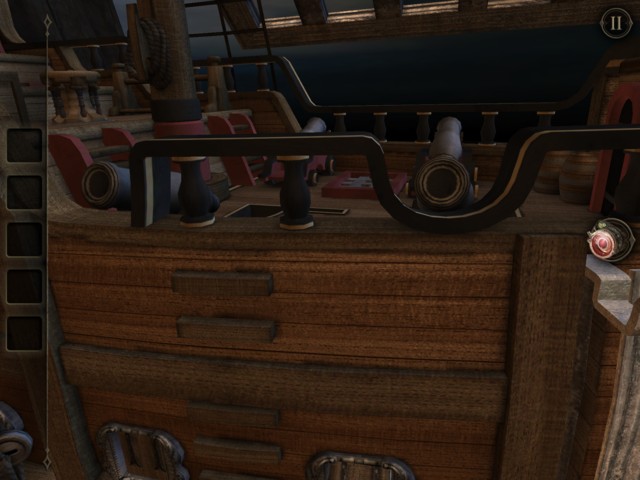
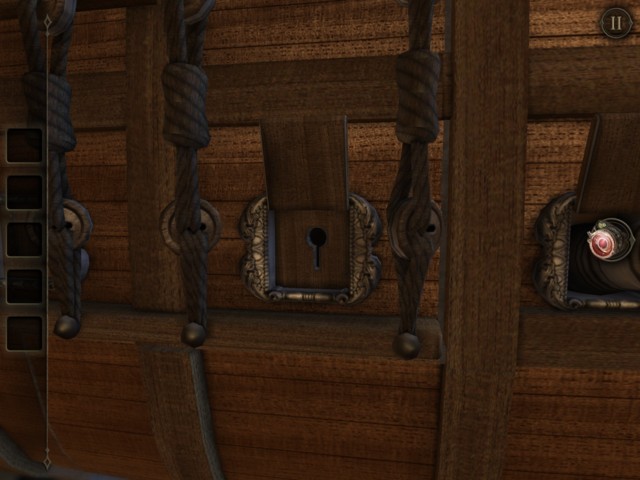
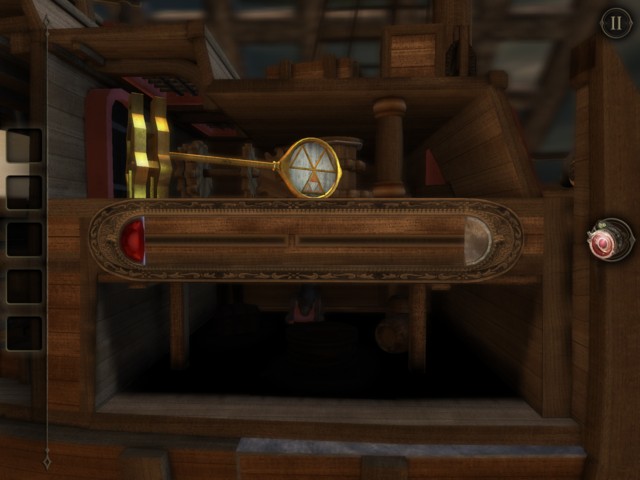
The key hole reveals itself. Now insert the first small gold key from the Crow’s Nest into the keyhole.
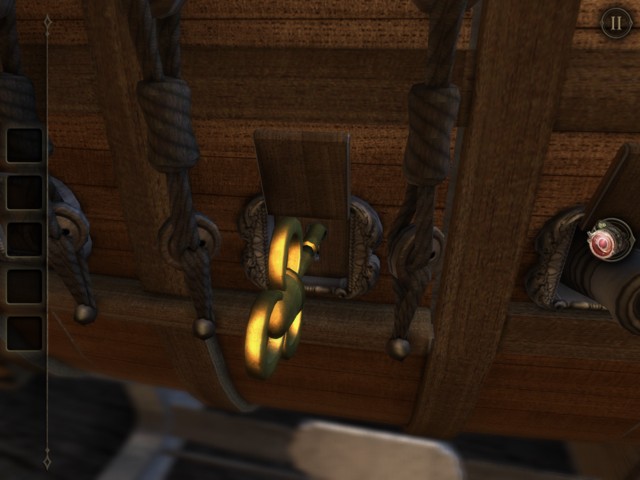
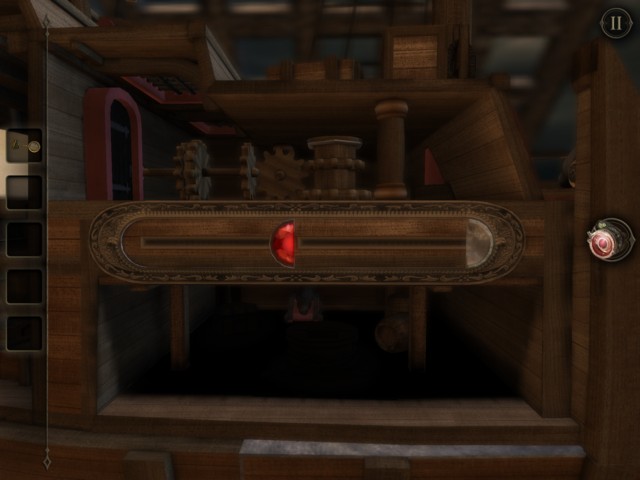
The compartment opens to show a key and a slideable jewel. Grab the key and slide the red jewel to the right.
You will automatically move on to the next part in Chapter 2 – The Treasure Box.
Like the help.